Waves in the water and beach balls, all in one convenient quilt!

DSCN5654

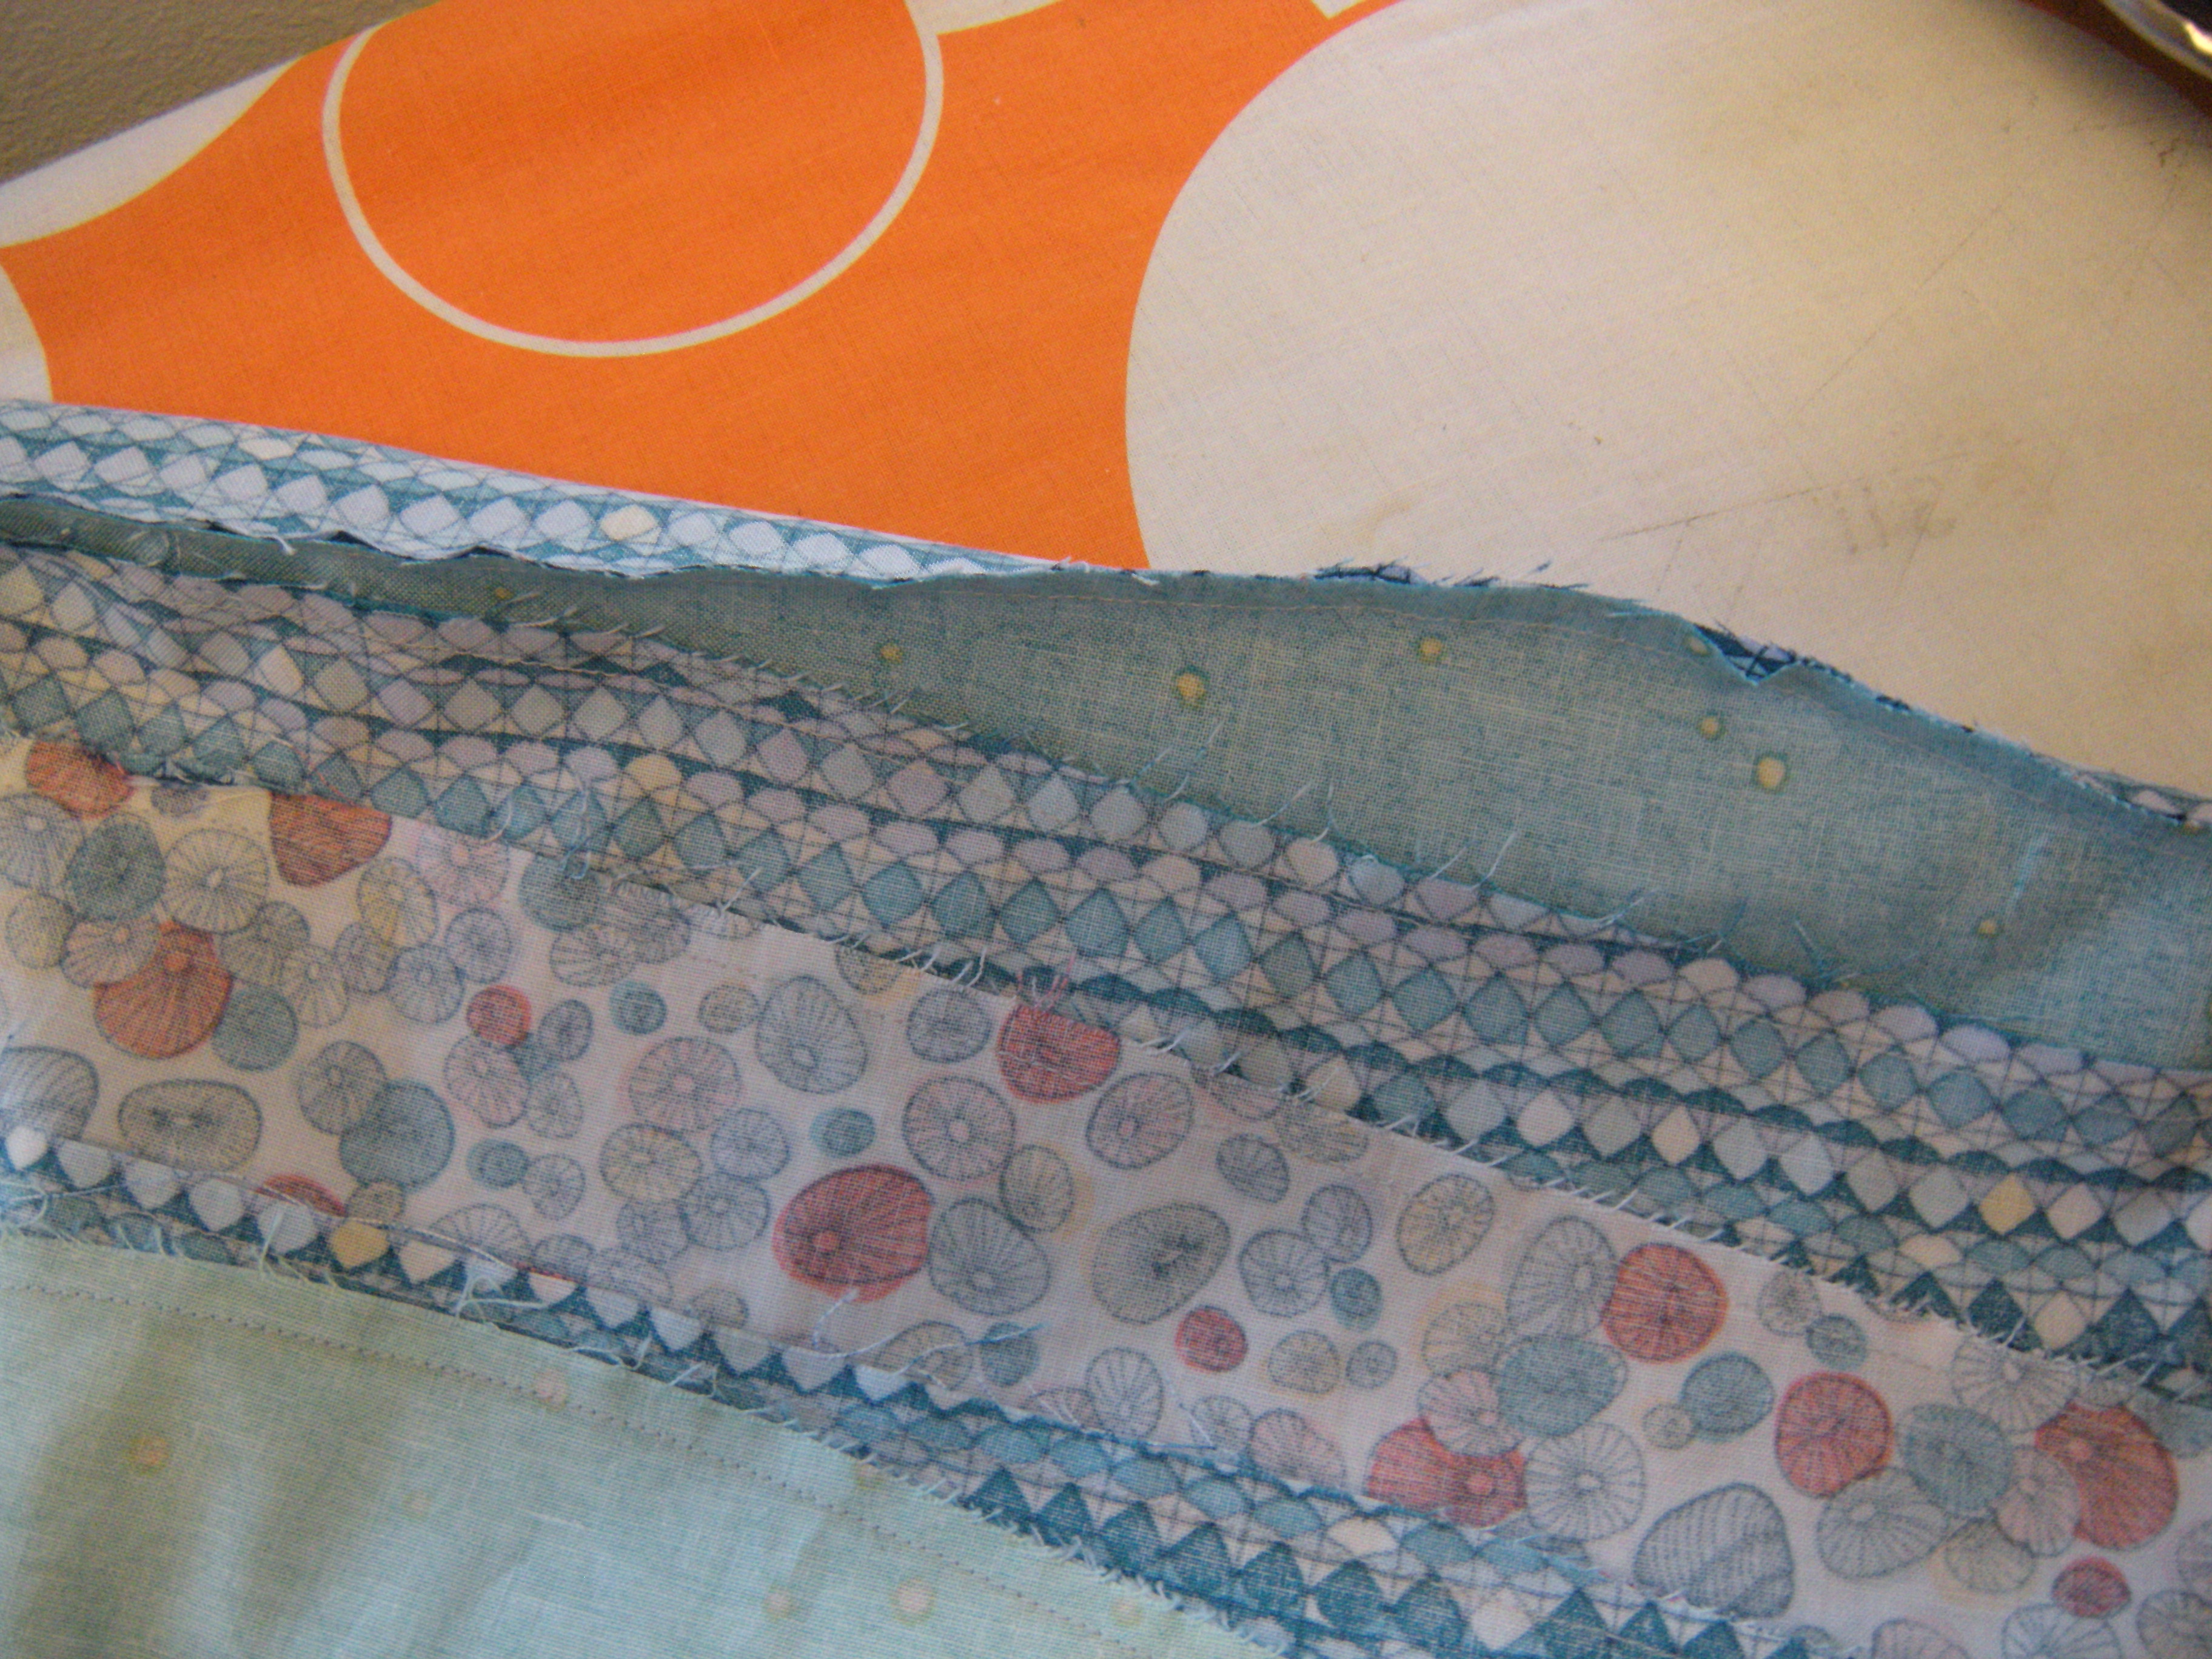
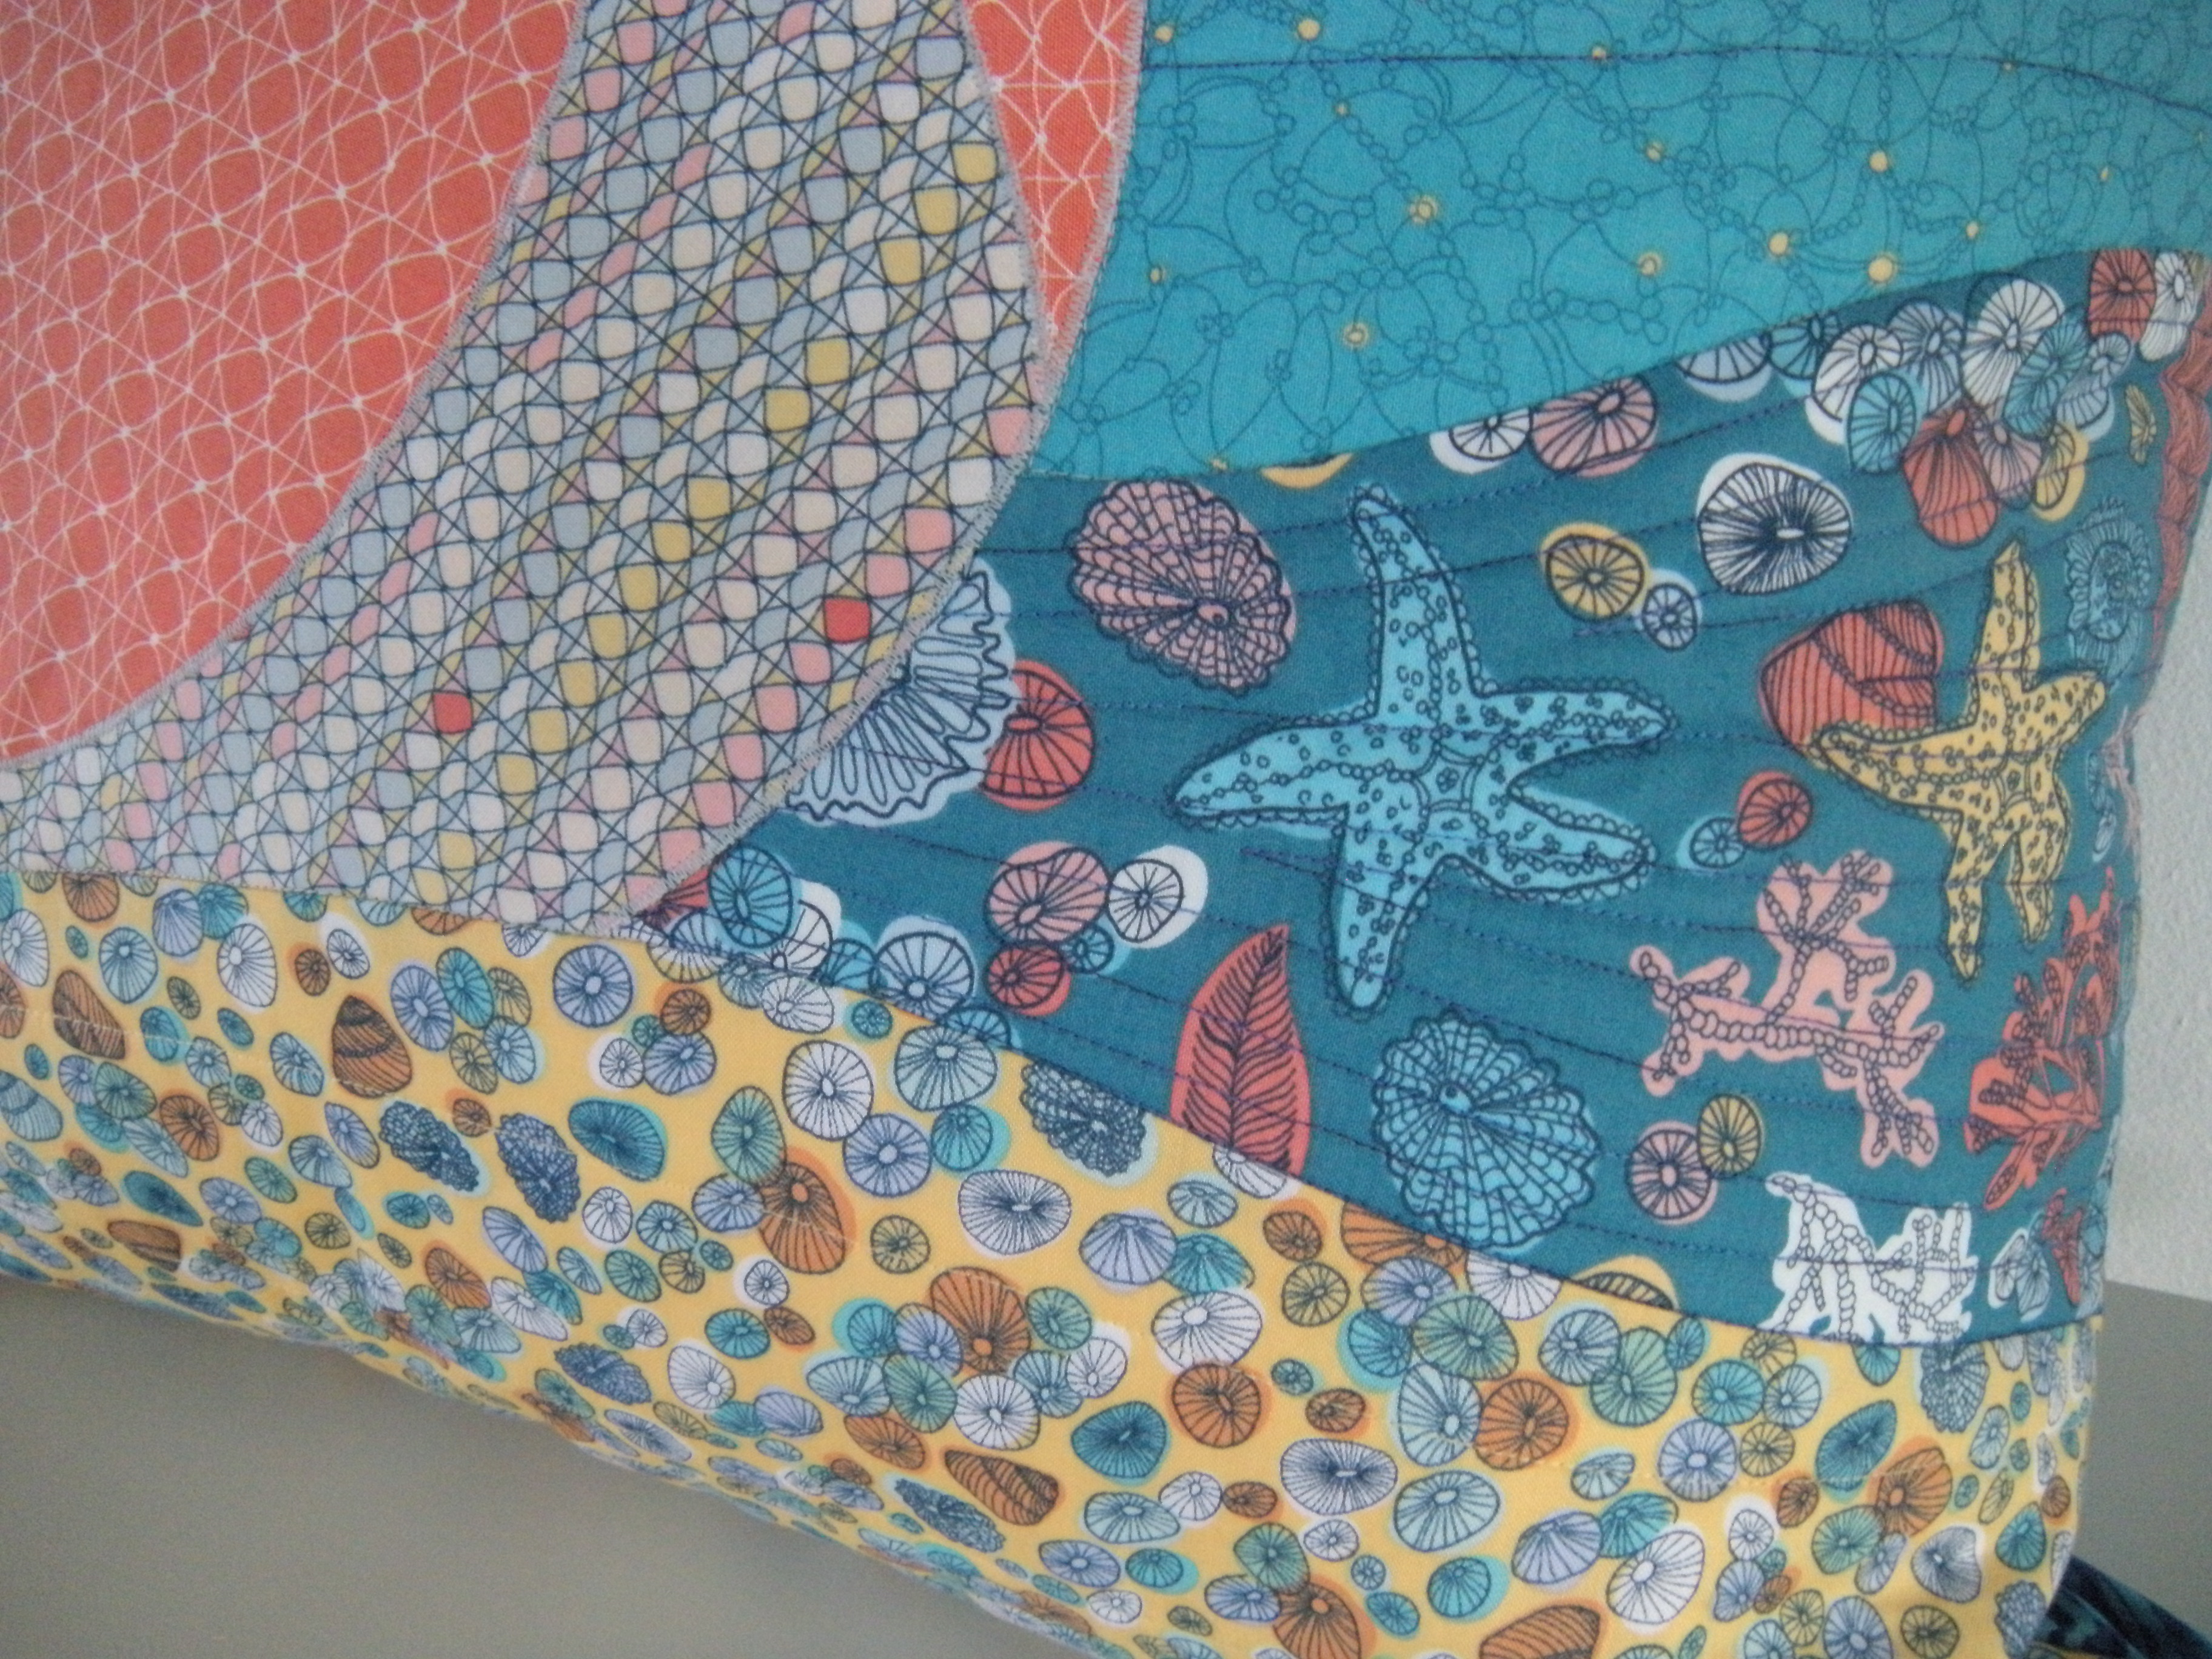
I finished my curved piecing yesterday!  It is really fun, once you get over the initial horror of taking a rotary cutter and slicing randomly through the fabric.

DSCN5649

Anytime I need help smoothing out fabric on a flat surface, Tippy the massive cat shows up to offer his services.  He is 20 pounds of fabric love.  Apparently that front beach ball needed some work.

DSCN5650

When that beach ball was properly pressed, his work was done.

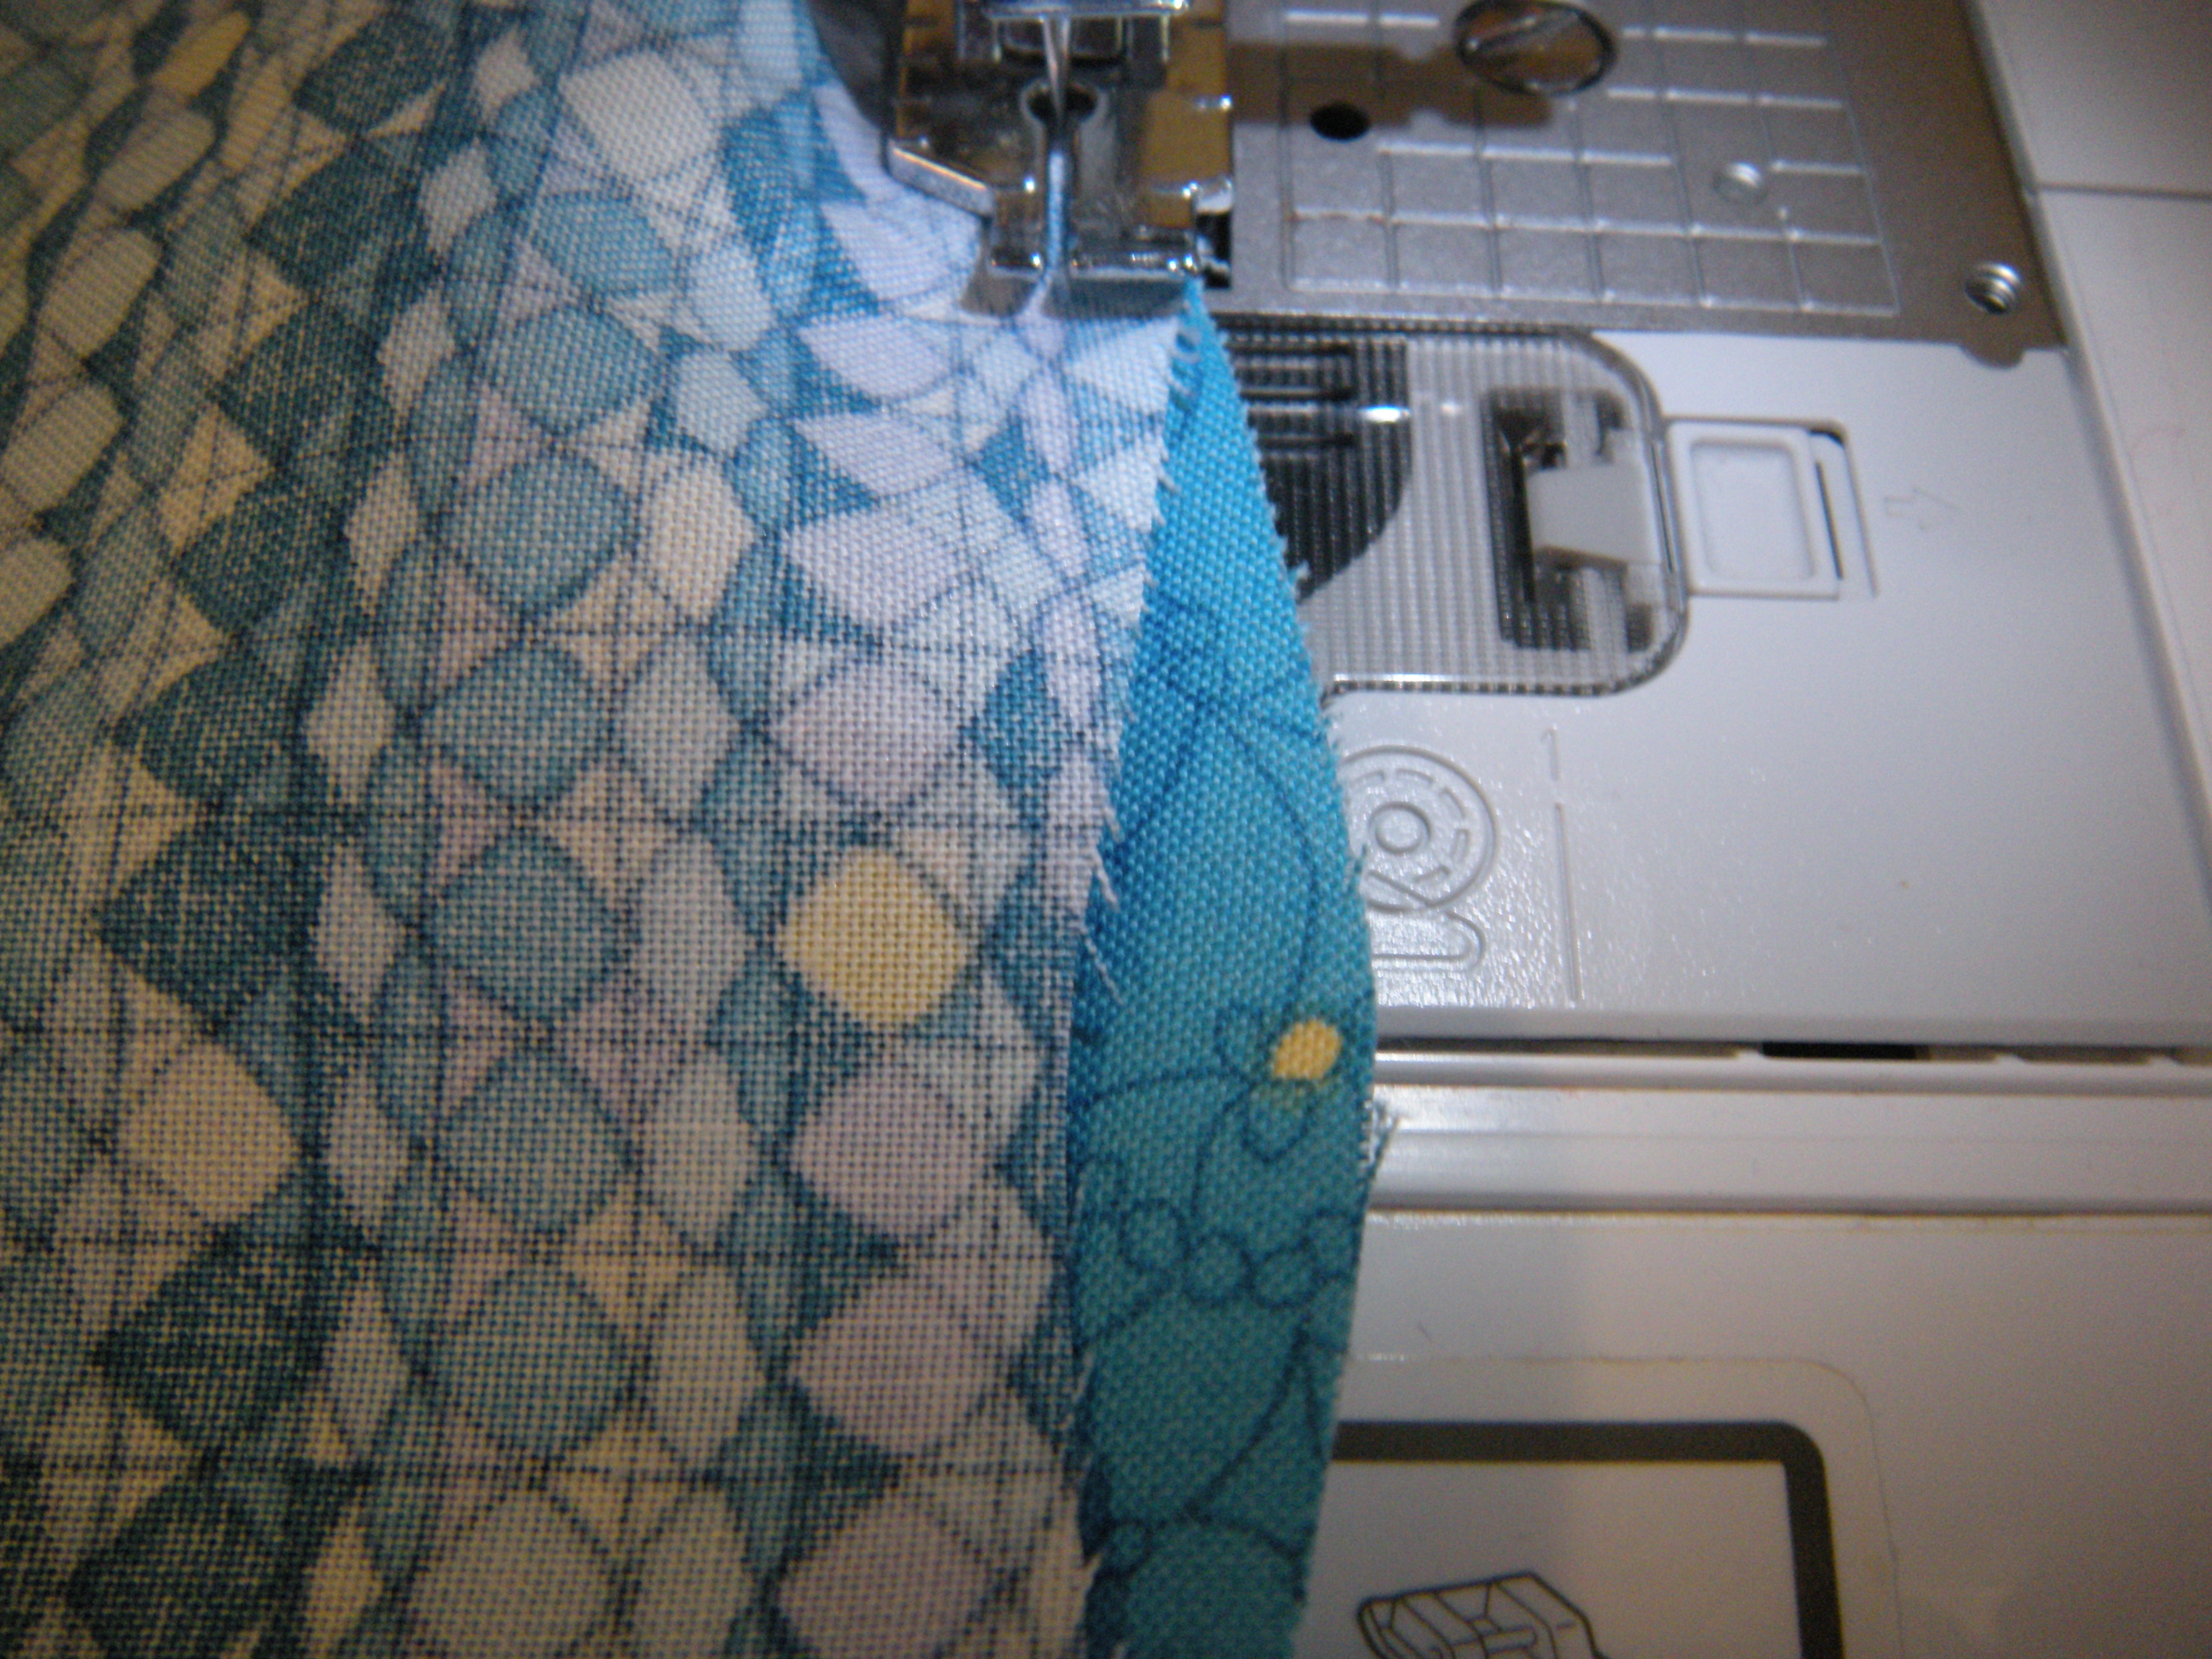
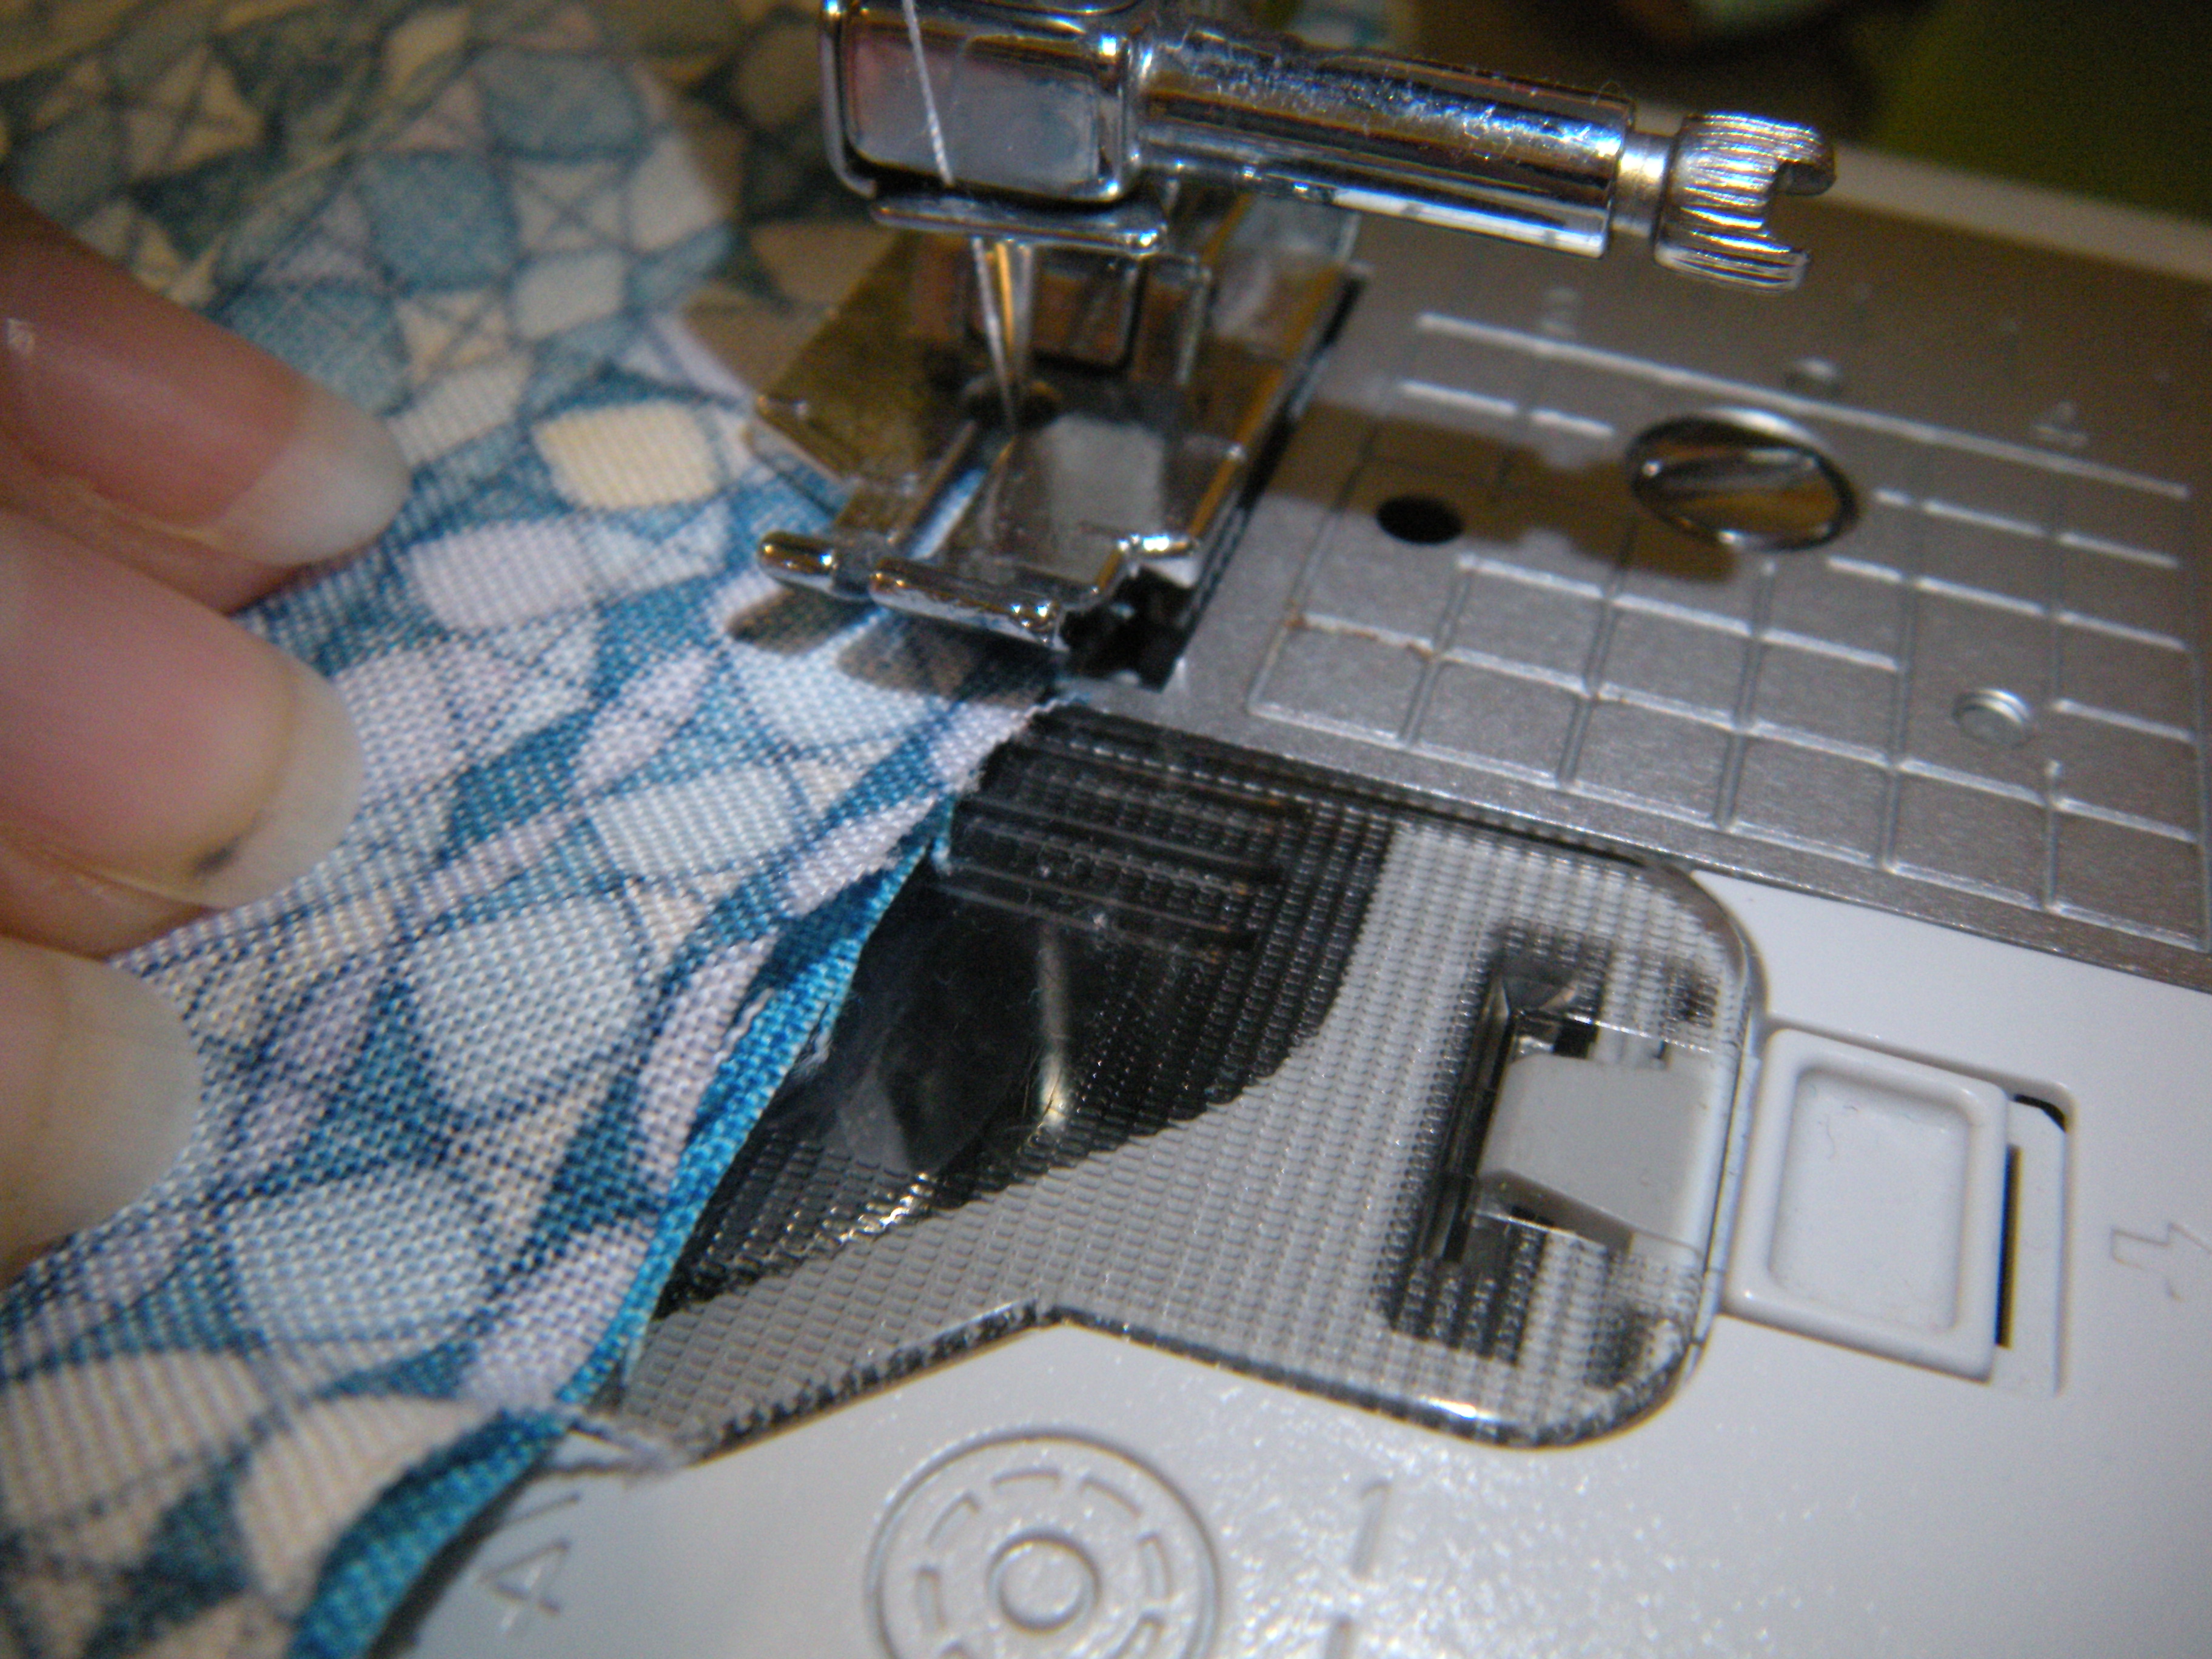
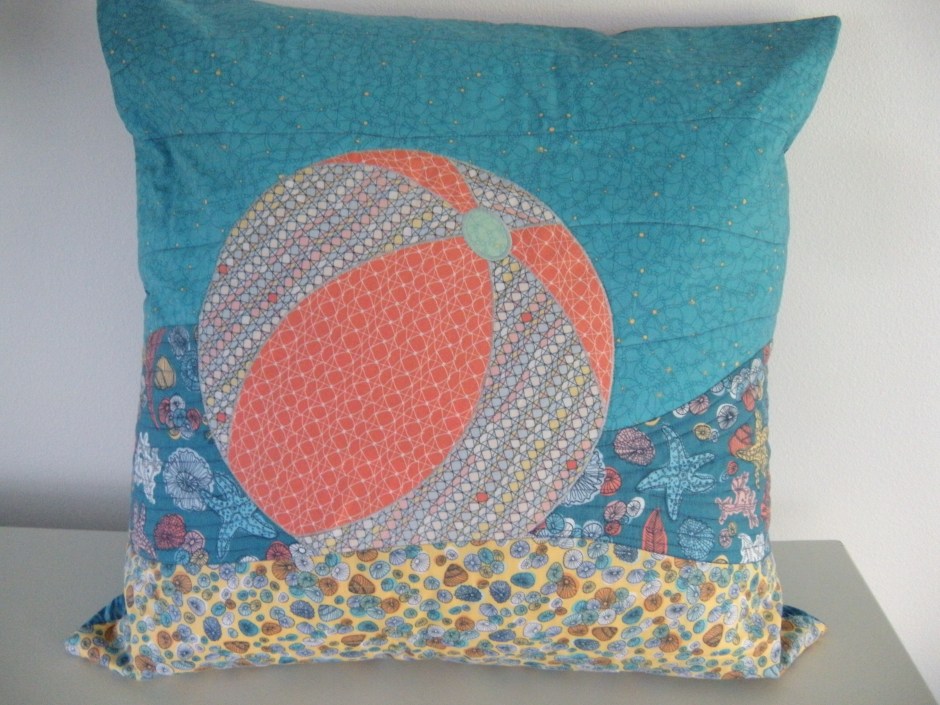
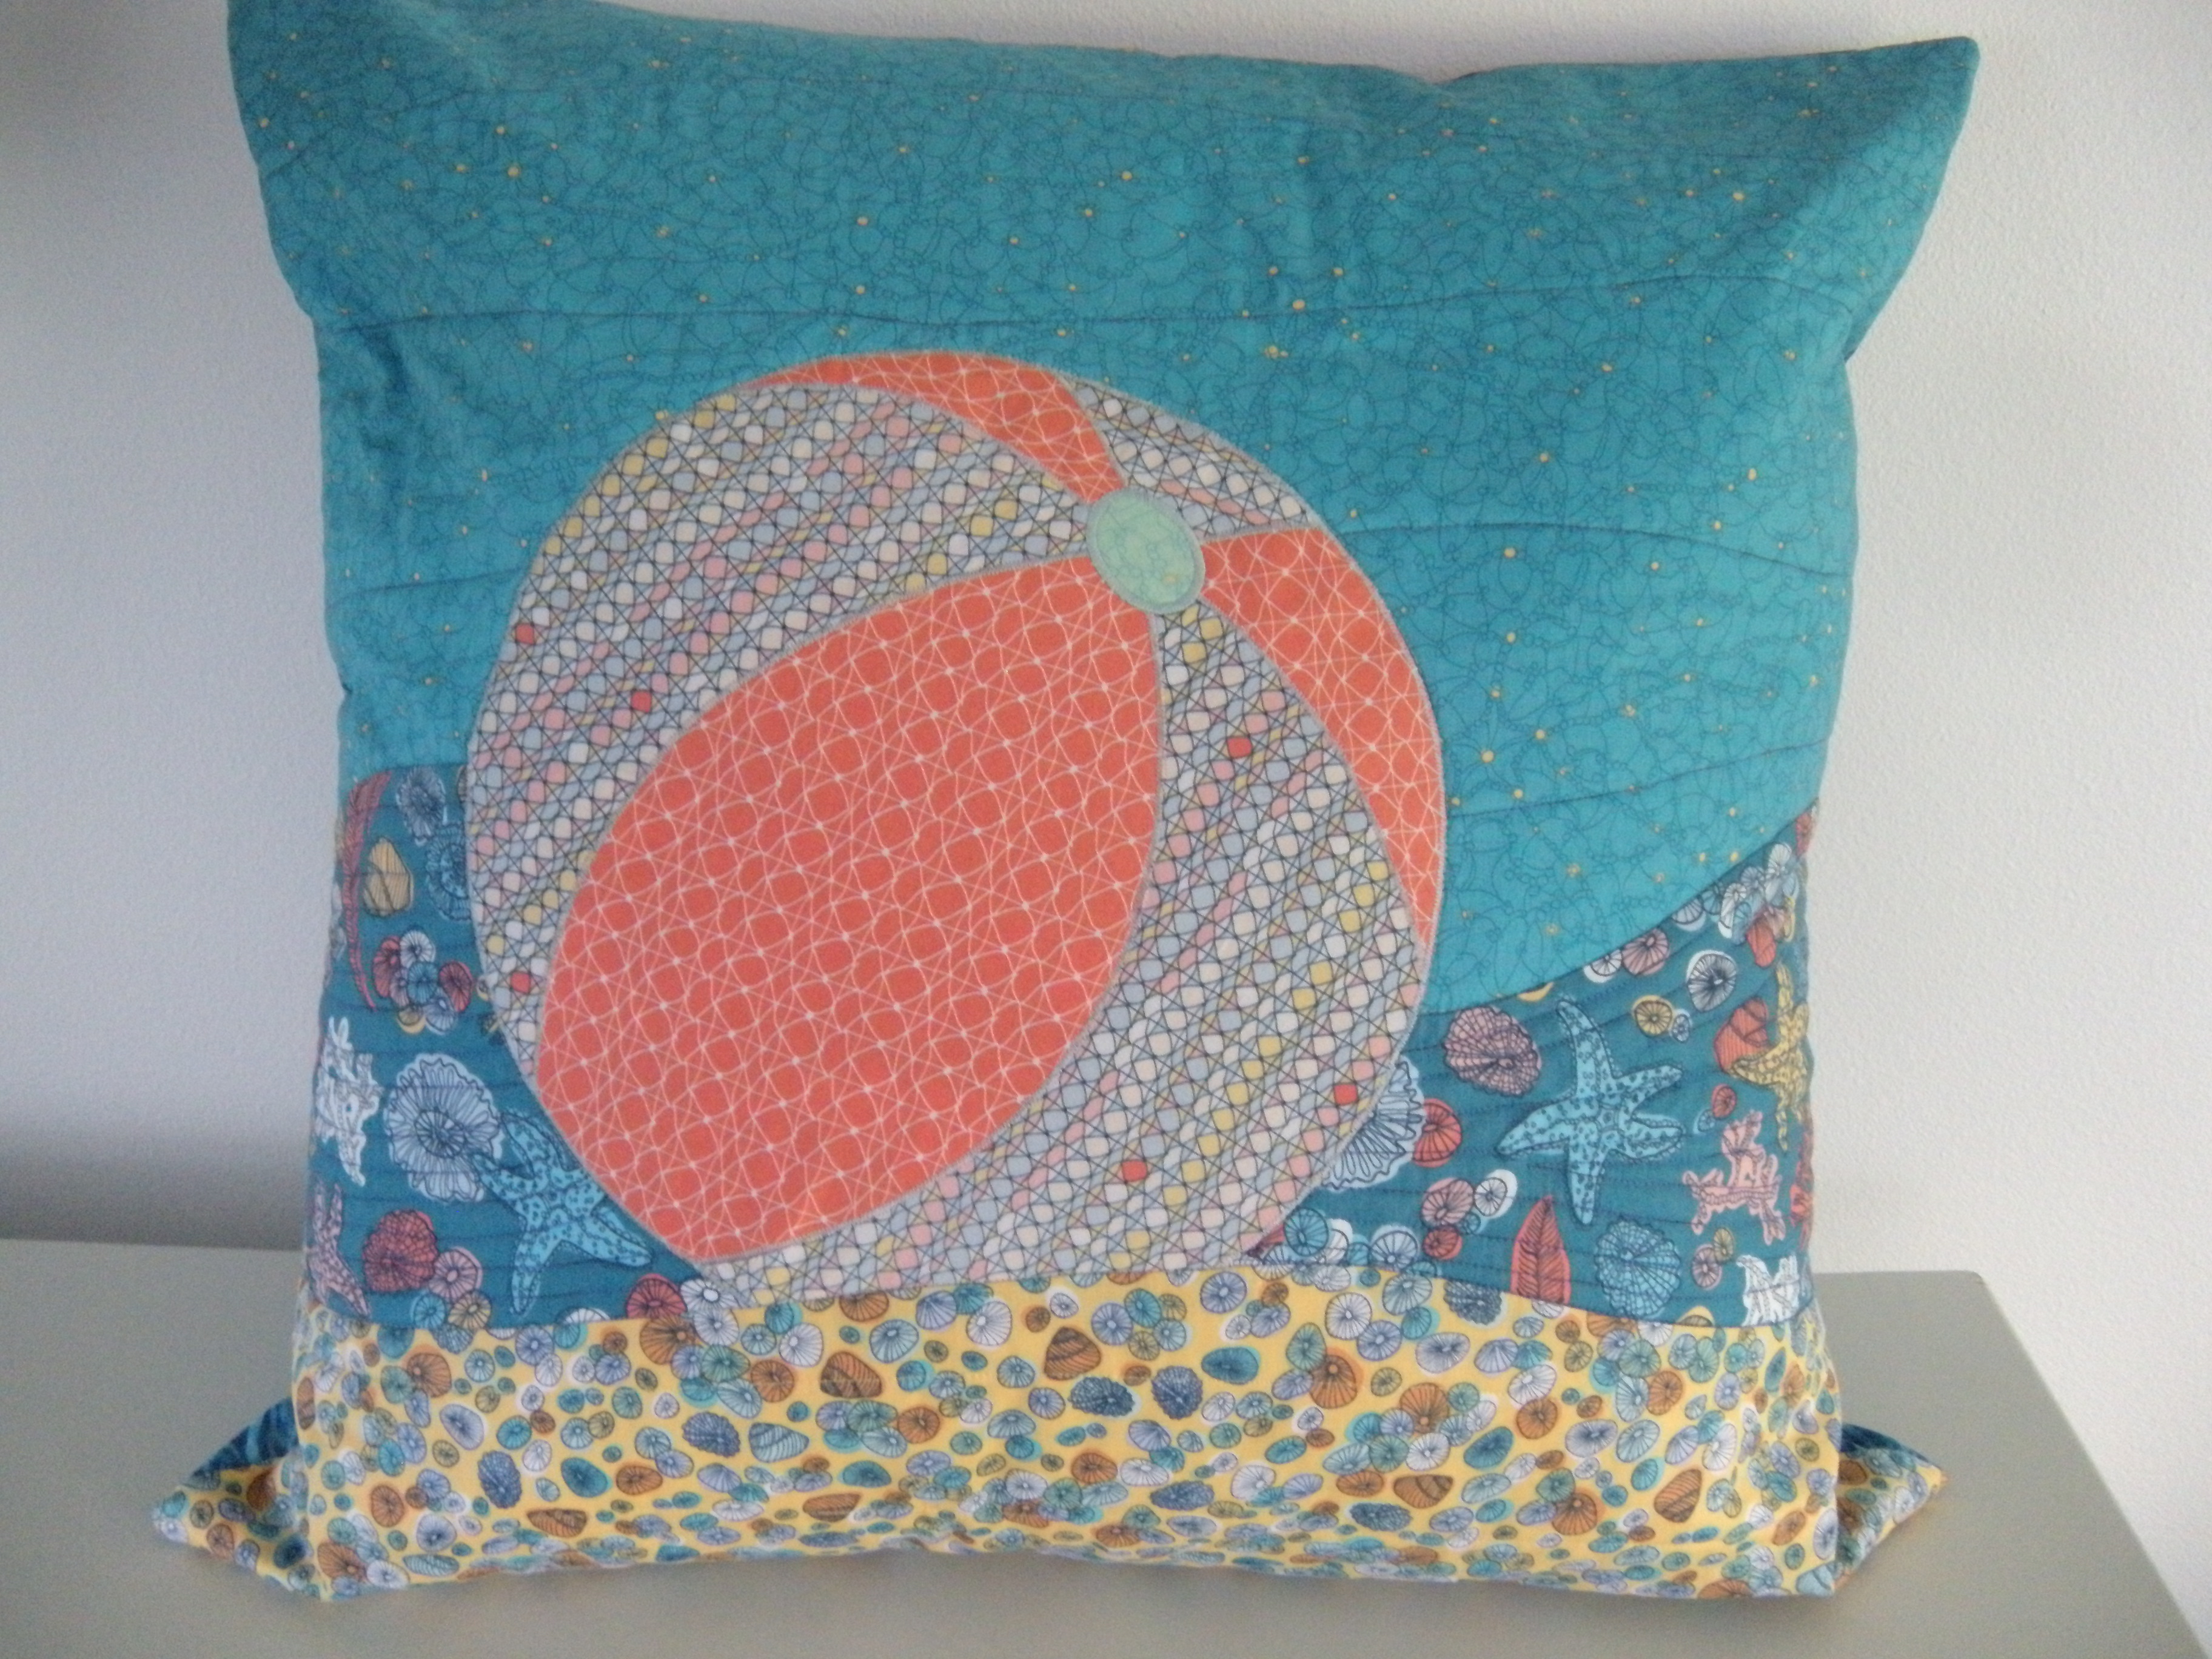
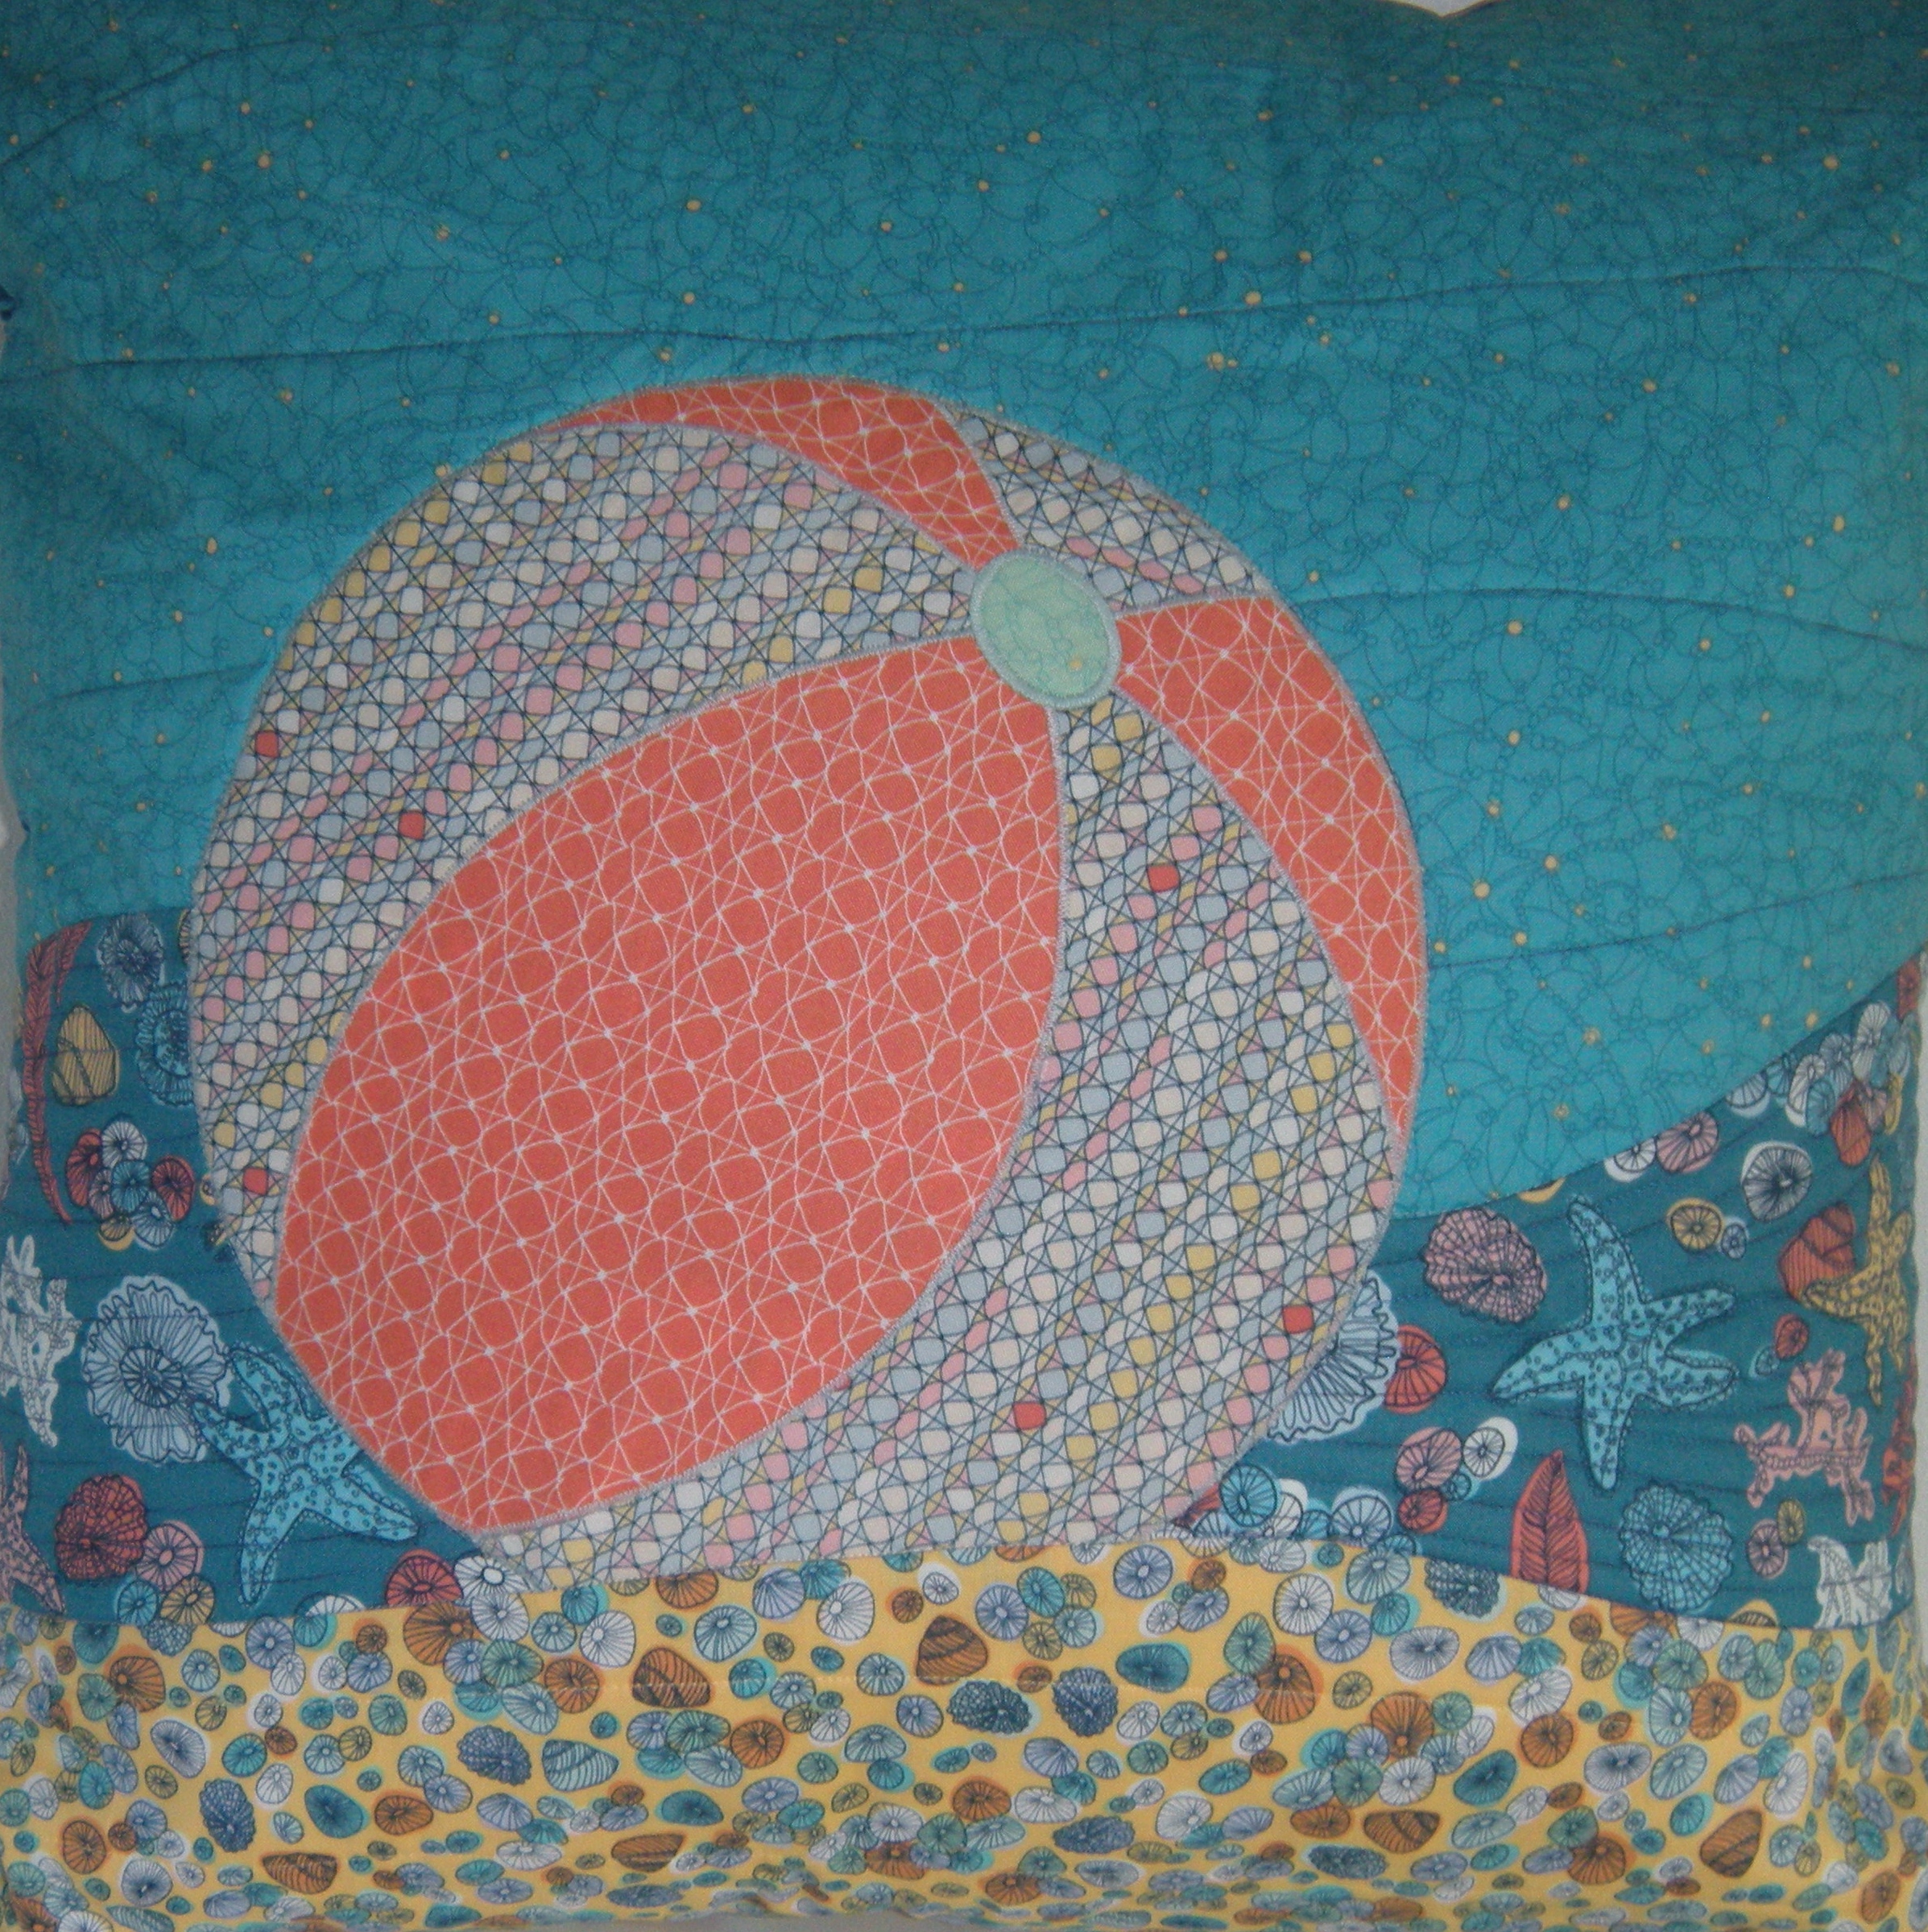
I had the beach ball parts fused and cut out already, so don’t be thinking I performed any super-human piecing tricks.  I attached them to the background and zigzagged them on.  I ripped out parts of a couple of the seams so that two of the balls would look like they were in the water.

DSCN5658

DSCN5655

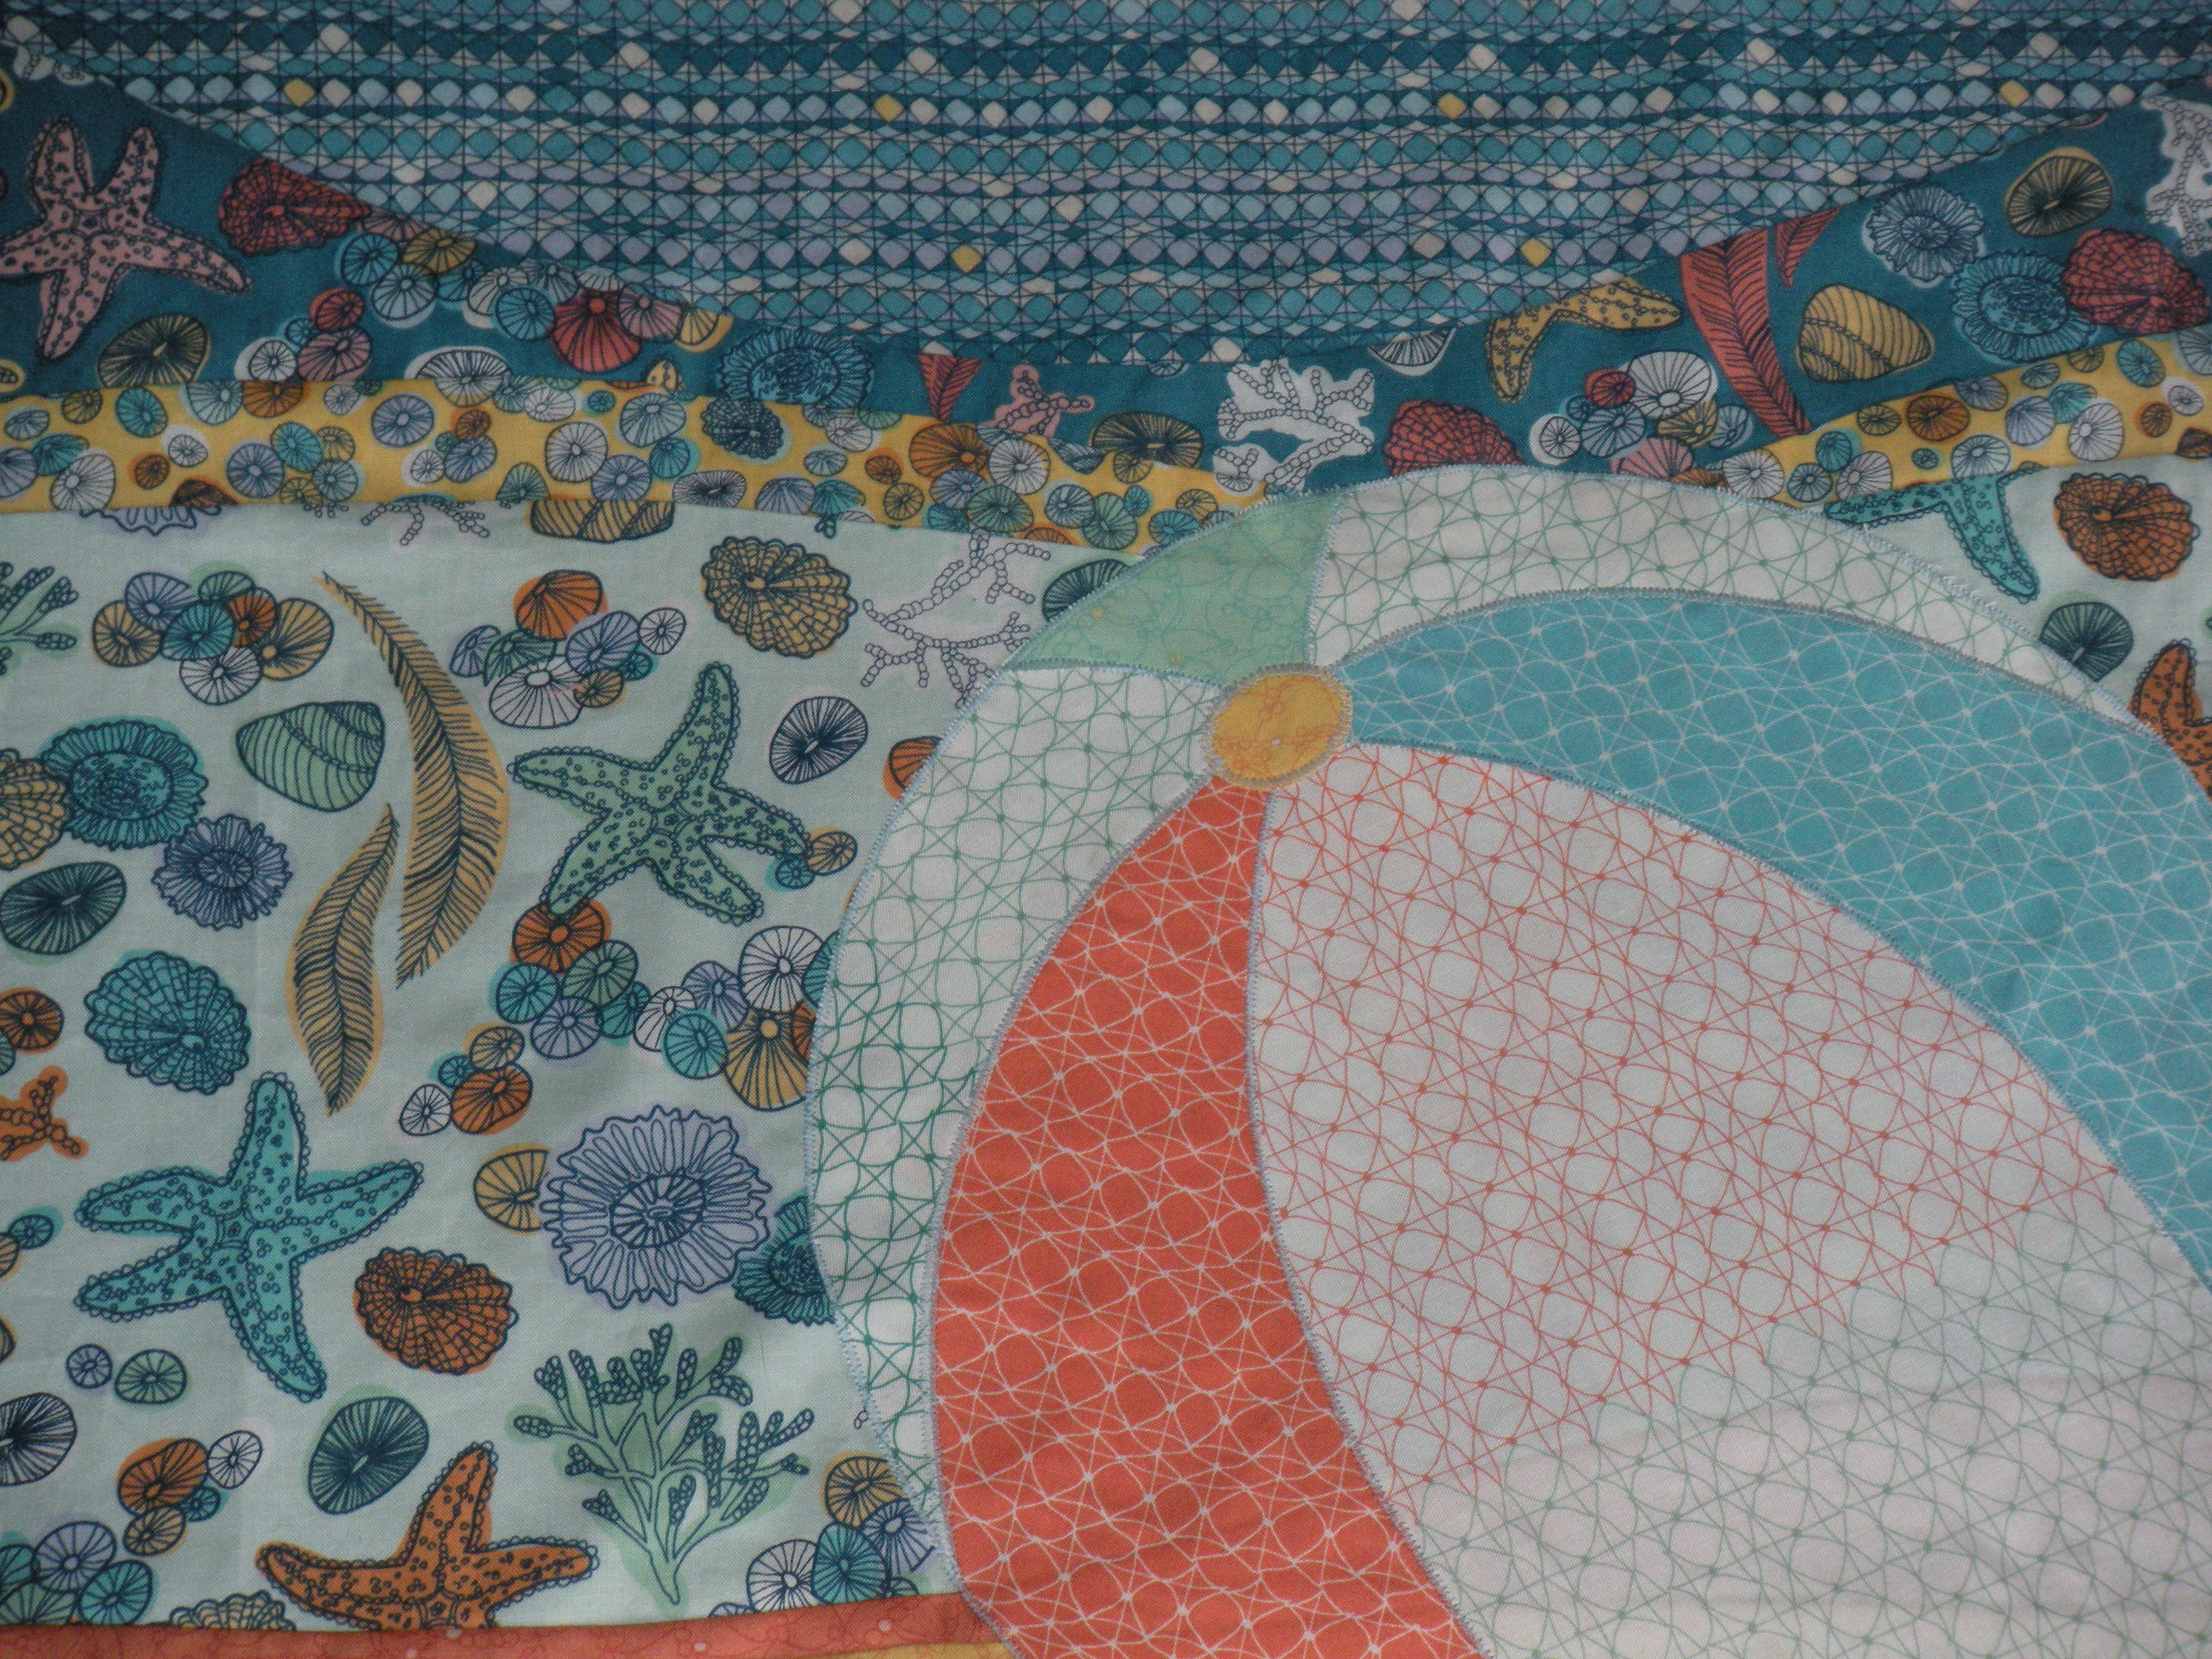
Now I am thinking about the borders.  I had a plan, similar to the one shown on the pattern (Day at the Shore Quilt by See How We Sew.)  That may change…

I’m making waves, and here’s a curved piecing tutorial so you can make them too!

Aloha!

DSCN5644

The quilt that I am working on has waves in the background.  They are freehand waves, and it turns out they are pretty simple to make.  Shall we dive right in?

DSCN5615

Here are the waves so far.  The fabric for the next layer is on the left.

DSCN5617

Place the new wave over the previous wave, lining up the selvedges or edges and using a consistent measurement across.  This diamond fabric overlaps the blue approximately 2 inches all the way from edge to edge.

DSCN5618

Obviously, I cannot see the bottom of the blue fabric now.  I use my ruler as a guide along that edge, so that when I cut, I will stay above the ruler by at LEAST 1/4″ so I can have a proper seam allowance.

DSCN5619

The next step is cutting the curve.  I did my freehand.  The one in the above photo is a narrow strip, so the curve is very gentle.

DSCN5620

DSCN5625

As I remove the top of the diamond fabric and the bottom of the blue fabric, you can see that the curves fit together perfectly.  Now it is time to mark the fabric so the curves will match after stitching.  I used a Frixion pen which disappears when the fabric is ironed.

DSCN5624 DSCN5622

I mark my curves about every six inches or so.

DSCN5627DSCN5628DSCN5629DSCN5631

Pin the pieces right side together, matching each set of marks.

DSCN5632DSCN5634DSCN5635DSCN5636

Stitch, using a 1/4″ seam allowance, easing the curves for a smooth seam.  Below is the stitched seam before pressing.

DSCN5637 DSCN5638

Using your iron and lots of steam, press the seam downward.

DSCN5640

DSCN5642 DSCN5643

DSCN5644

And voila!  Beautiful waves, stitched and steamed to perfection!

The fabric shown in this tutorial is Tidal Lace by Kim Andersson, from Windham Fabrics.  The quilt I am working on is A Day at the Shore Quilt by See How We Sew.

I cheated on my Destiny with another sewing machine!

I am sick and tired of organizing.  Oh, I’m not done yet, just tired of it.  And my machine is still at the spa.  I couldn’t stand it any longer.  I cut out some fabric.

DSCN5531

I decided to make a smallish project.  I wasn’t sure how my Project Runway backup sewing machine would do, and I didn’t want to bite off more than it could chew.  I just happened to have a 24″ pillow form sitting around, and some fabric from the new Tidal Lace collection by Windham Fabrics.

DSCN5529

I was inspired by an adorable quilt pattern called Making Waves, on the See How We Sew blog.  You can see the pattern here https://seehowwesew.wordpress.com/patterns/

DSCN5534

I used the templates for one of the beach balls.  The curves in the waves and sand were made by stacking the fabric and cutting freehand curves.

DSCN5532

The back has a lapped zipper.  Somebody’s bound to slobber on it at some point.  Gotta be able to wash it.

DSCN5537

It sure helped out my symptoms of withdrawal.  And I gained a newly refreshed admiration for my Destiny.  I have fallen in love with my dreamy machine.  But I need it back, or I might not be held accountable for what happens next.

Stay crafty, my friends.