

Aloha!

The quilt that I am working on has waves in the background. They are freehand waves, and it turns out they are pretty simple to make. Shall we dive right in?

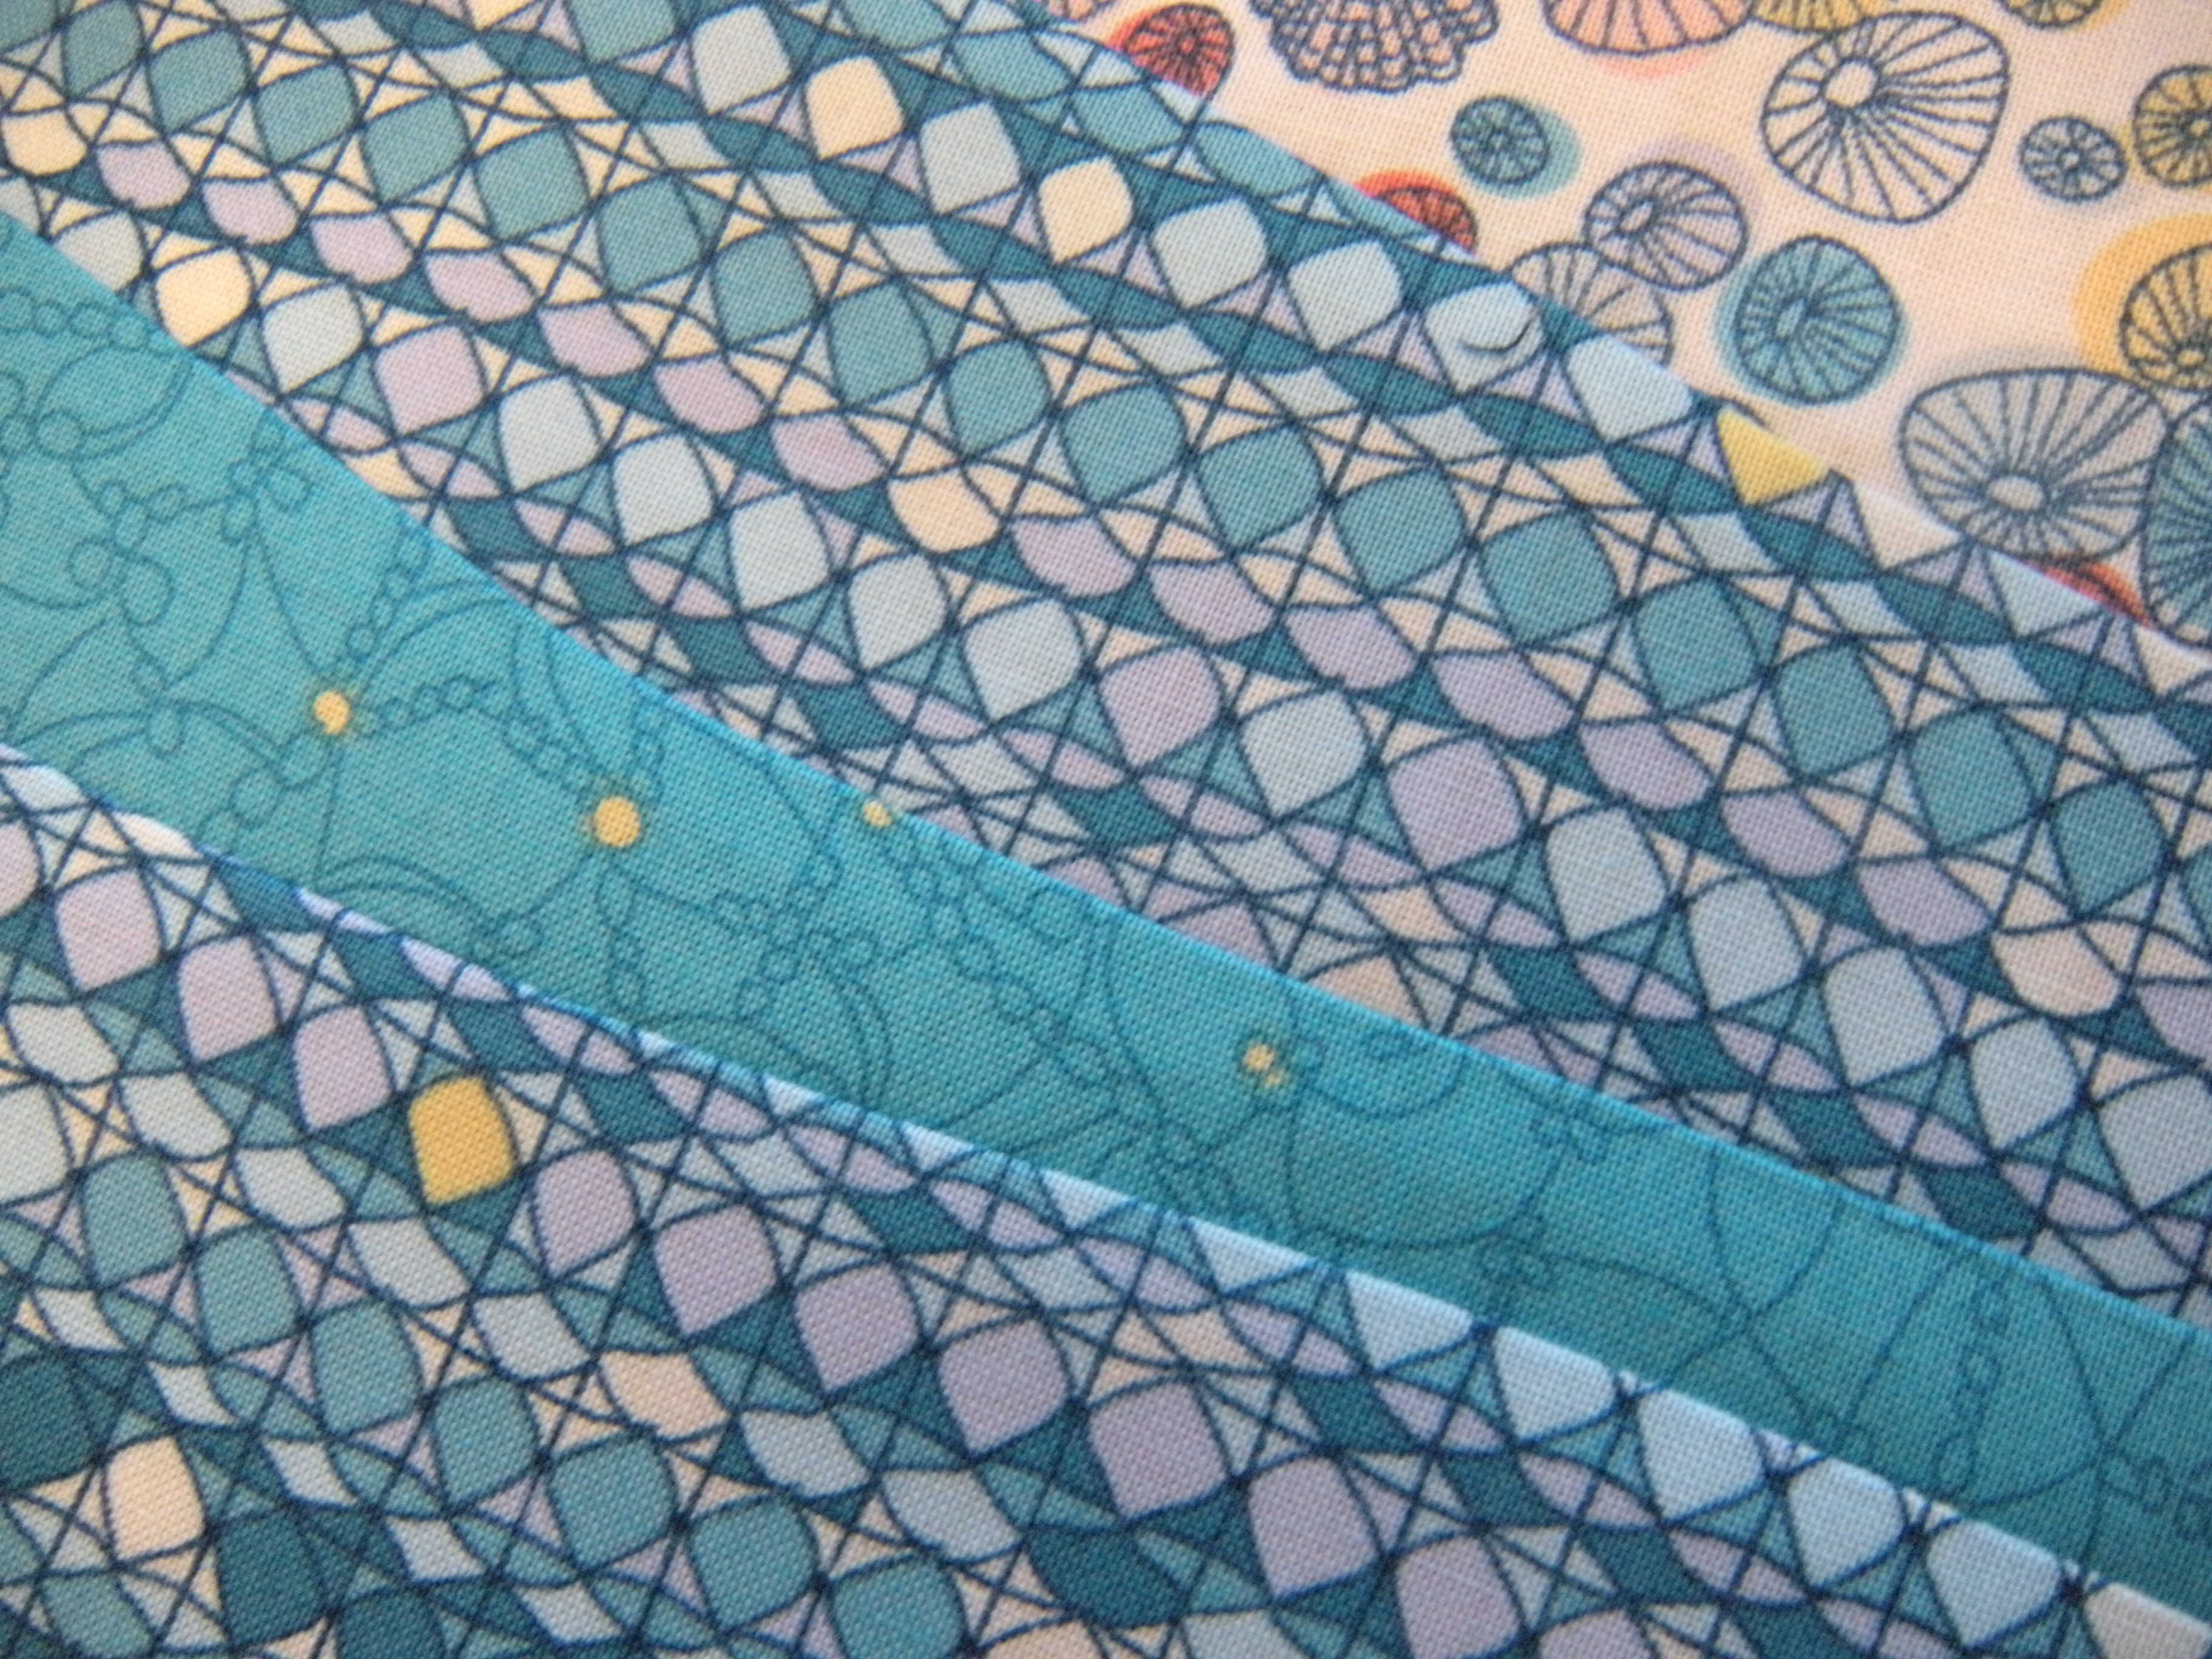
Here are the waves so far. The fabric for the next layer is on the left.
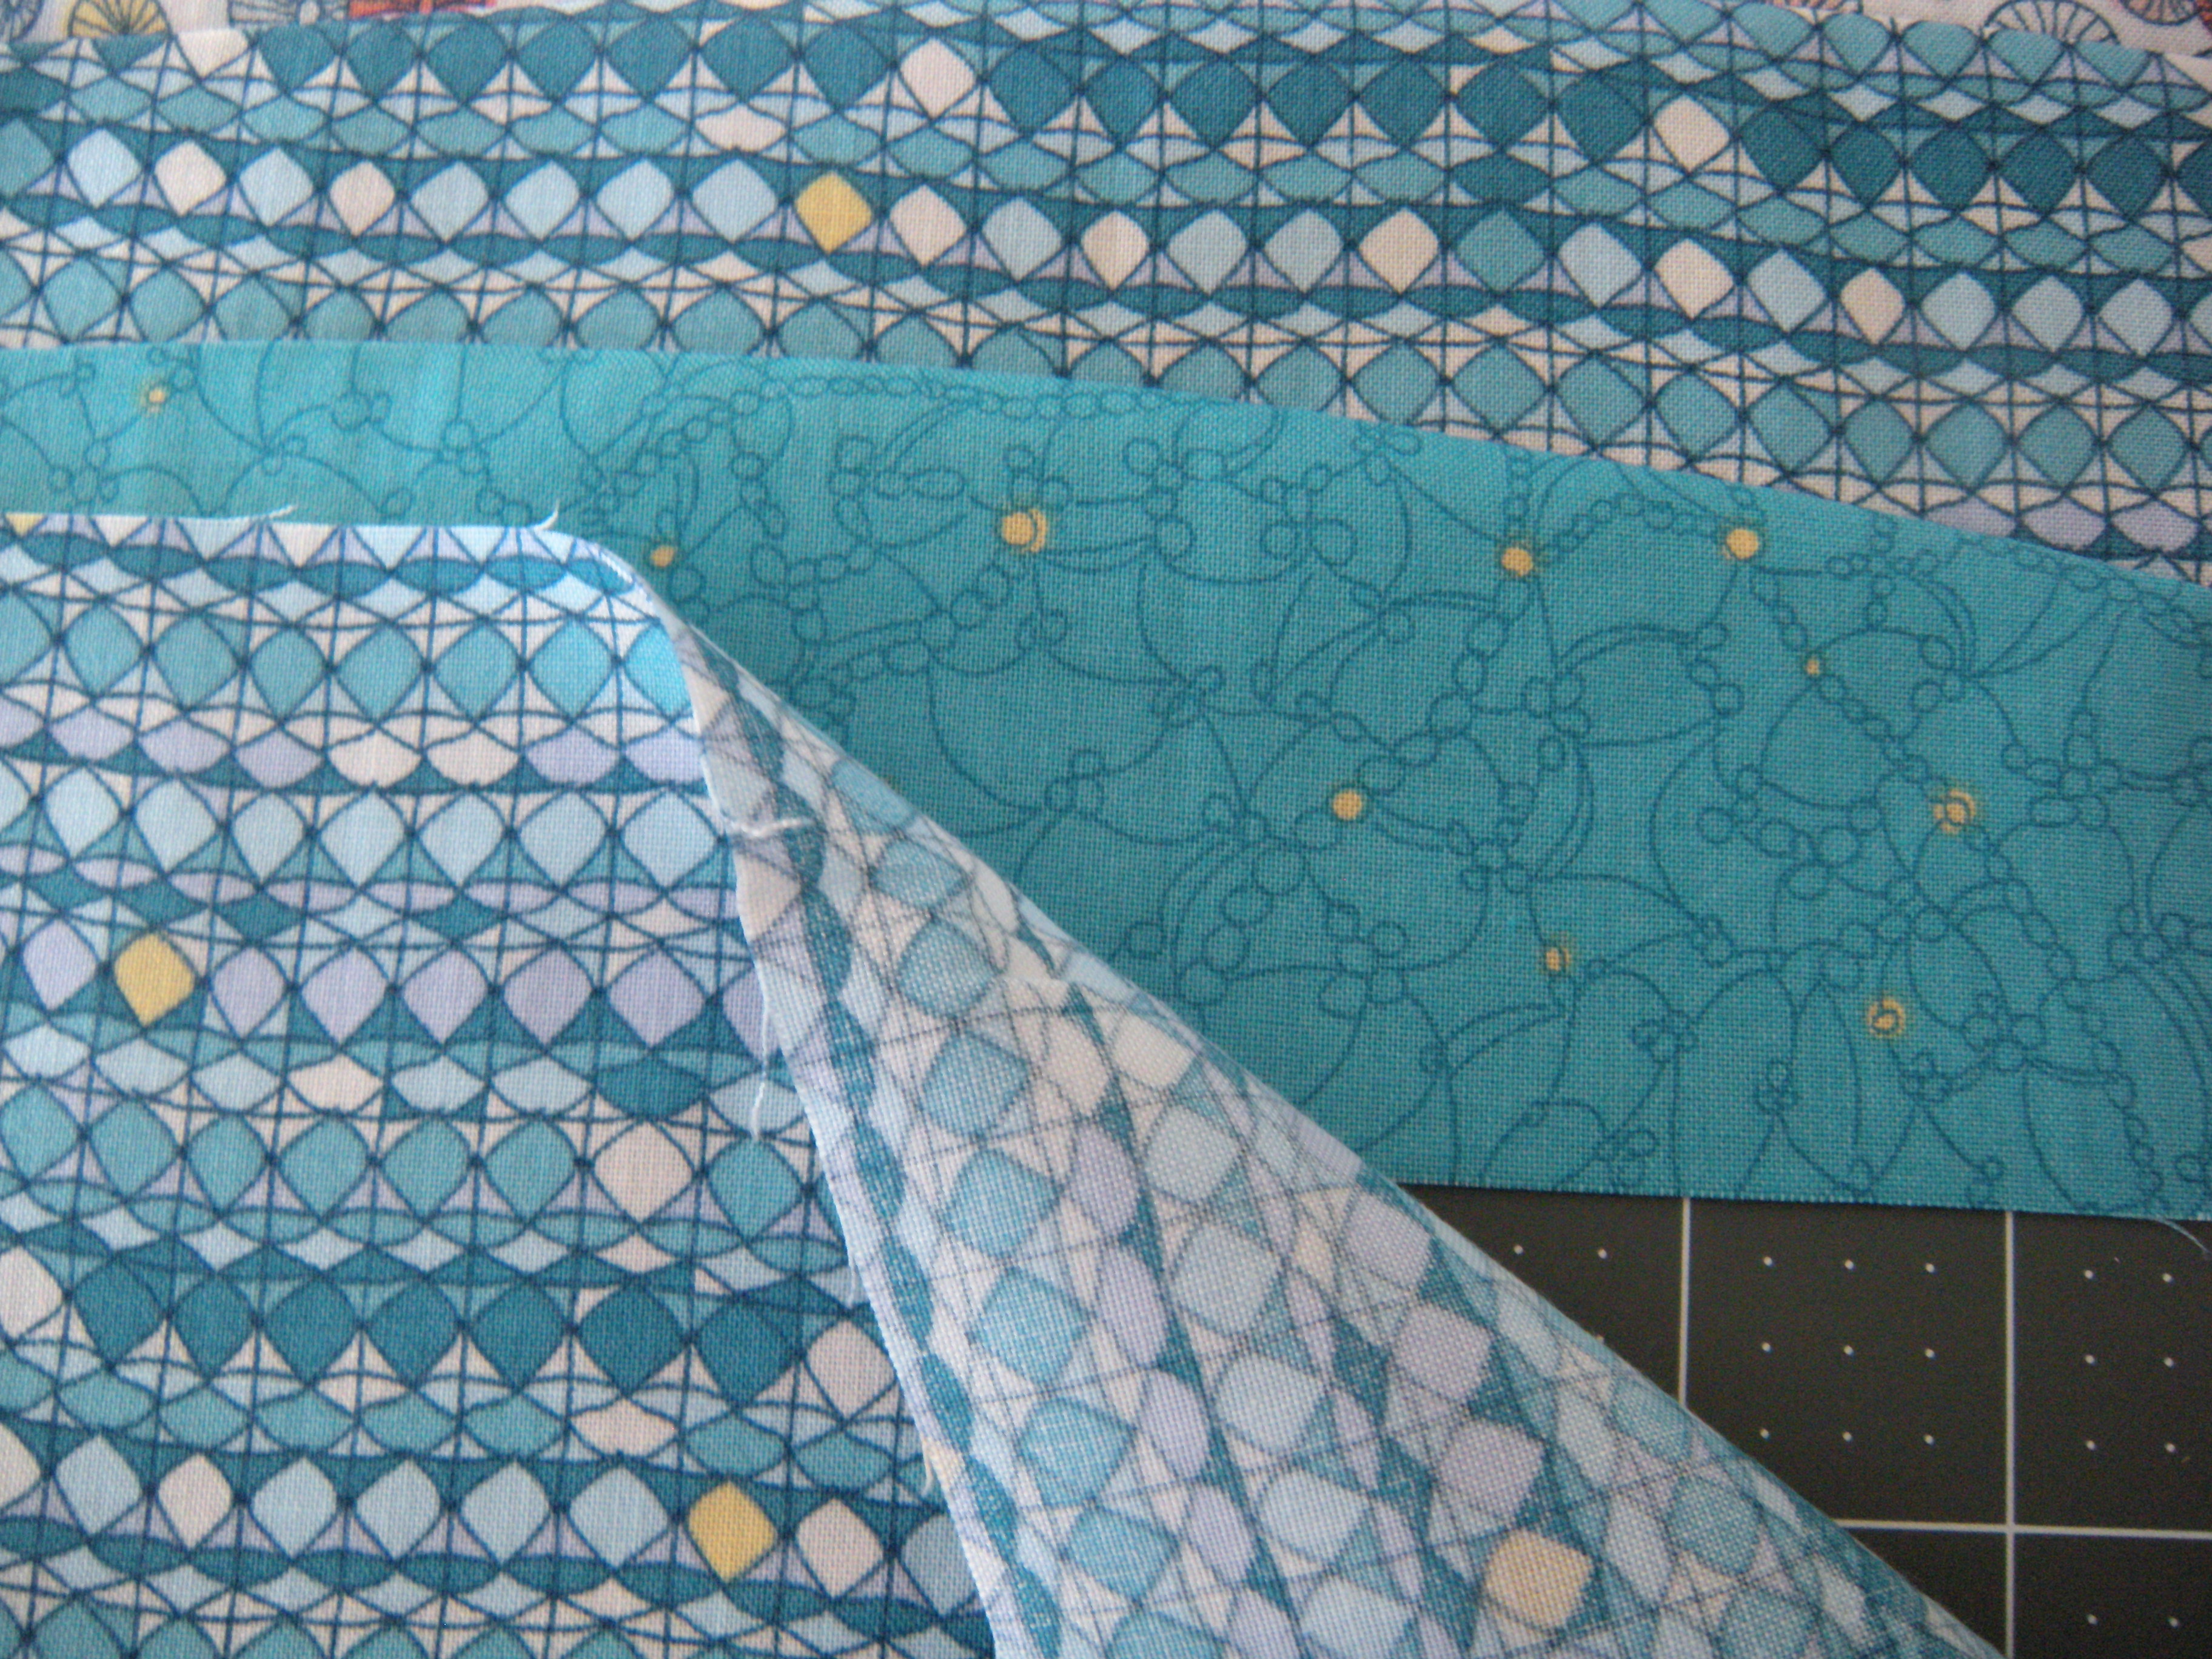
Place the new wave over the previous wave, lining up the selvedges or edges and using a consistent measurement across. This diamond fabric overlaps the blue approximately 2 inches all the way from edge to edge.

Obviously, I cannot see the bottom of the blue fabric now. I use my ruler as a guide along that edge, so that when I cut, I will stay above the ruler by at LEAST 1/4″ so I can have a proper seam allowance.

The next step is cutting the curve. I did my freehand. The one in the above photo is a narrow strip, so the curve is very gentle.


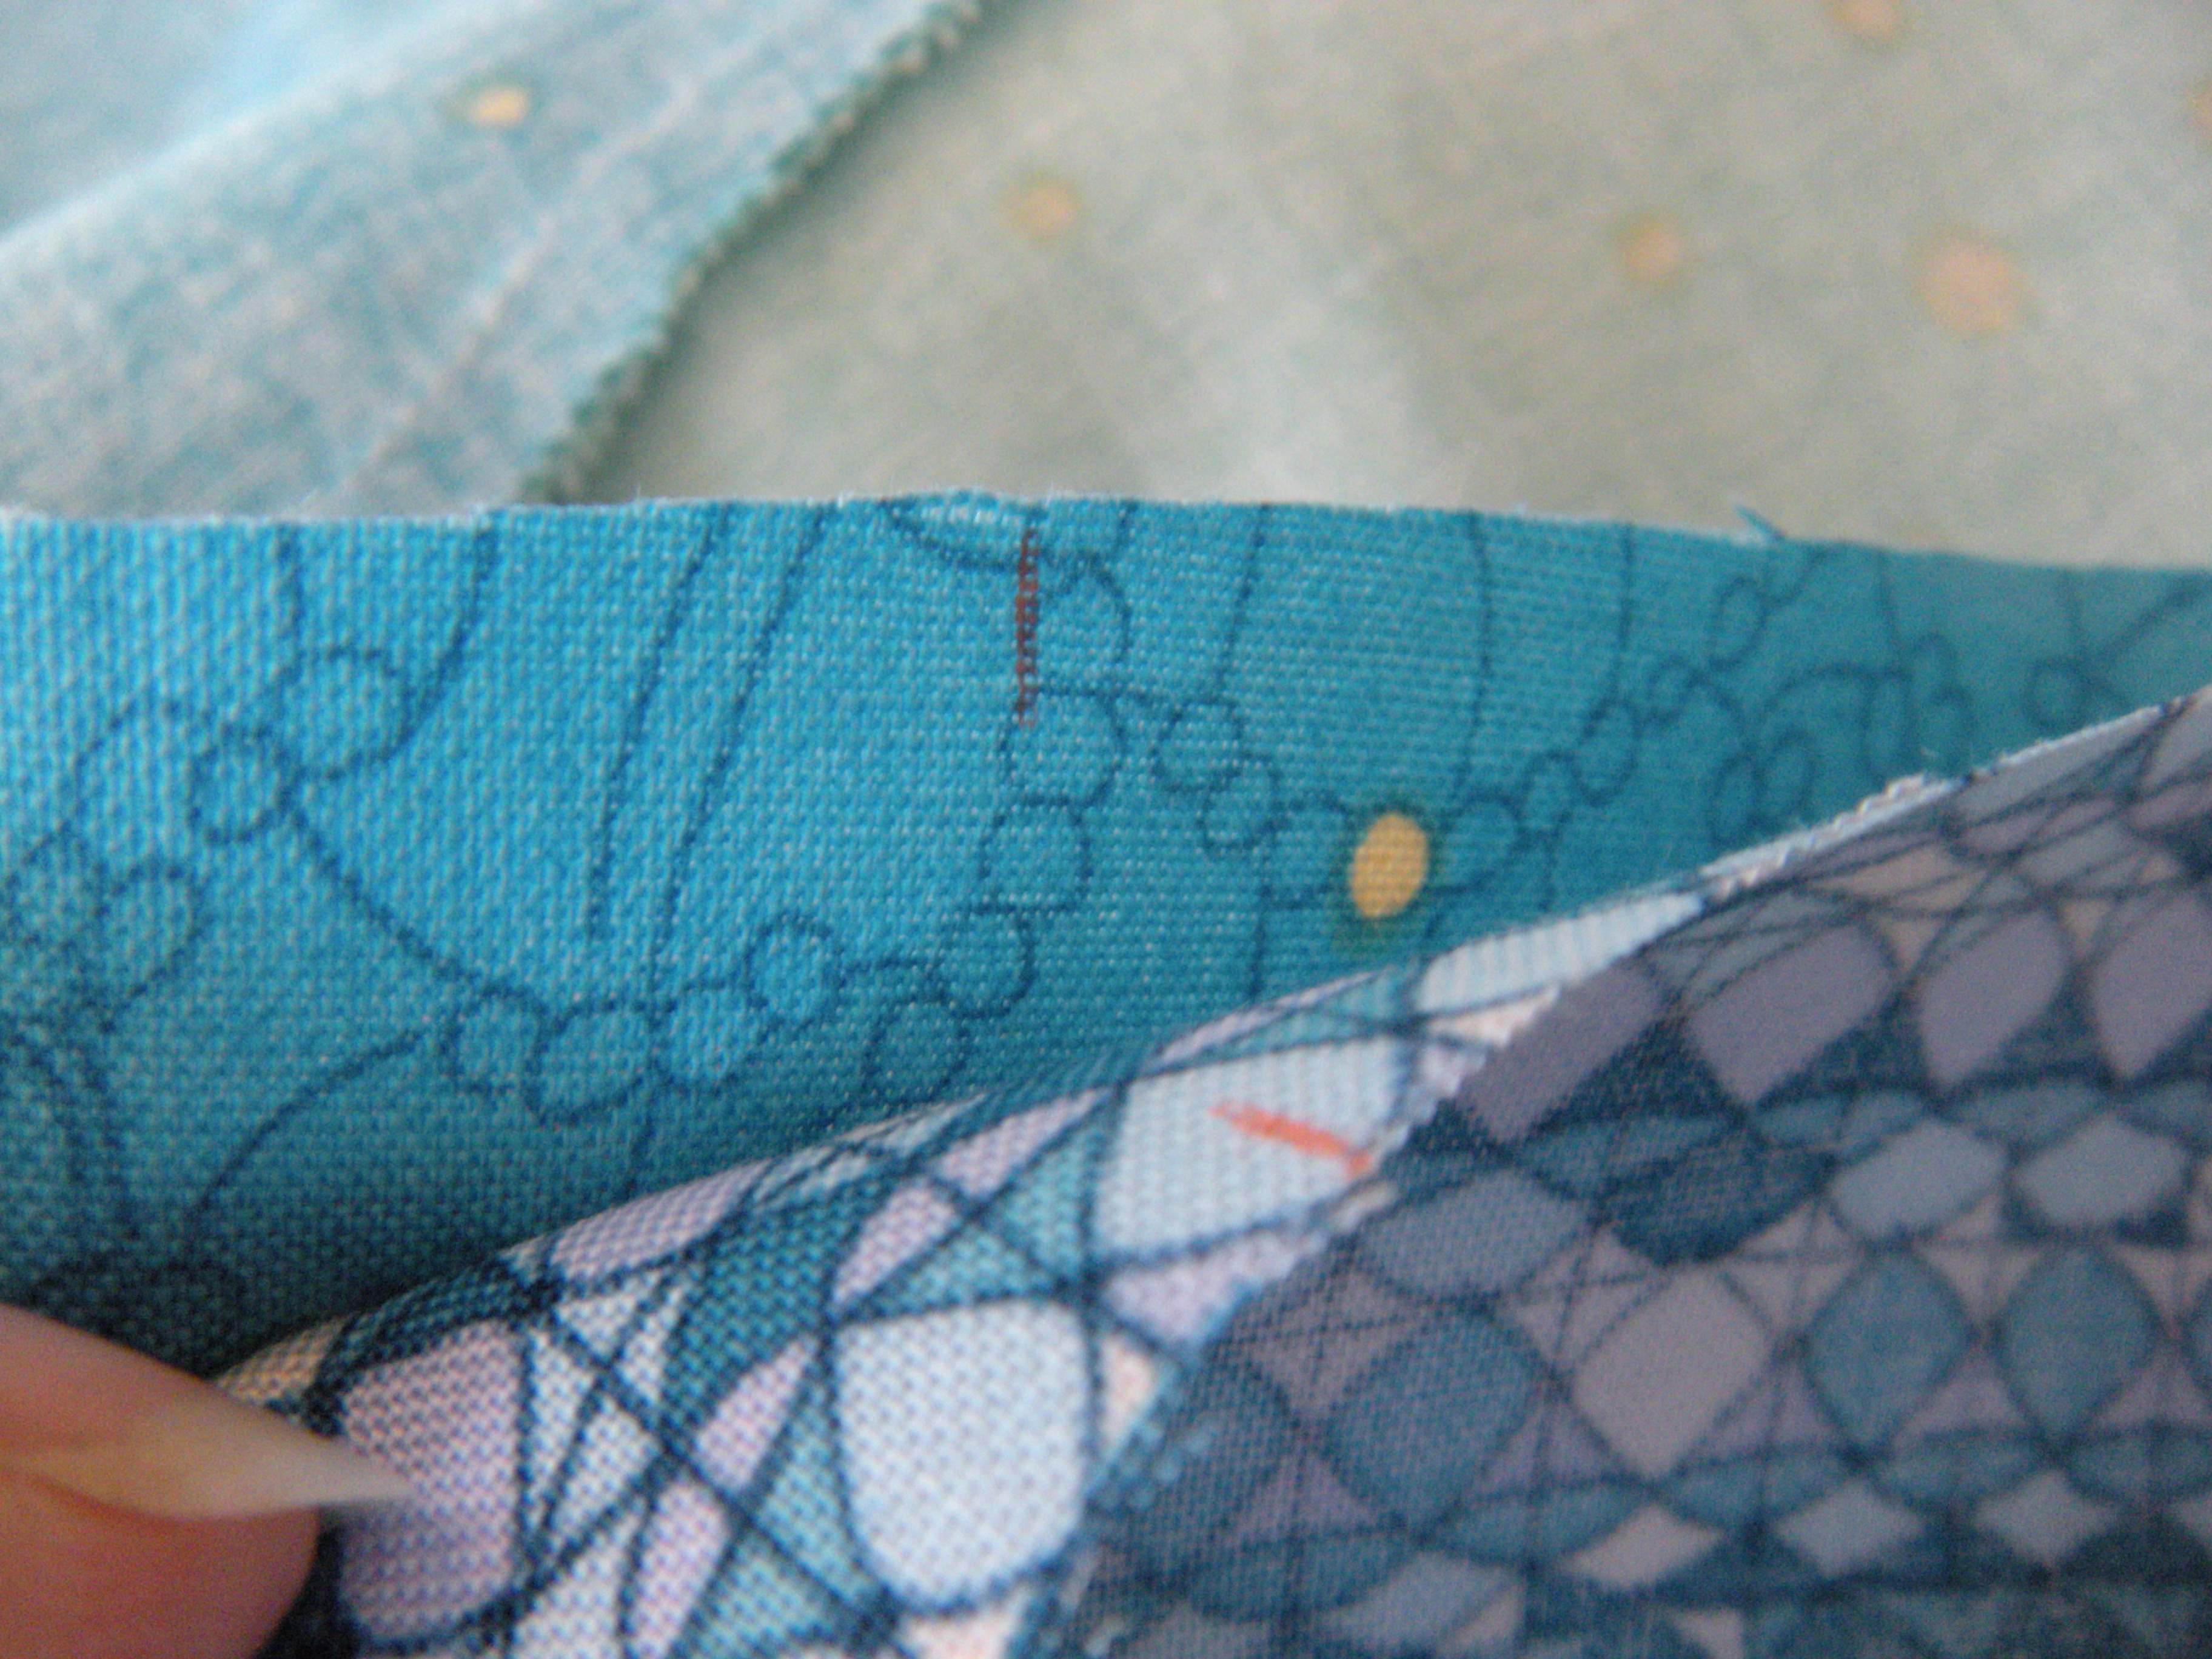
As I remove the top of the diamond fabric and the bottom of the blue fabric, you can see that the curves fit together perfectly. Now it is time to mark the fabric so the curves will match after stitching. I used a Frixion pen which disappears when the fabric is ironed.

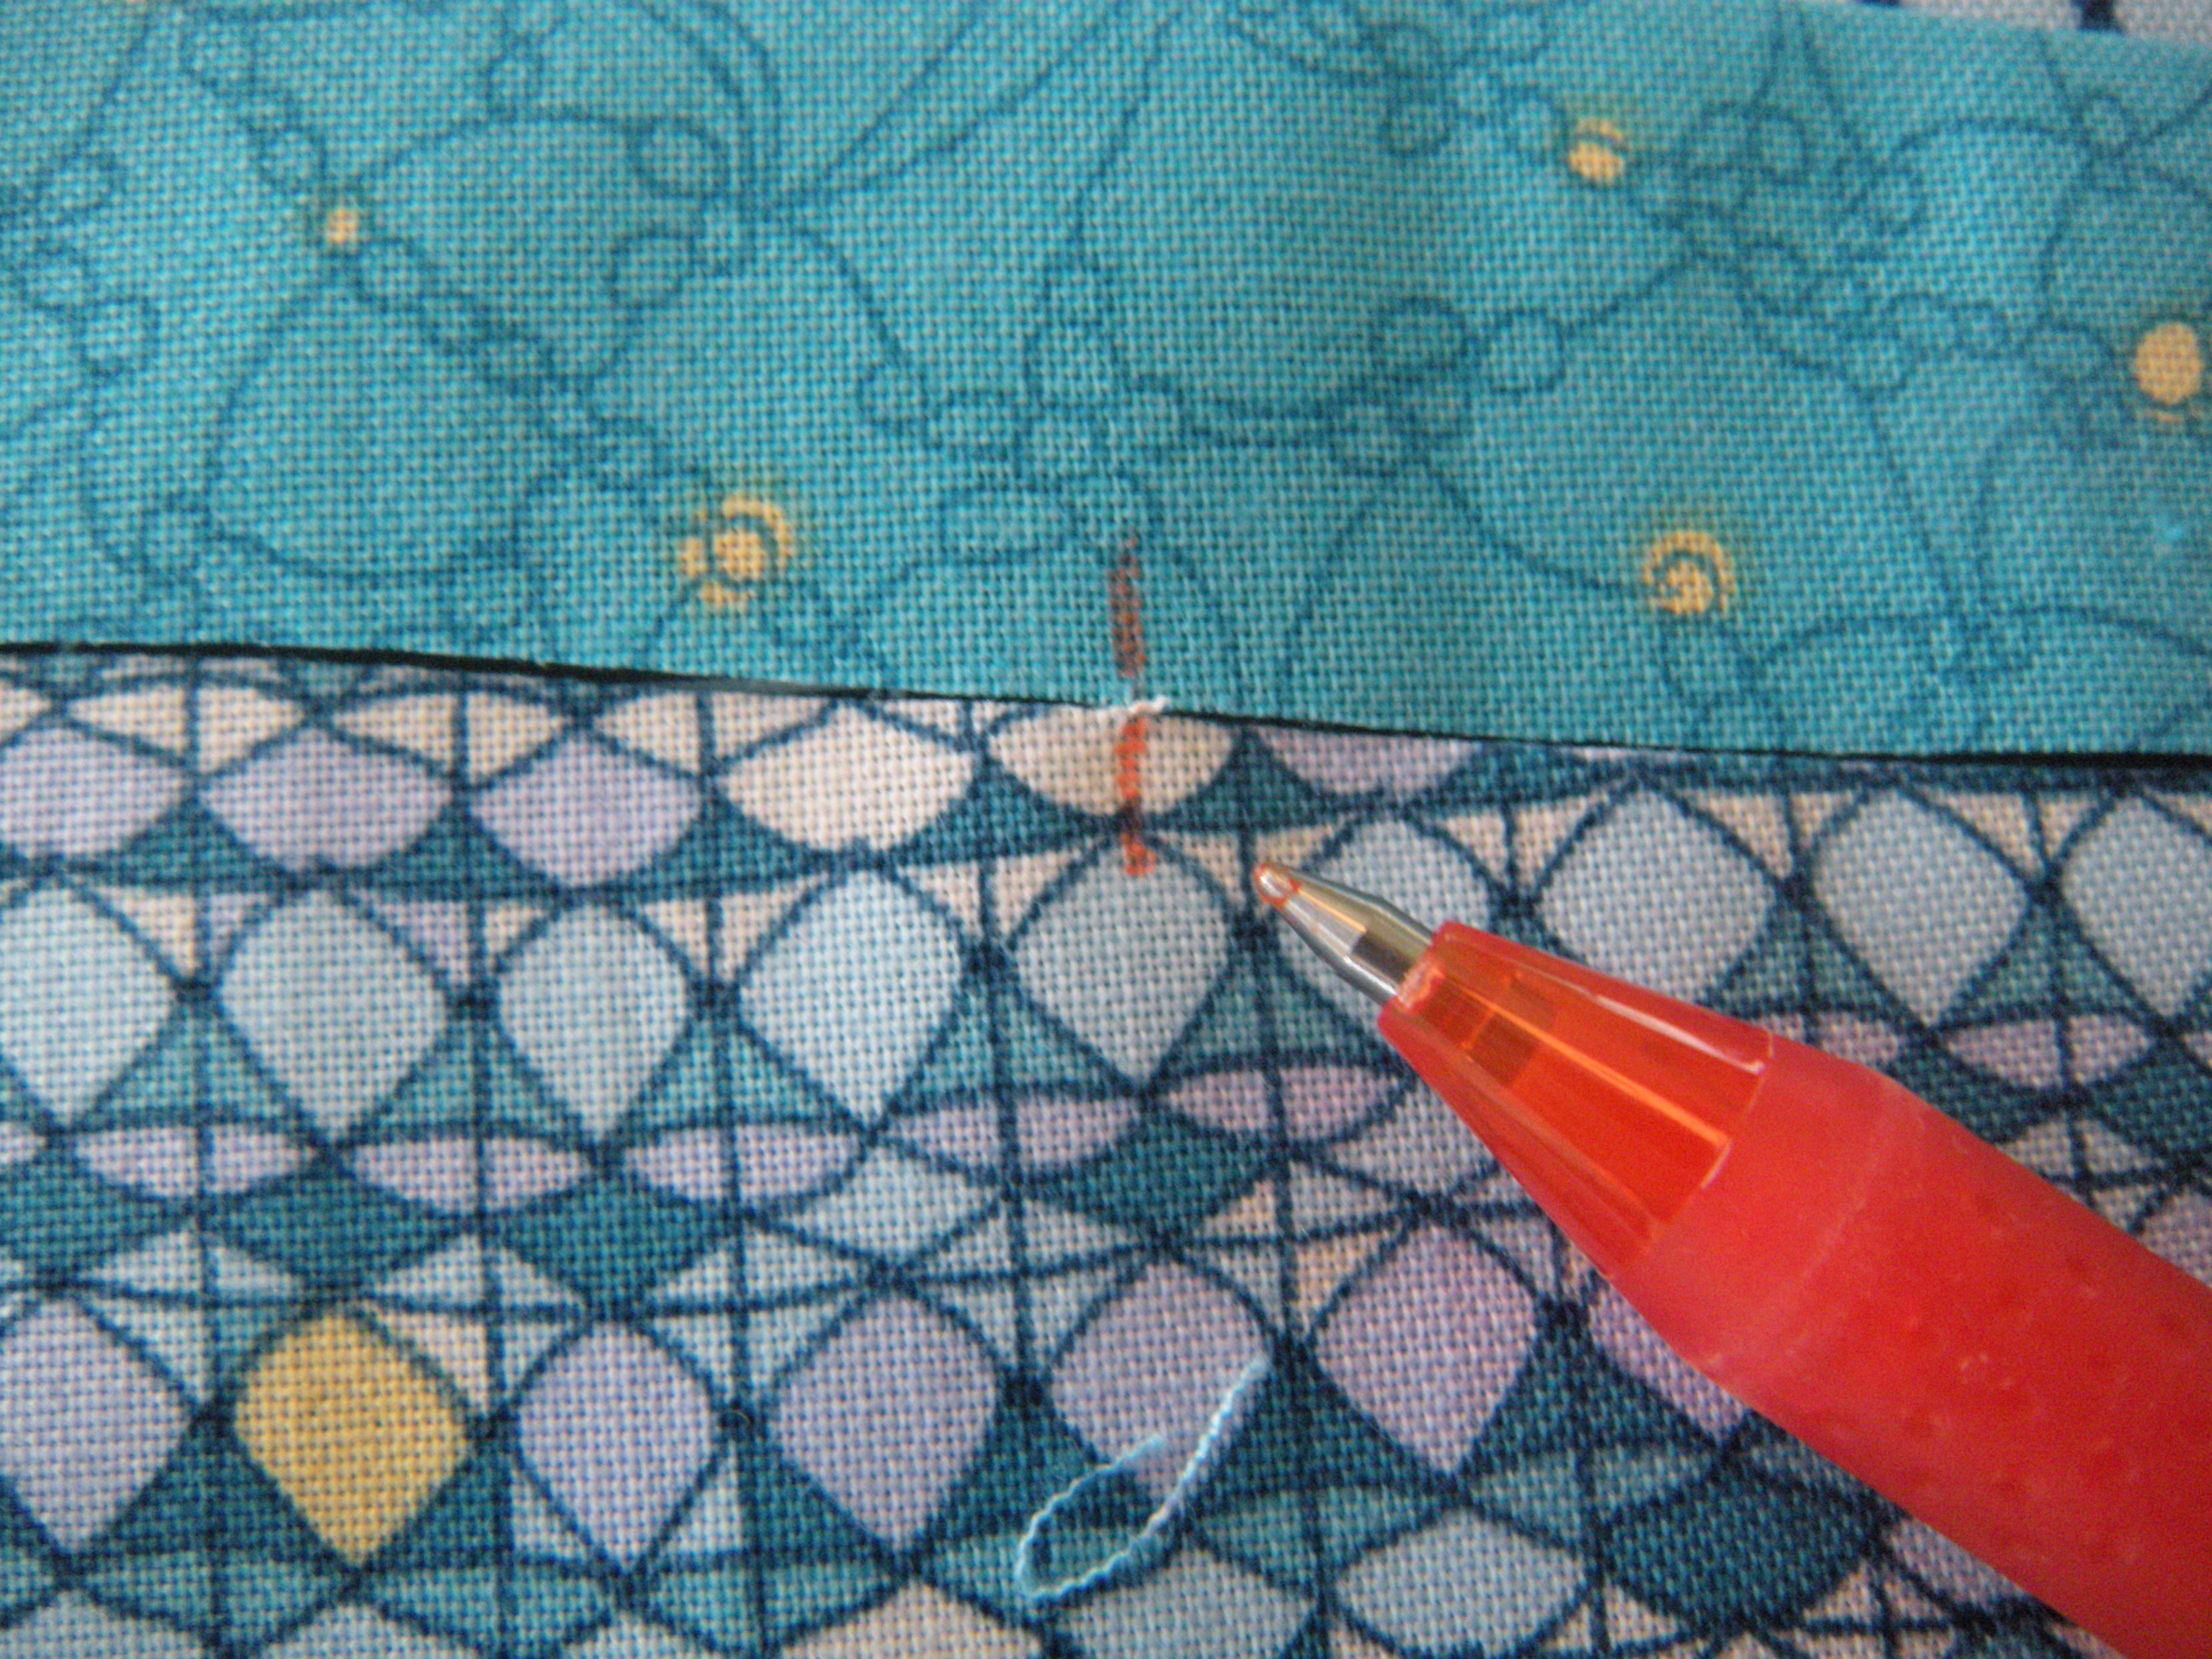
I mark my curves about every six inches or so.
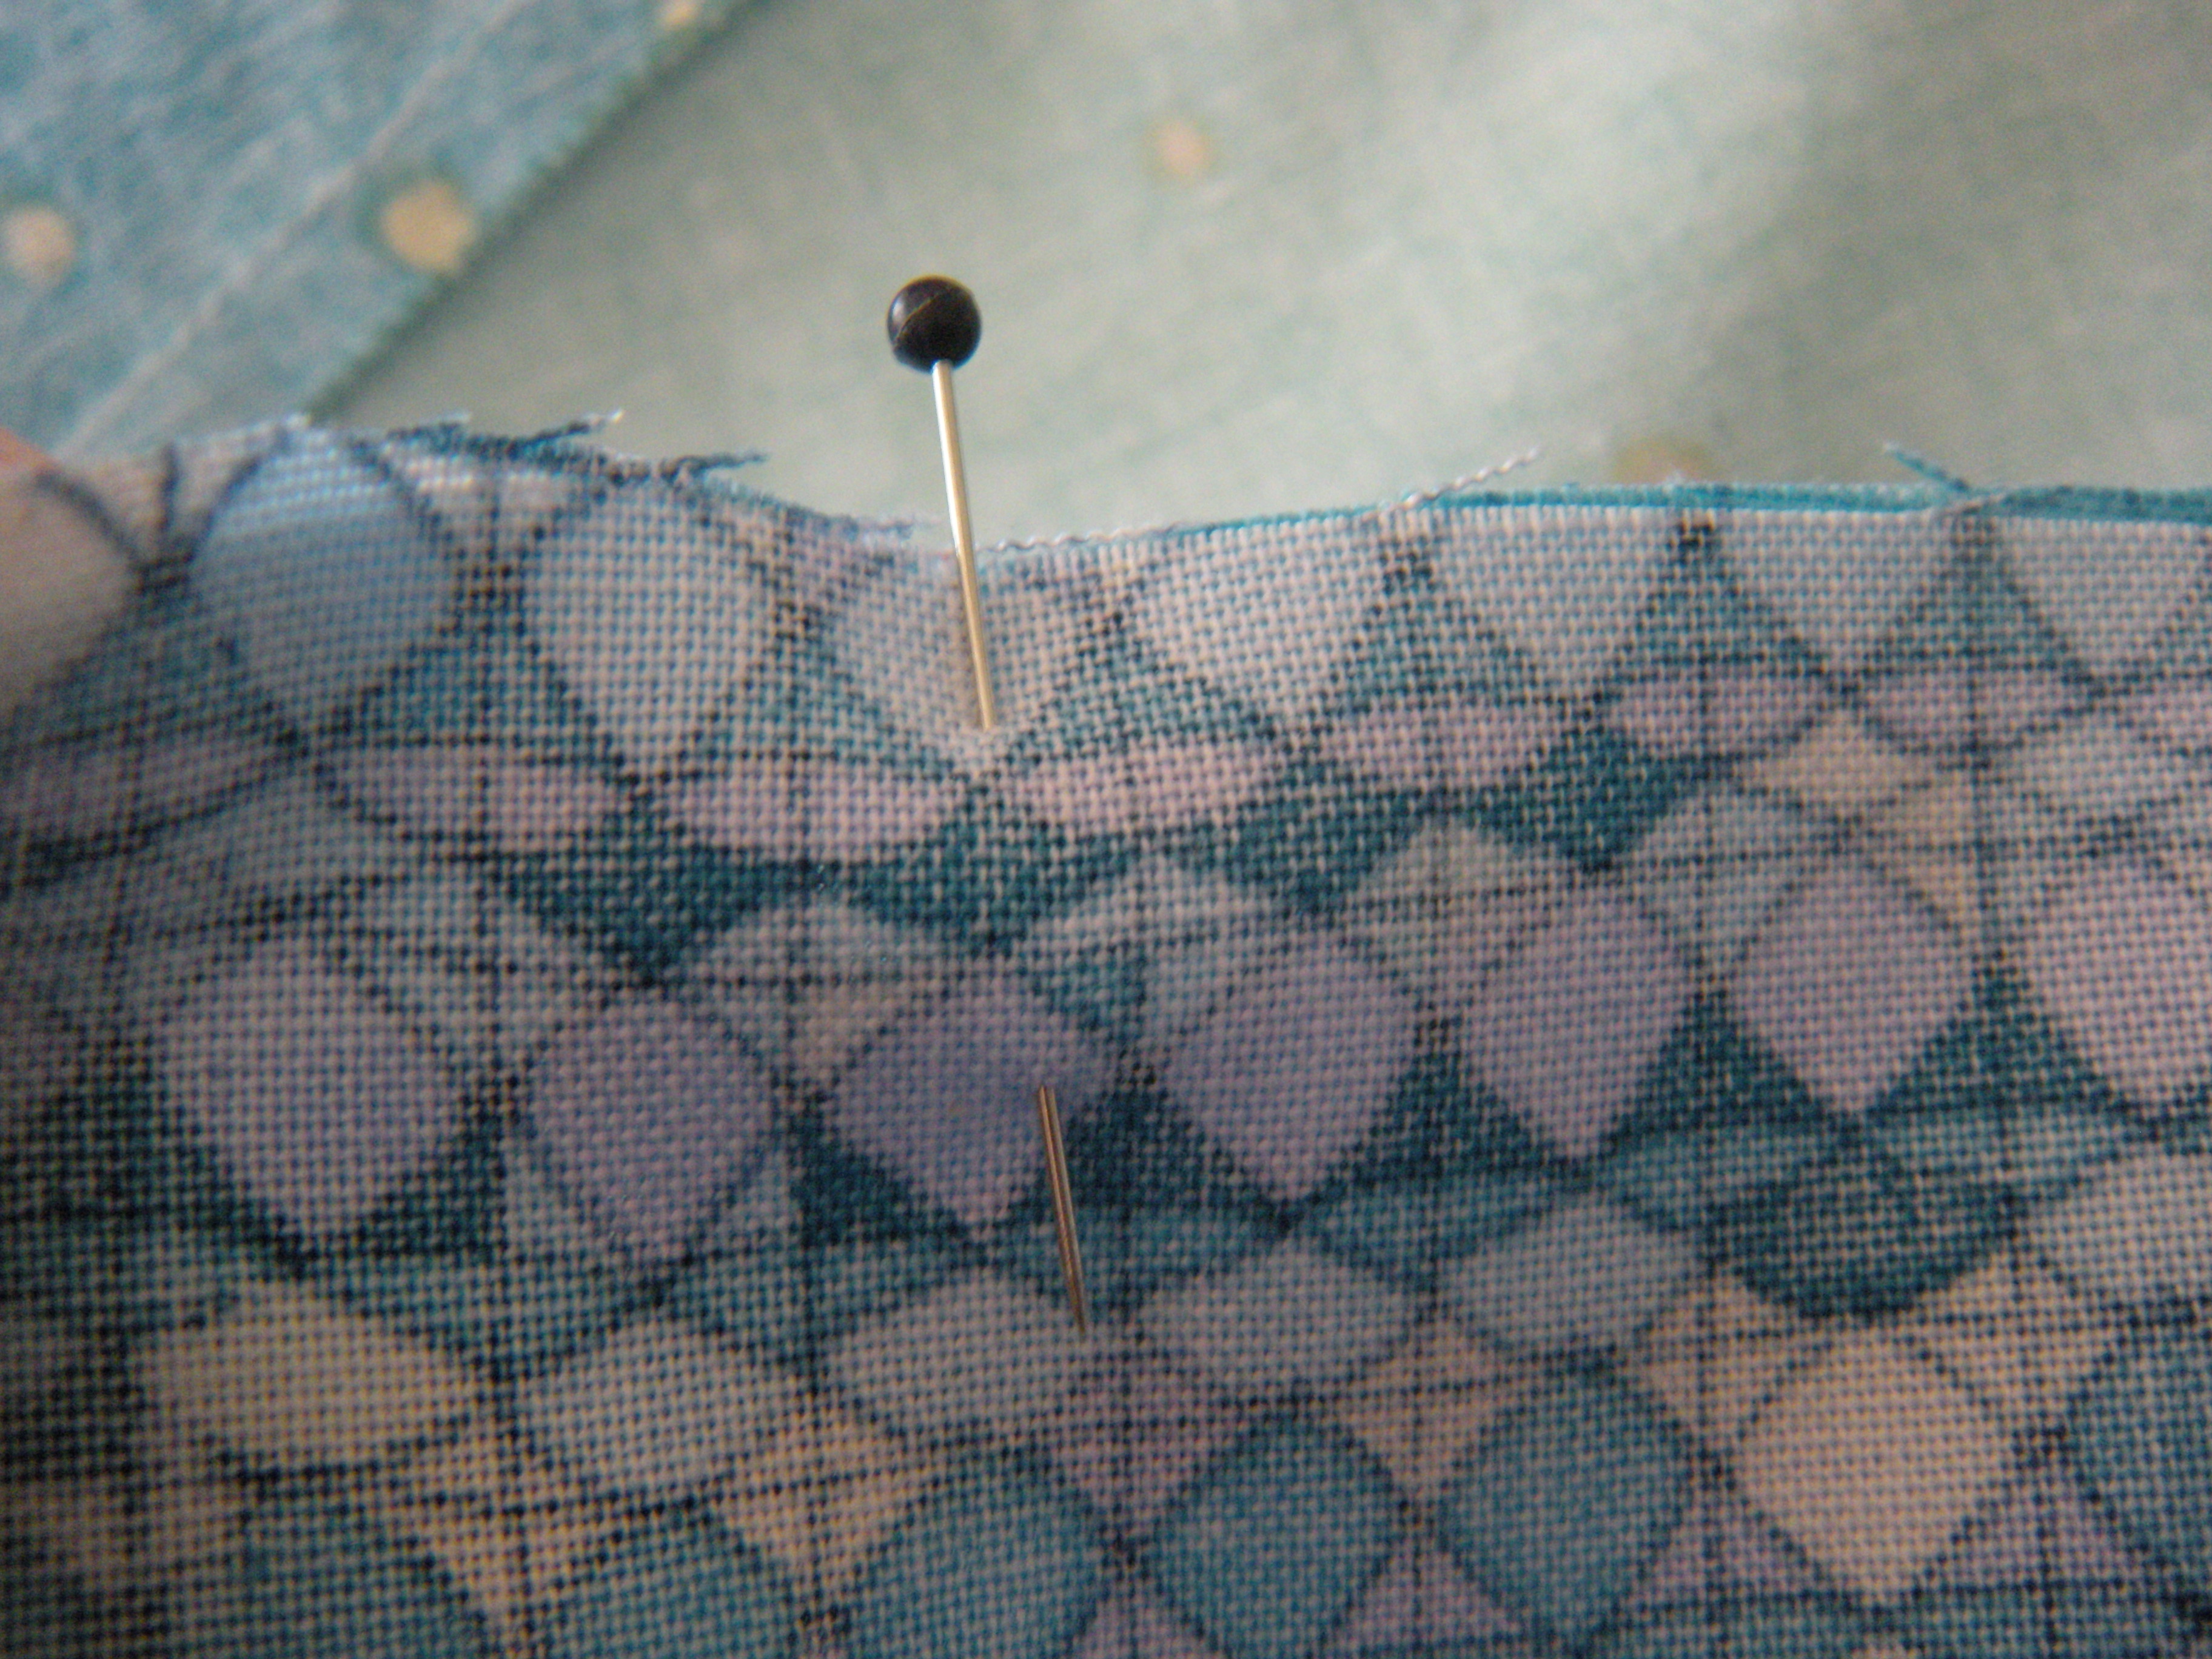
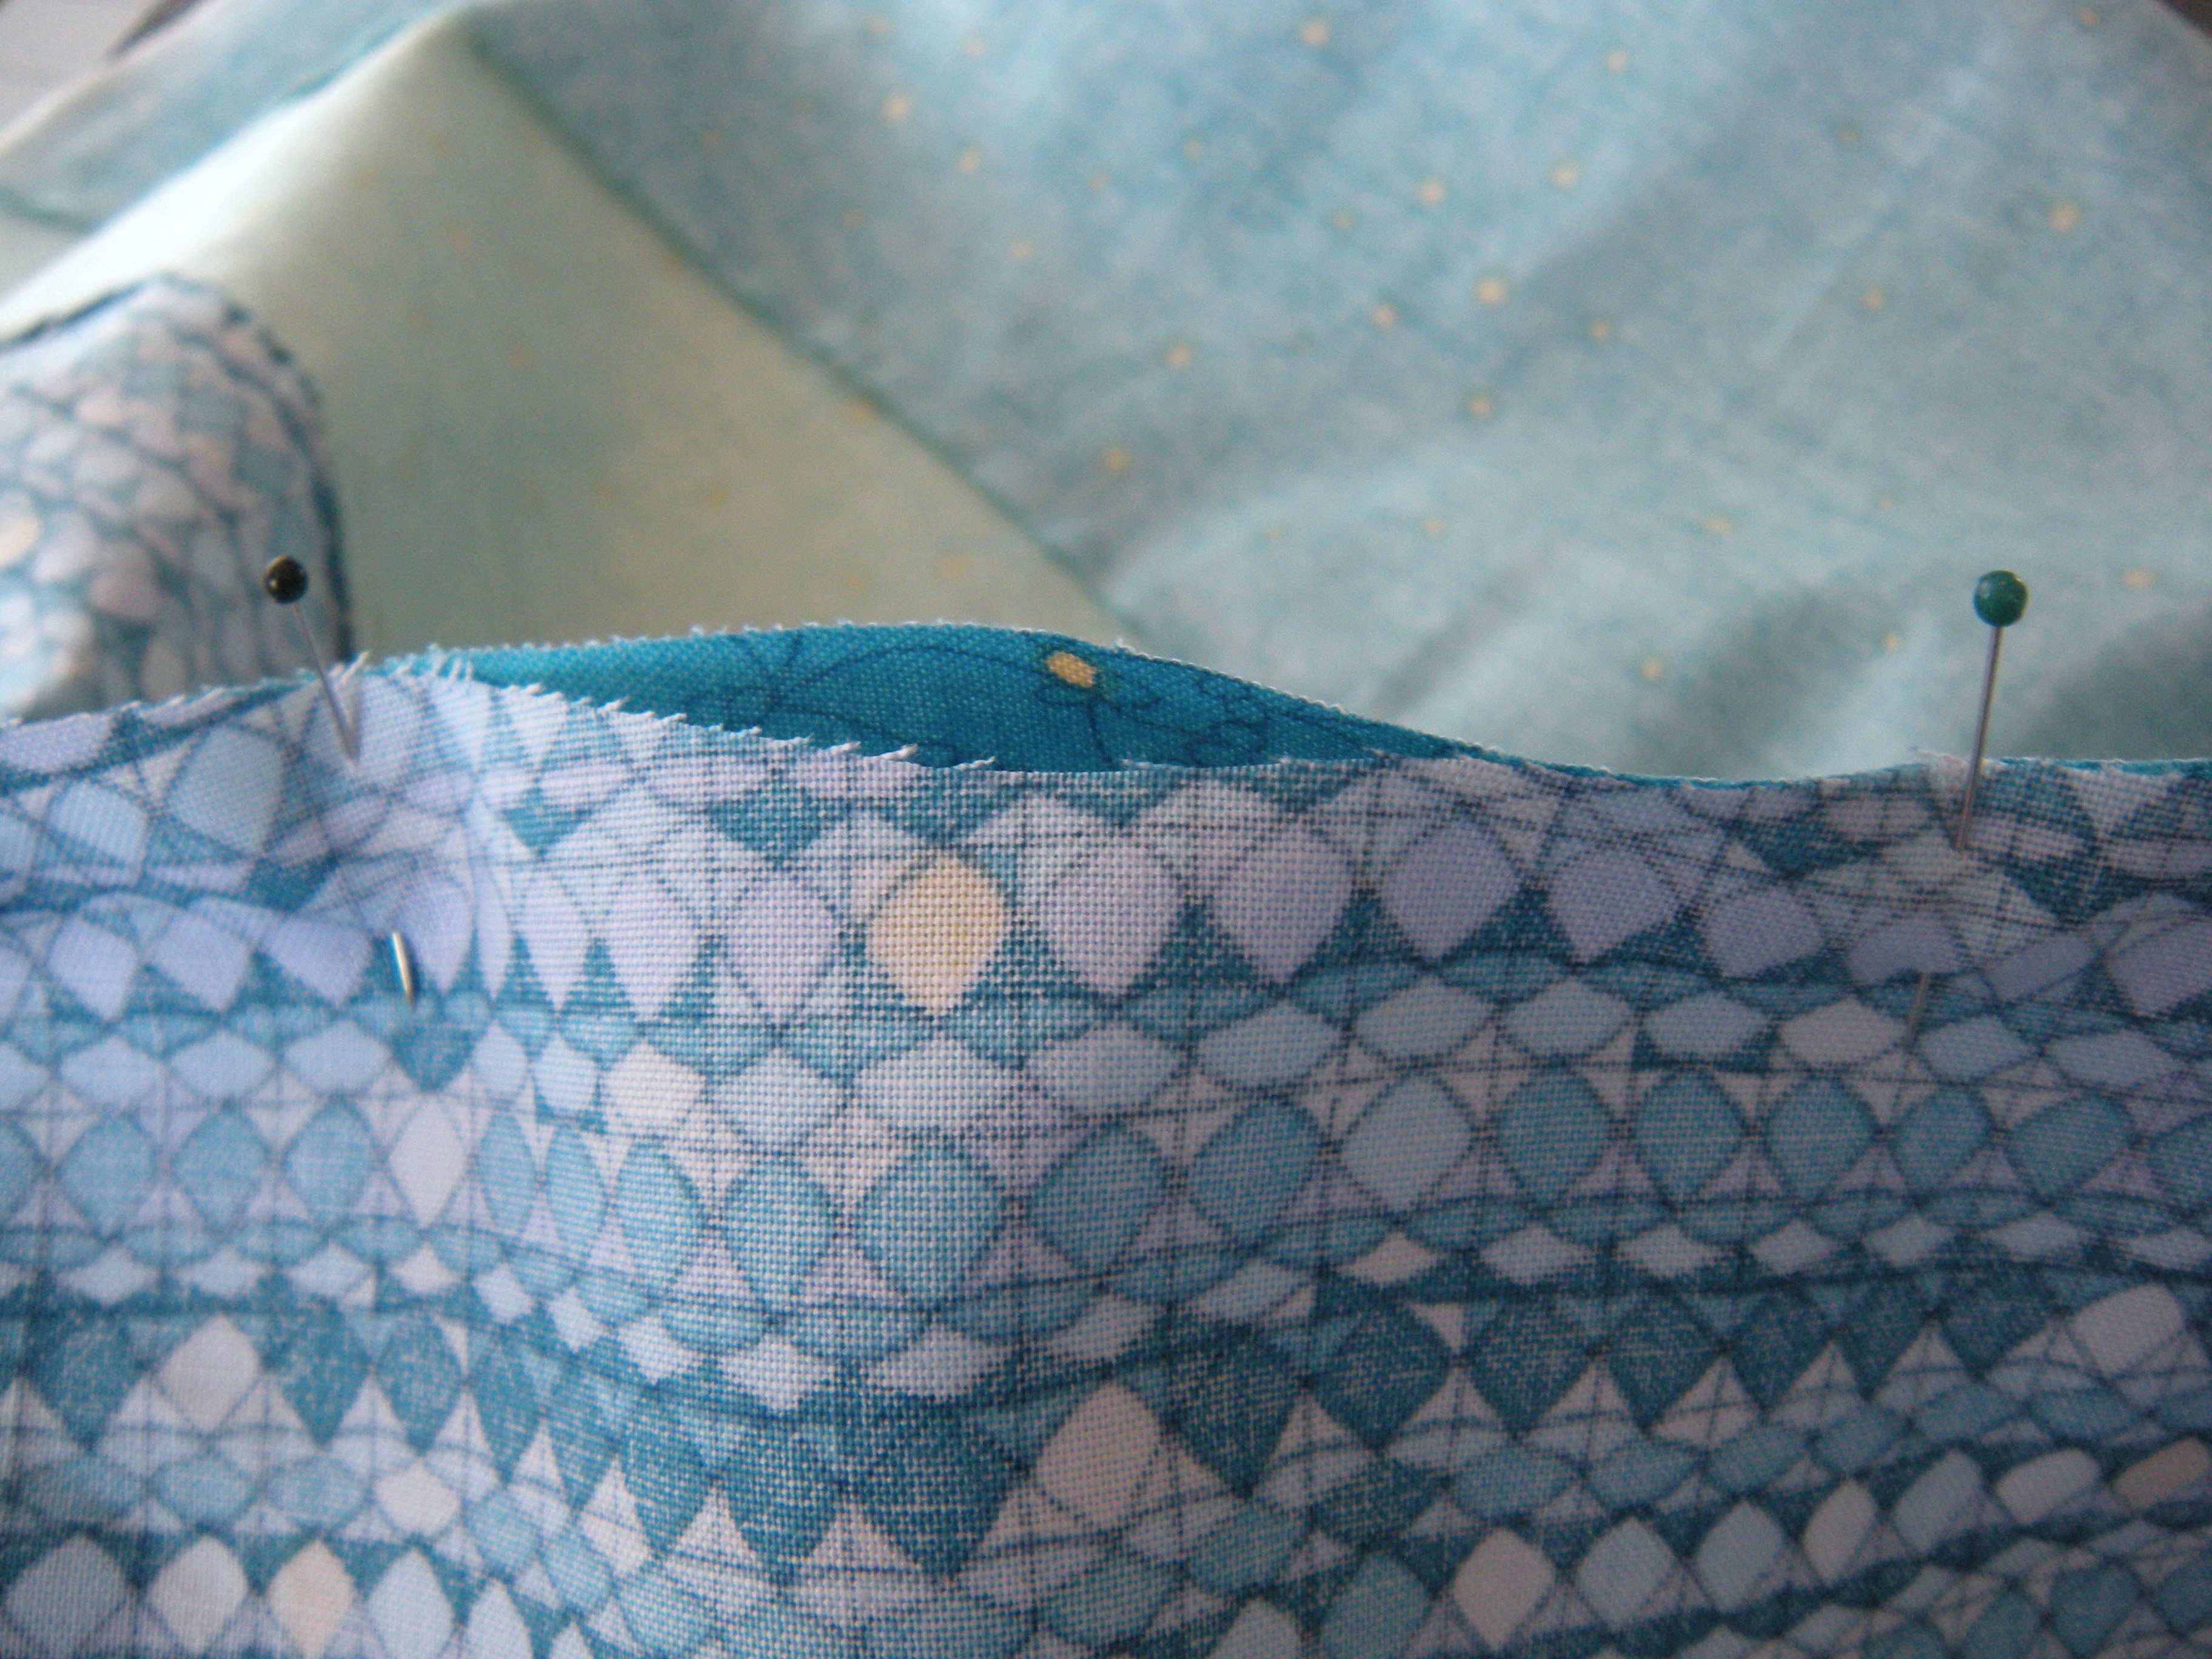

Pin the pieces right side together, matching each set of marks.

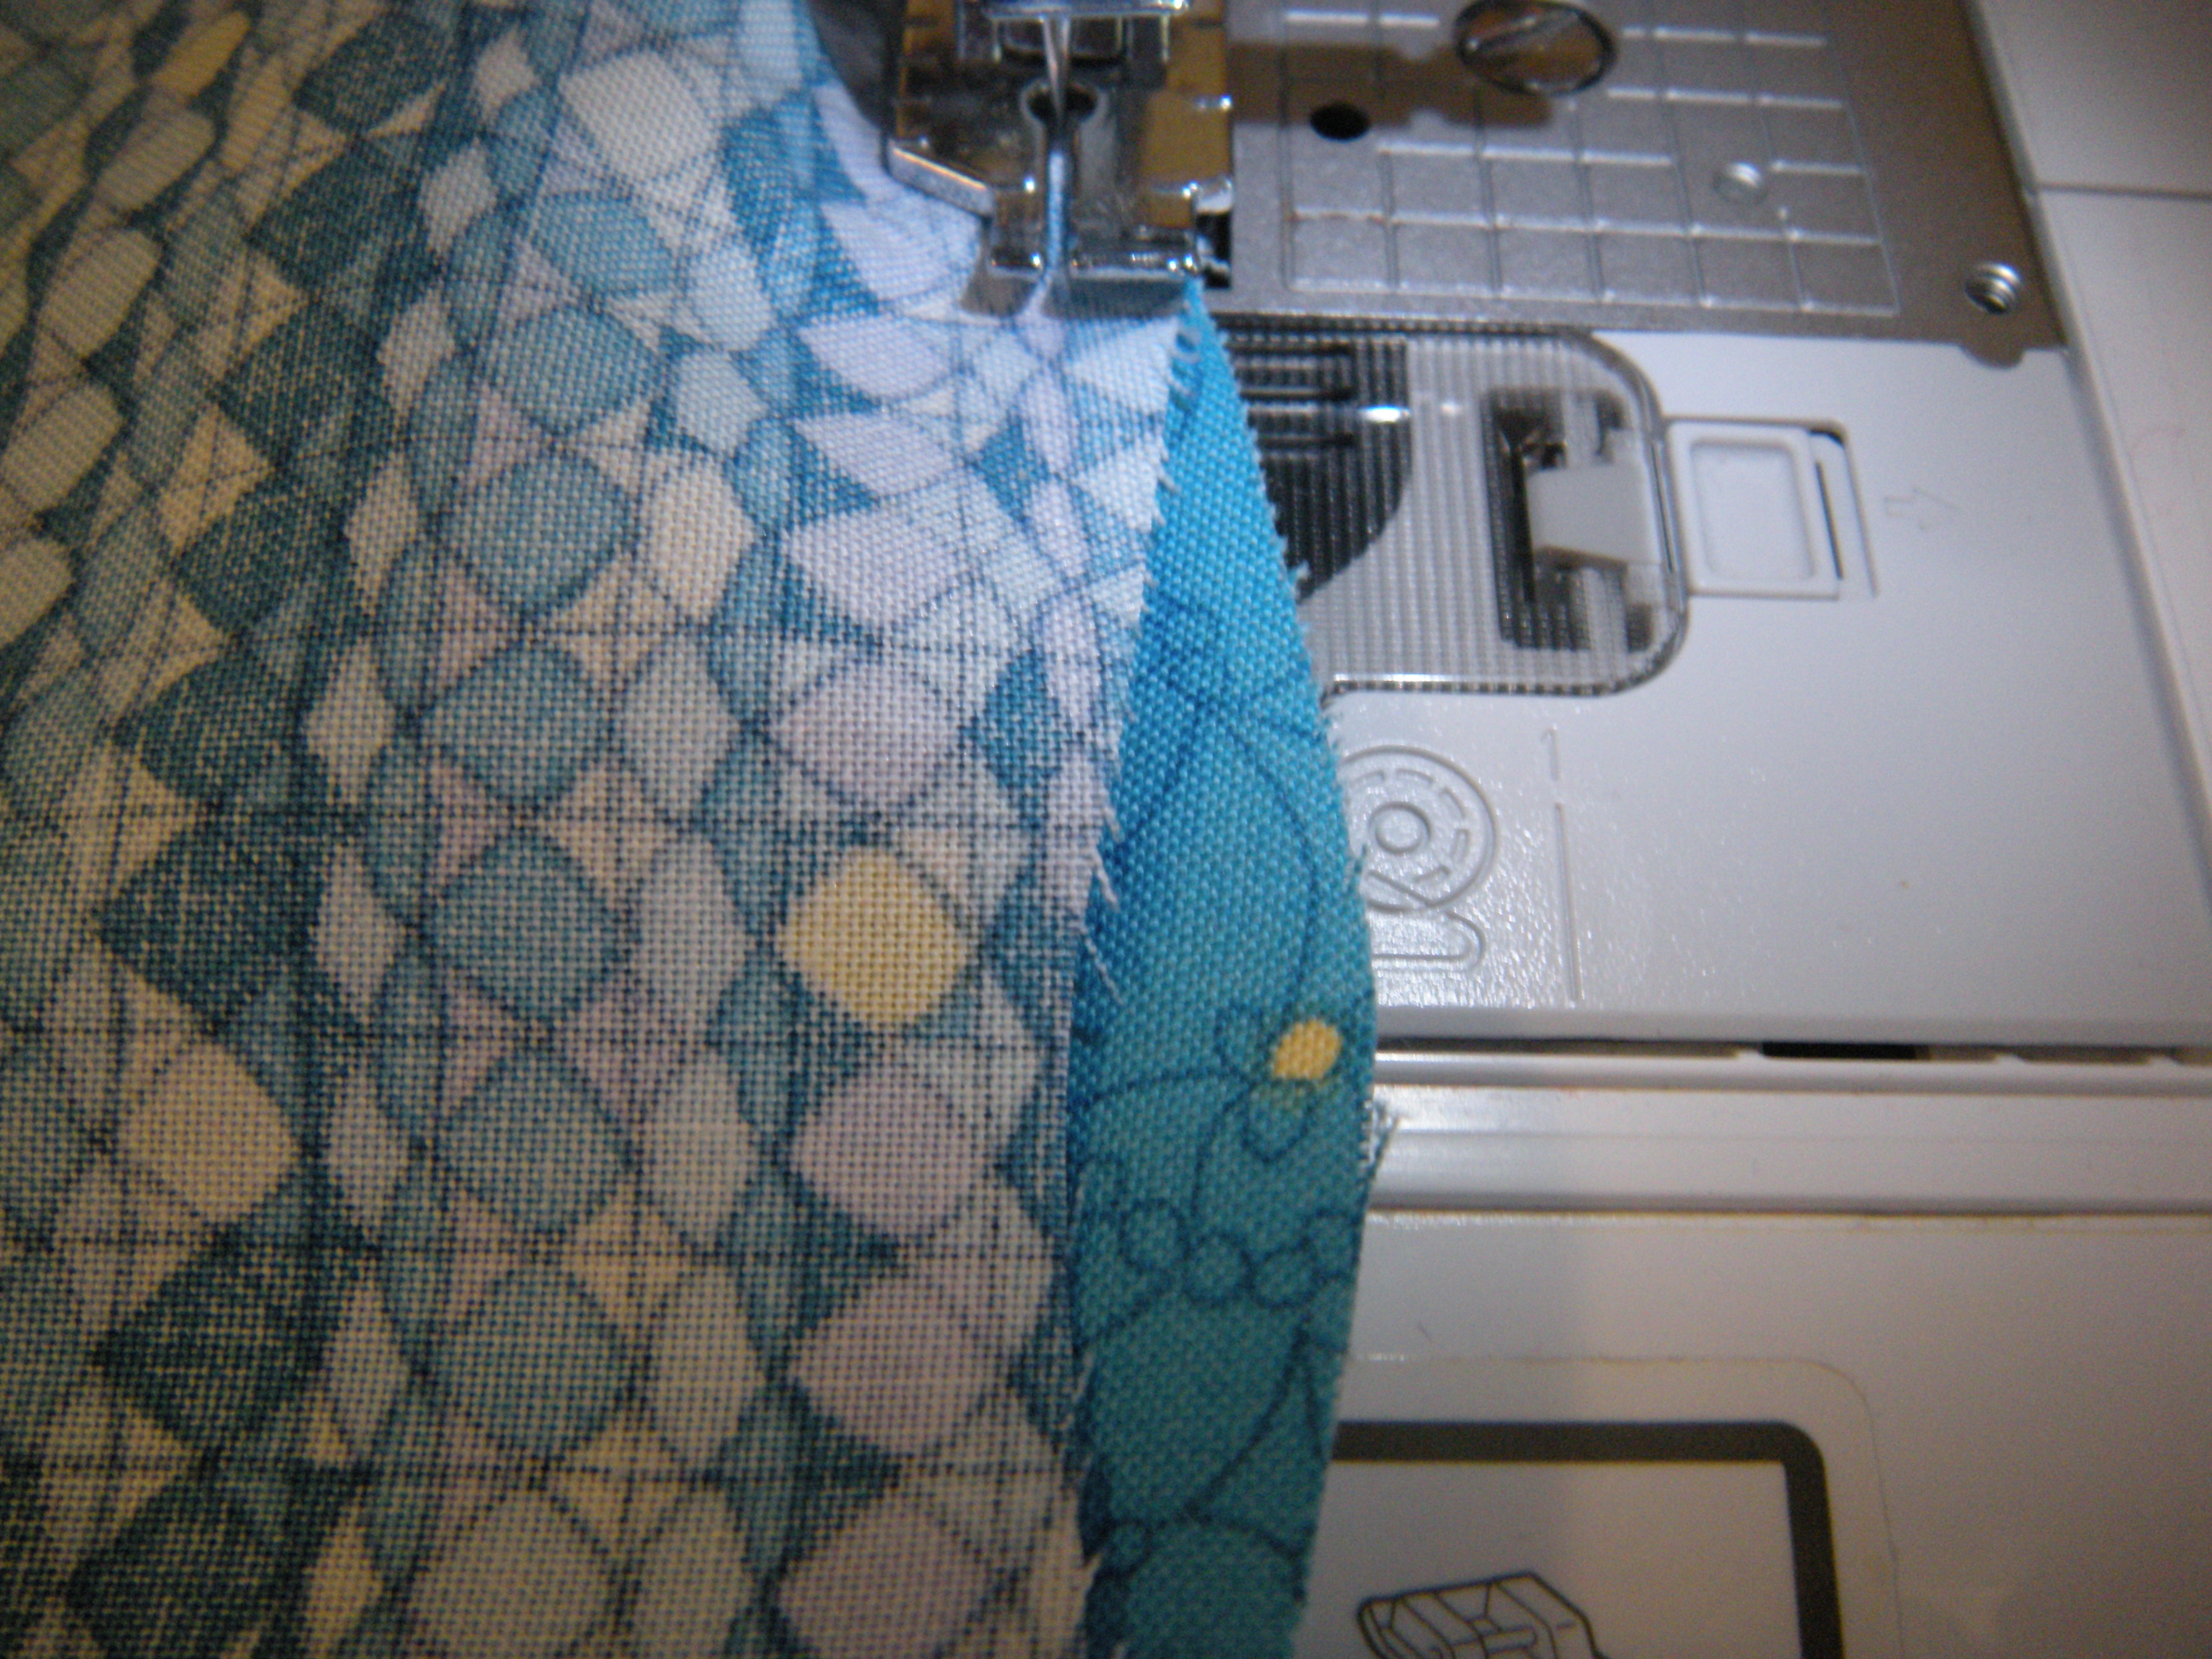

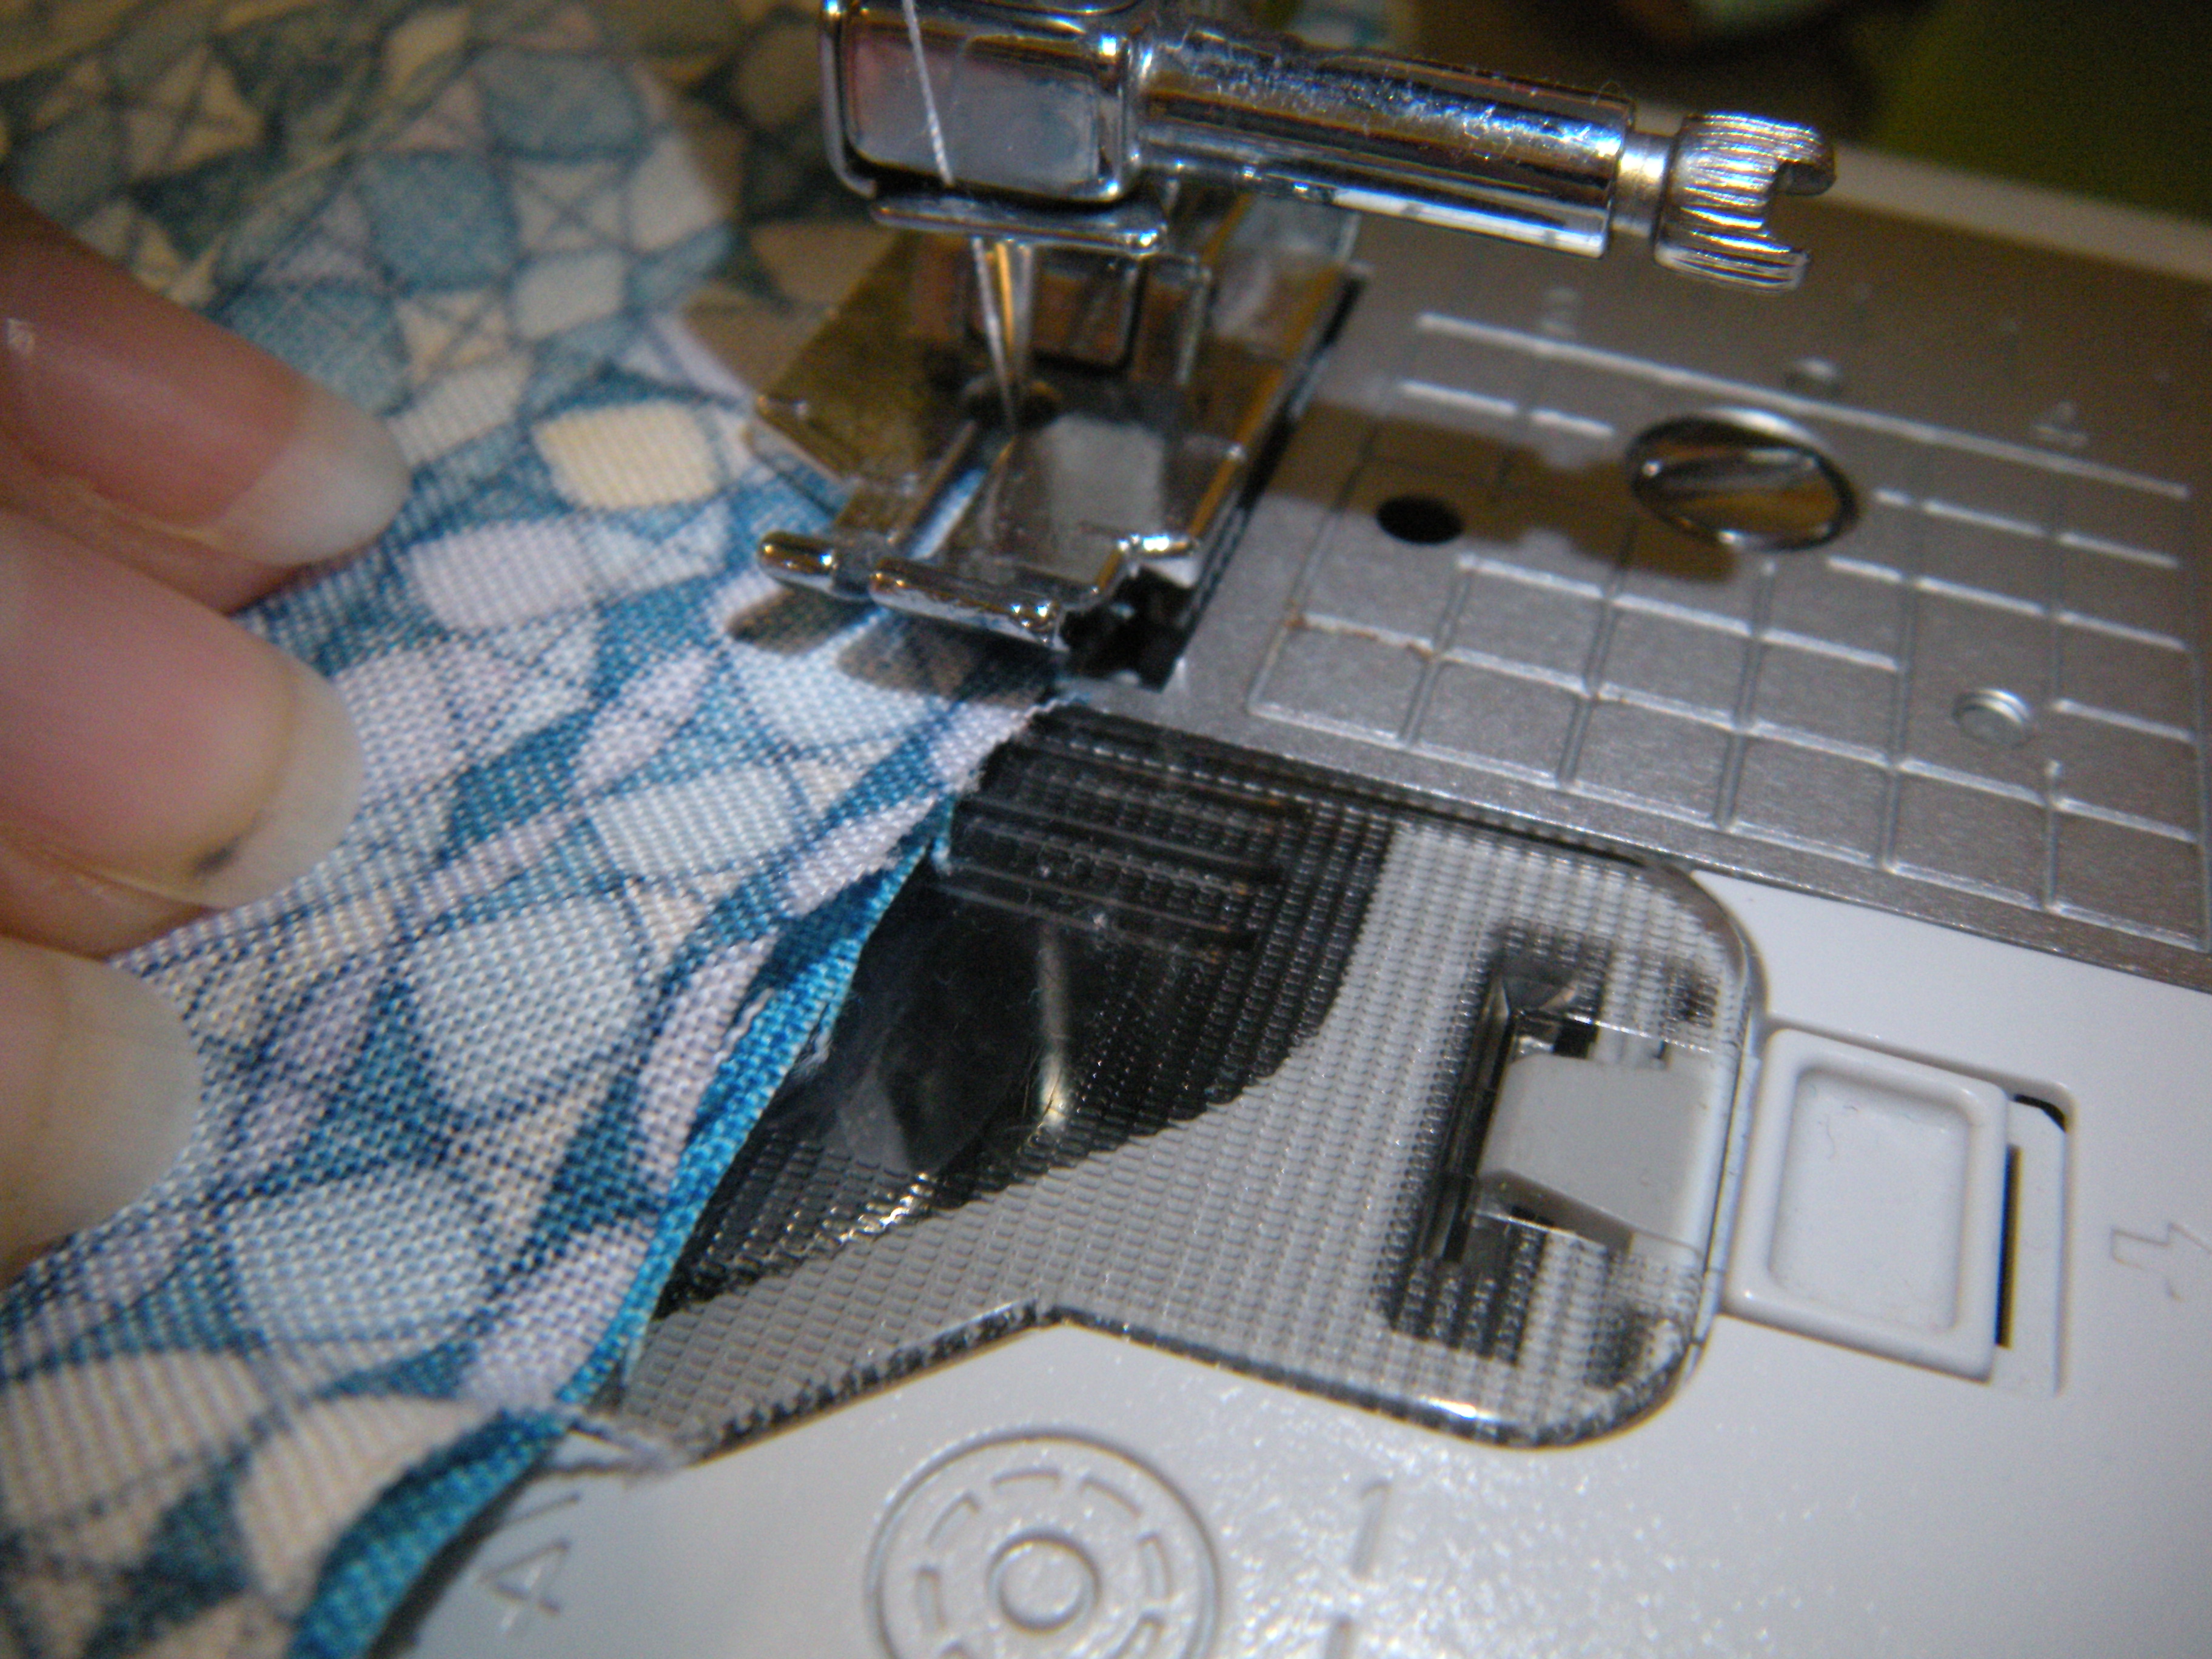
Stitch, using a 1/4″ seam allowance, easing the curves for a smooth seam. Below is the stitched seam before pressing.

Using your iron and lots of steam, press the seam downward.


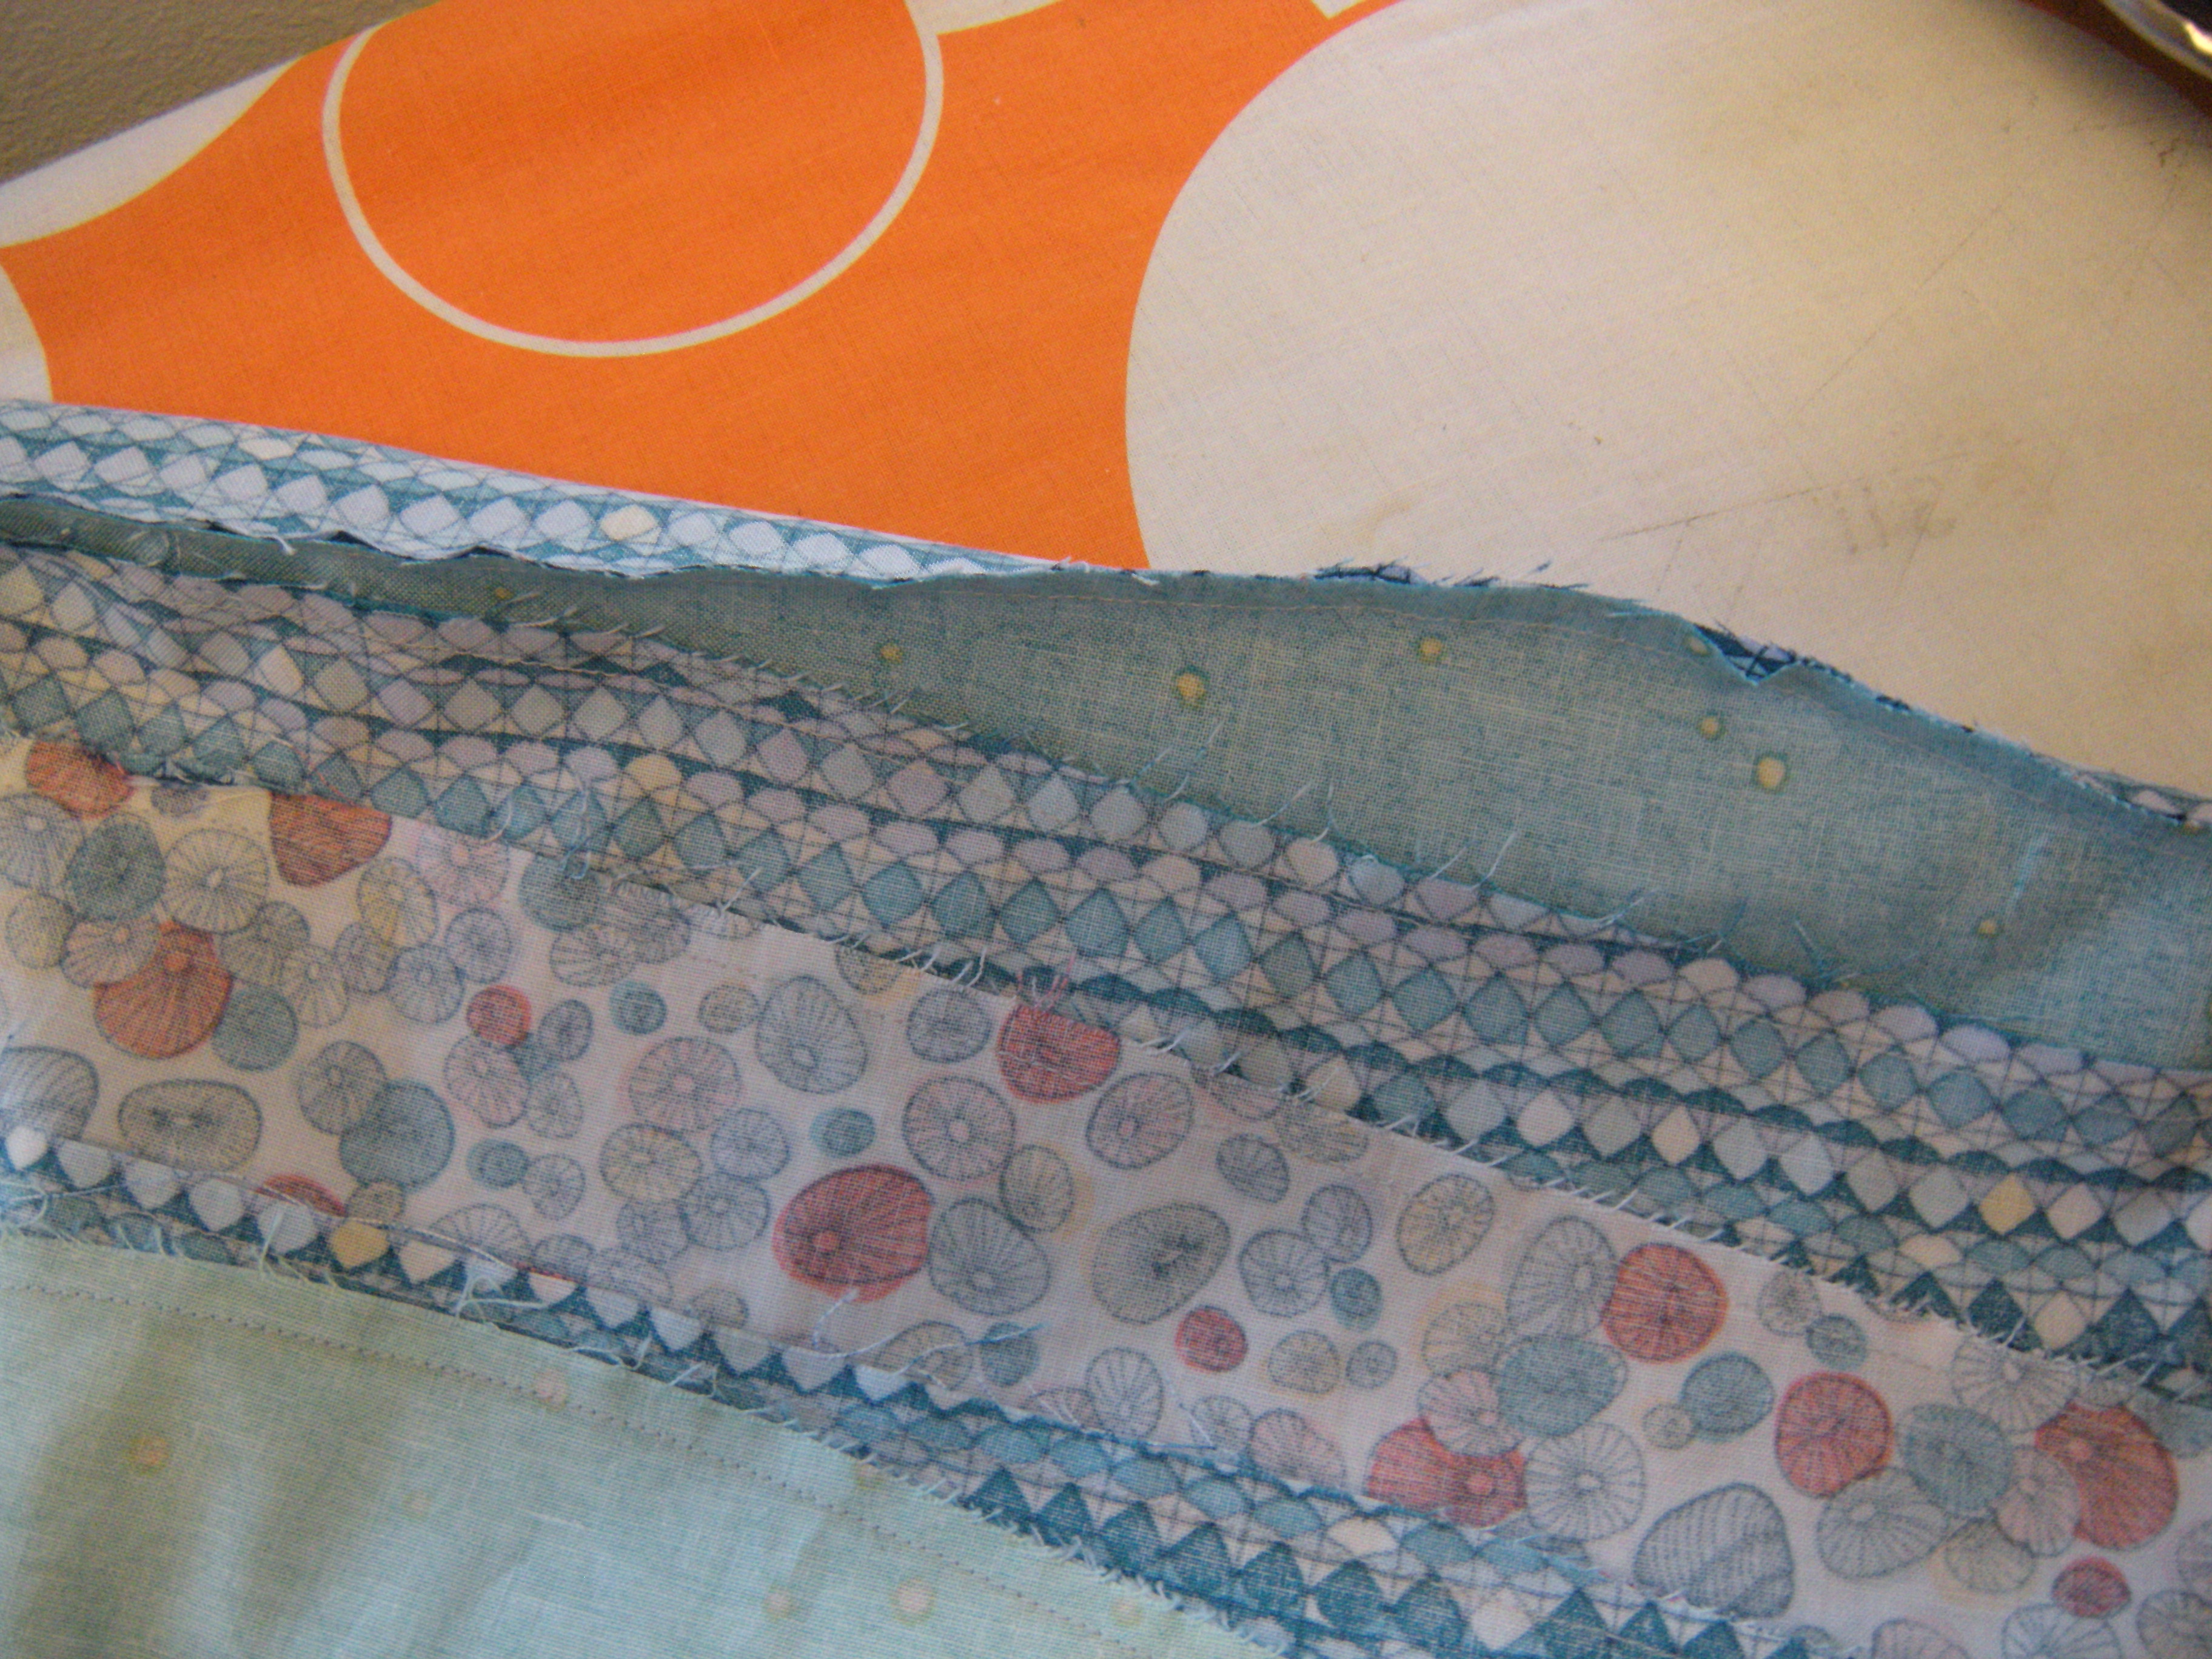
And voila! Beautiful waves, stitched and steamed to perfection!
The fabric shown in this tutorial is Tidal Lace by Kim Andersson, from Windham Fabrics. The quilt I am working on is A Day at the Shore Quilt by See How We Sew.
