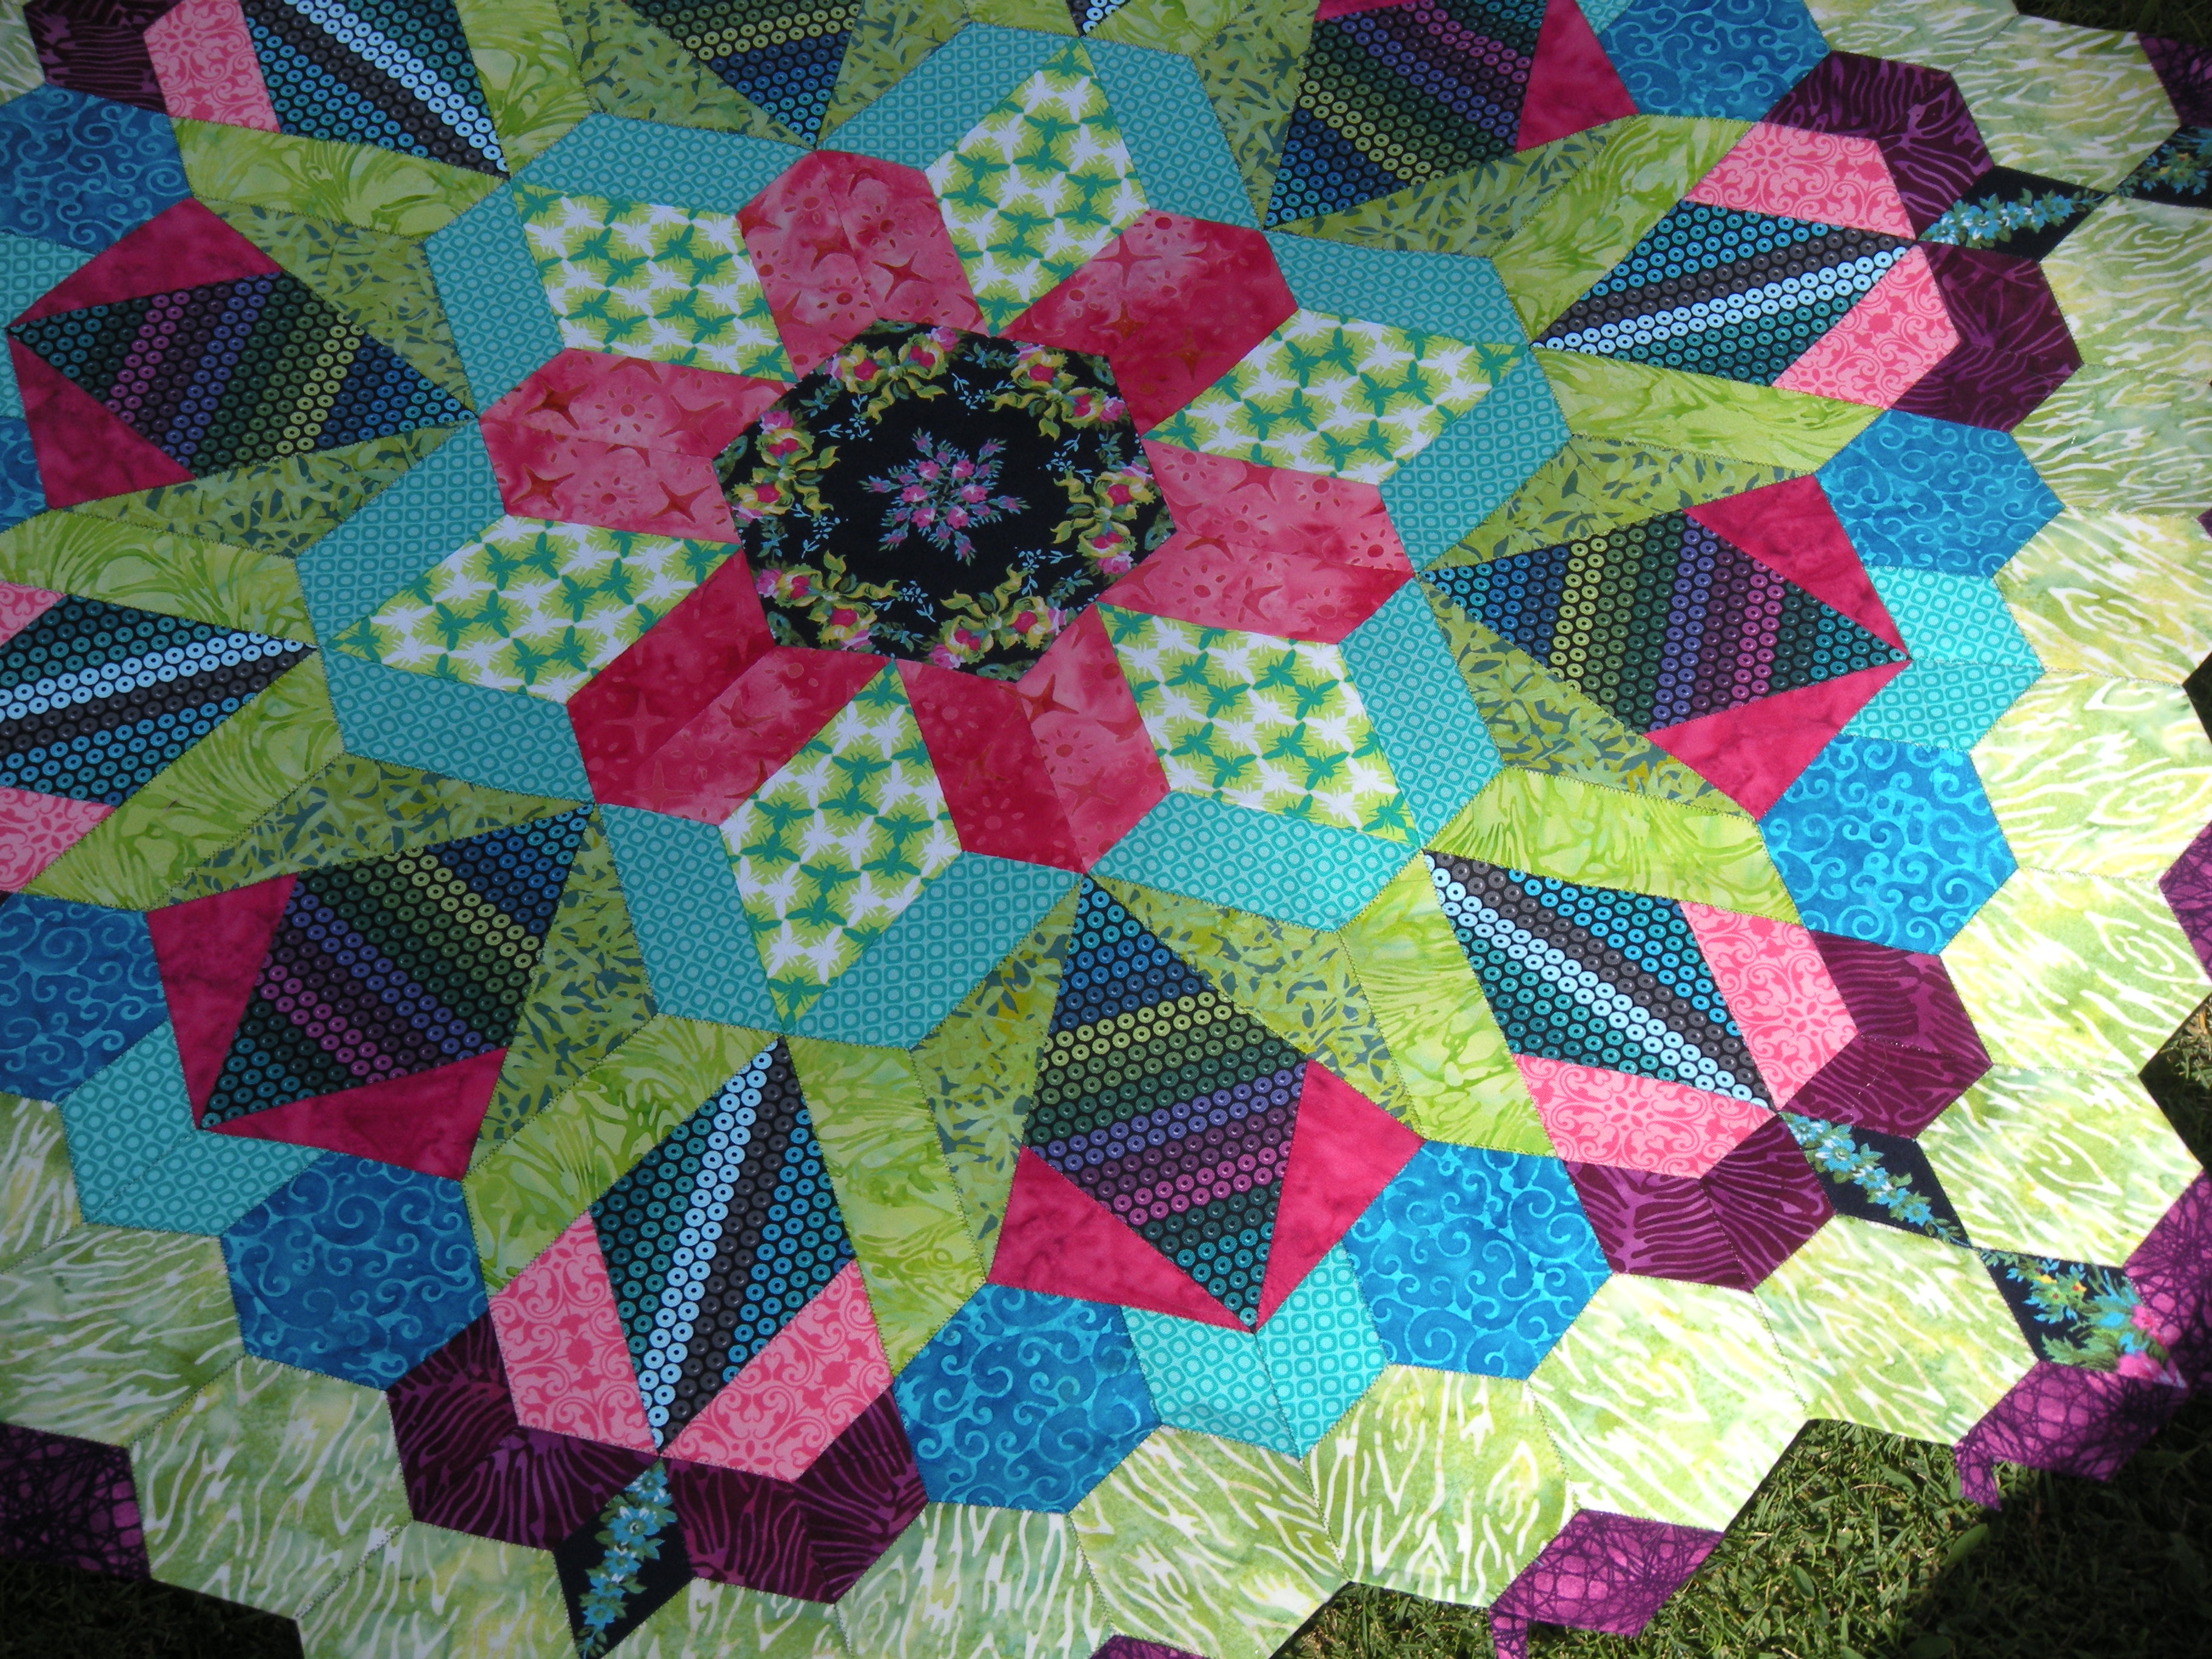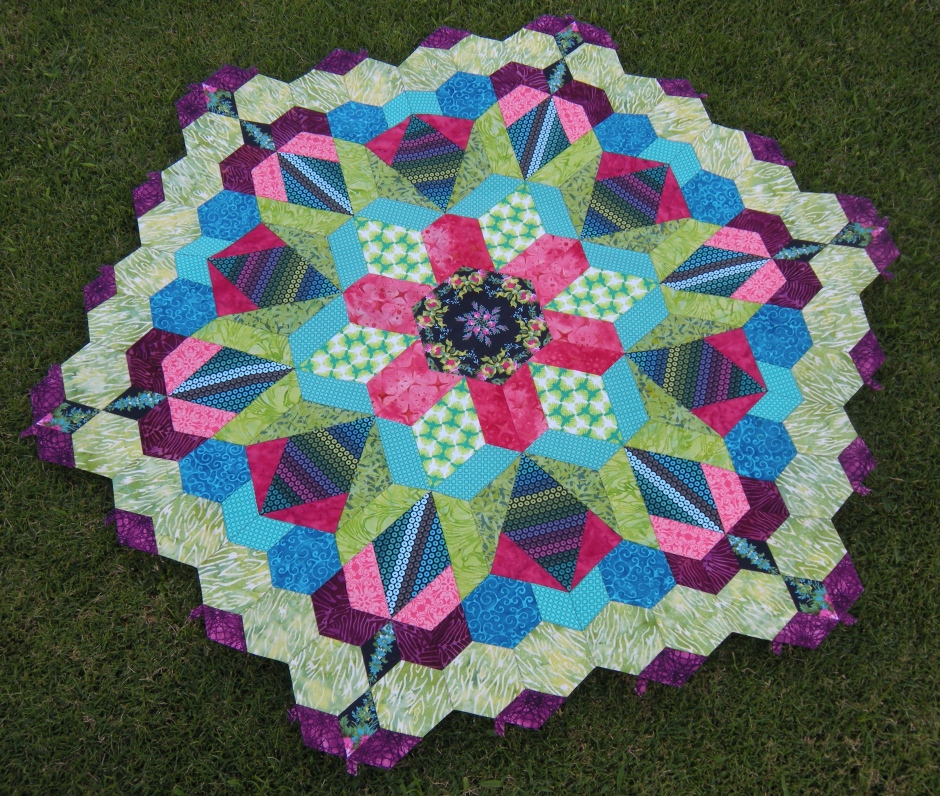
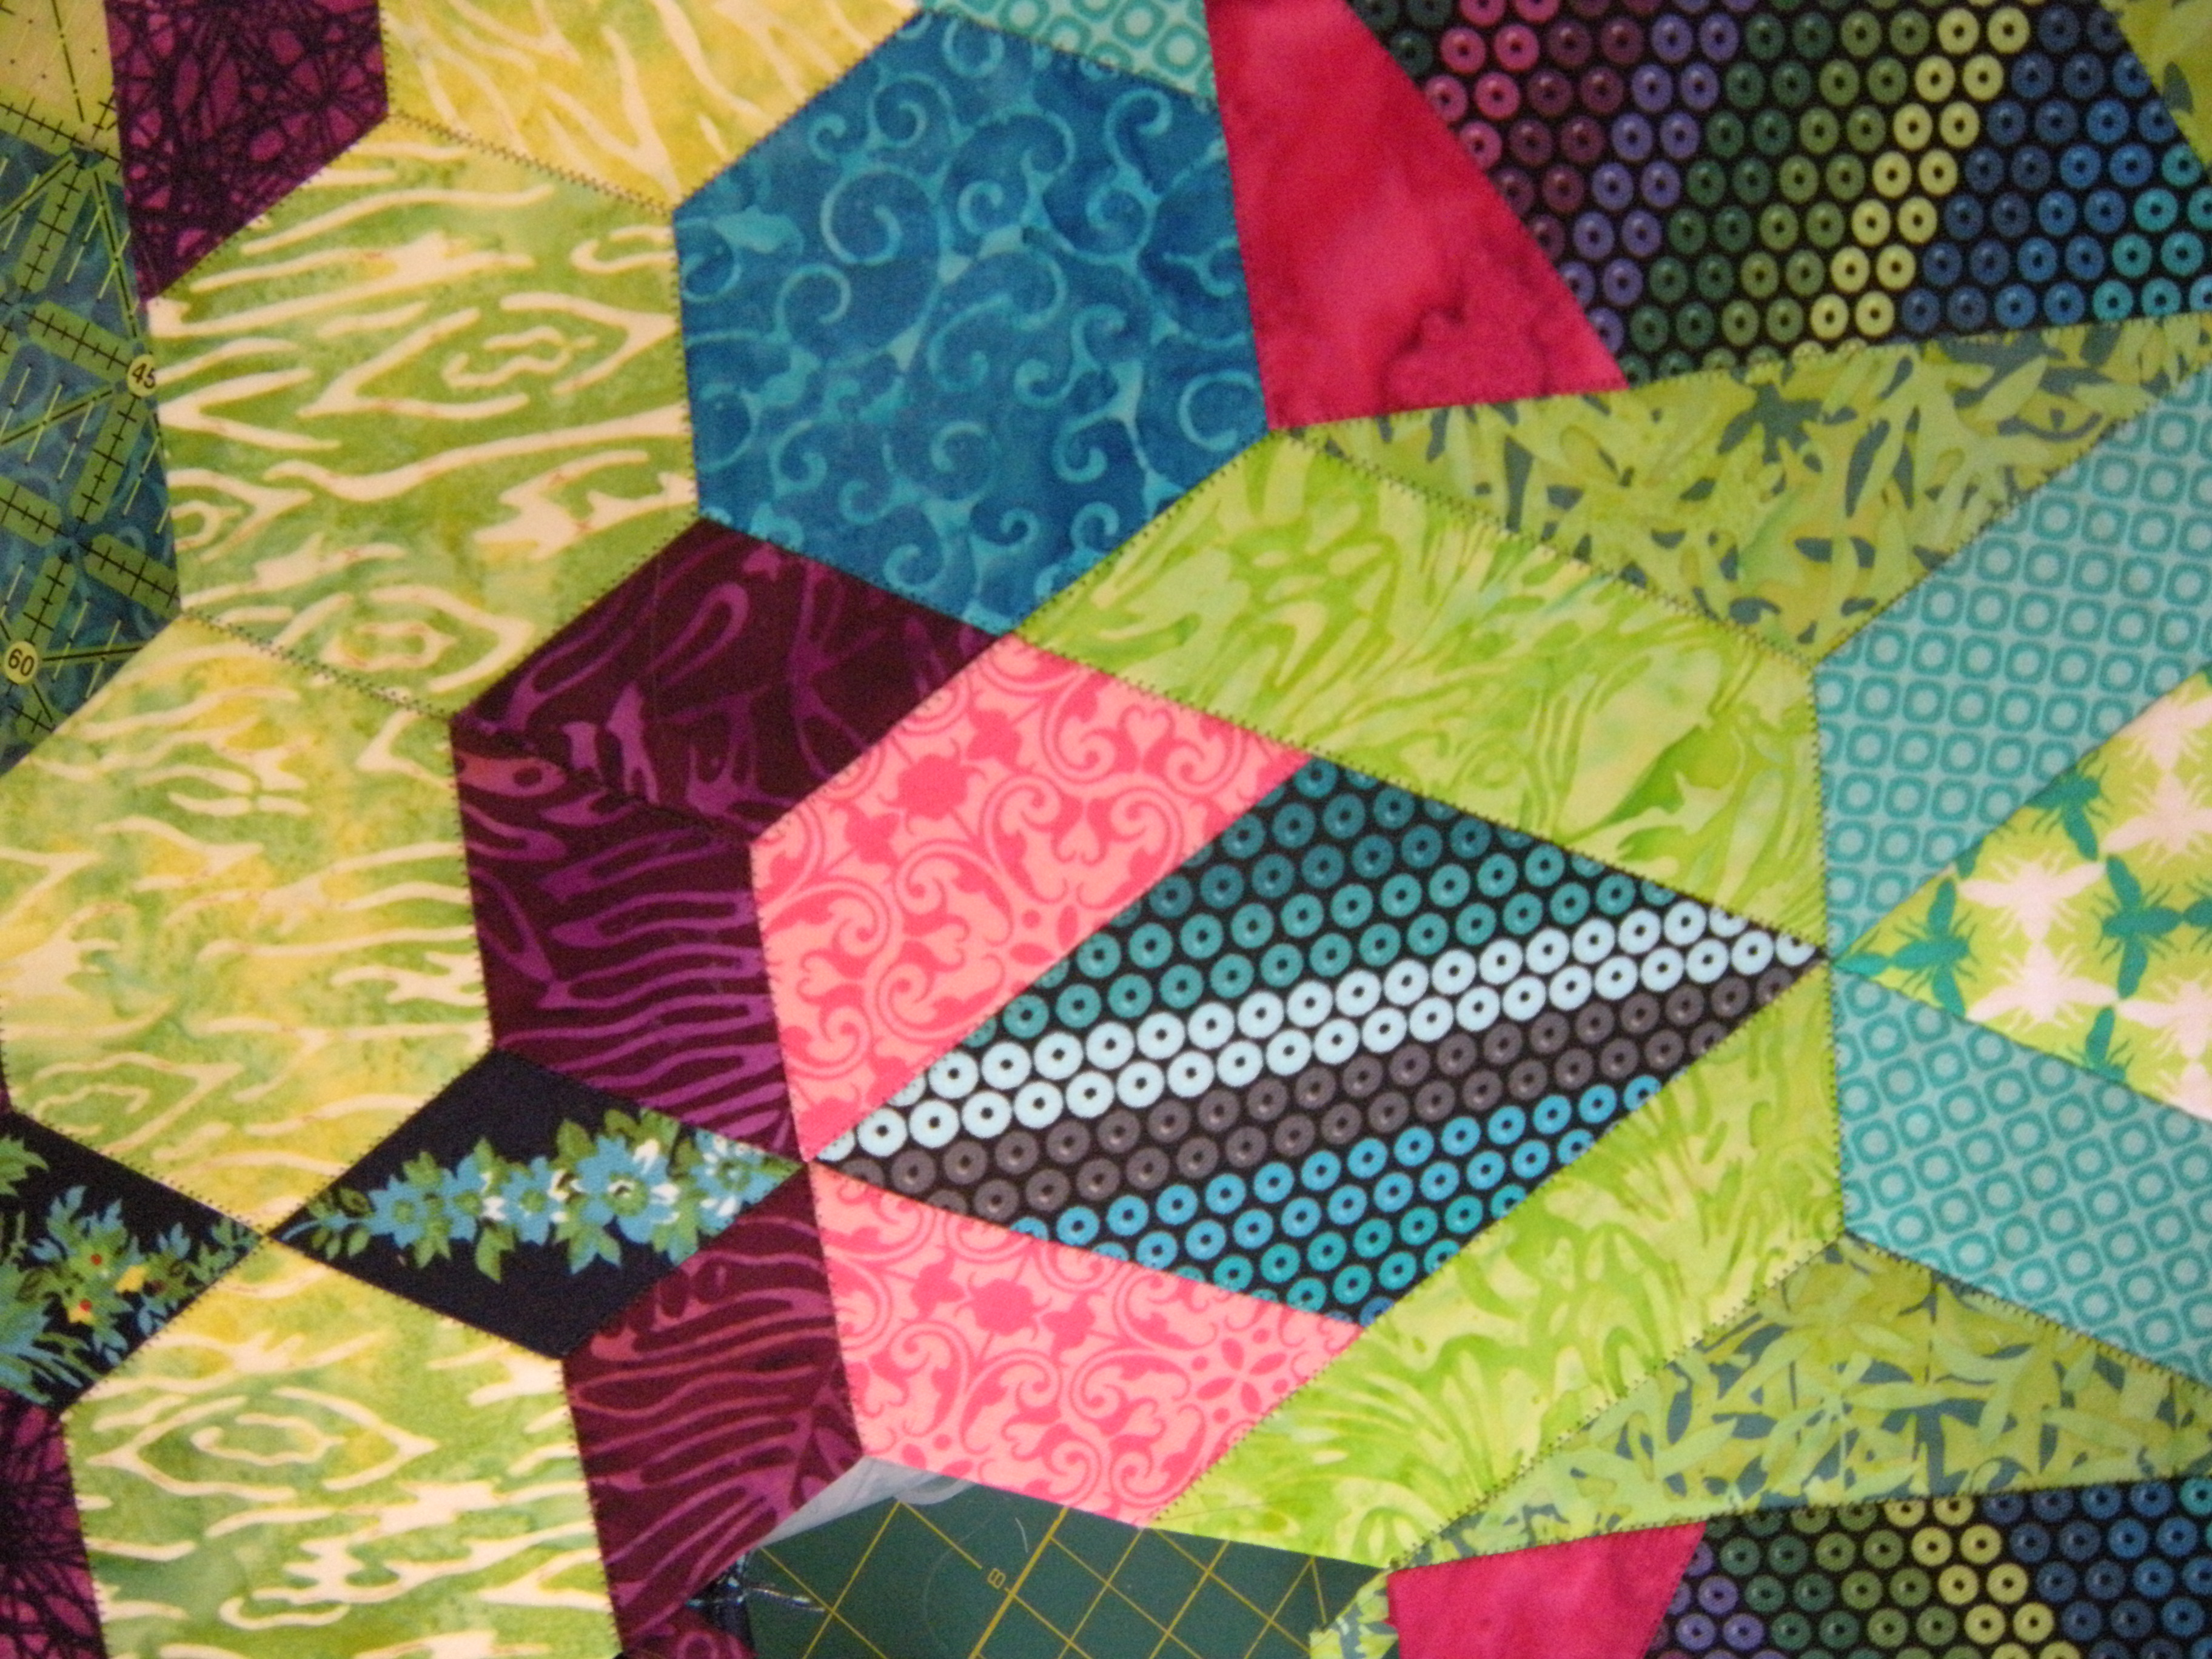
What is the date today? I believe it is NOT February. It’s still in the Januaries. And my rosette #1 is done.

I’m not being braggy, I am making a statement that I did not believe would ever be true. And if I had kept on with my turtle-paced, nay, snail-paced hand sewing, I sure wouldn’t have a finished rosette to show you now.
I have to give a big shout out to all who have sent me the encouragement and positive comments on the first two parts of the tutorial. Especially Katja Marek. I am so glad she is using her powers for good and not evil, drawing us in to this project that is making our world a more beautiful (and apparently hexagon-shaped) place. Go see her at http://www.katjasquiltshoppe.com
Shall we finish up the tutorial now? Let’s put the final round on the rosette.
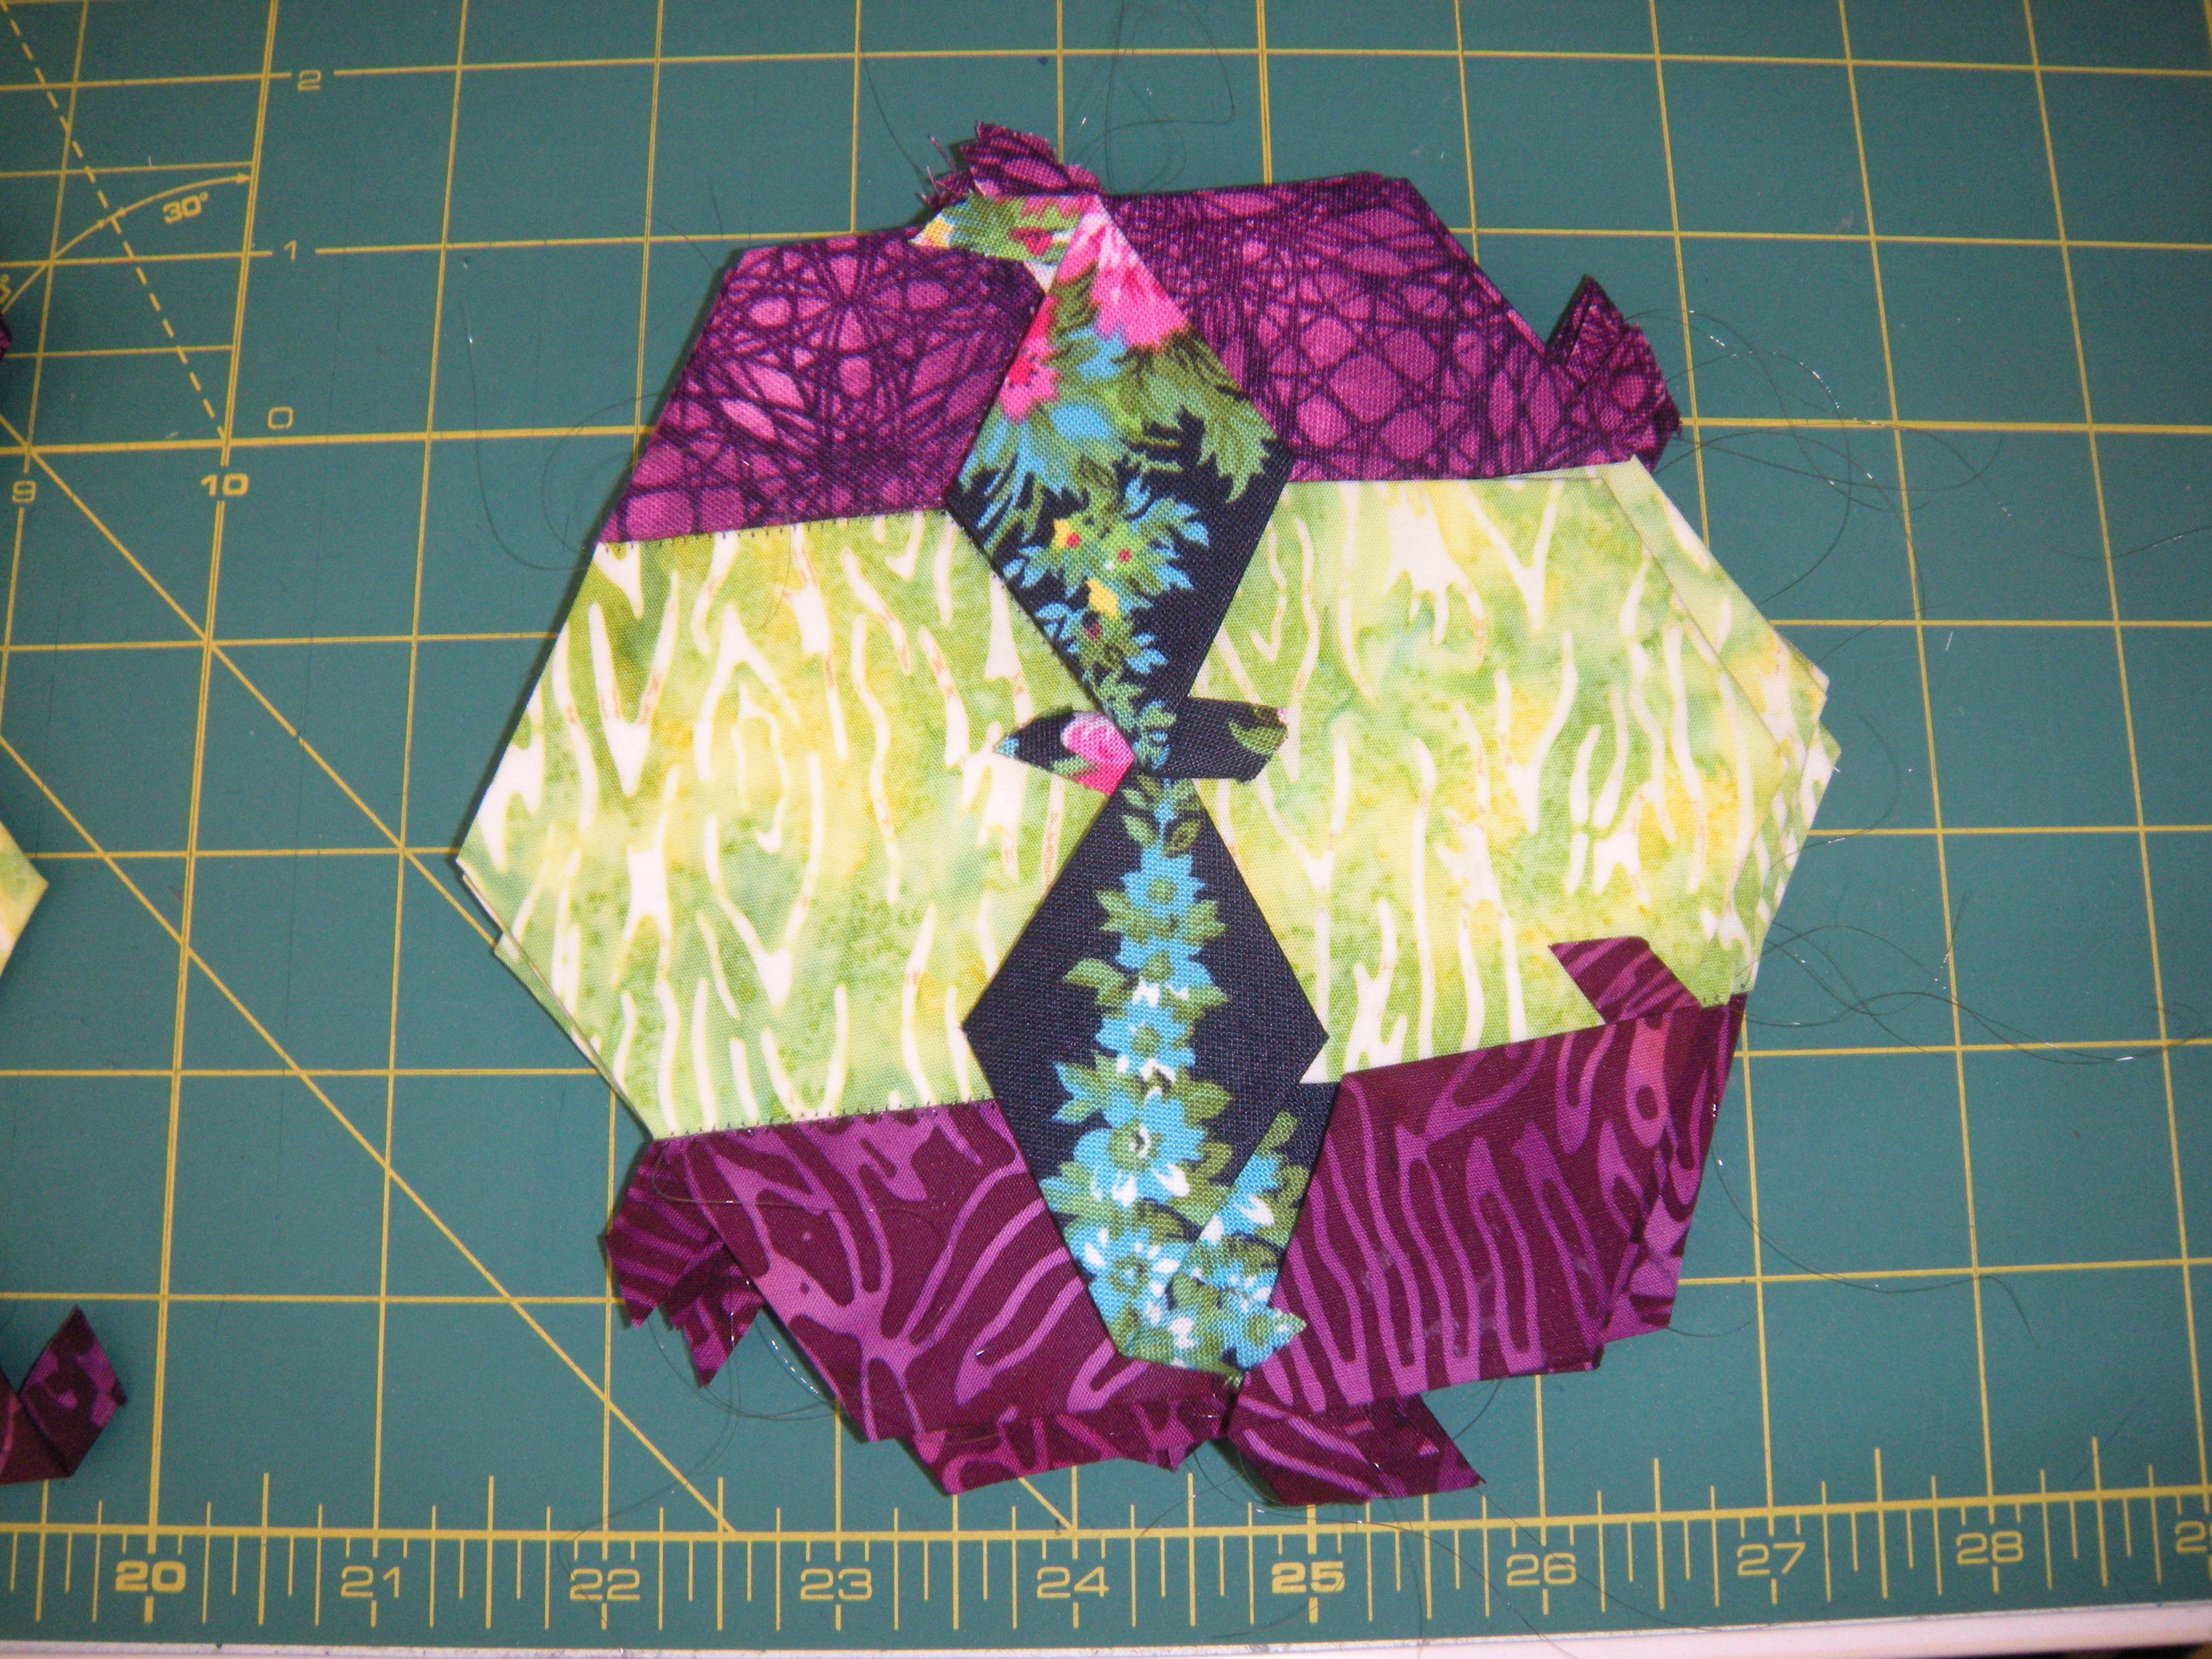
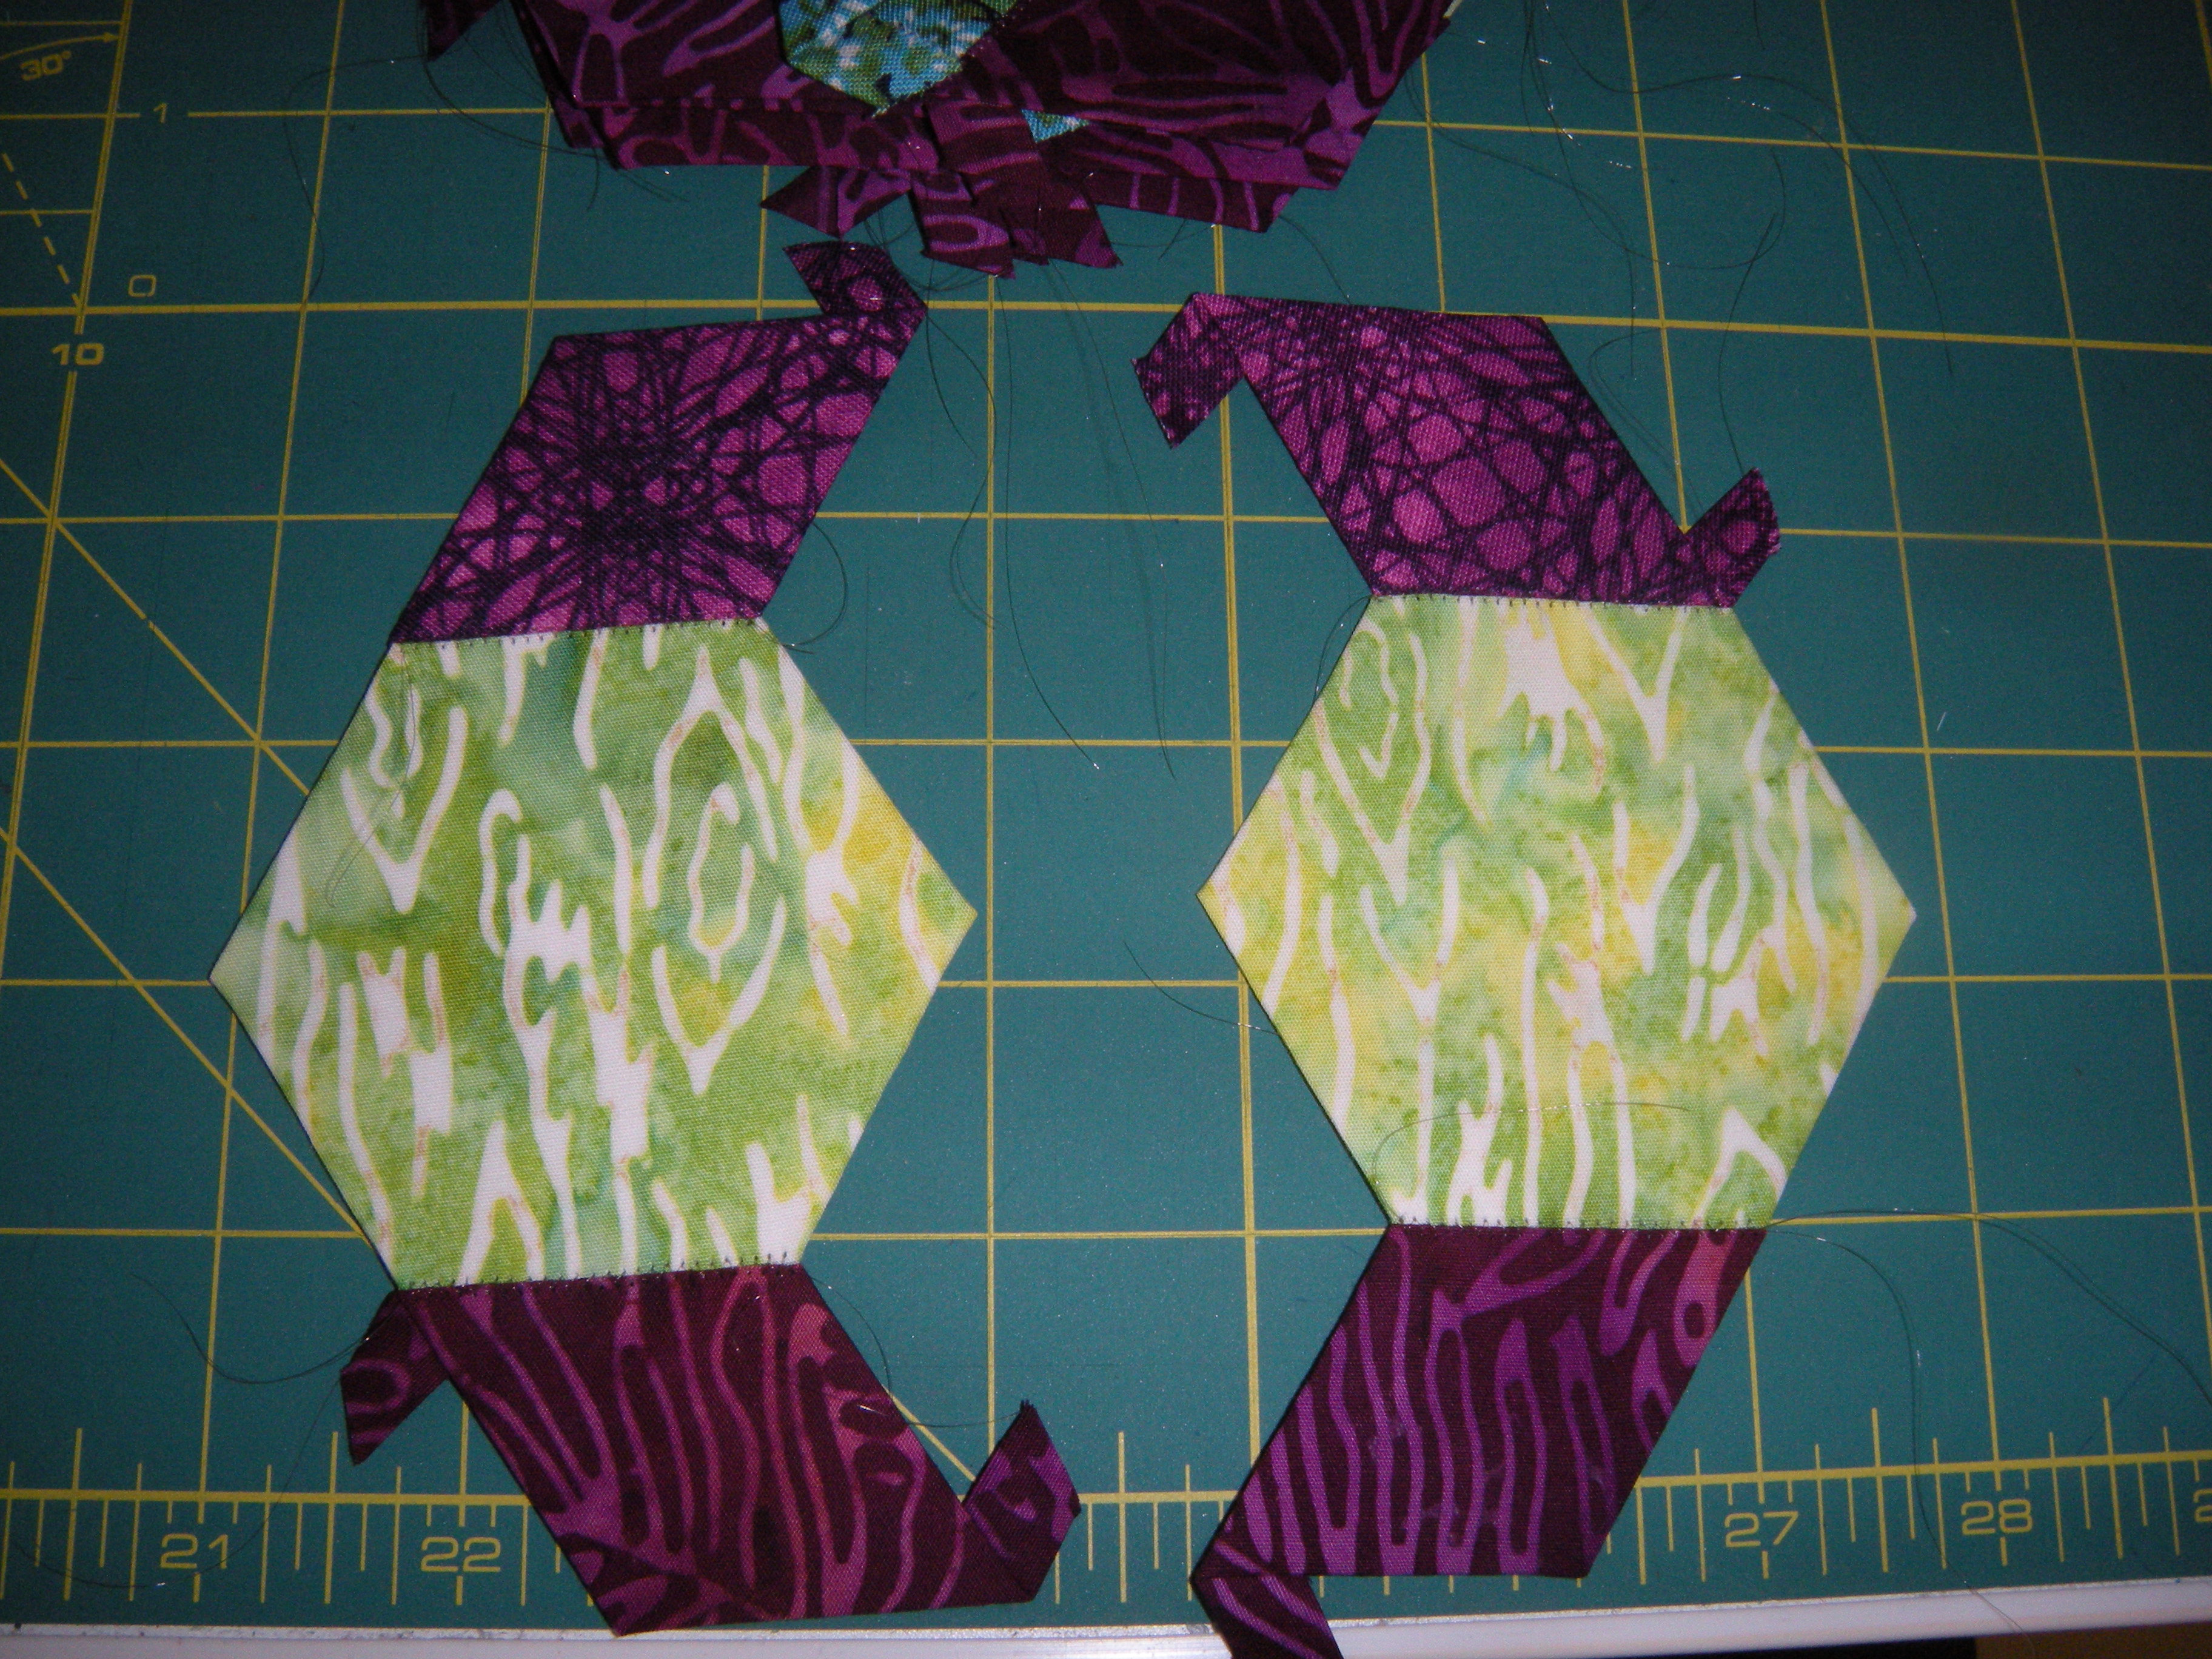
There are 18 hexagons in the final row, 6 each of three different configurations. (If I may point out the obvious, make sure you don’t mix up your mirror-image Maries.) Using a bunch of of the blue painter’s tape, line up your first two blocks.
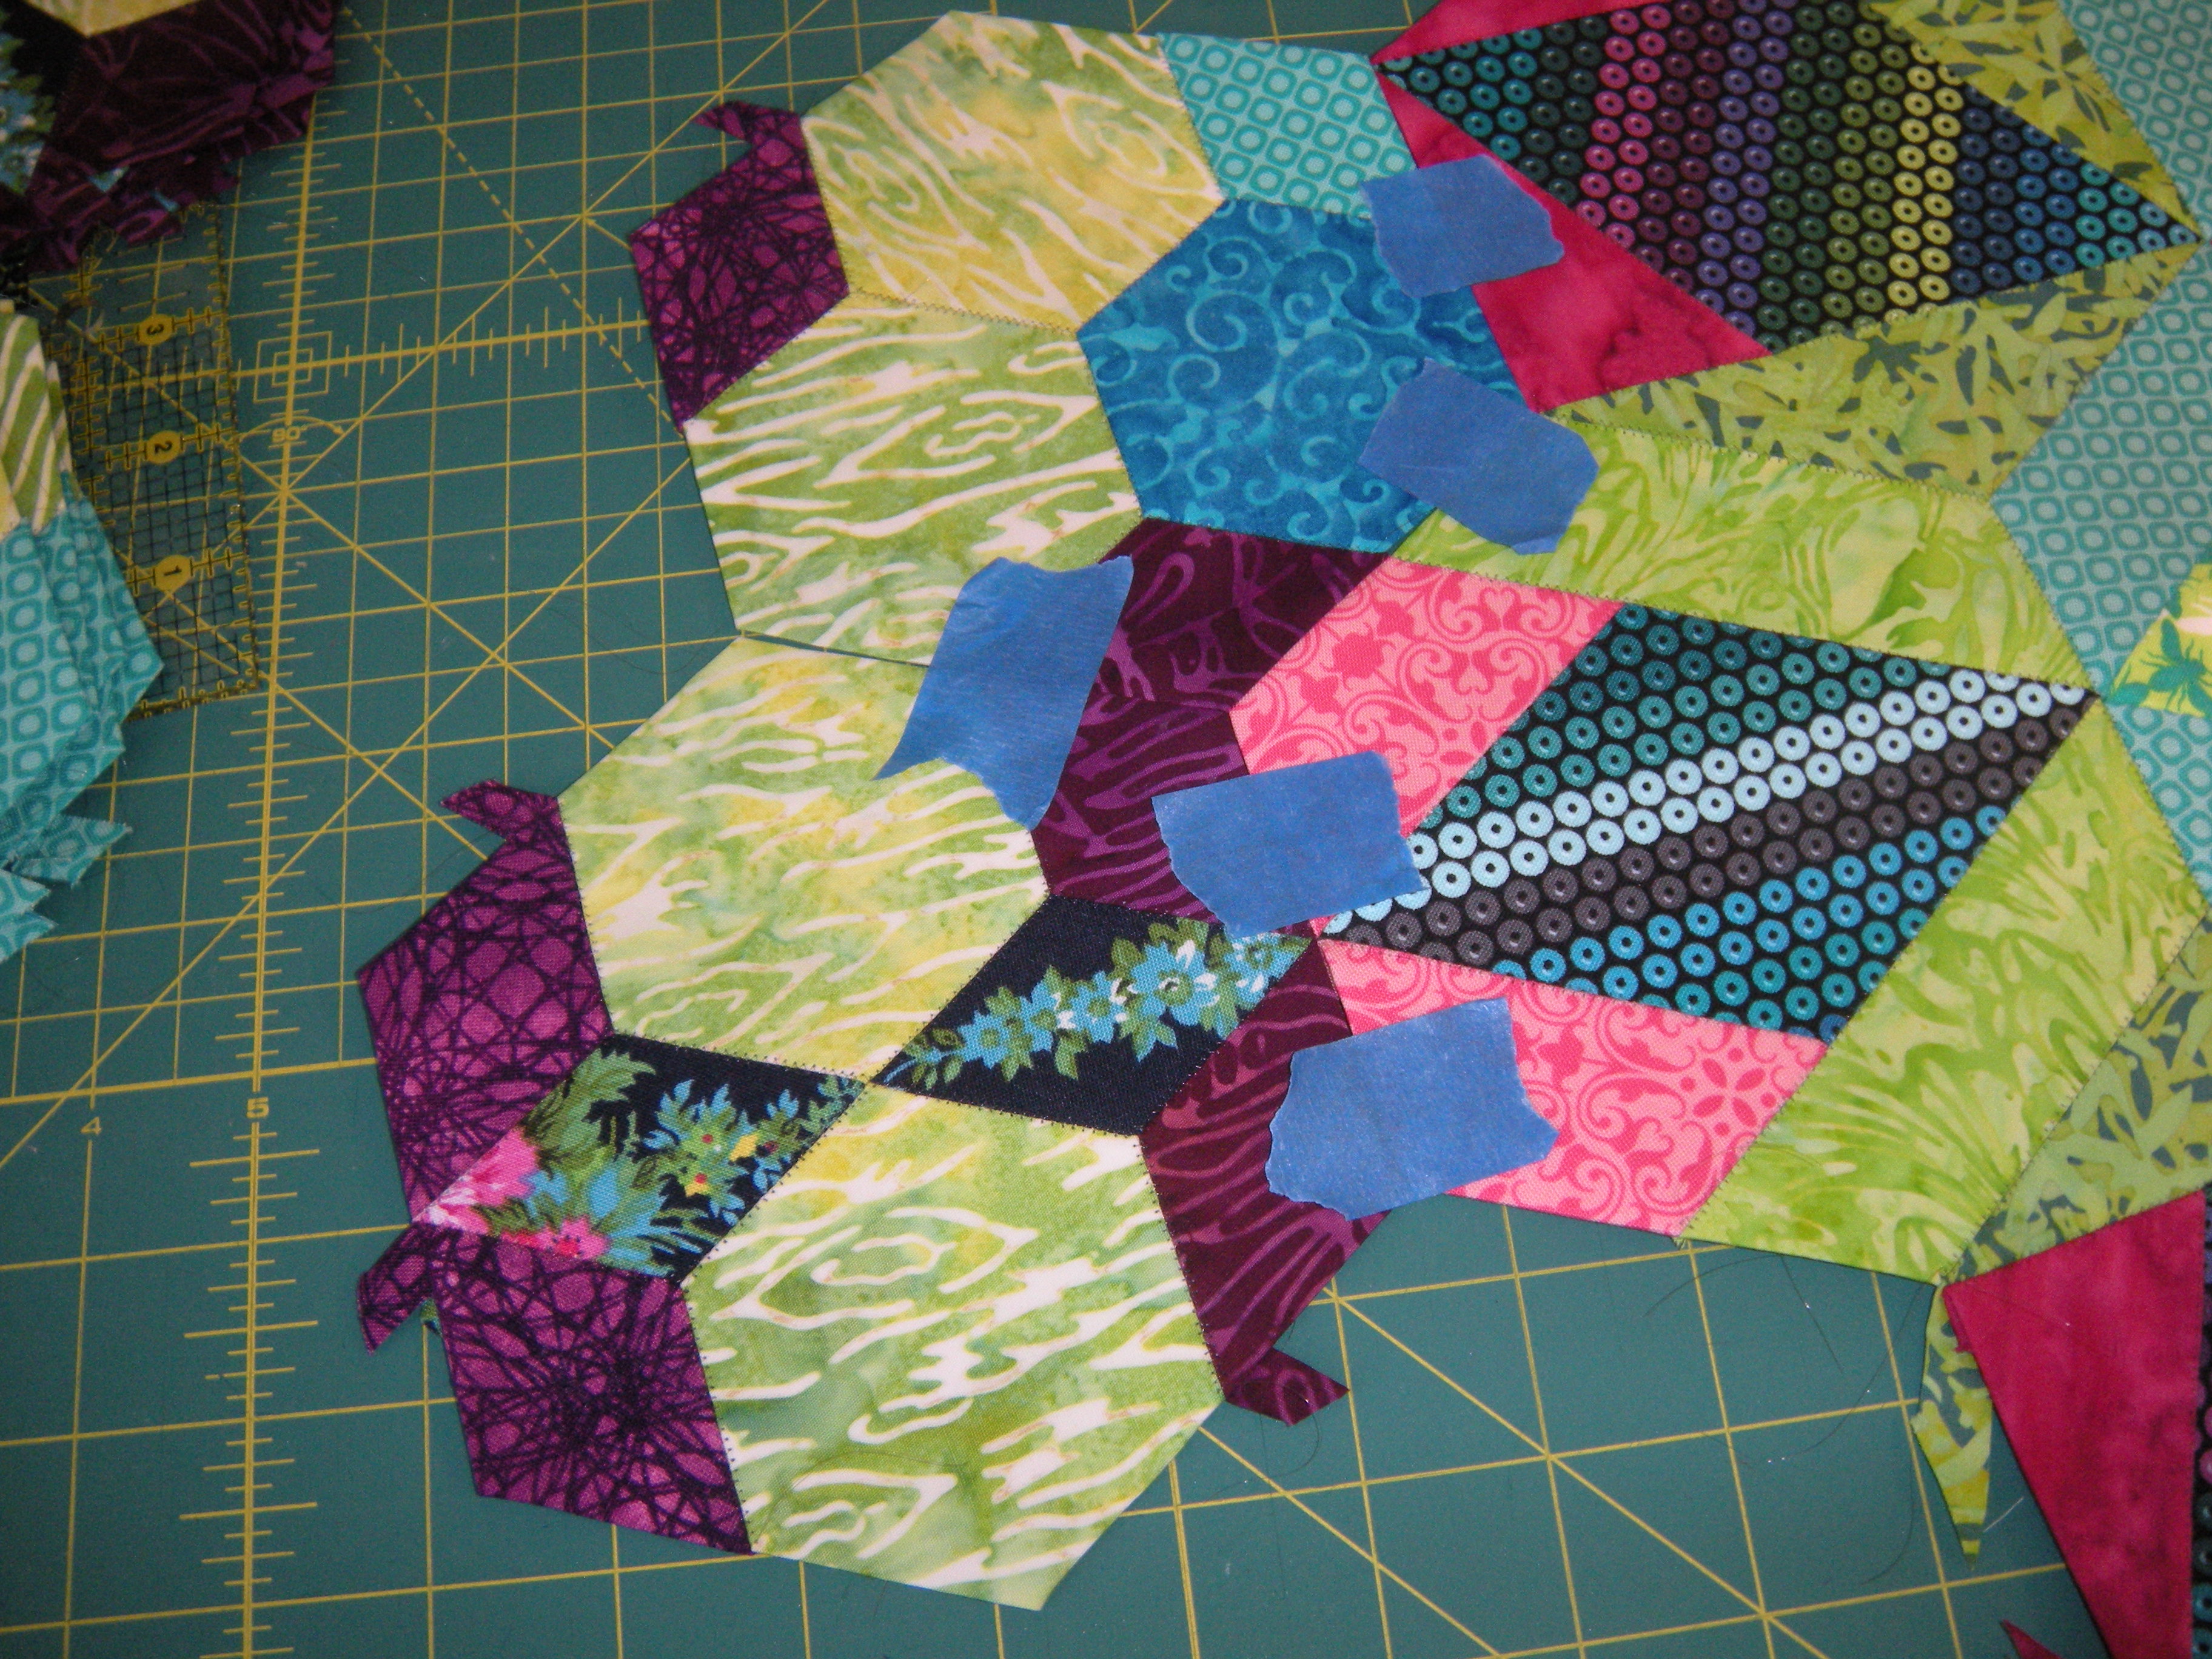
This shows Brandi and Marie taped to the second round. We’re going to attach Brandi first; Brandi is the block with the two floral diamonds in it. (The second block needs to be taped in place because Brandi is joined to it in the first seam.
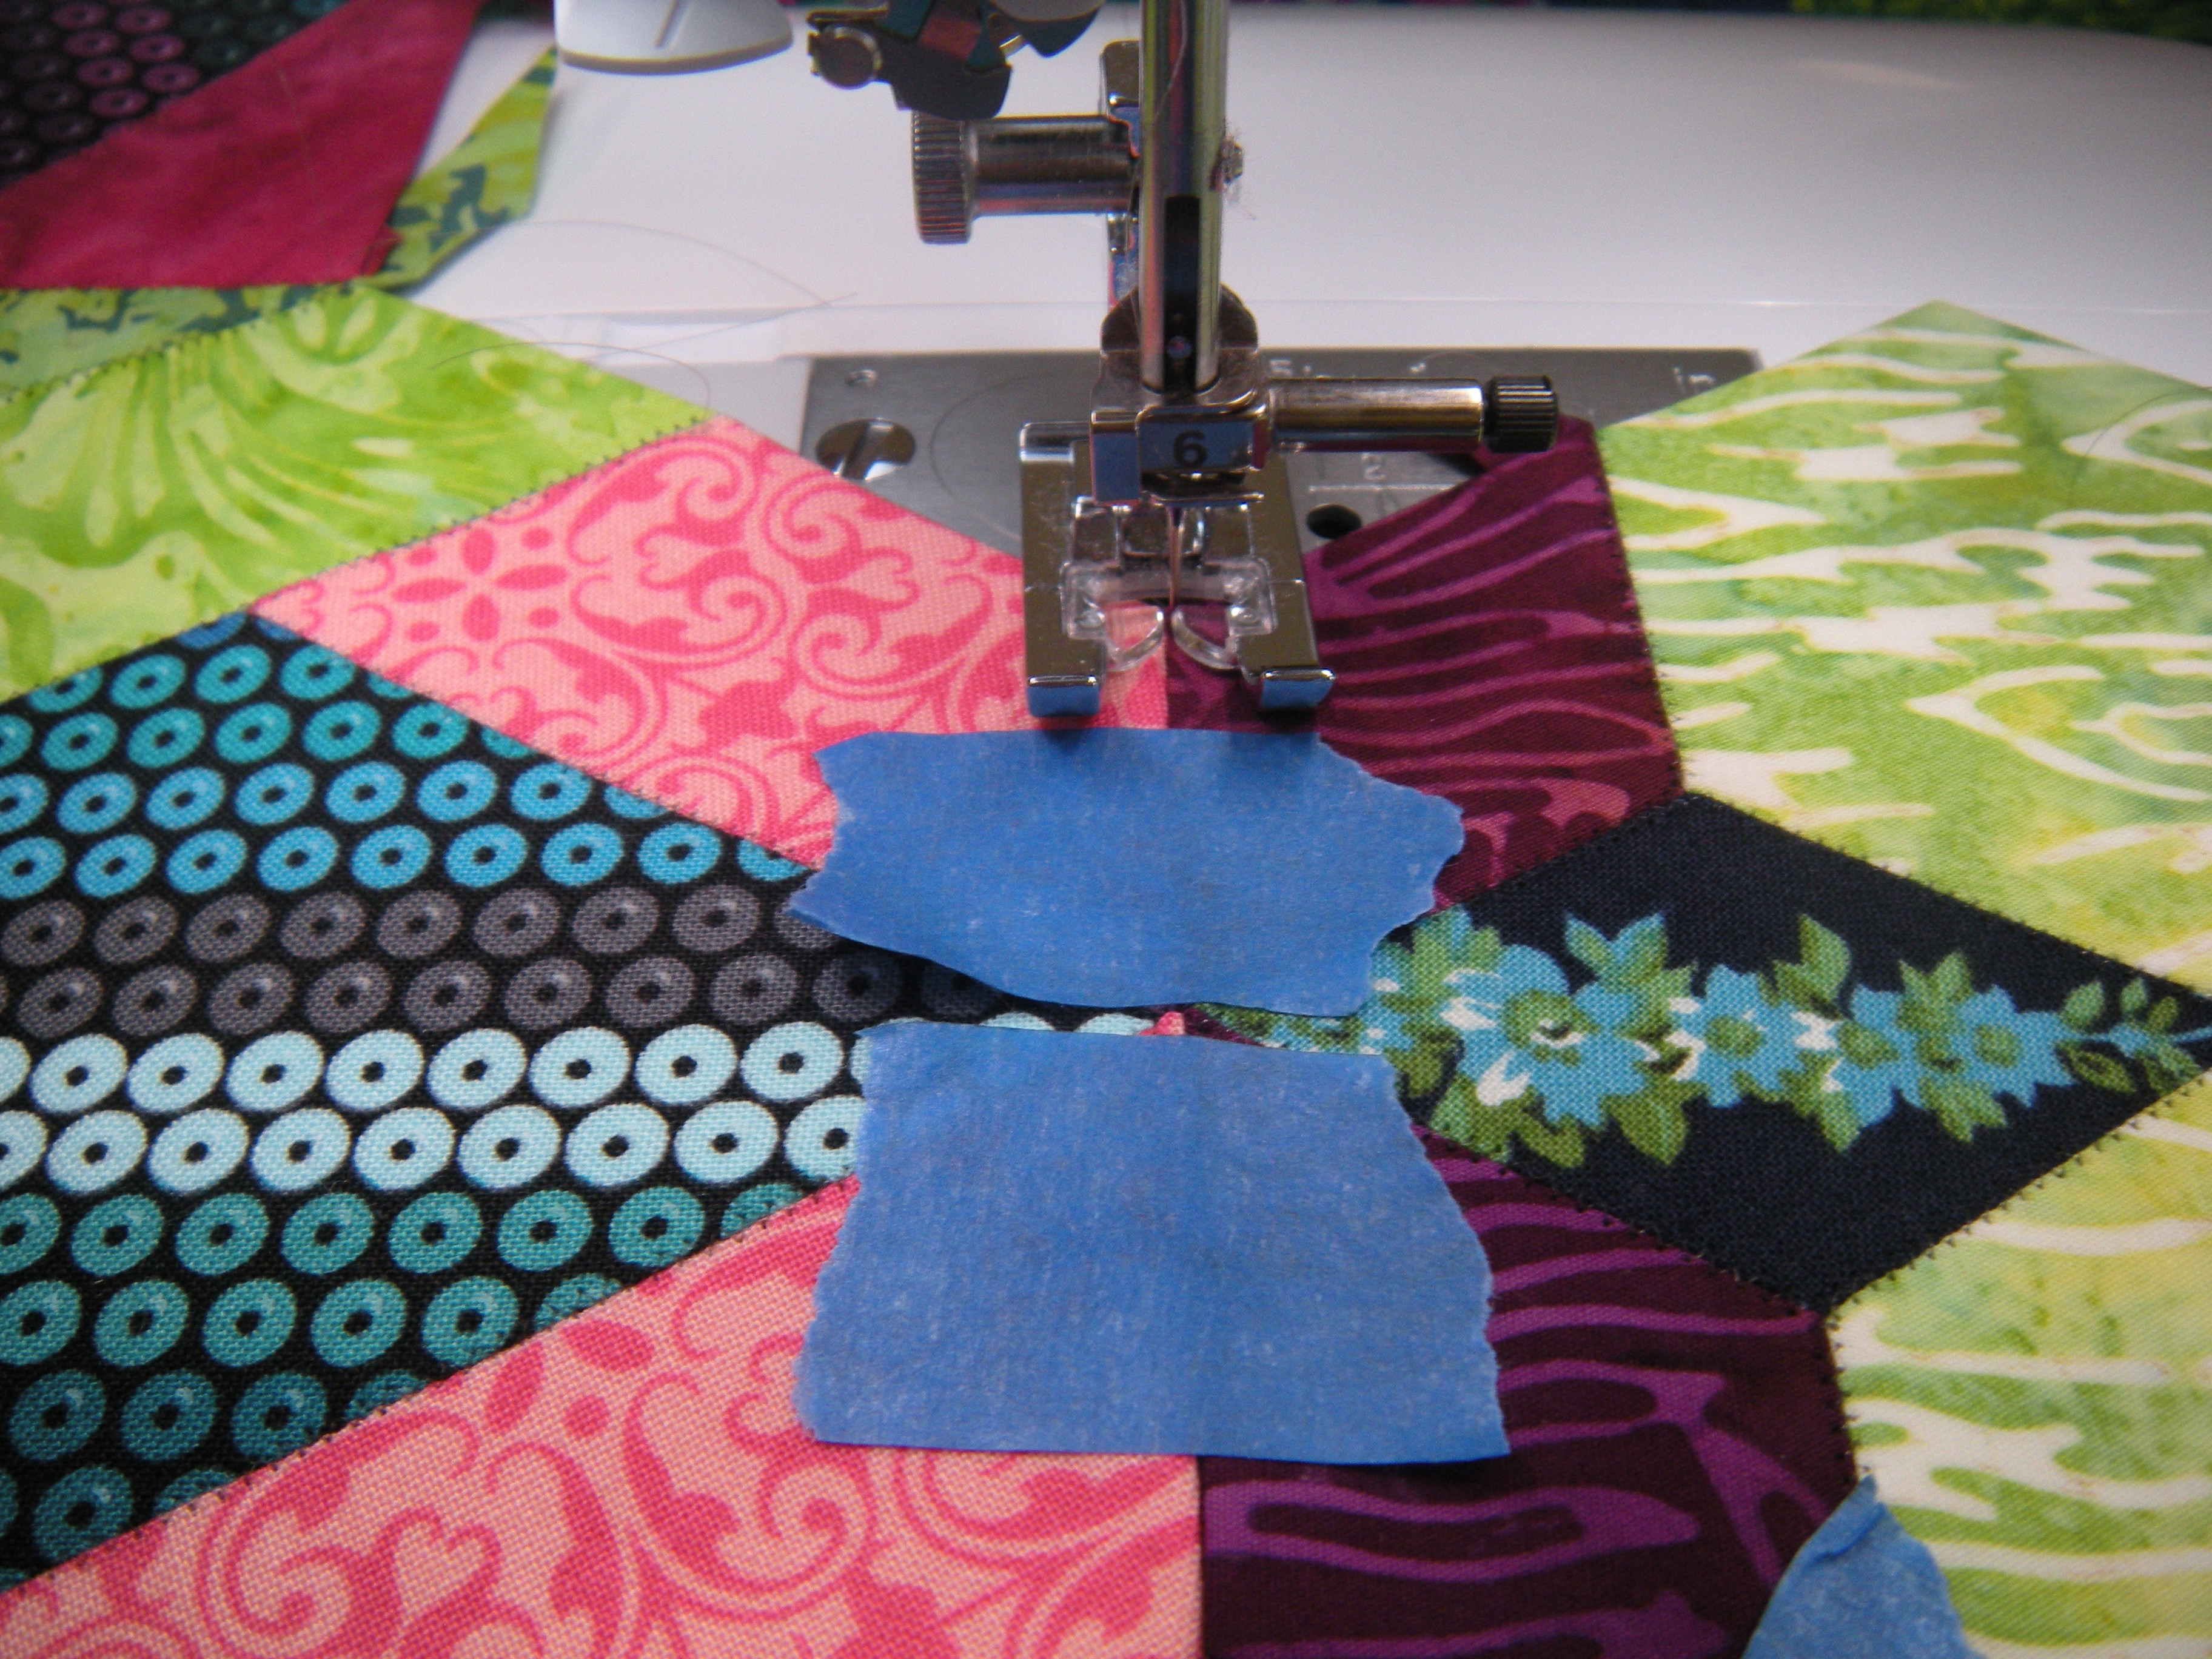


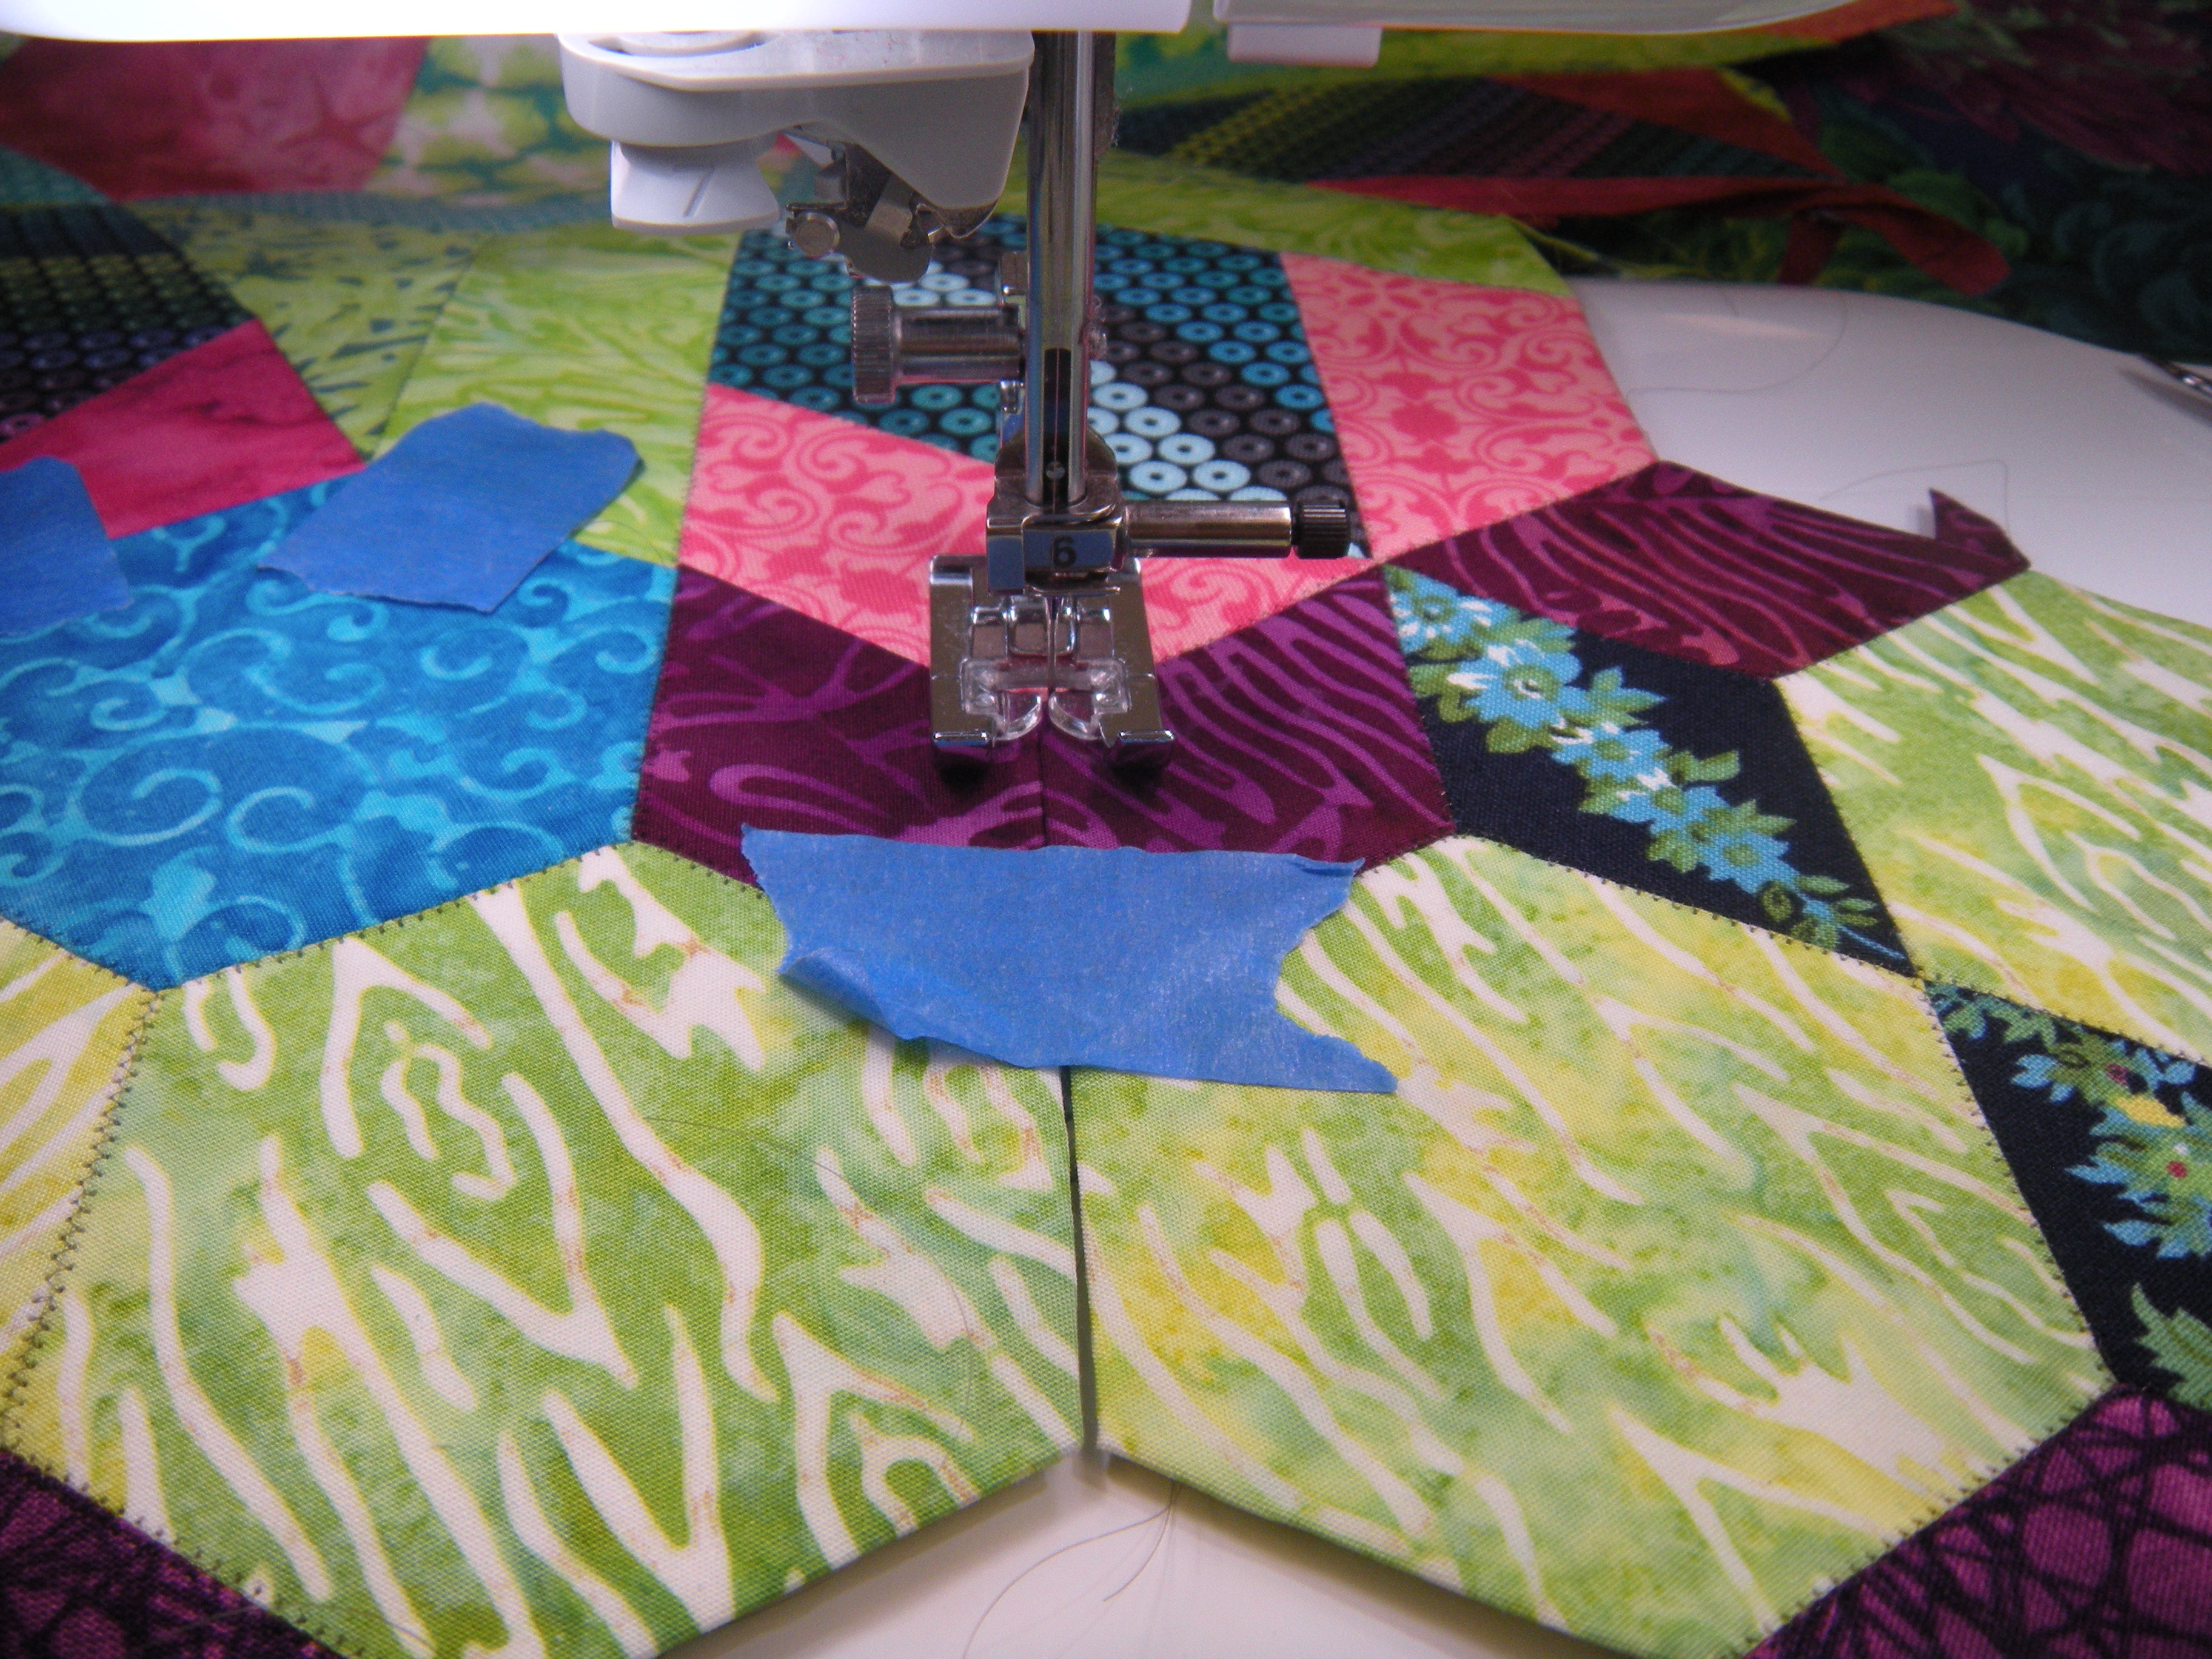

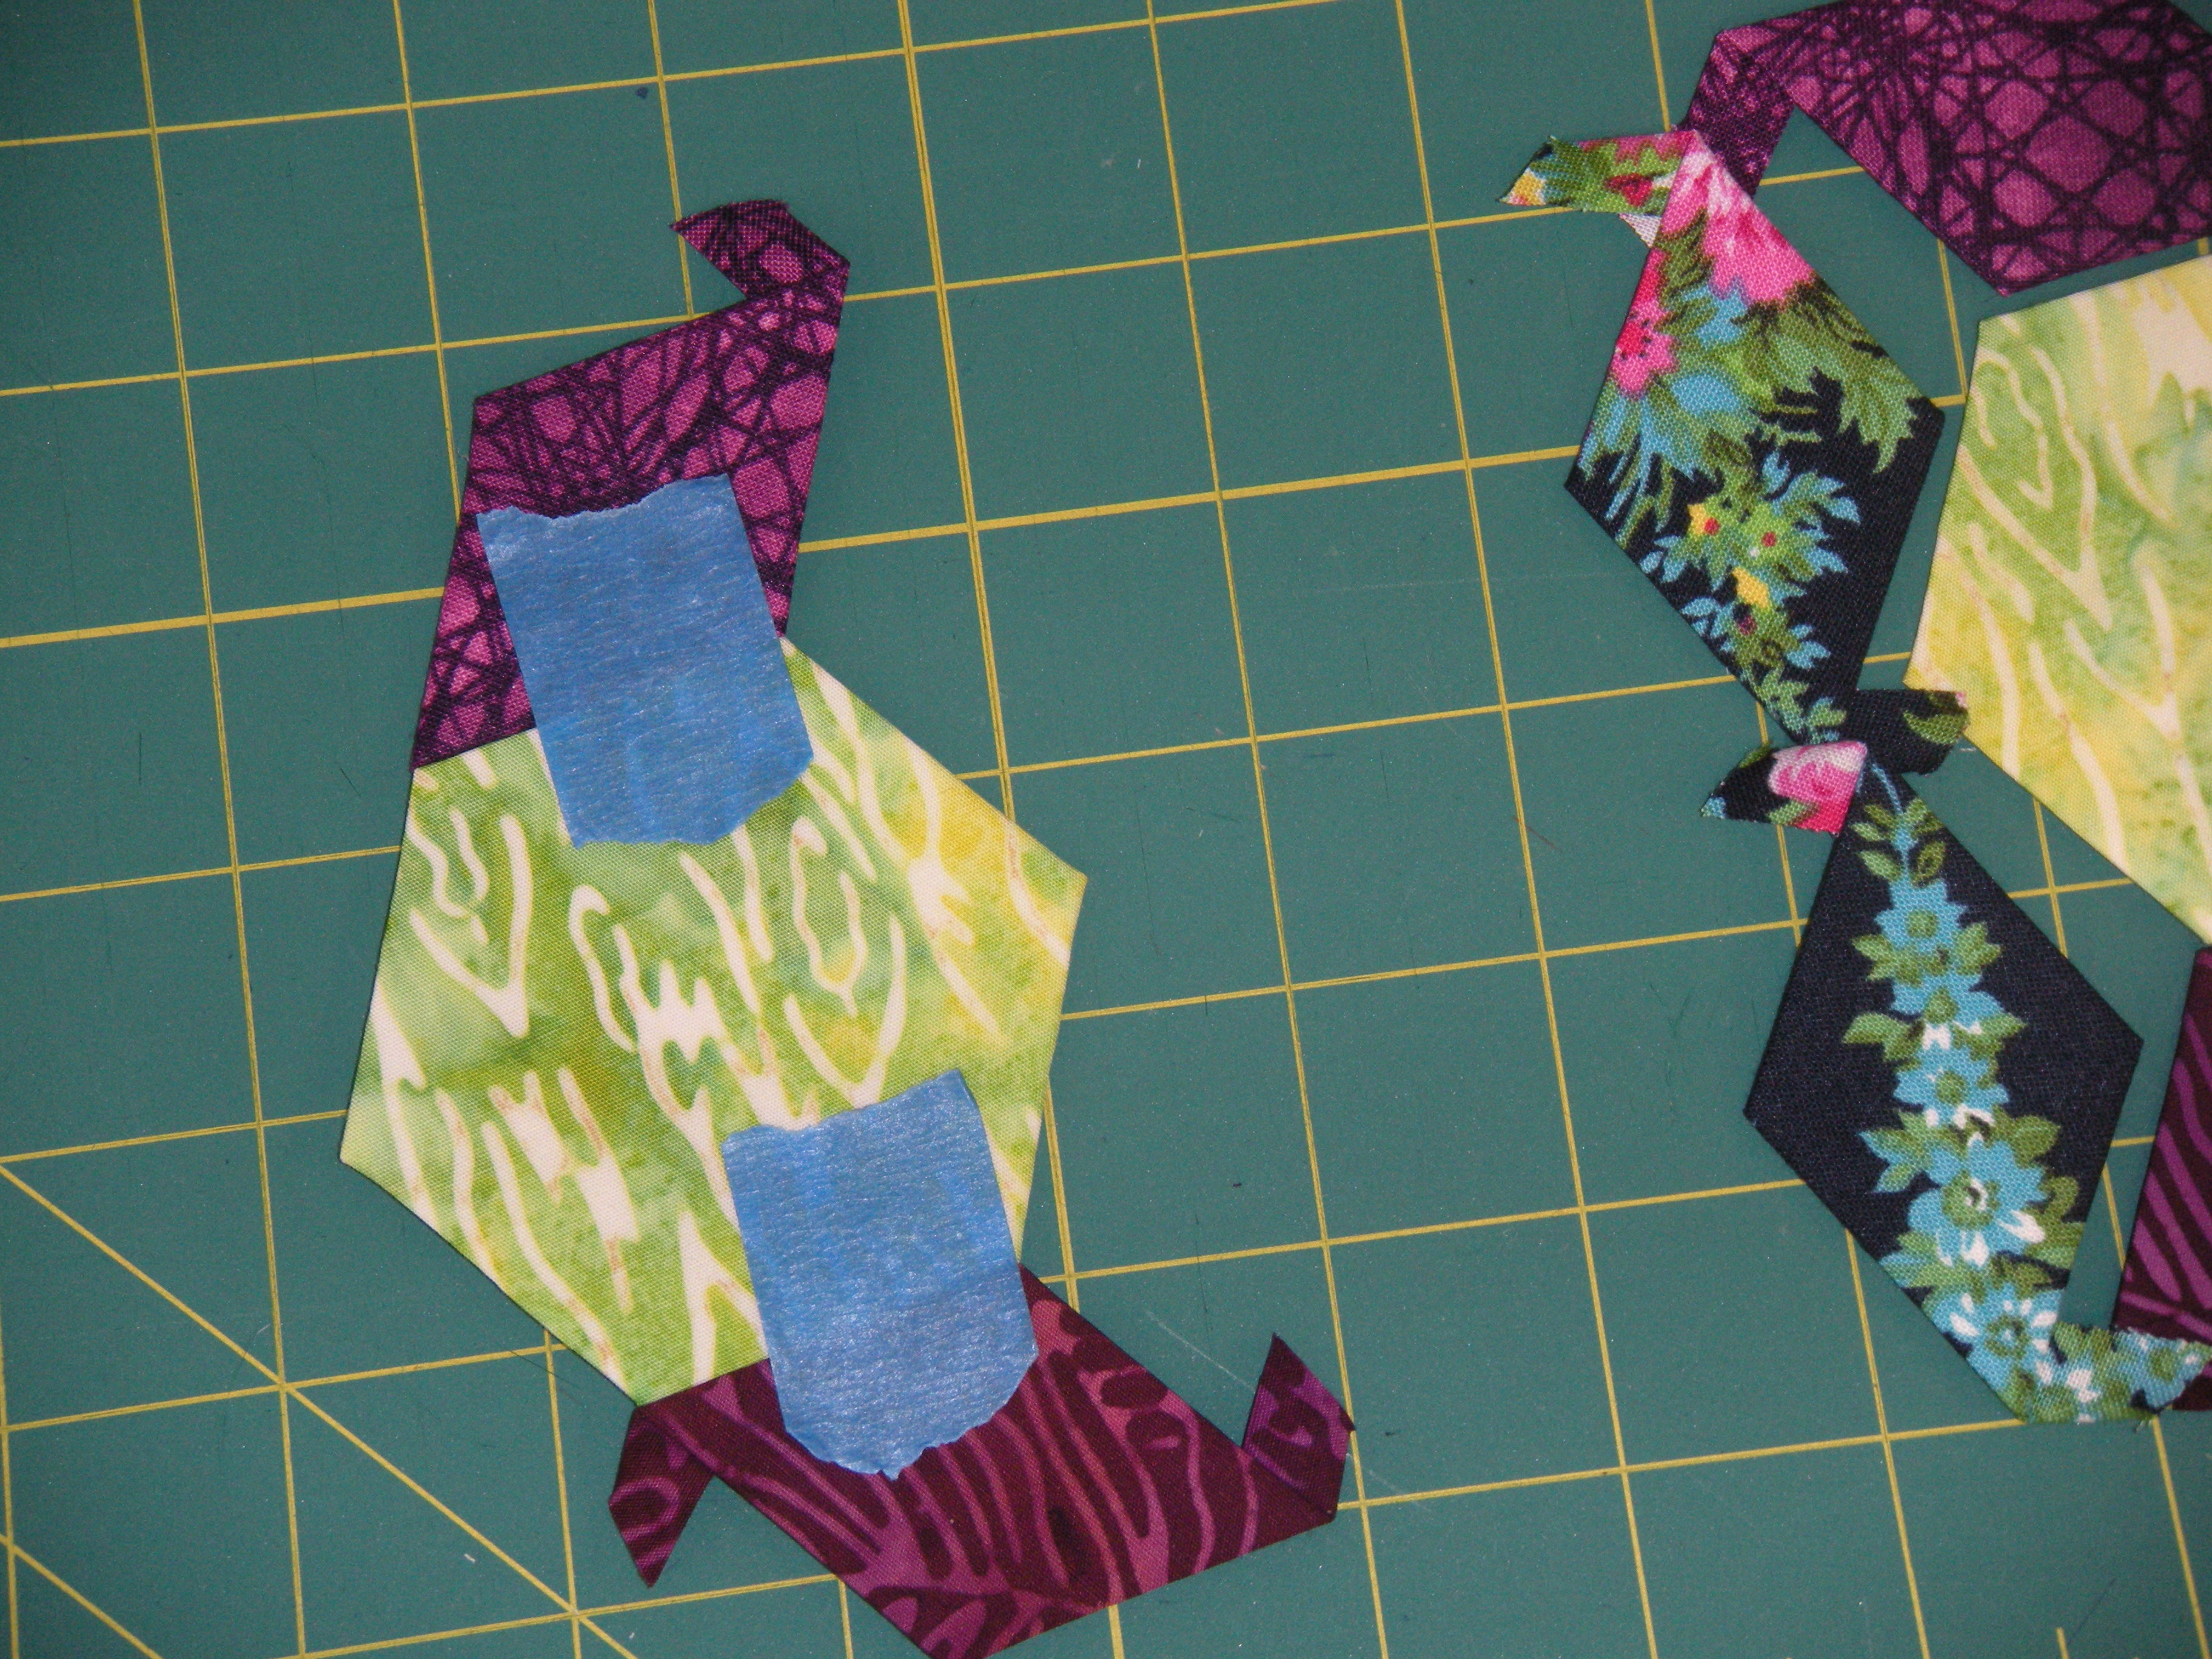
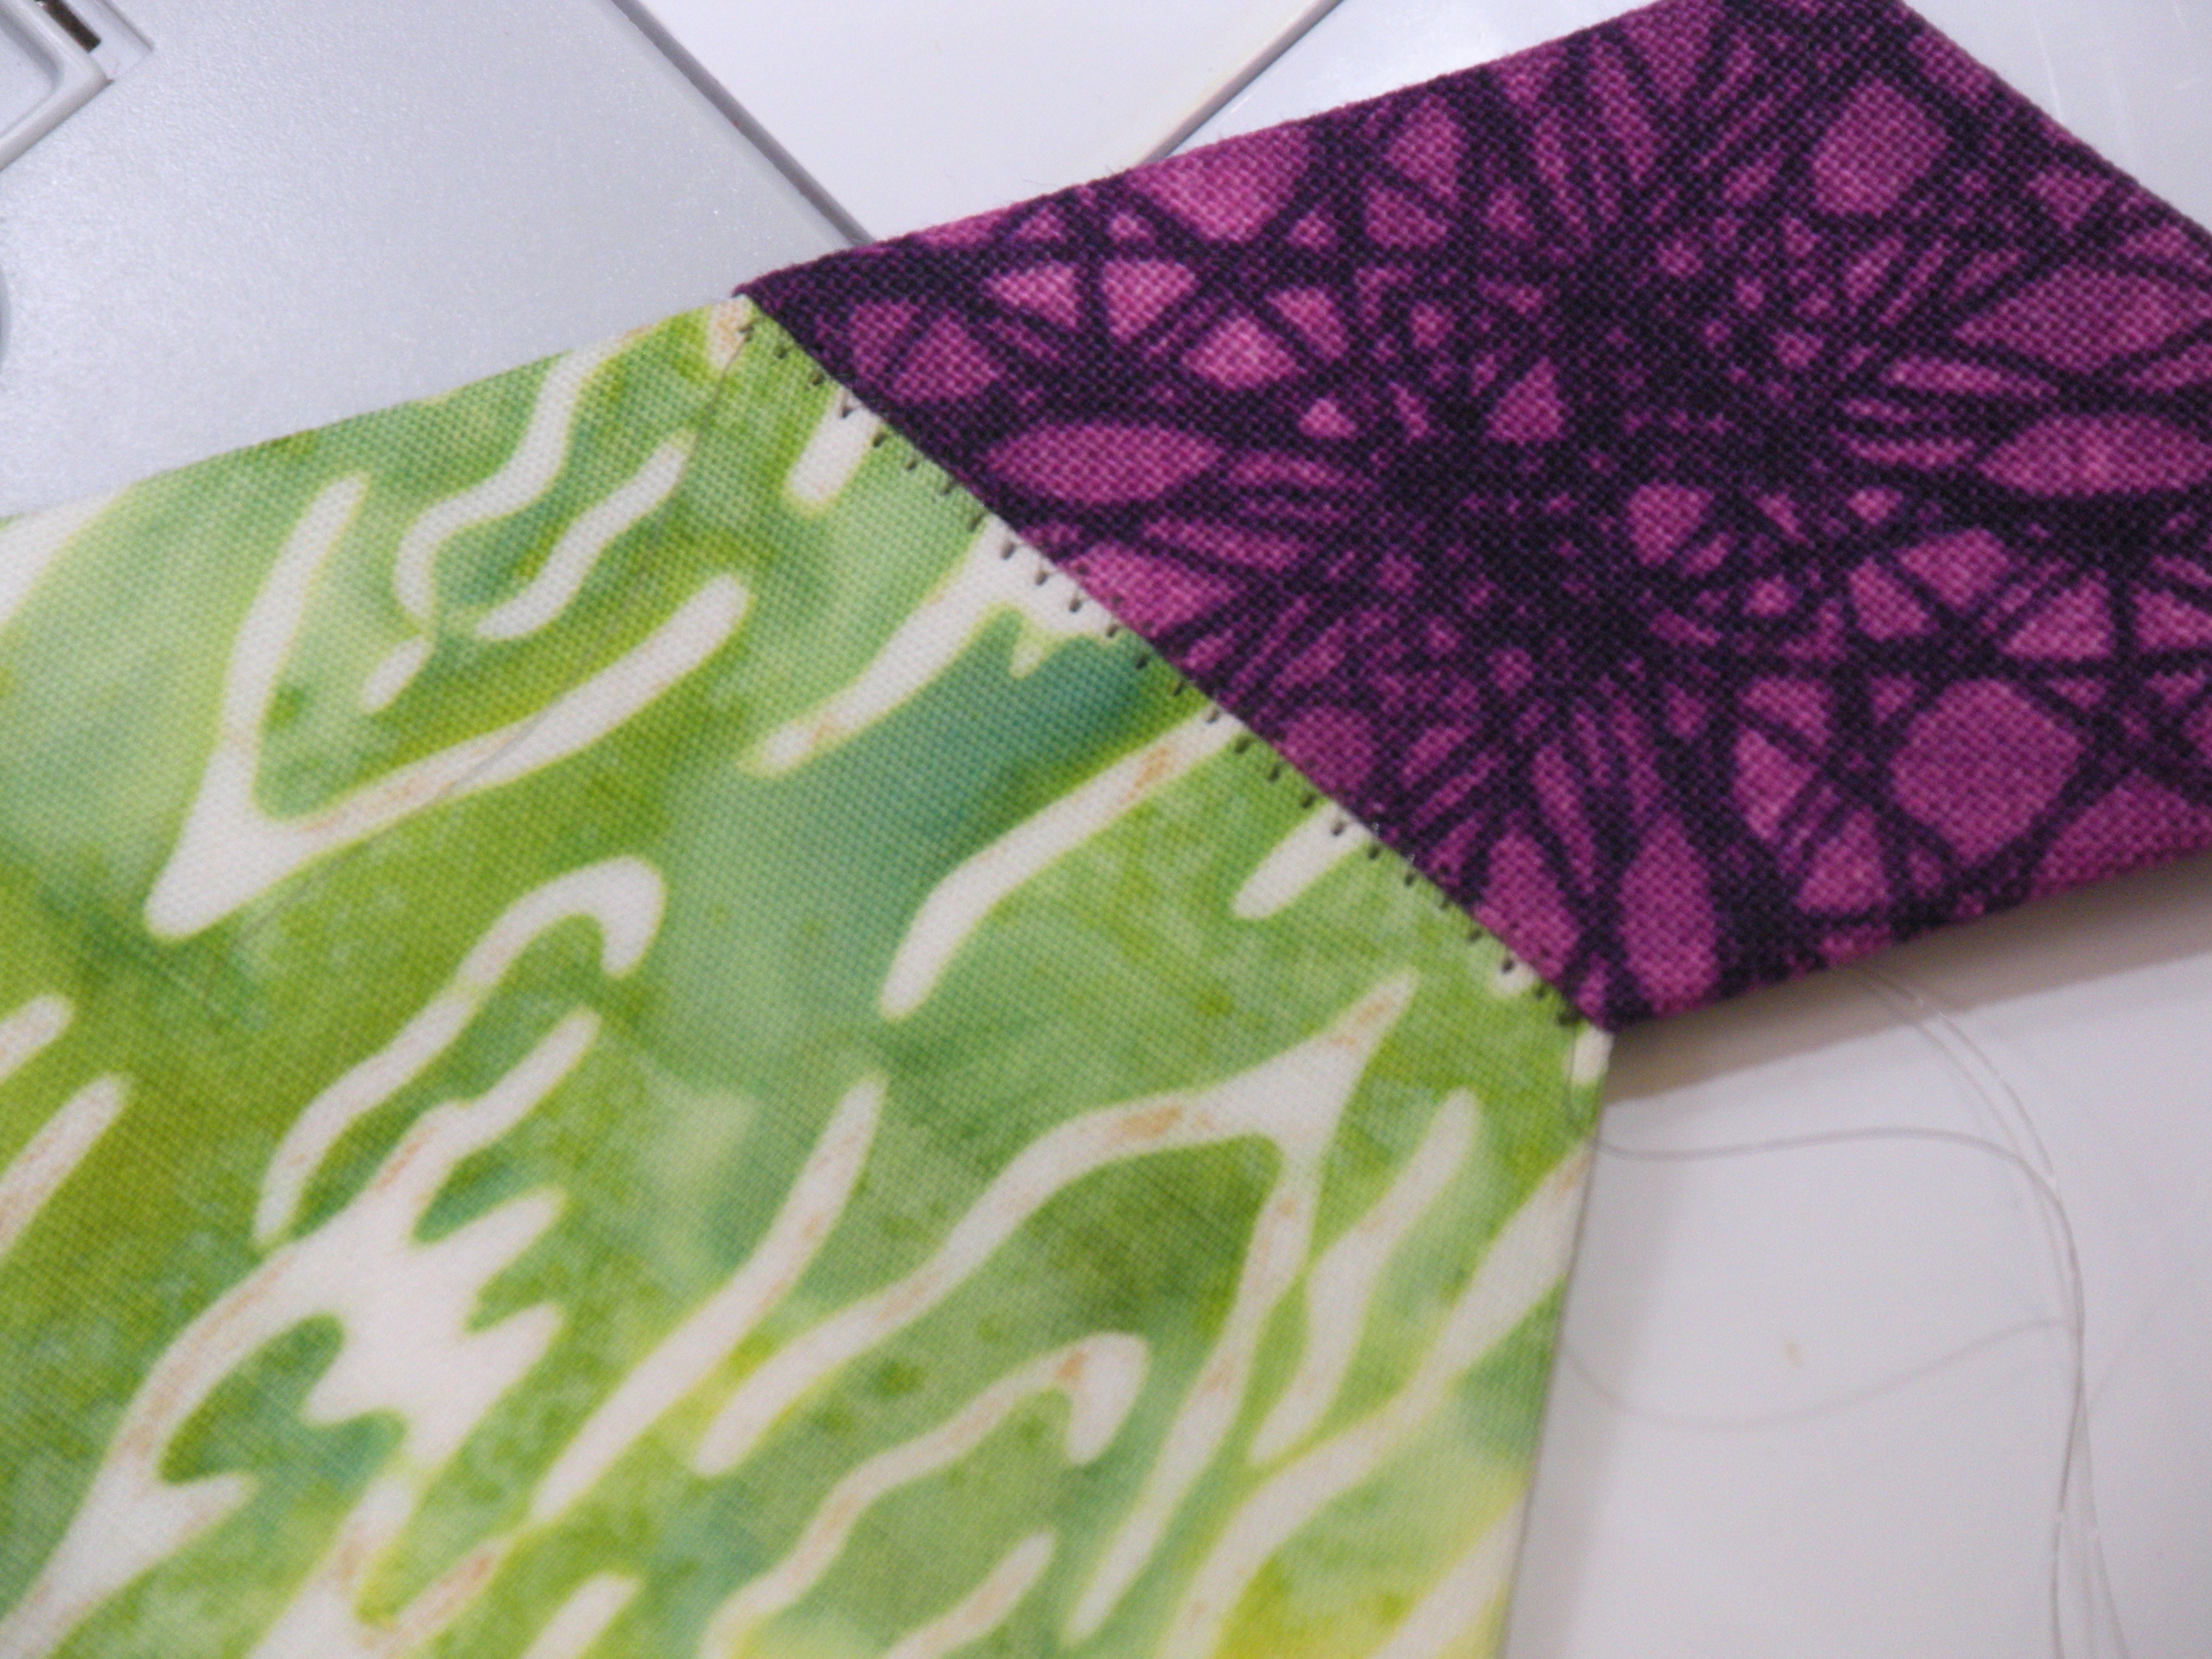
Same procedure as before, removing tape, pivoting, and lock stitching. This is the same was each of the subsequent blocks will be joined, so tape on your next Marie and go for it!

The stitching to join this block starts at the place where we pivoted sewing our first seam. In other words, at the place where Brandi and Marie both meet the row below. Sorry I don’t have a picture of the start of this seam. The first photo below shows the pivot after the first part of the seam is shown. Notice that this seam will have two pivot points.


Time to lather, rinse and repeat my friends. I’ll wait here for you.


That was intermission.
To get the papers out of the back, just follow Katja’s instructions in the book. I am always looking for a reason to use fun tools, so I love an excuse to get out my pointy little awl.
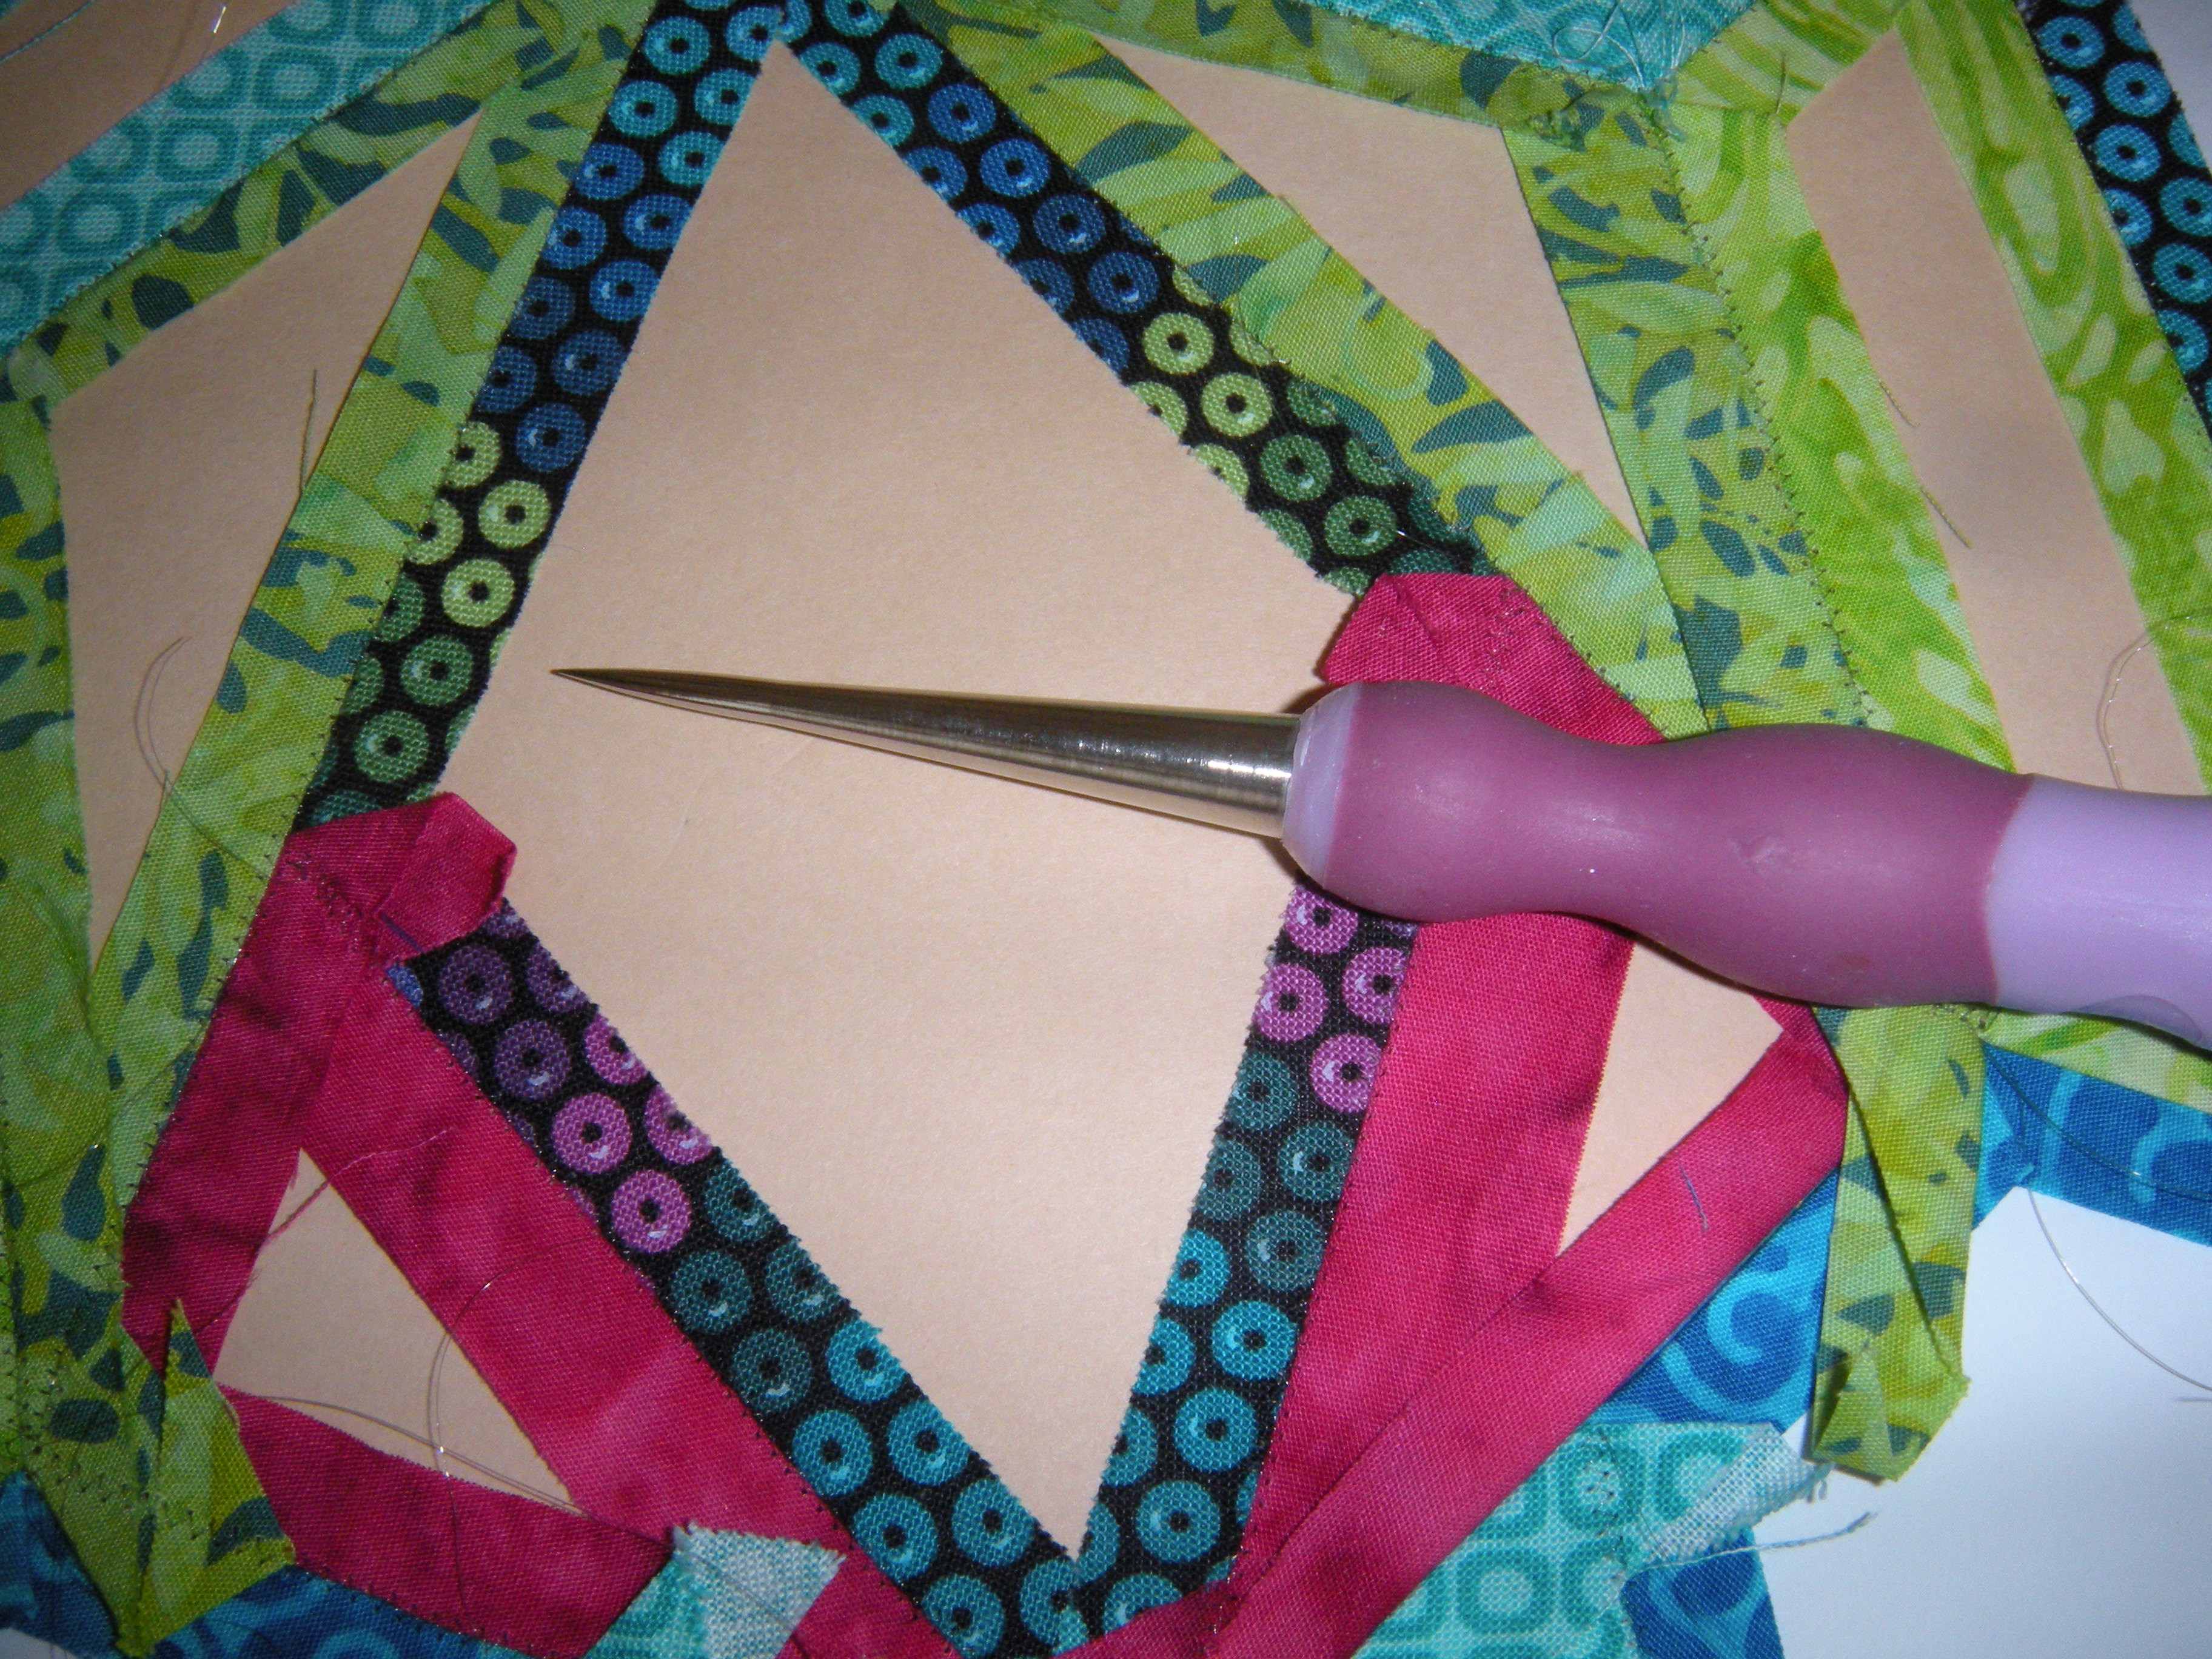


Think of this like paper dolls, the kind that punch out. I always loved those as a kid. The papers have been stitched in around the edges, but they are now perforated. Gently pull on them, and if they don’t release right away, punch them out!
What more would it take to convince you to try this? Go buy that book. Dig through your collection. You know you want to.
Now go make something pretty!