

This process rocks! I hope some of you have had a chance to try it! I am still amazed and pleased with the results. First, a re-cap of part one and some questions that have come up. Then, on to part two, sure to have your project speeding along.

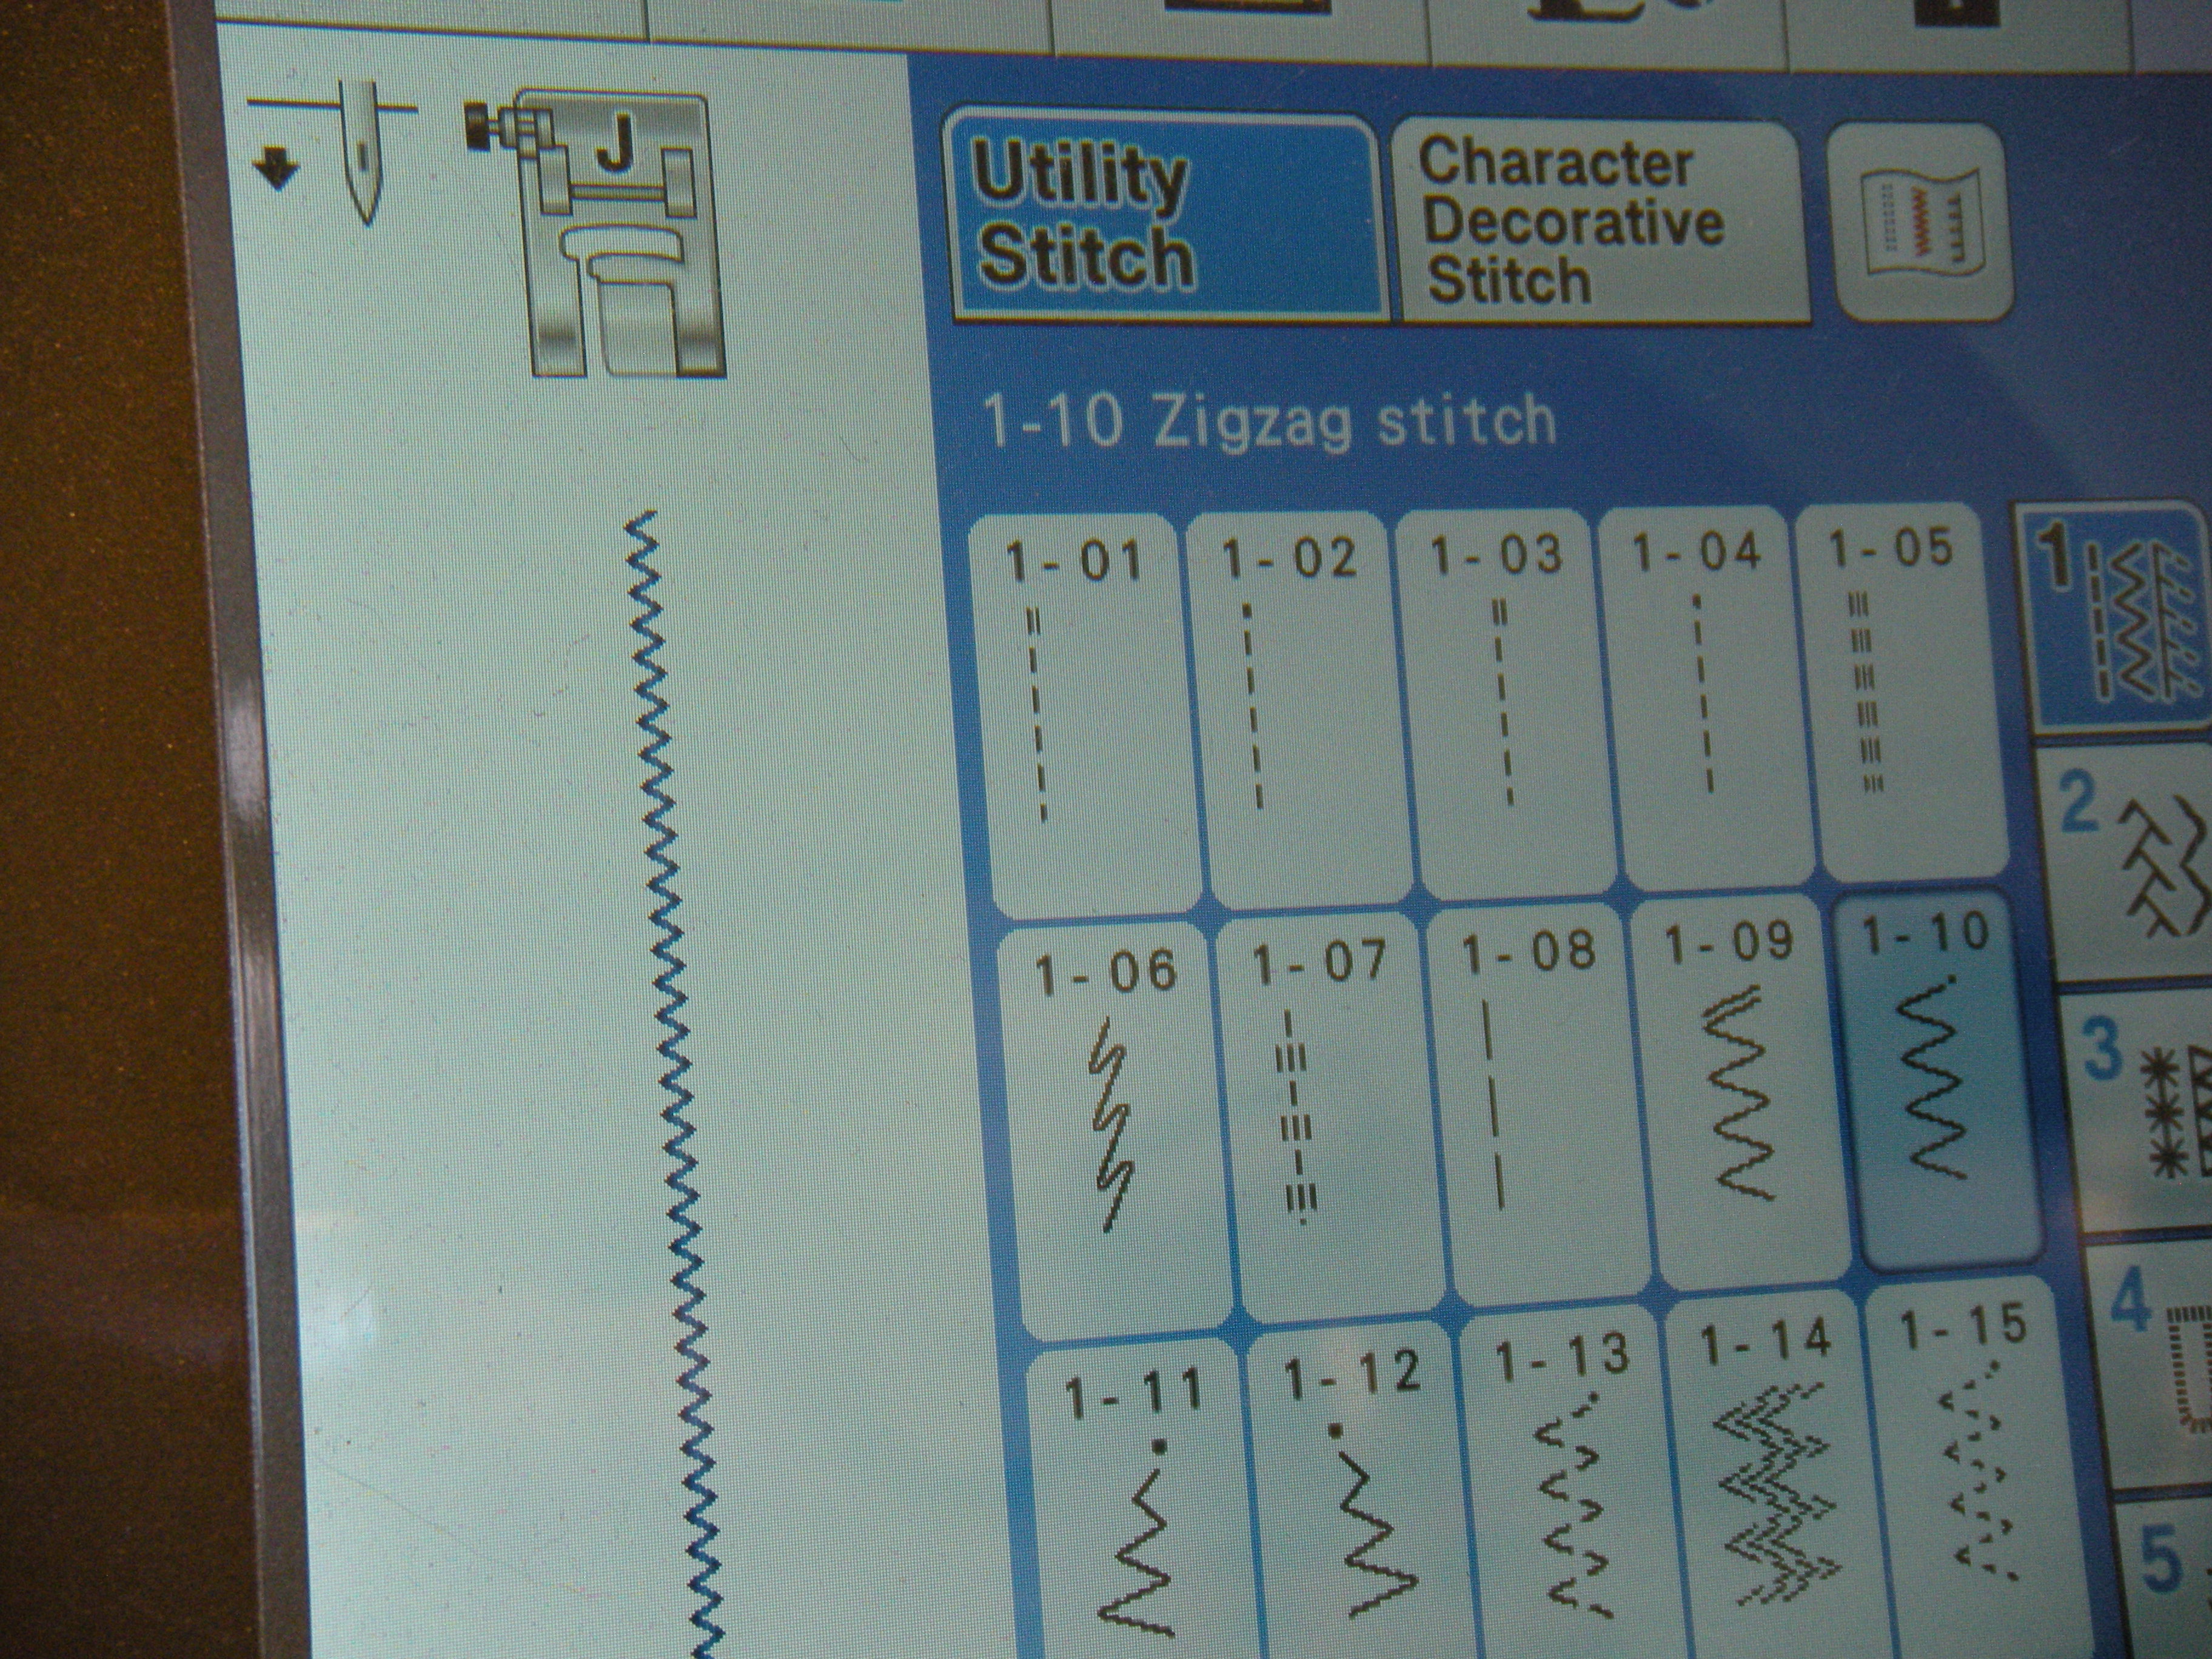
Short and narrow zig-zag stitch. Got your thin, sharp needle loaded? And the smoke-colored invisible thread? There’s a reason I’m using the smoke-colored instead of the clear invisible thread. Smoke blends right into the fabric, the clear stuff looks shiny. Always use a lockstitch (stitch 2 or 3 times in the same hole) at the beginning and end of each seam. Don’t cut the threads short – I leave mine 2 or 3 inches. We don’t want scratchy whiskers on the rosettes!
And if you have somehow made it this far, yet don’t know what we are talking about, head over to Katja’s website and learn more about the New Hexagon Millefiore Quilt-Along. http://www.katjasquiltshoppe.com And definitely check out the FB page The New Hexagon – Millefiore Quilt-Along.
Here we go!
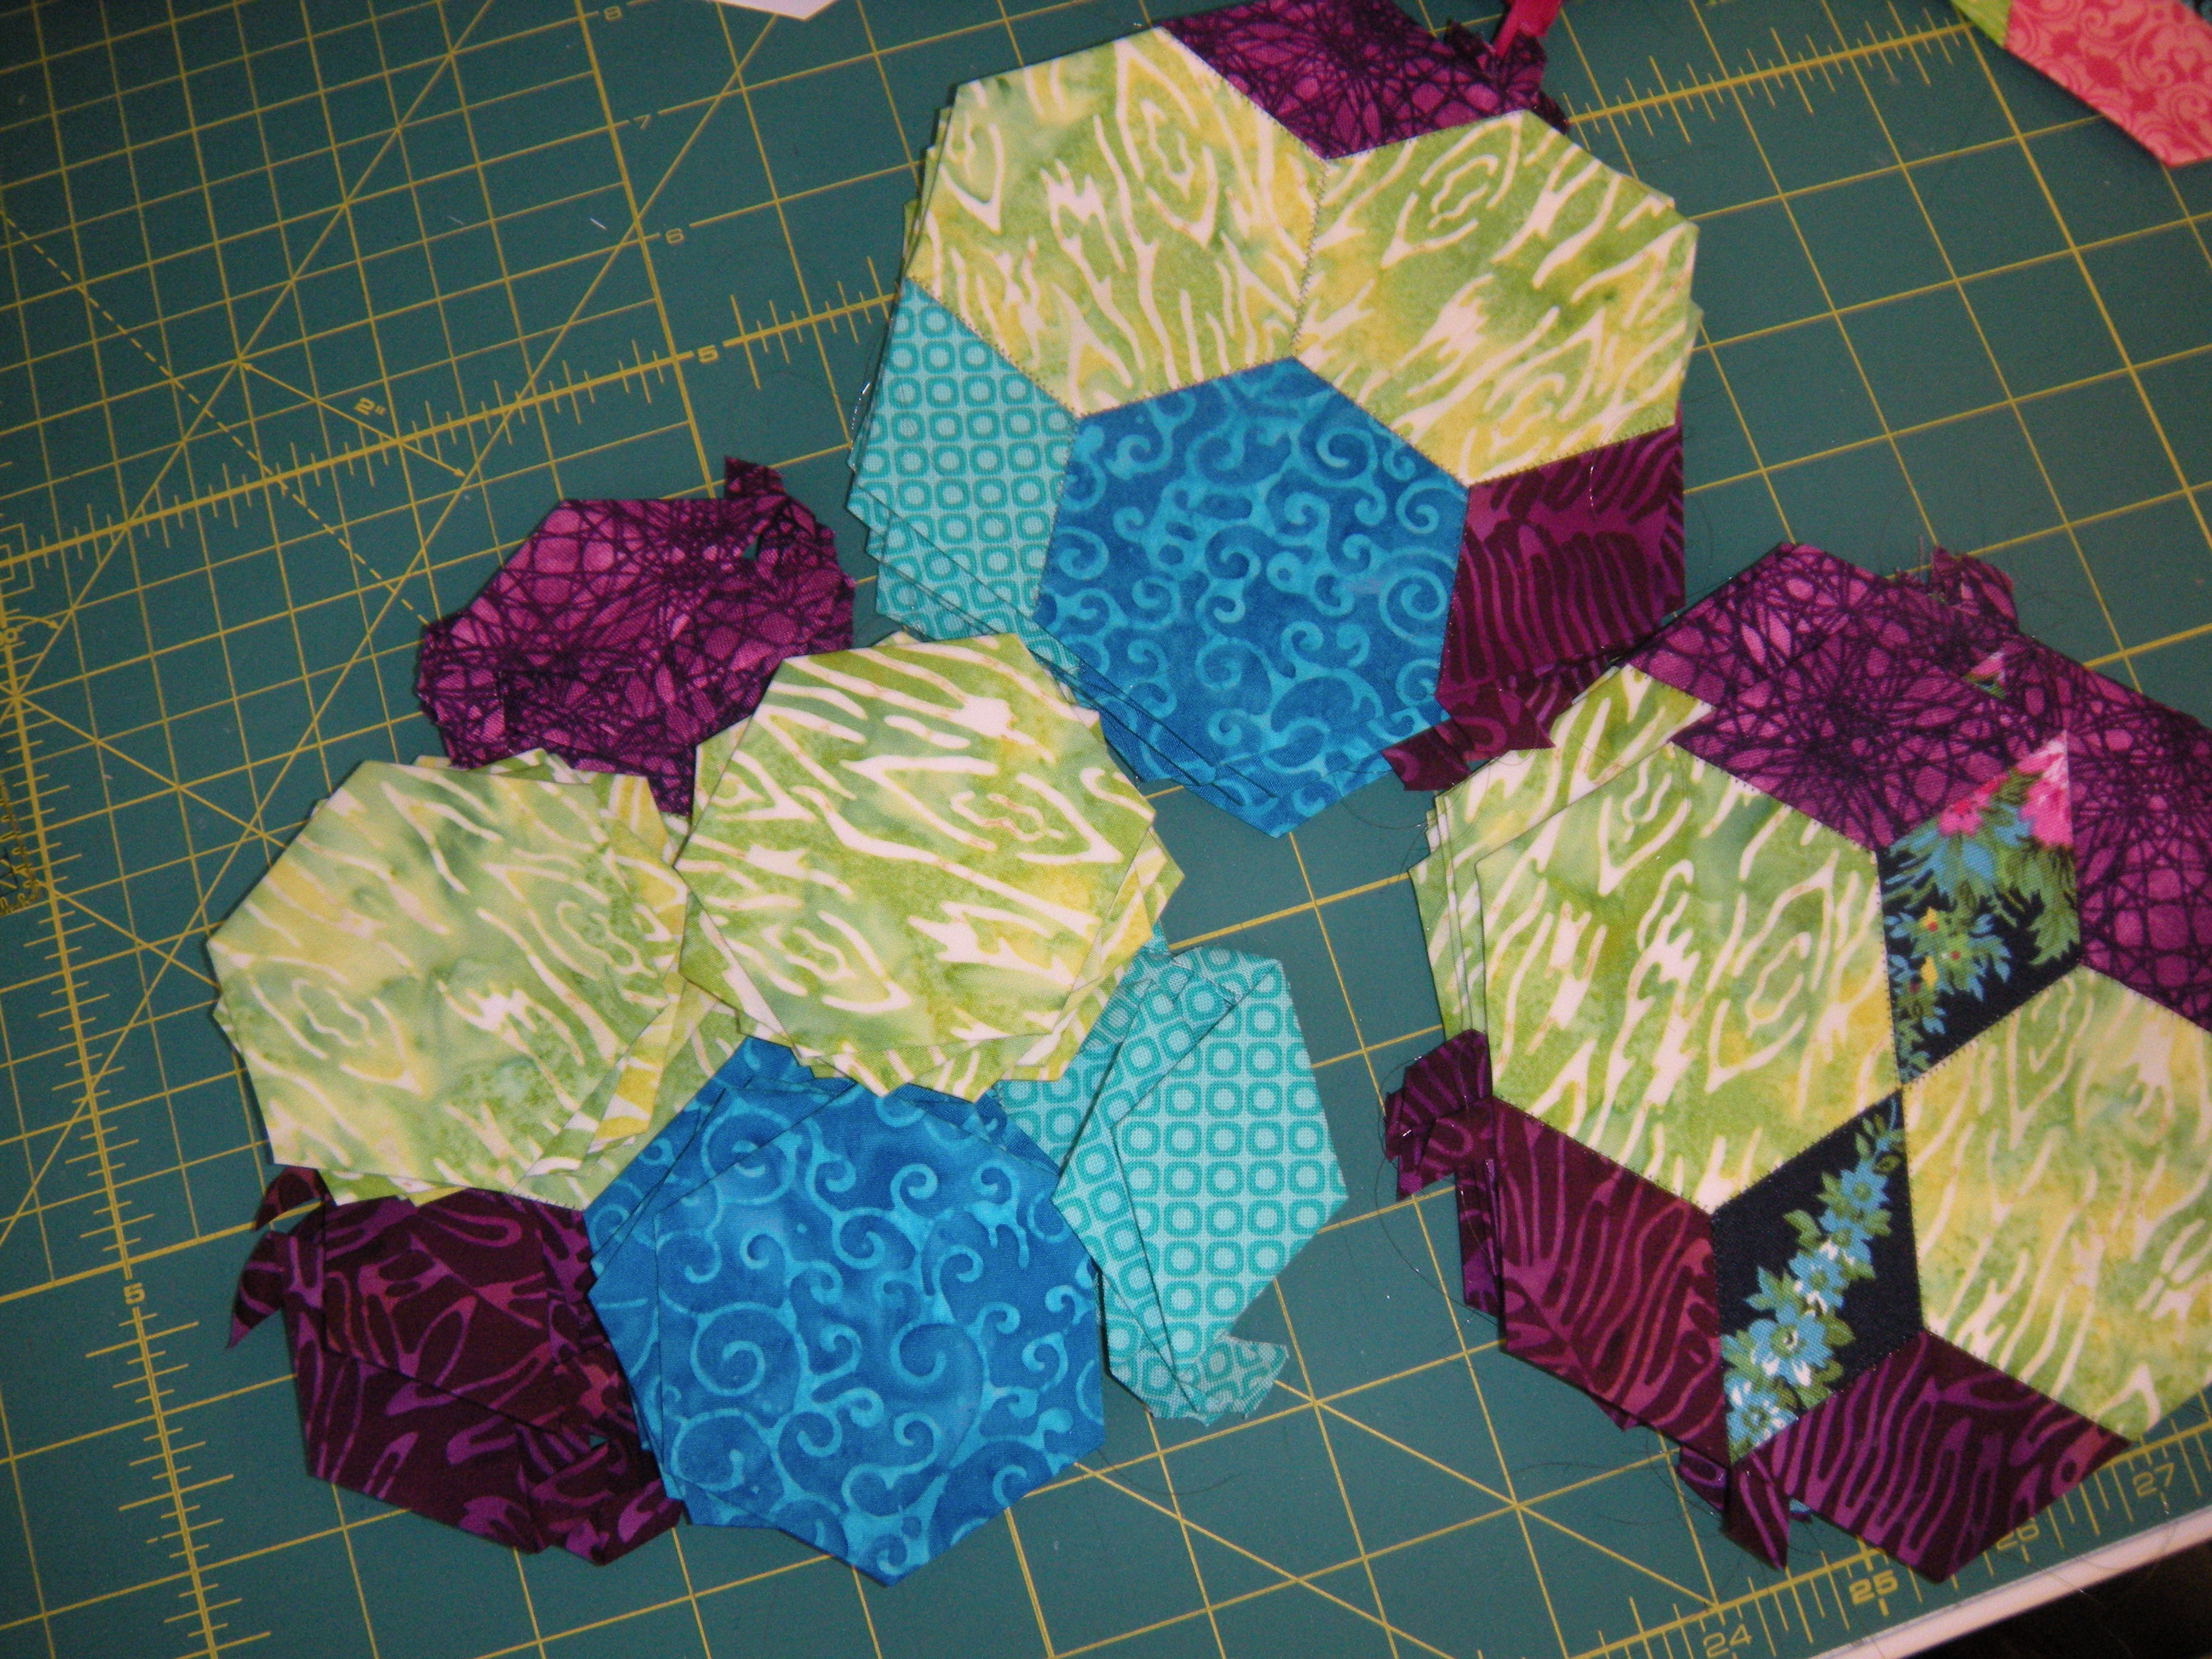


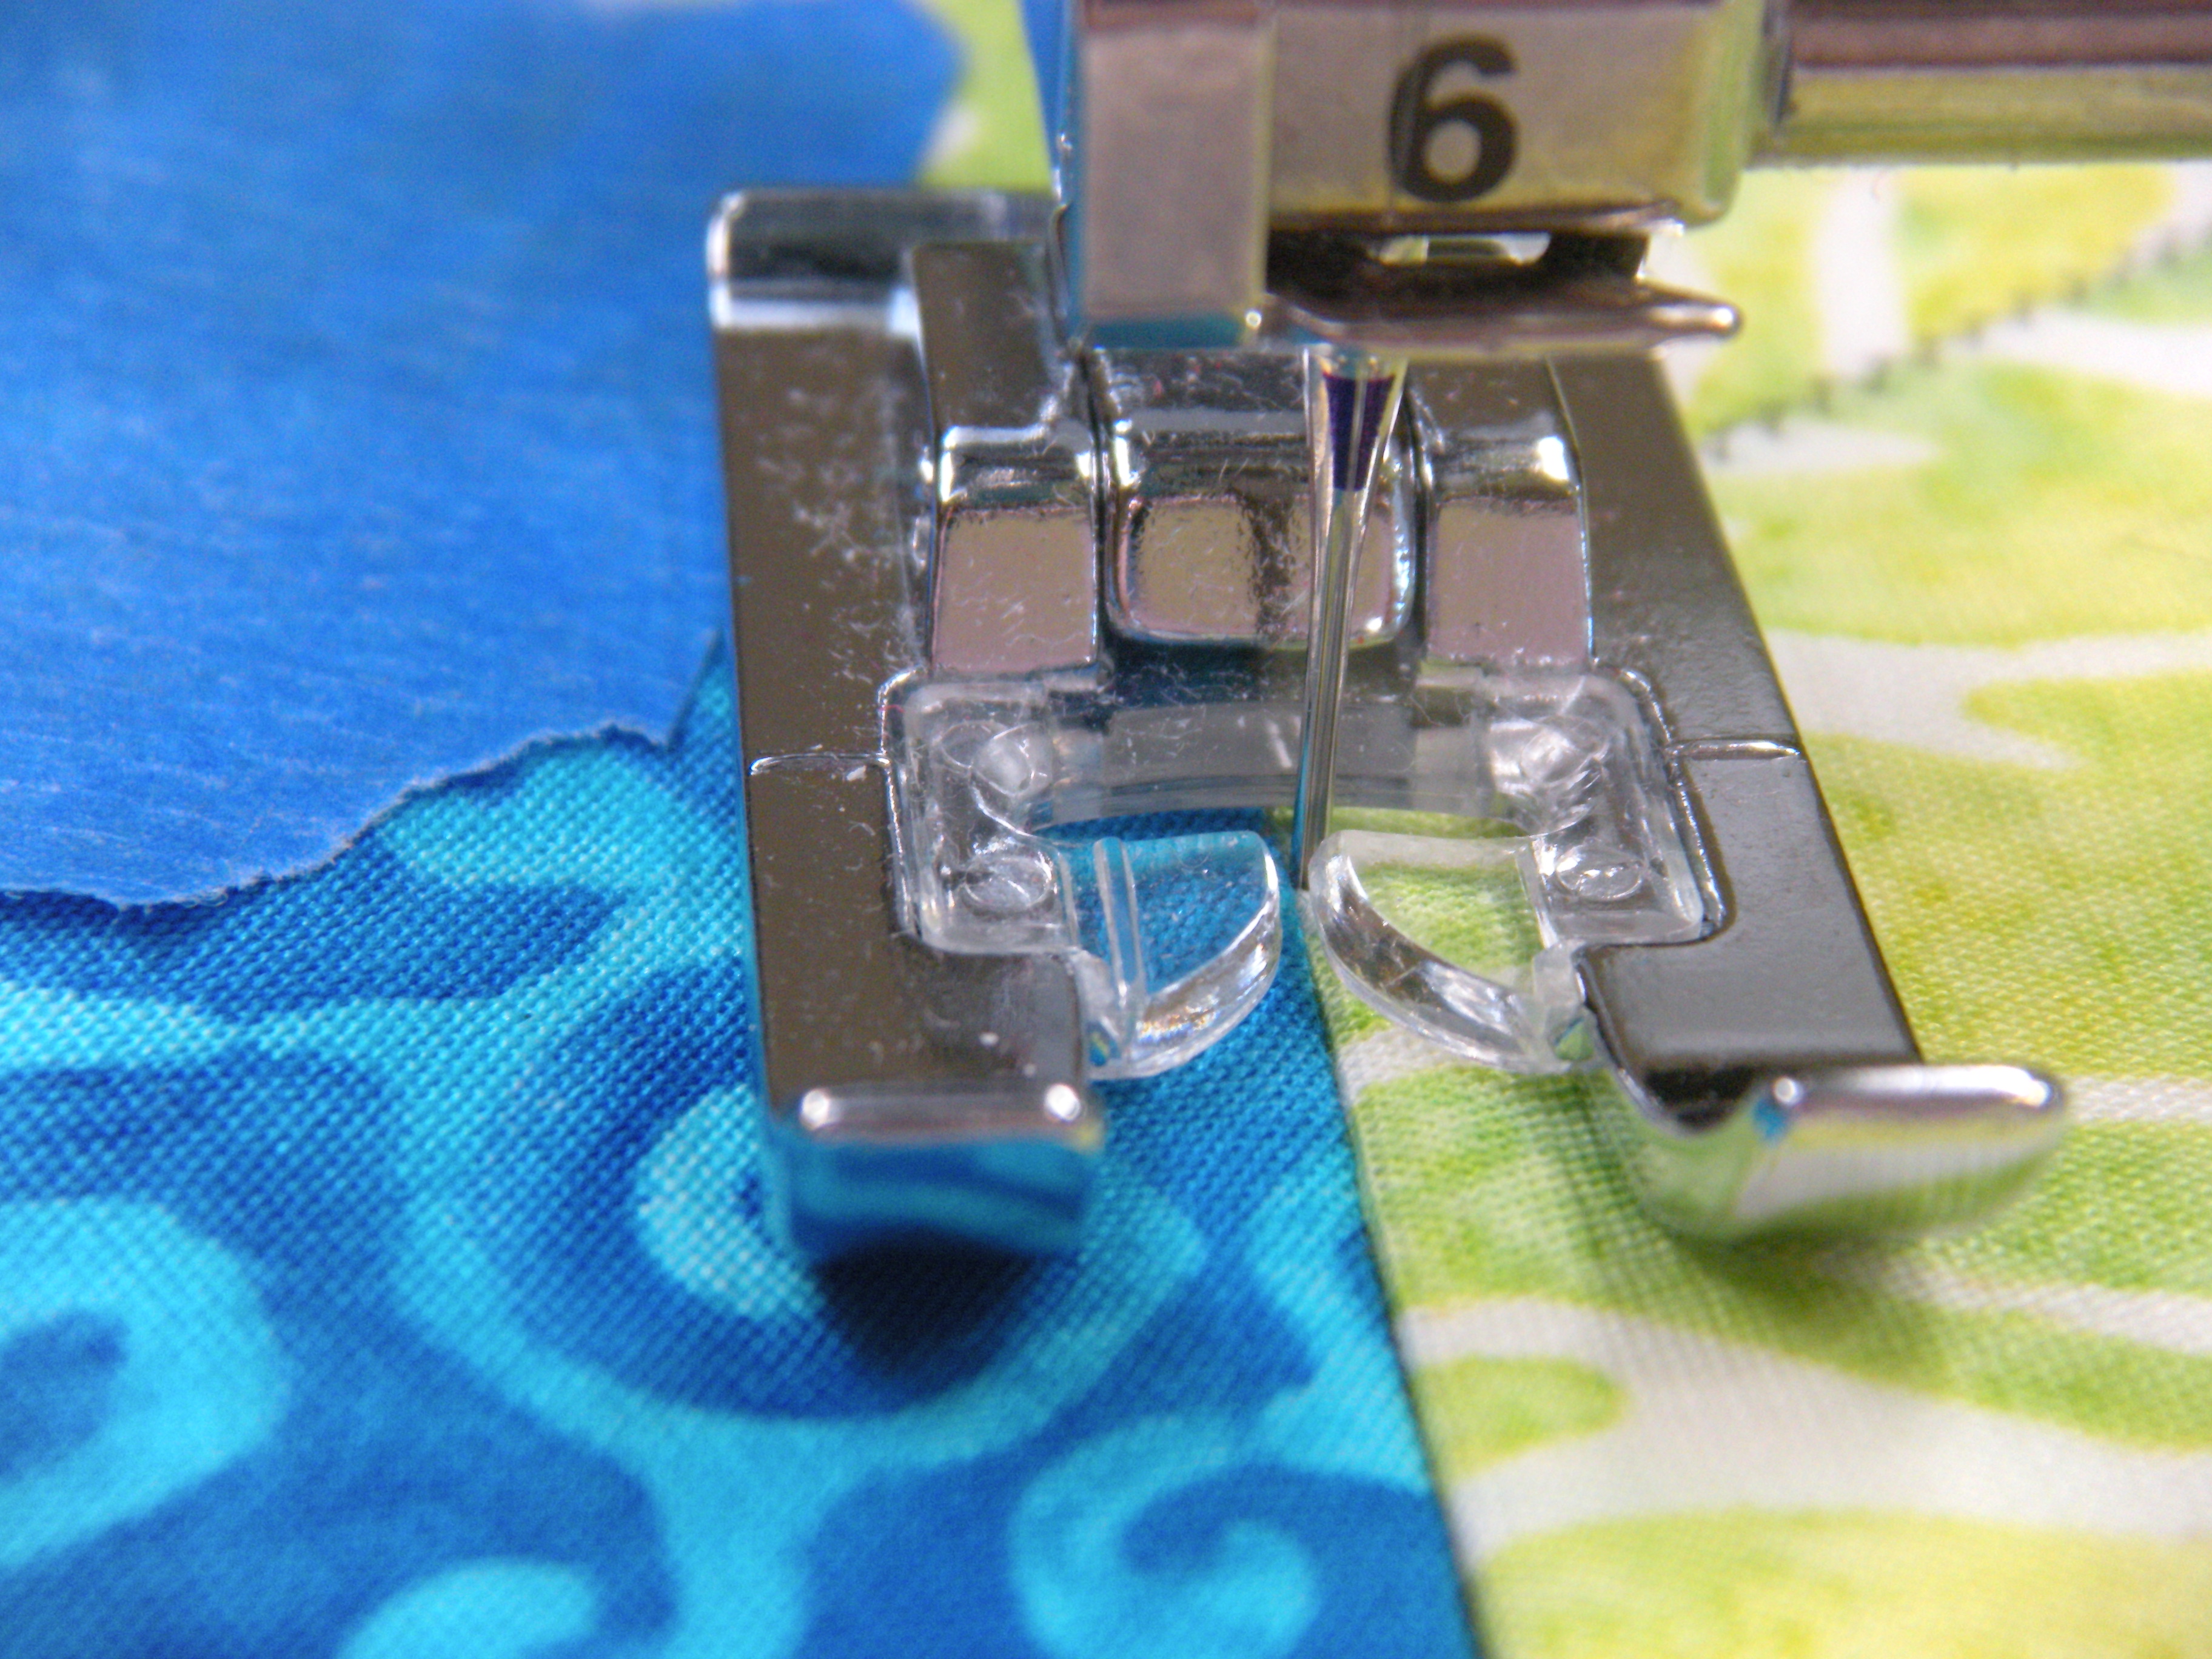
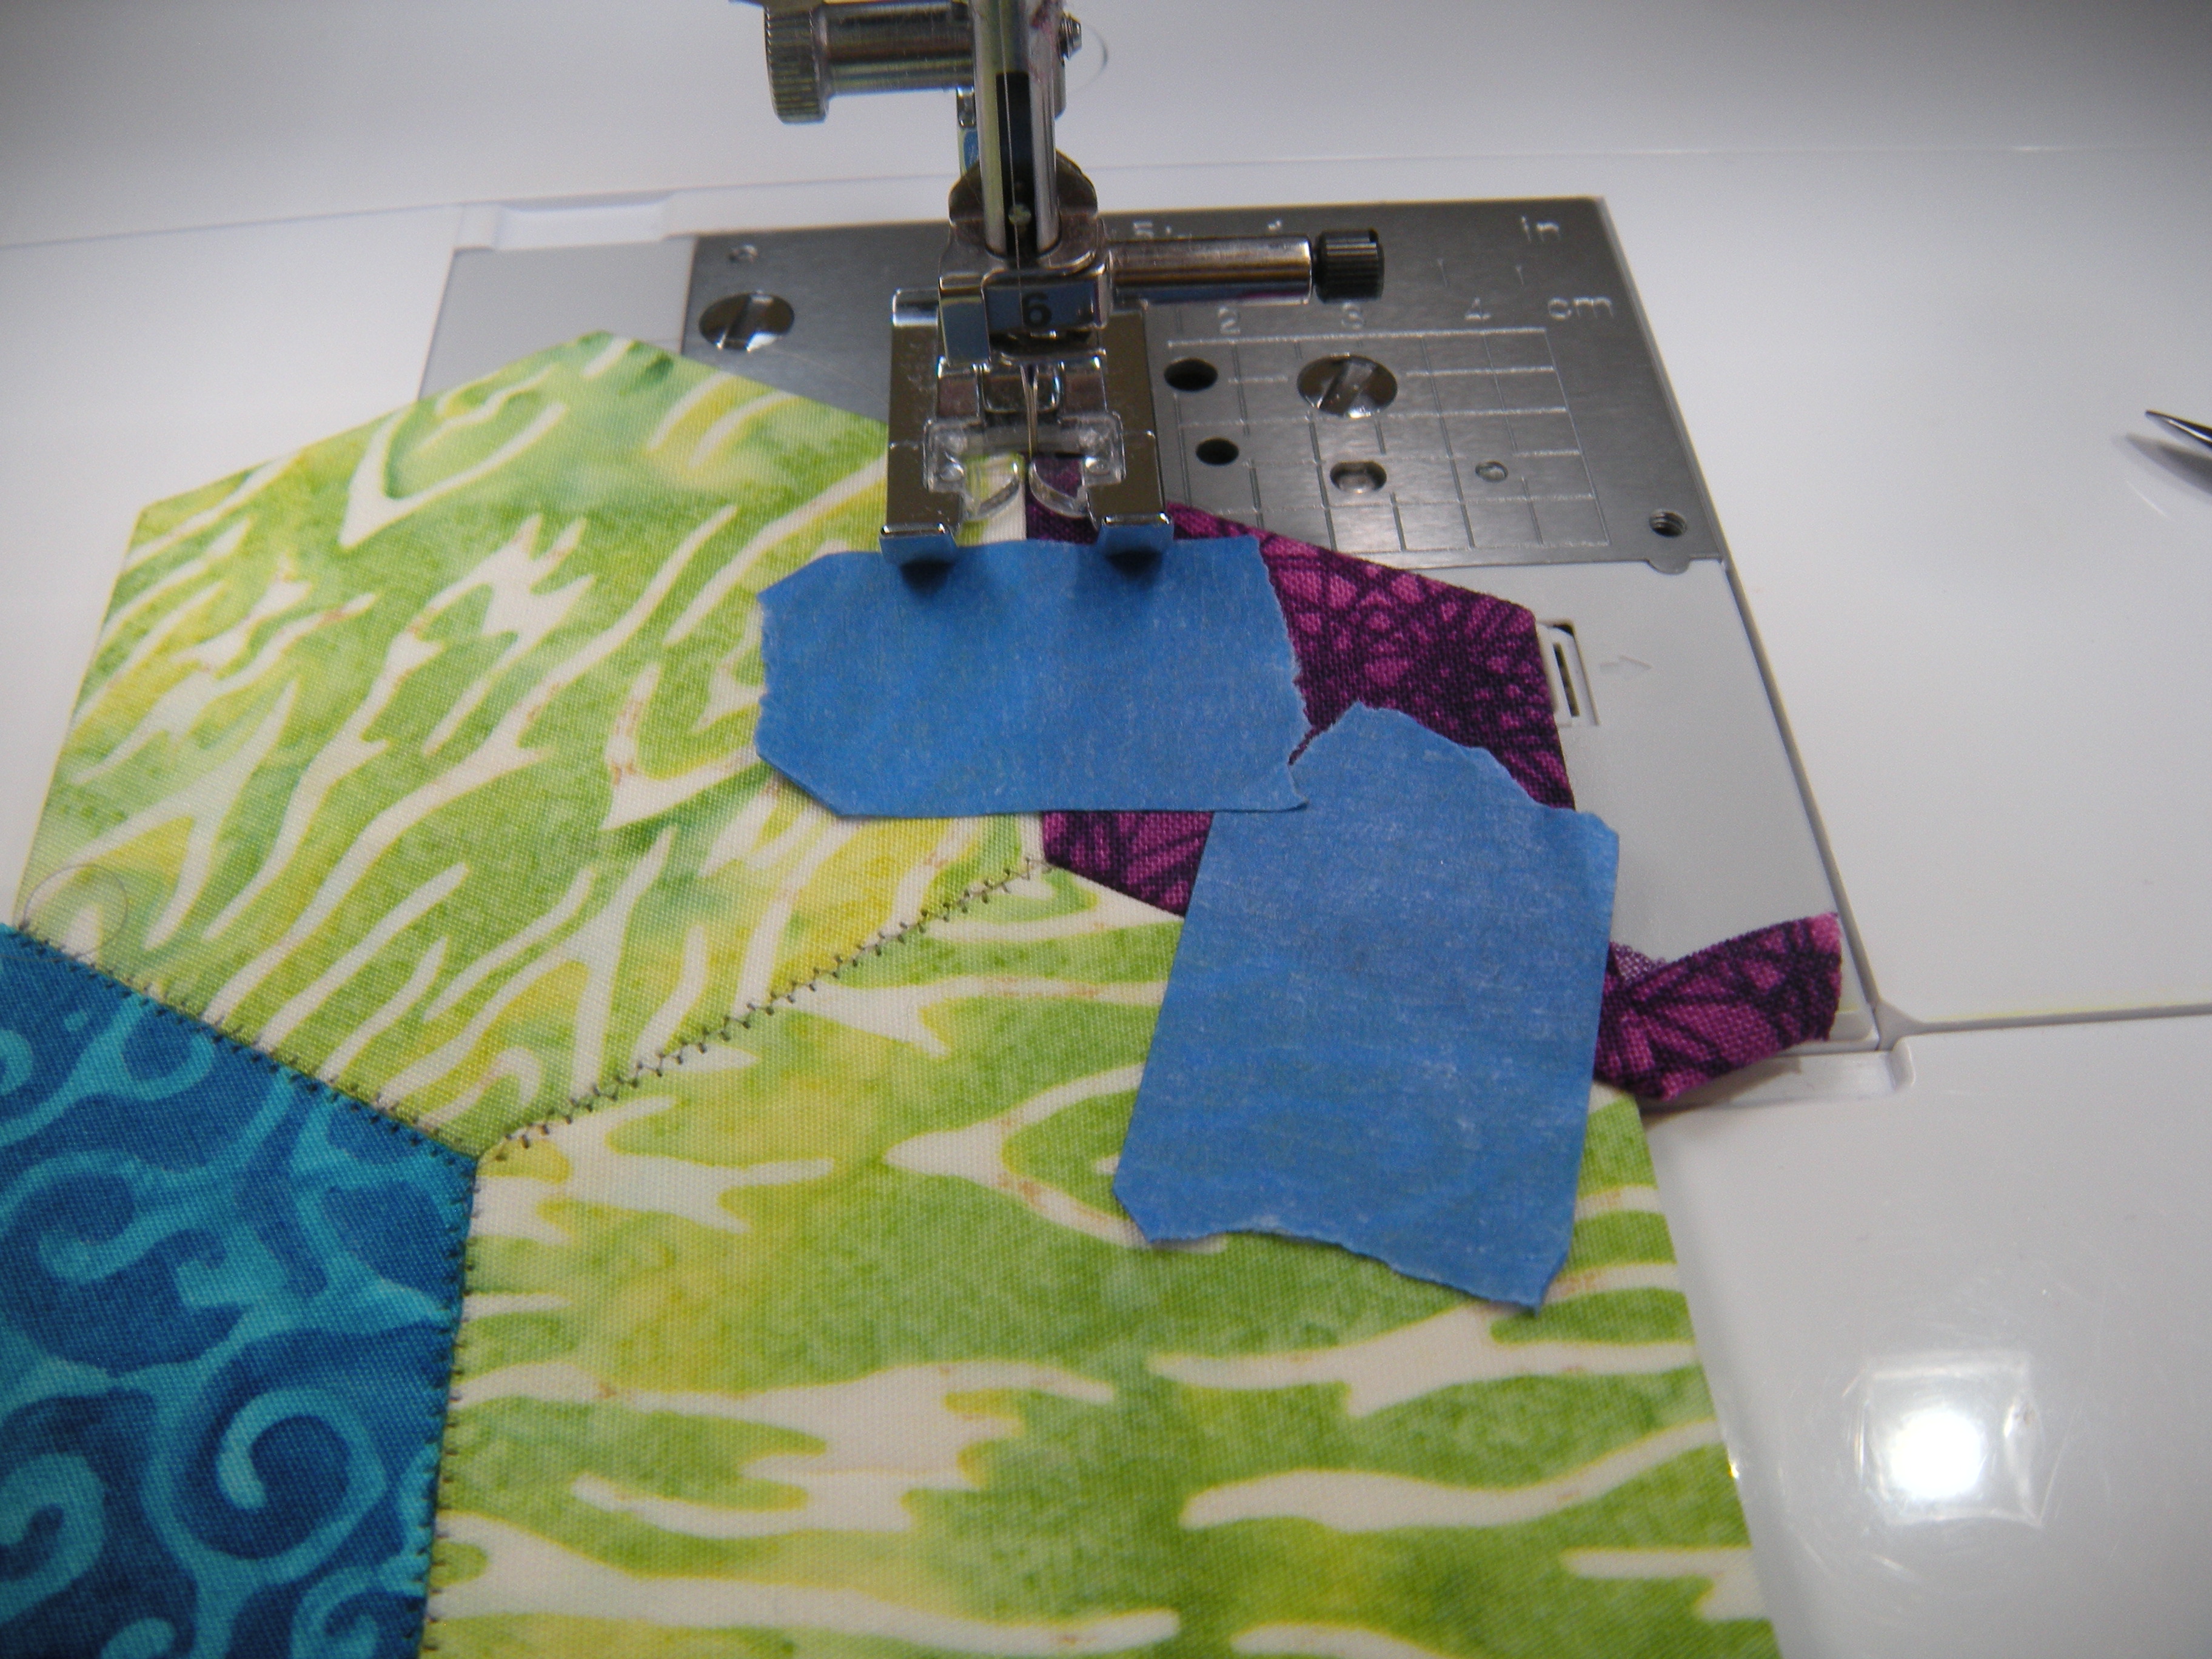
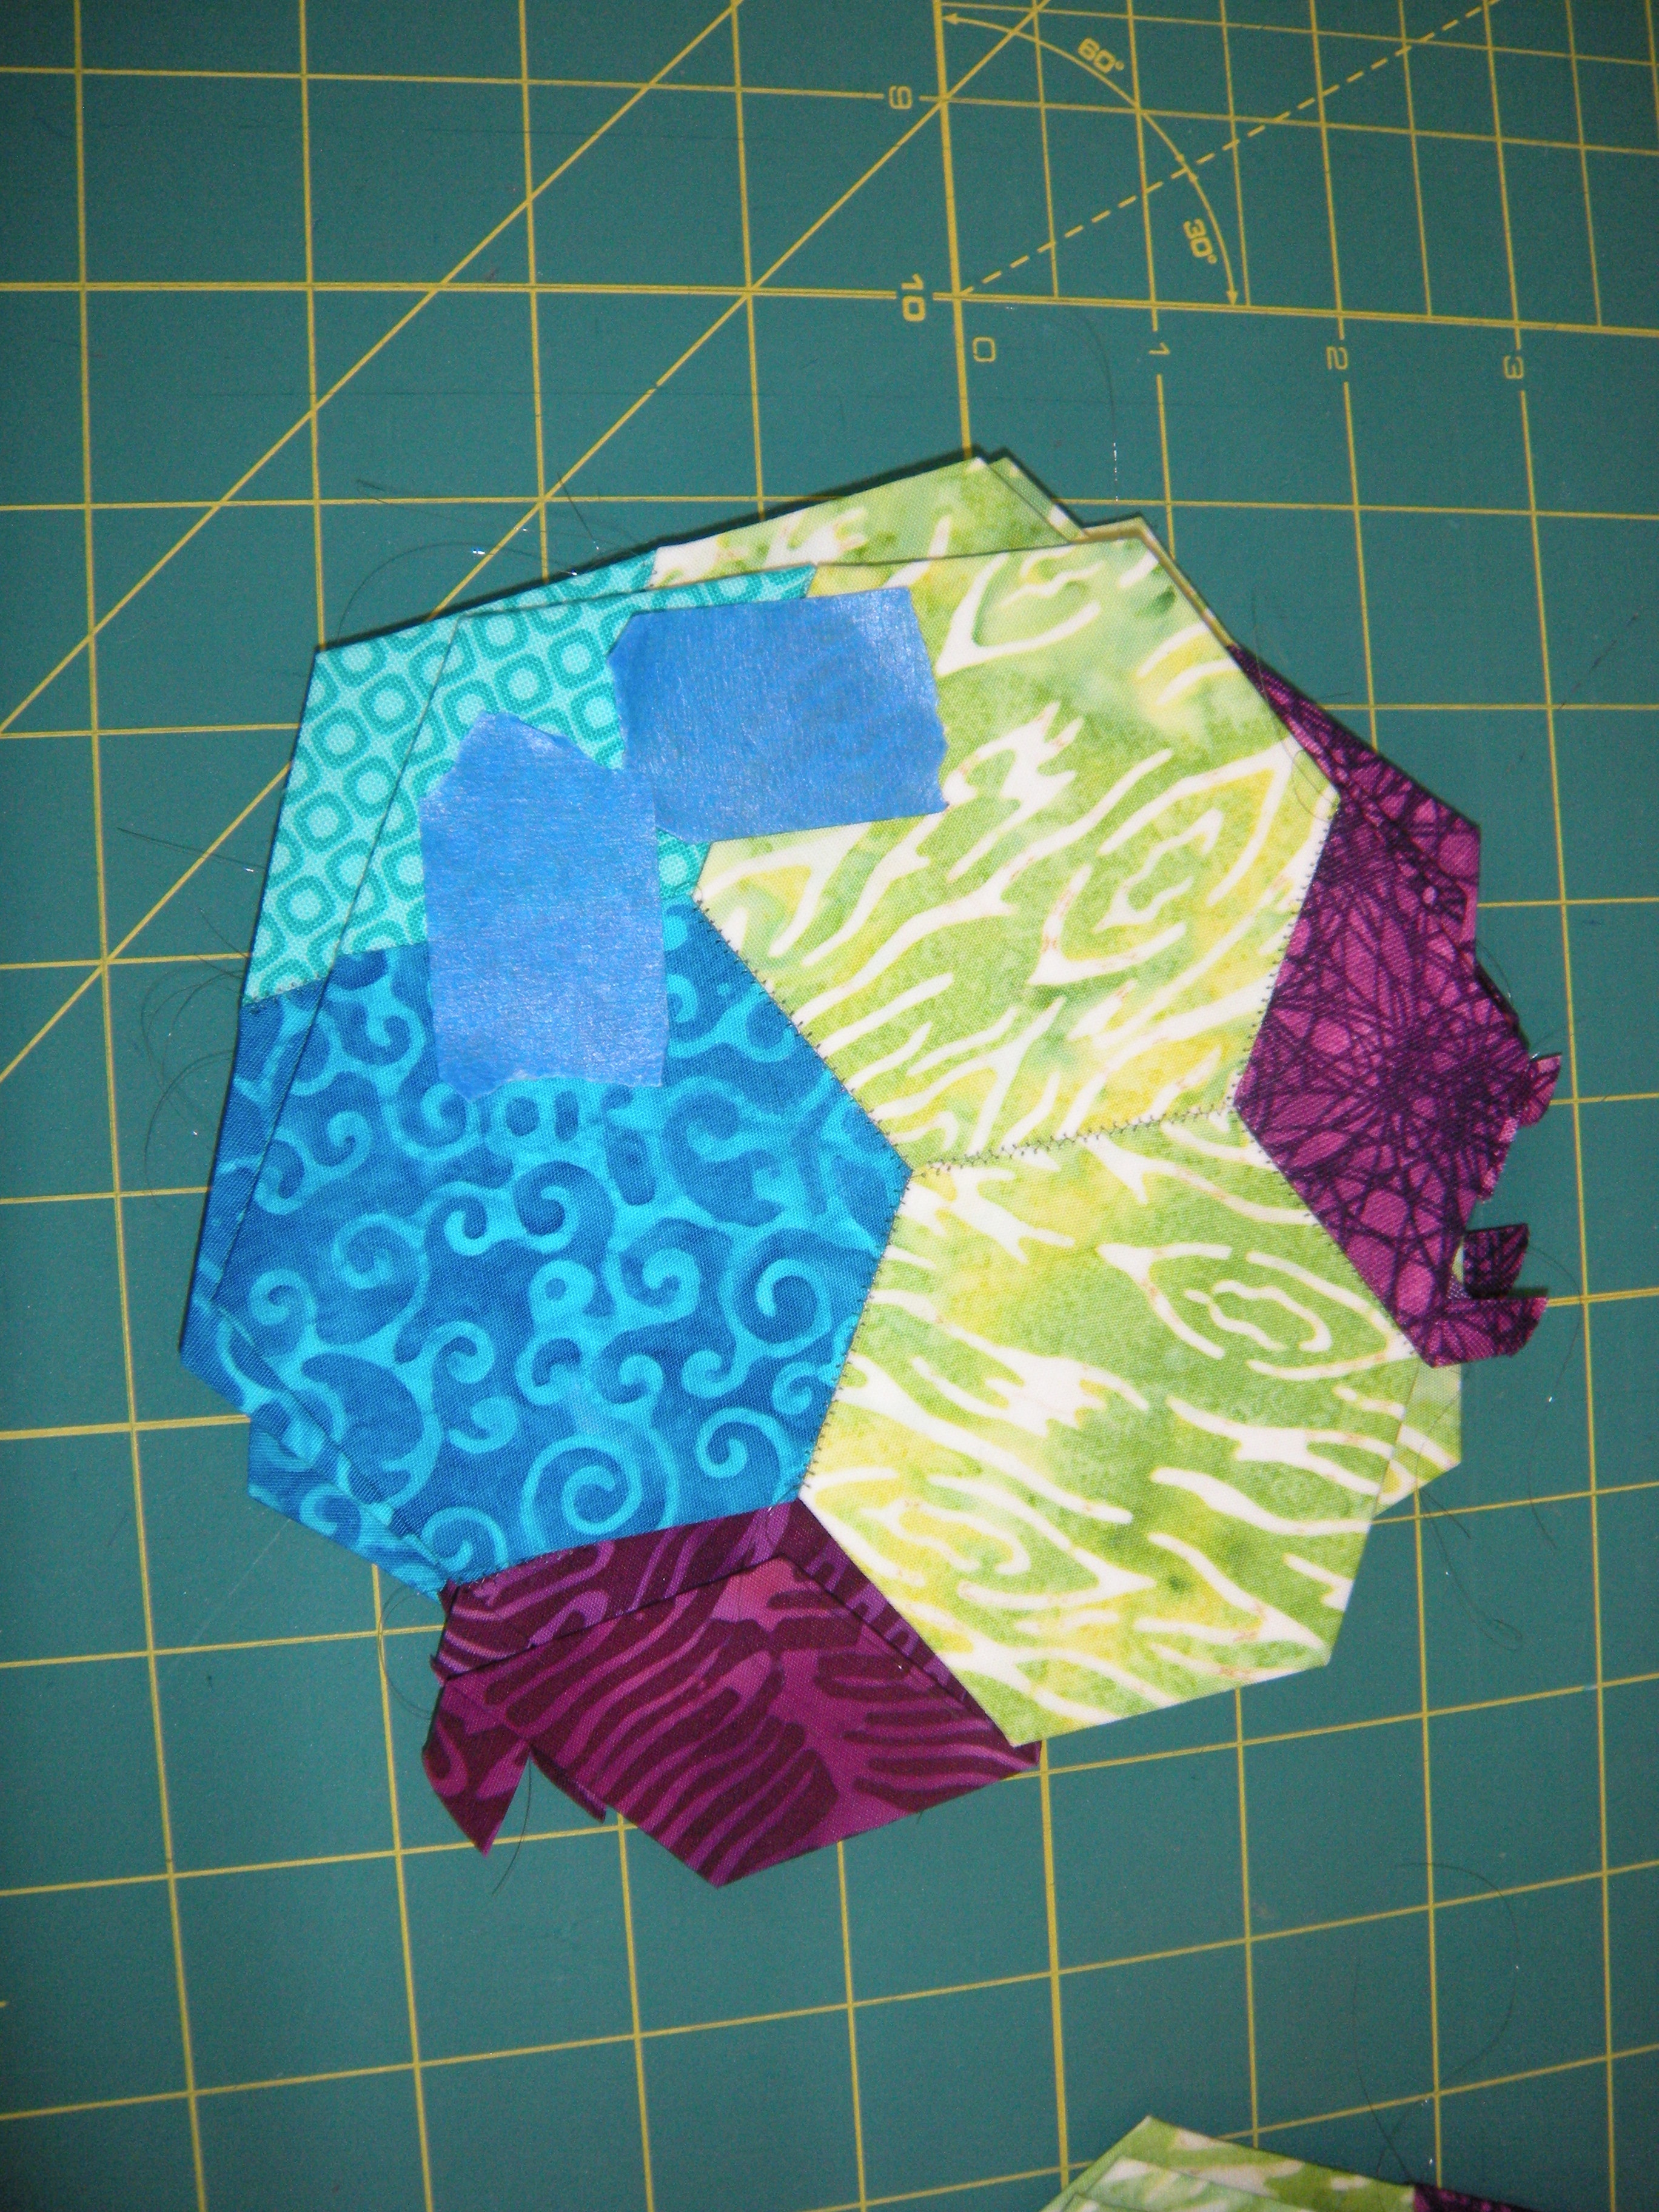
This is block one from the outer row of rosette one. Six pieces in the hexagon, I decided that the best way to start was to join the three hexies in the center together first. I used my painter’s tape to hold the three together.
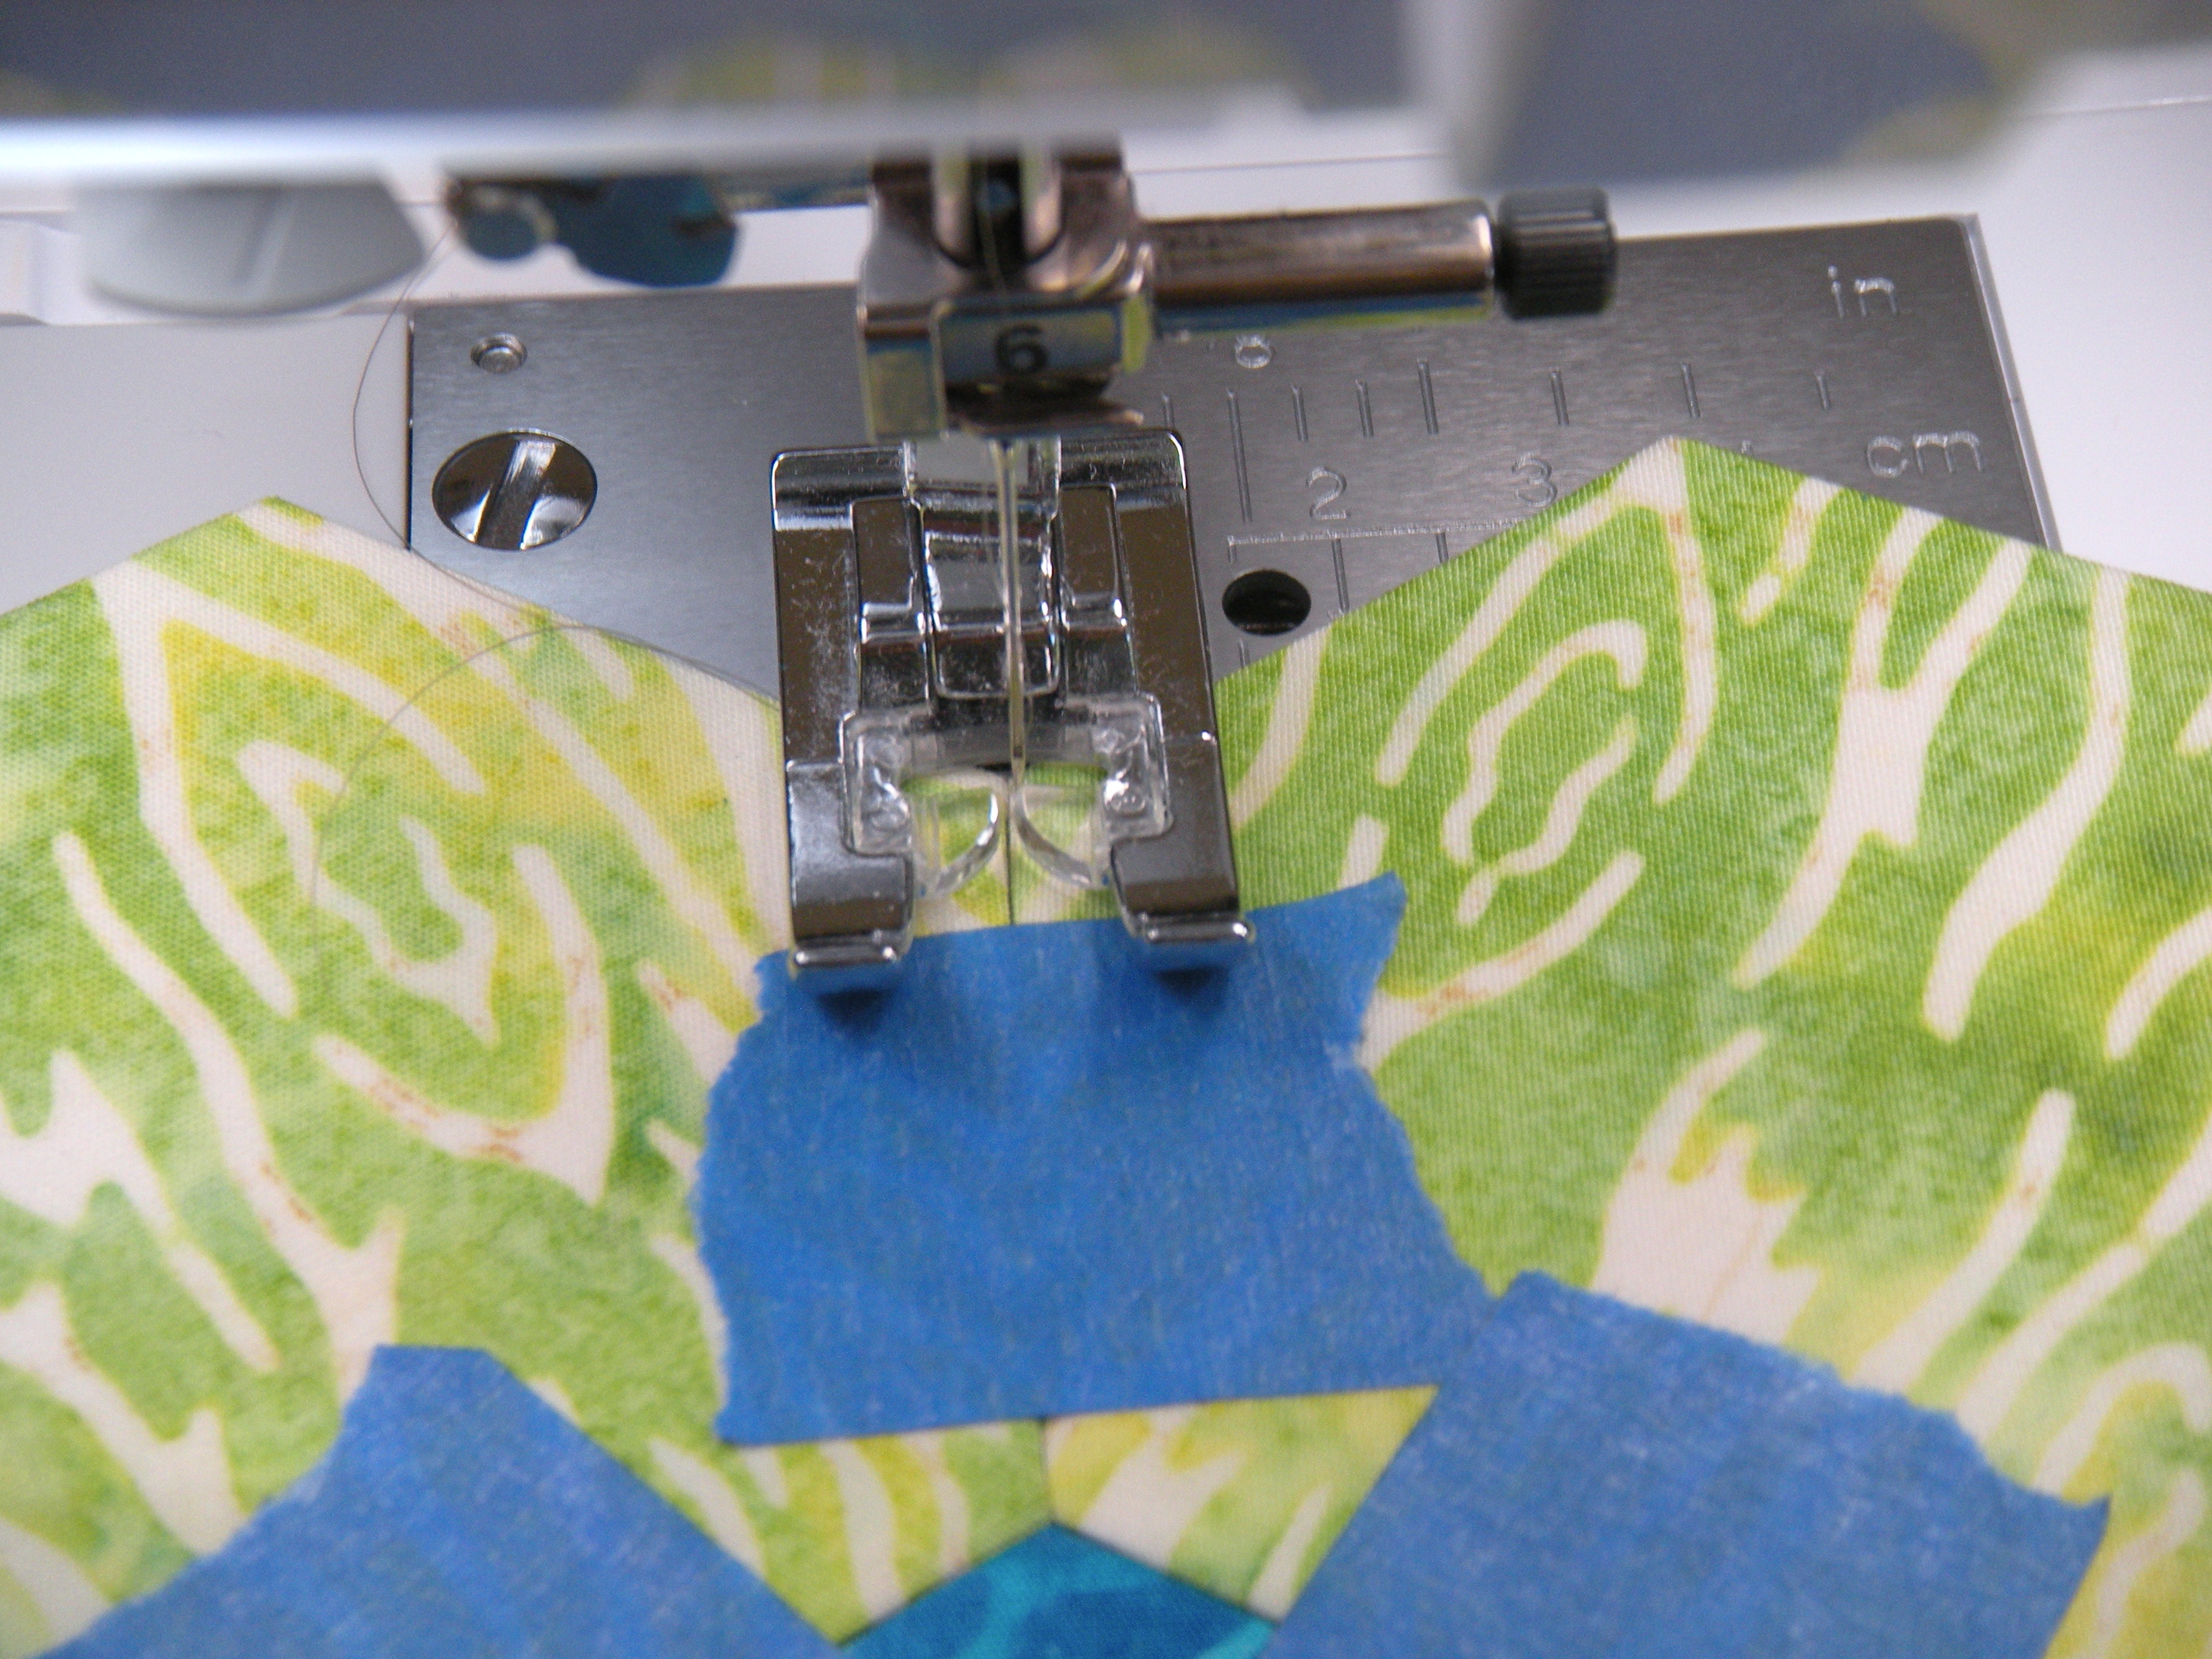

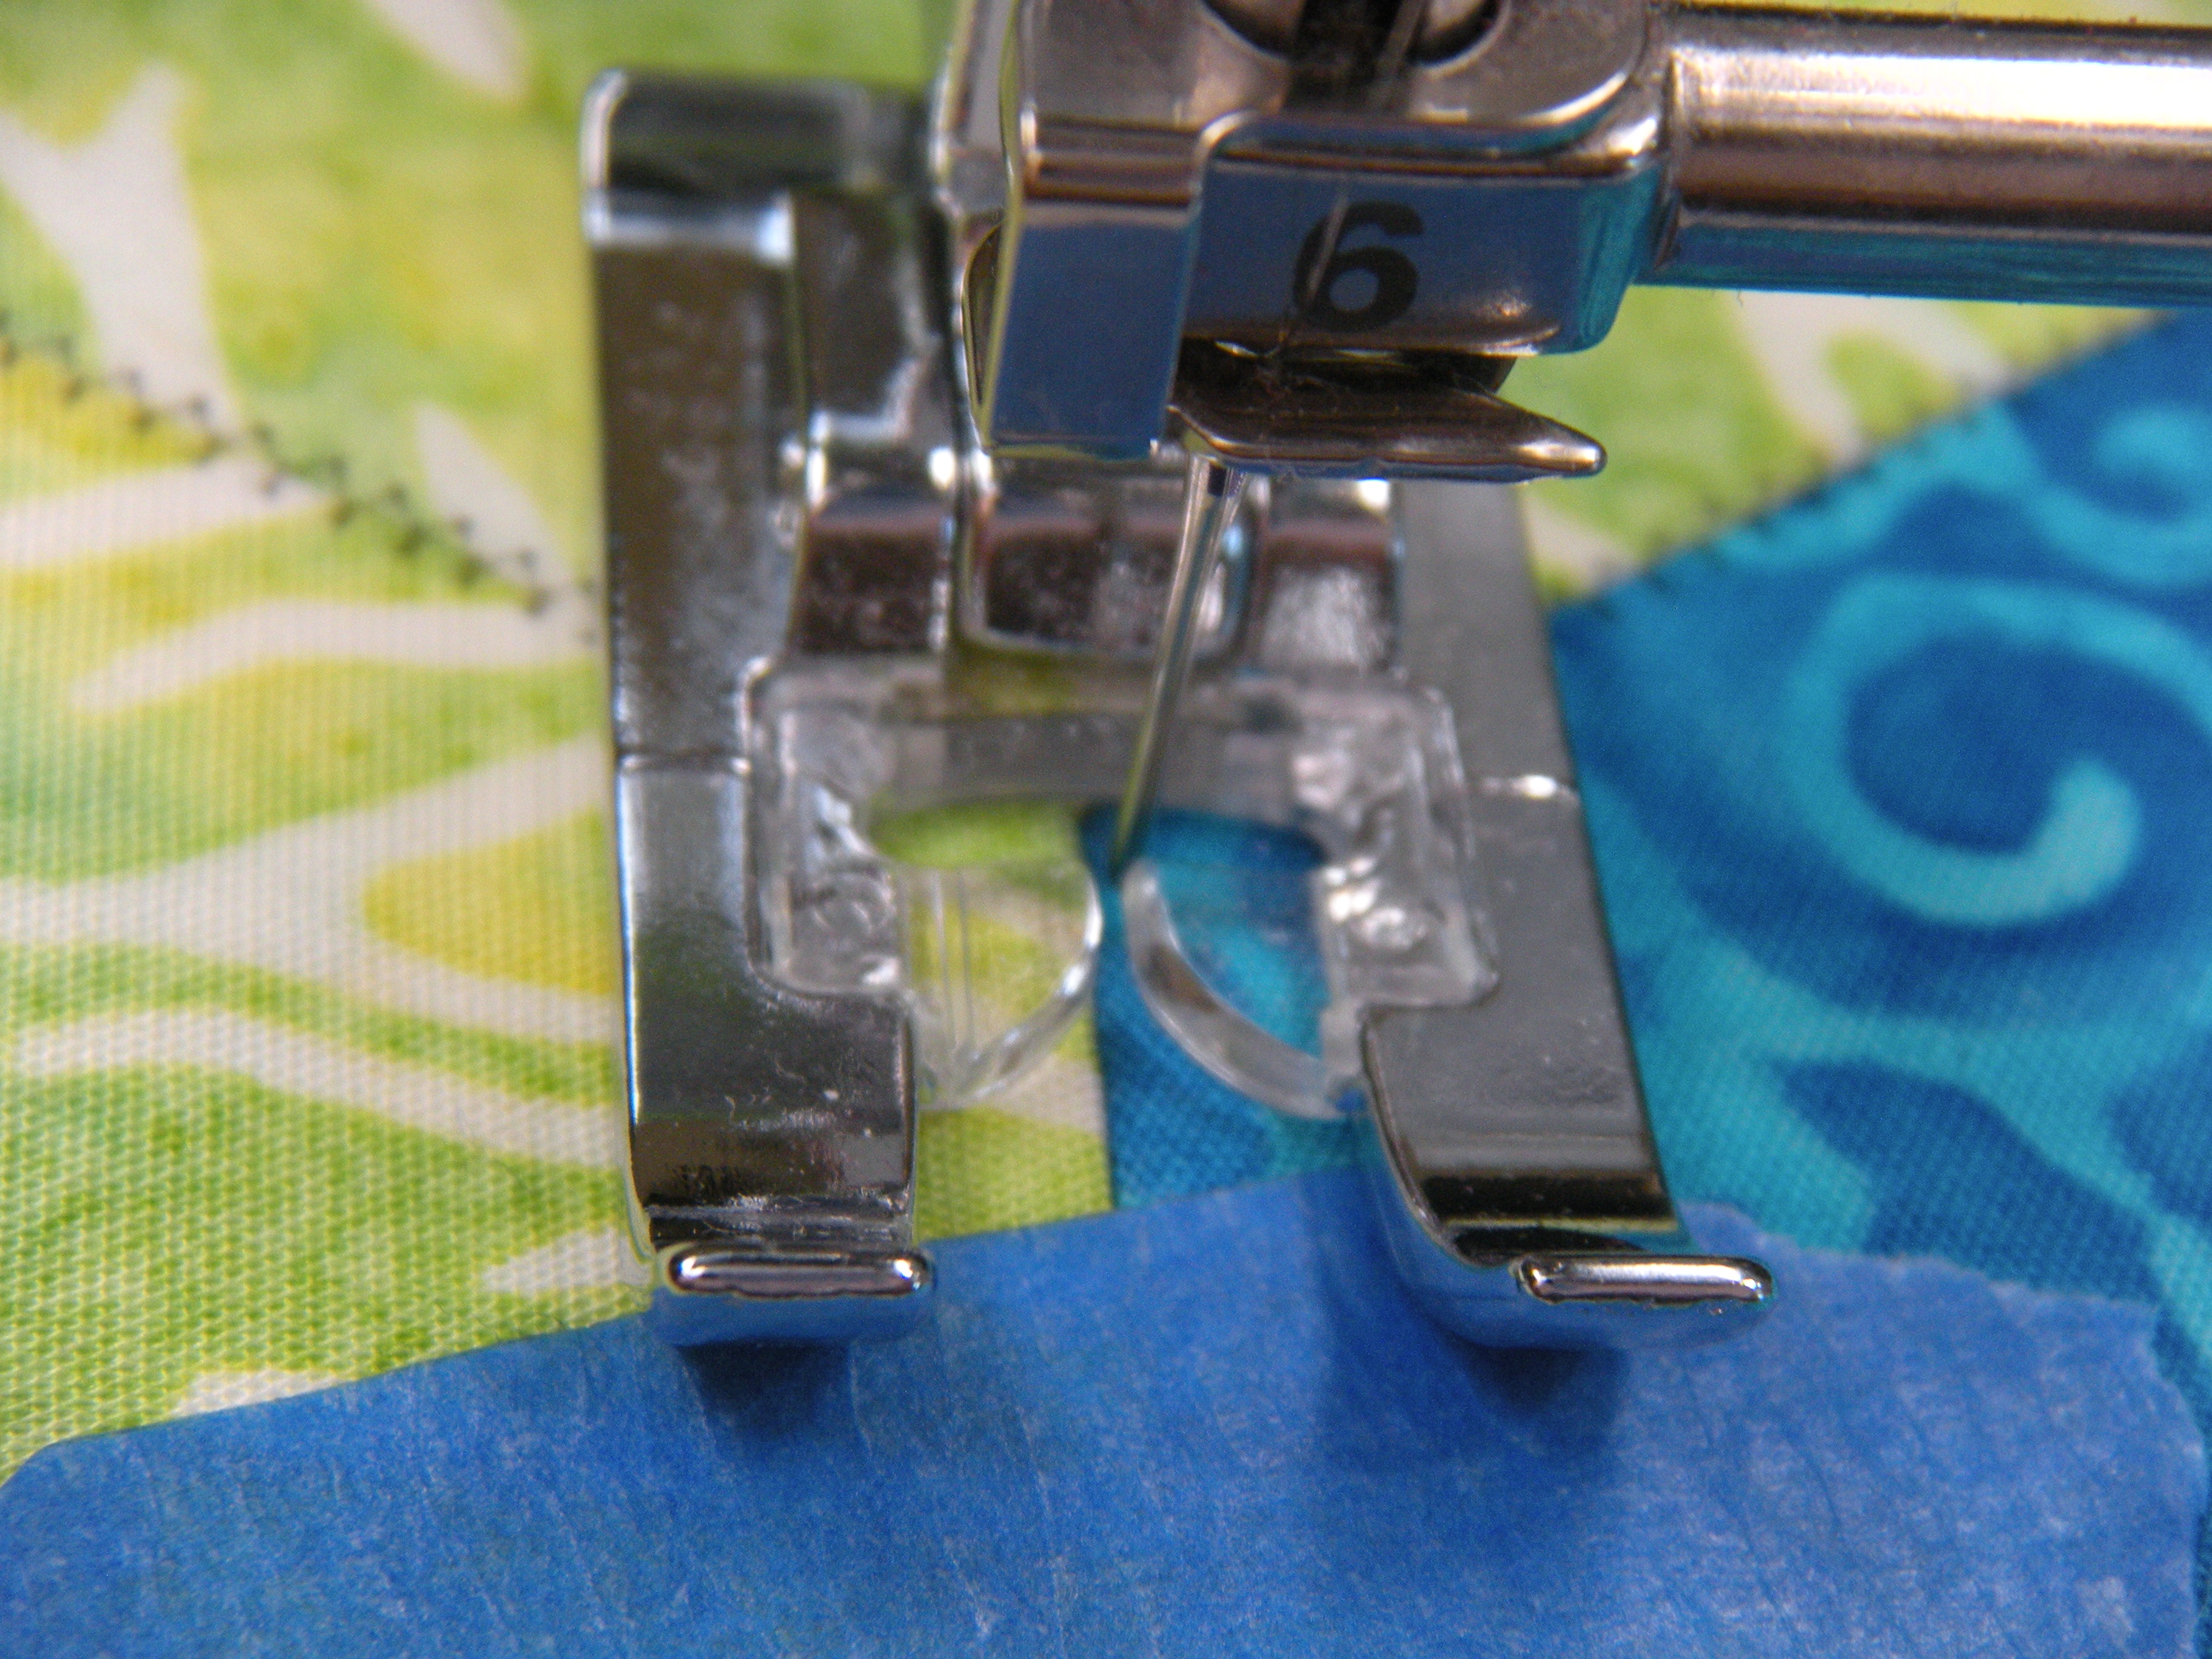
Lockstitch and zigzag, stopping with the needle down before hitting the tape. Don’t stitch through the tape – you can’t see where you’re going, and it will gum up your needle.


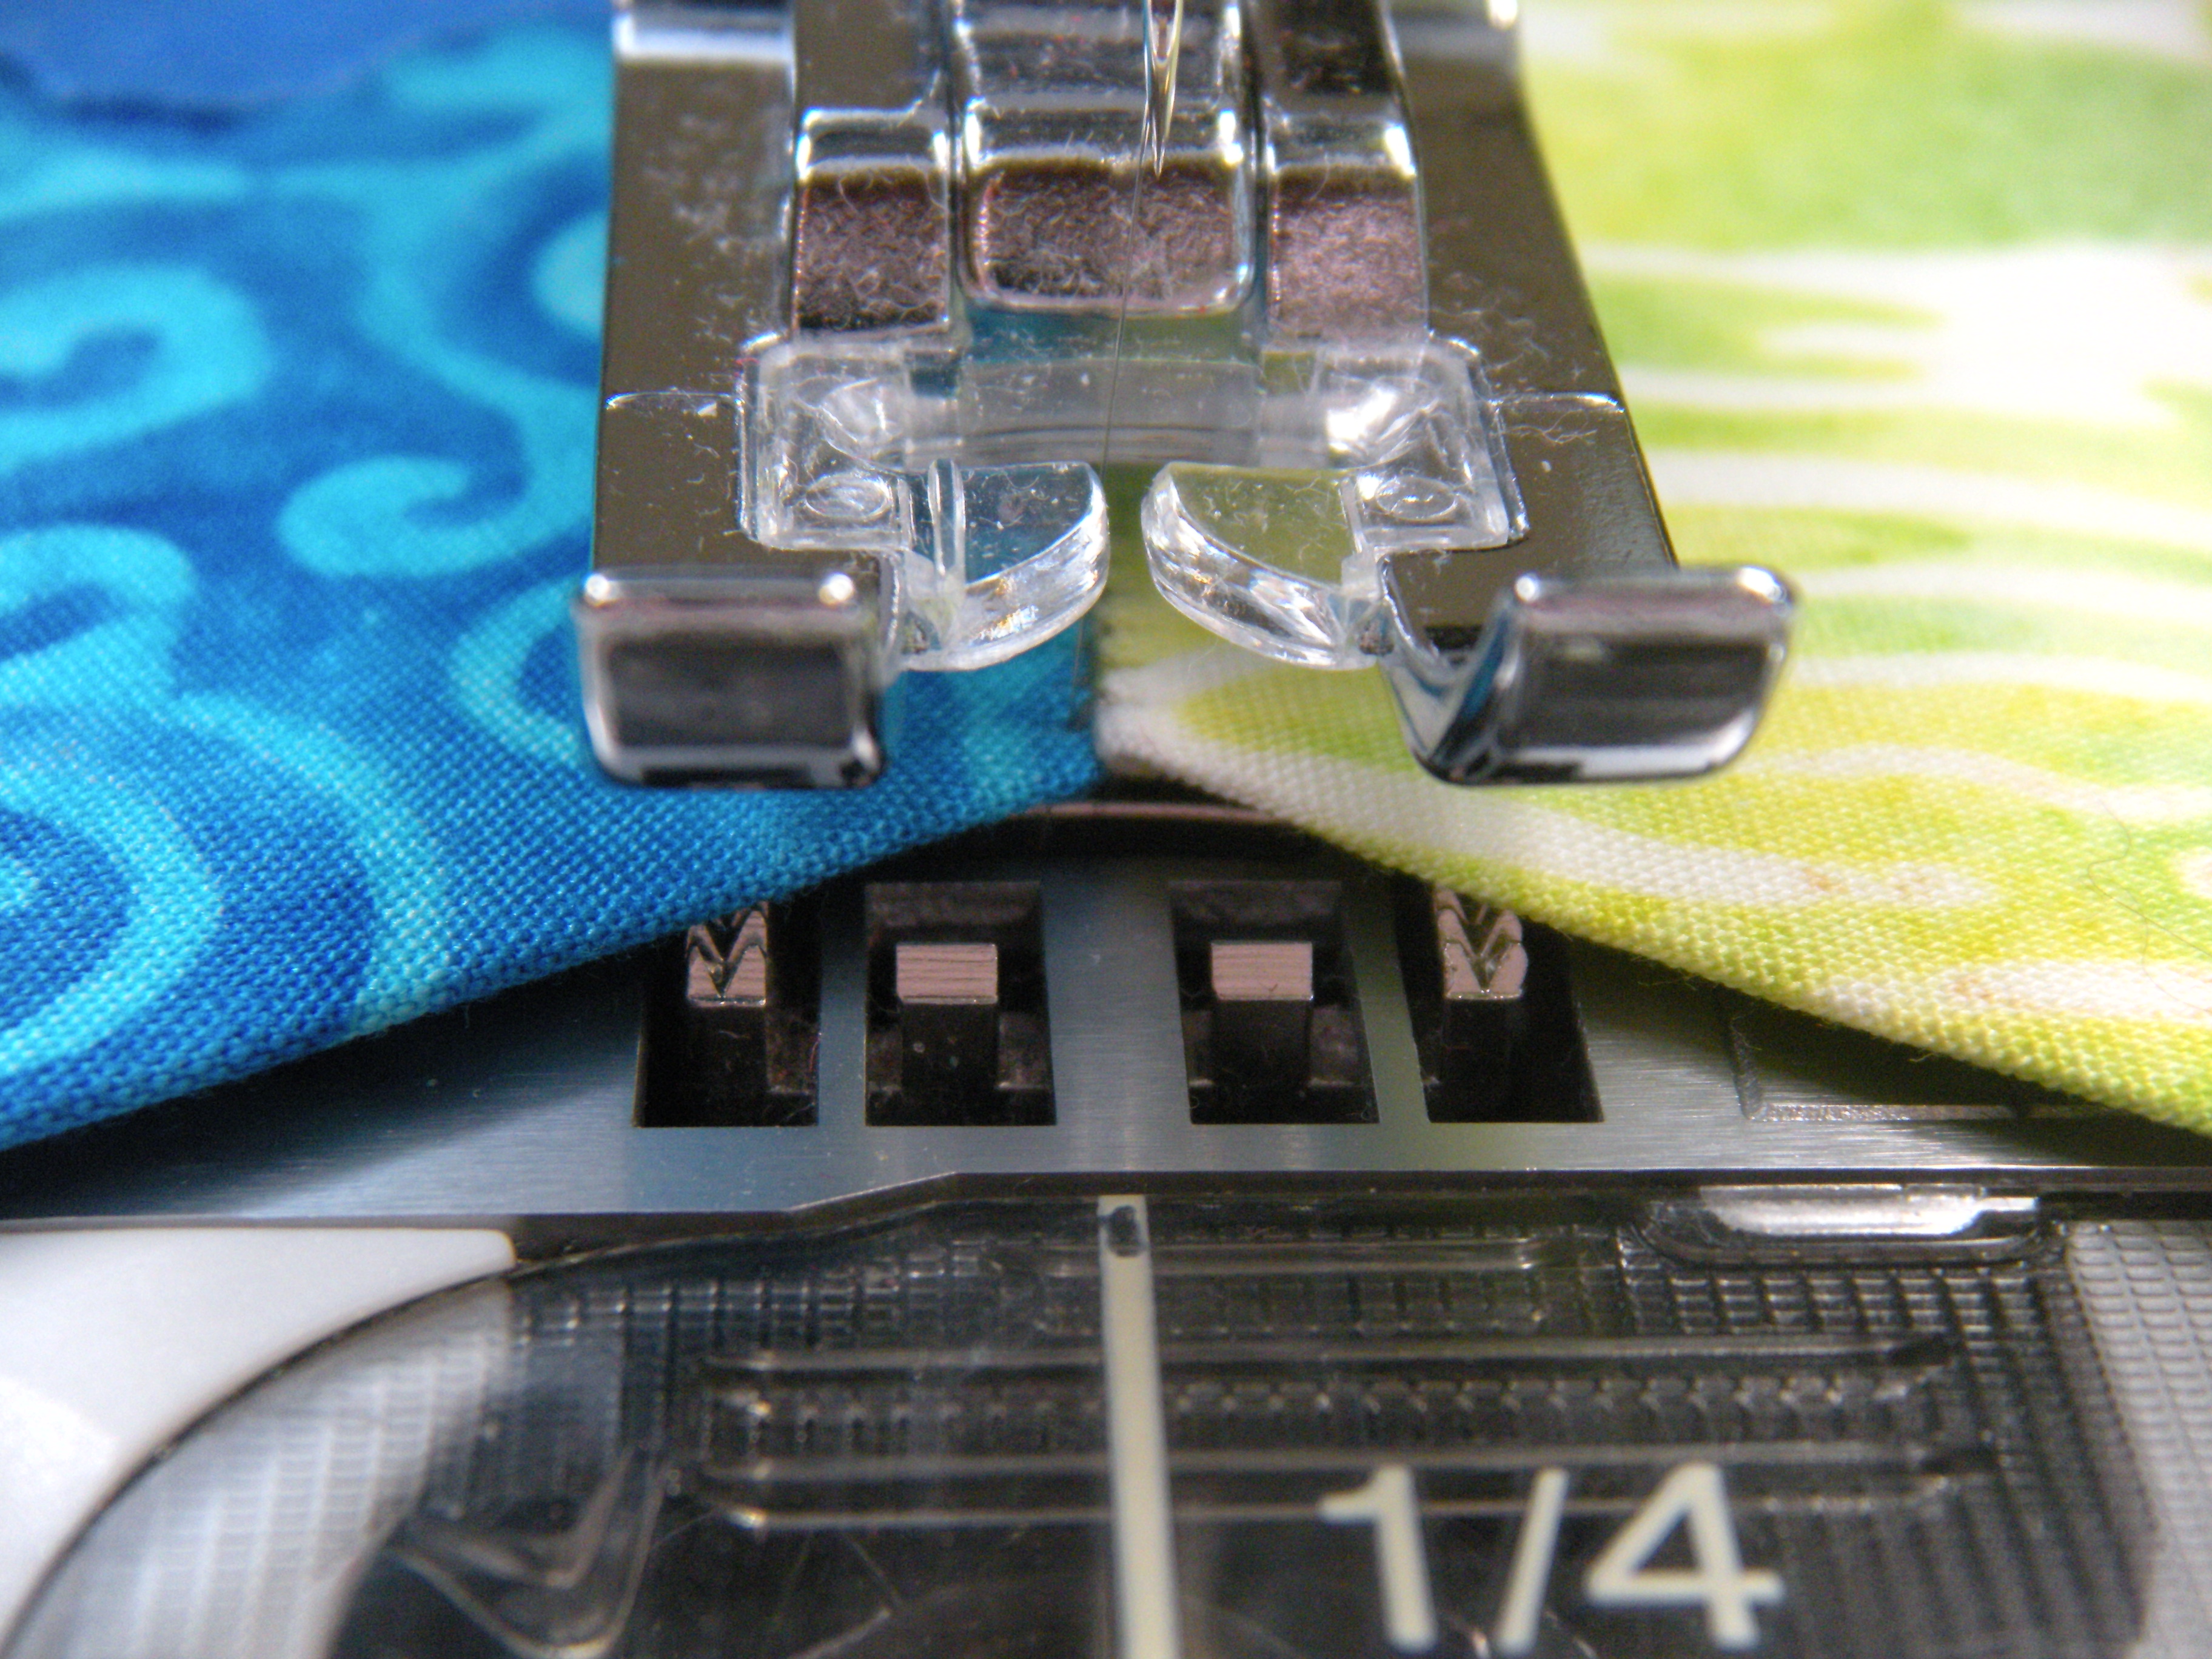
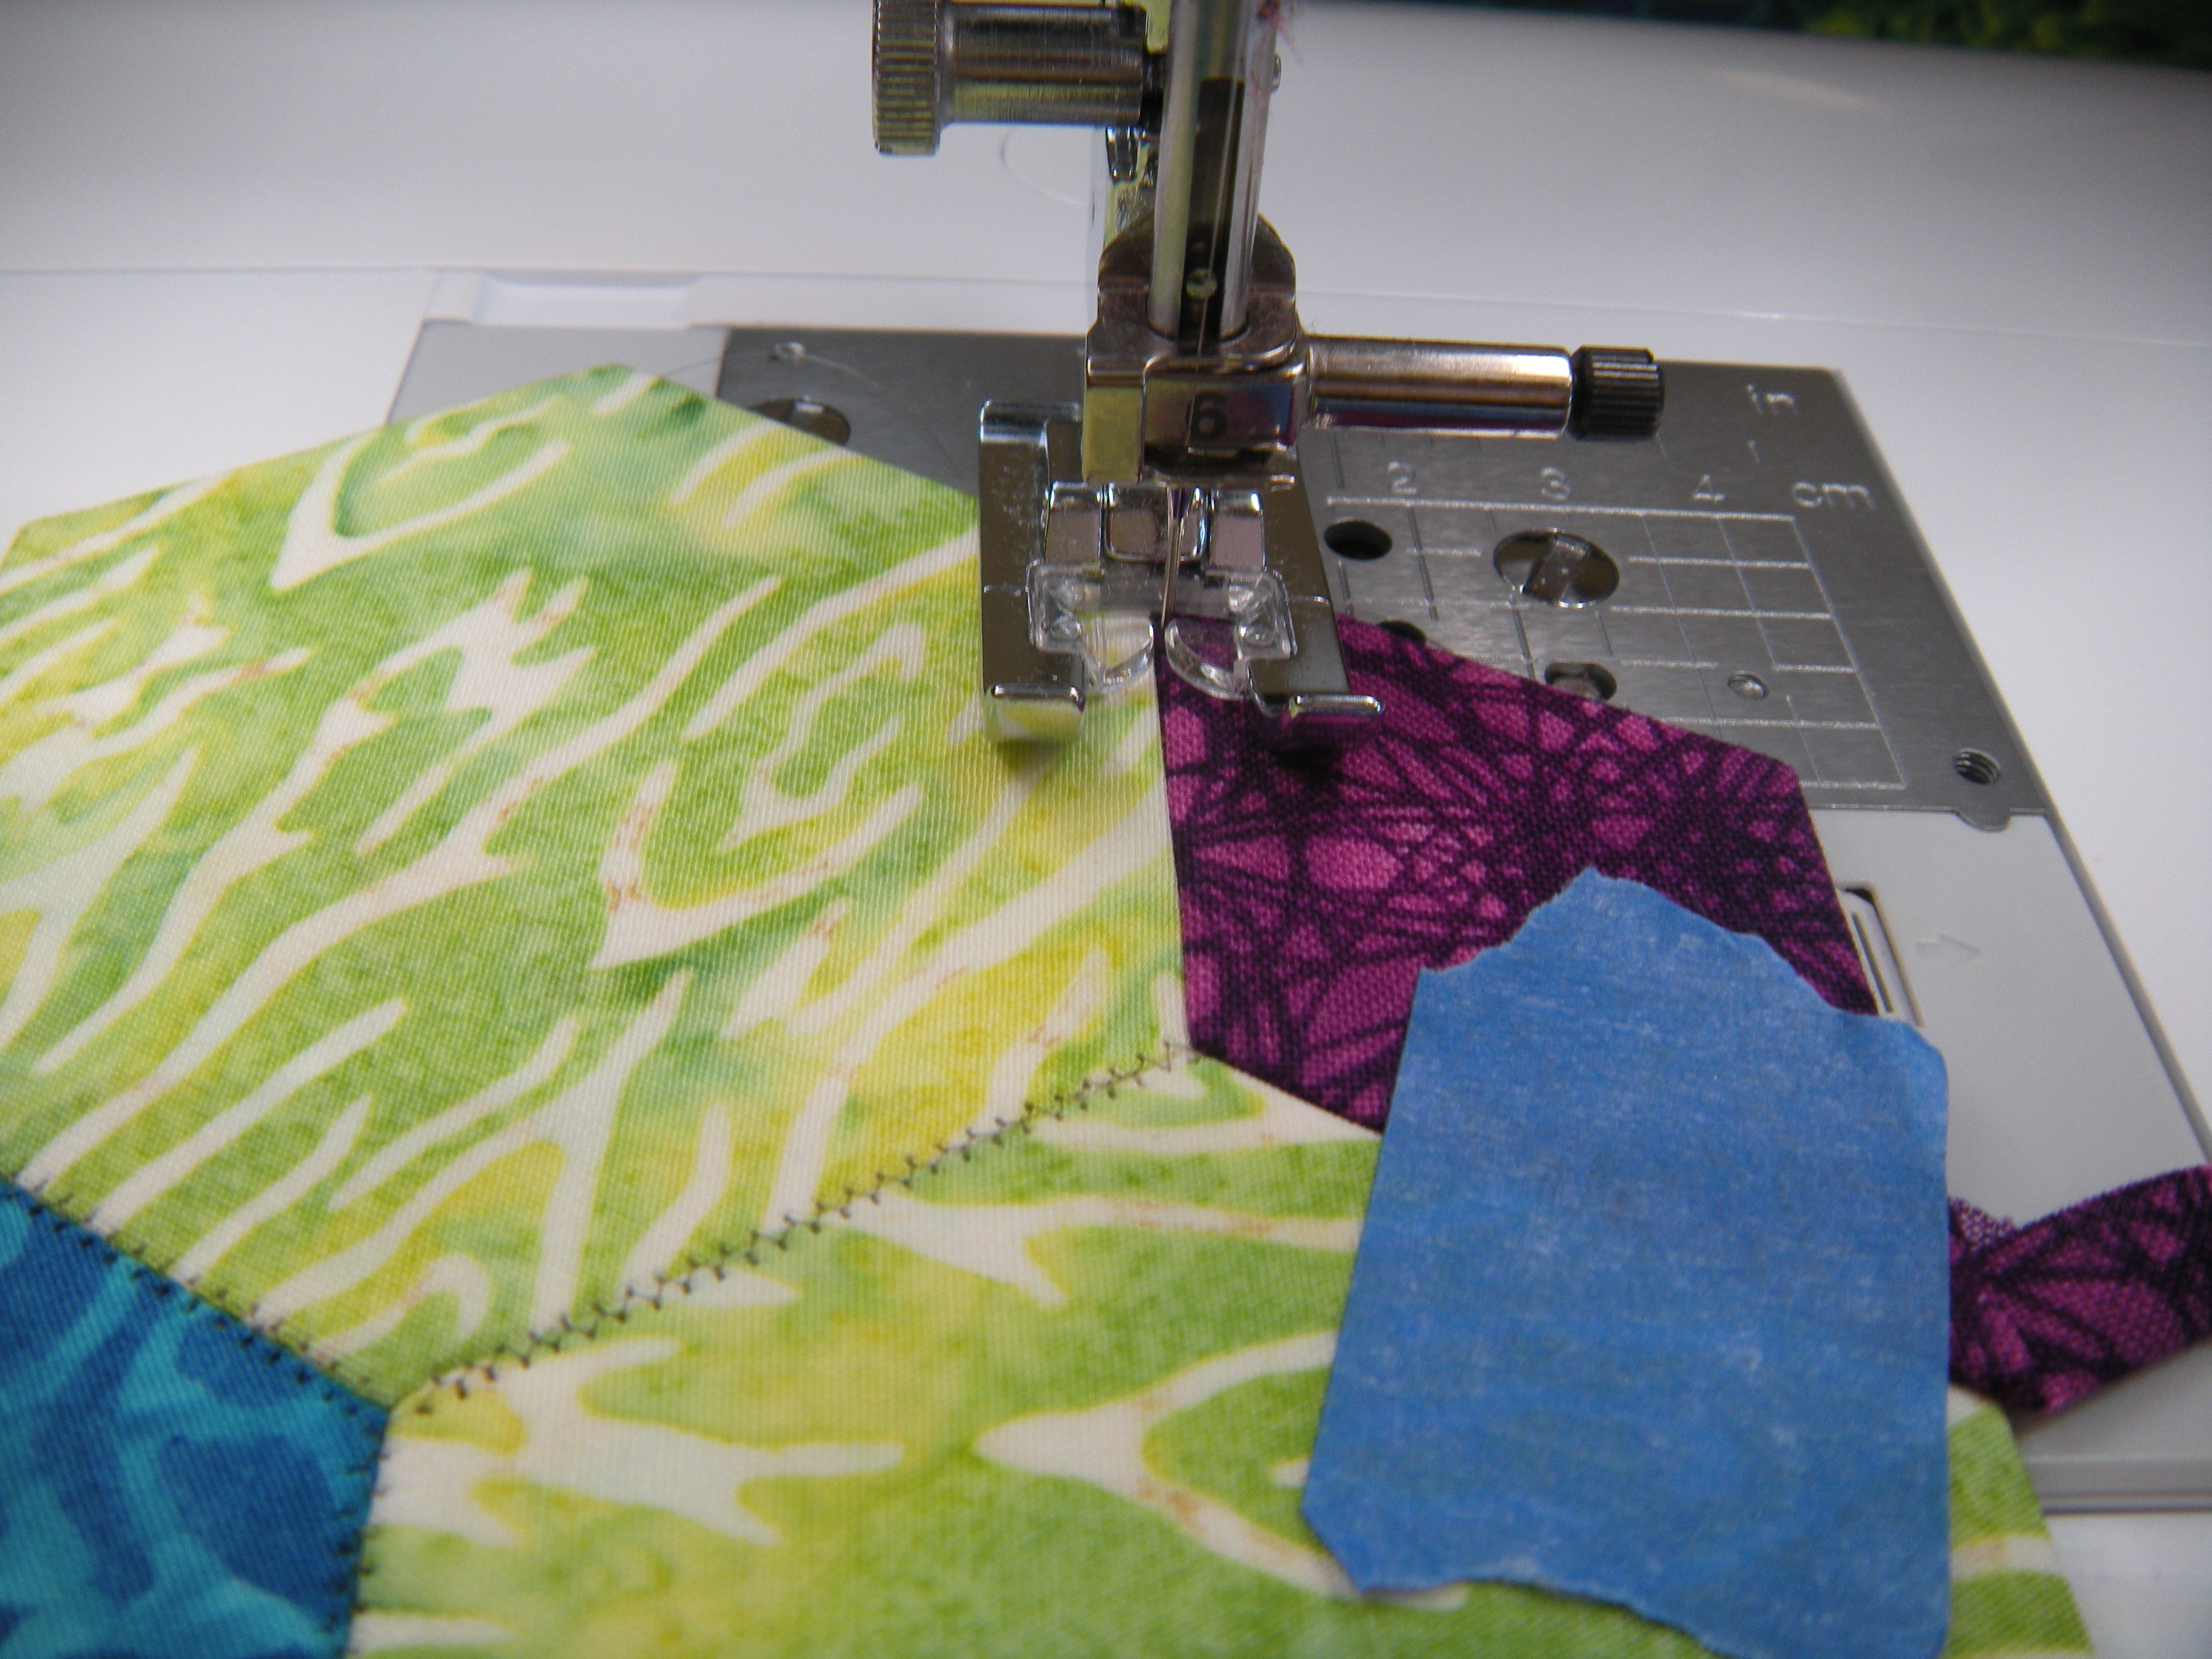
Lift the presser foot. Lose the tape, stitch to the intersection. Pivot and continue.


You’ll notice that the tape behind the presser foot in the last photo above remains in place. Keep it there so the blue hexie does not wiggle away from it’s position.

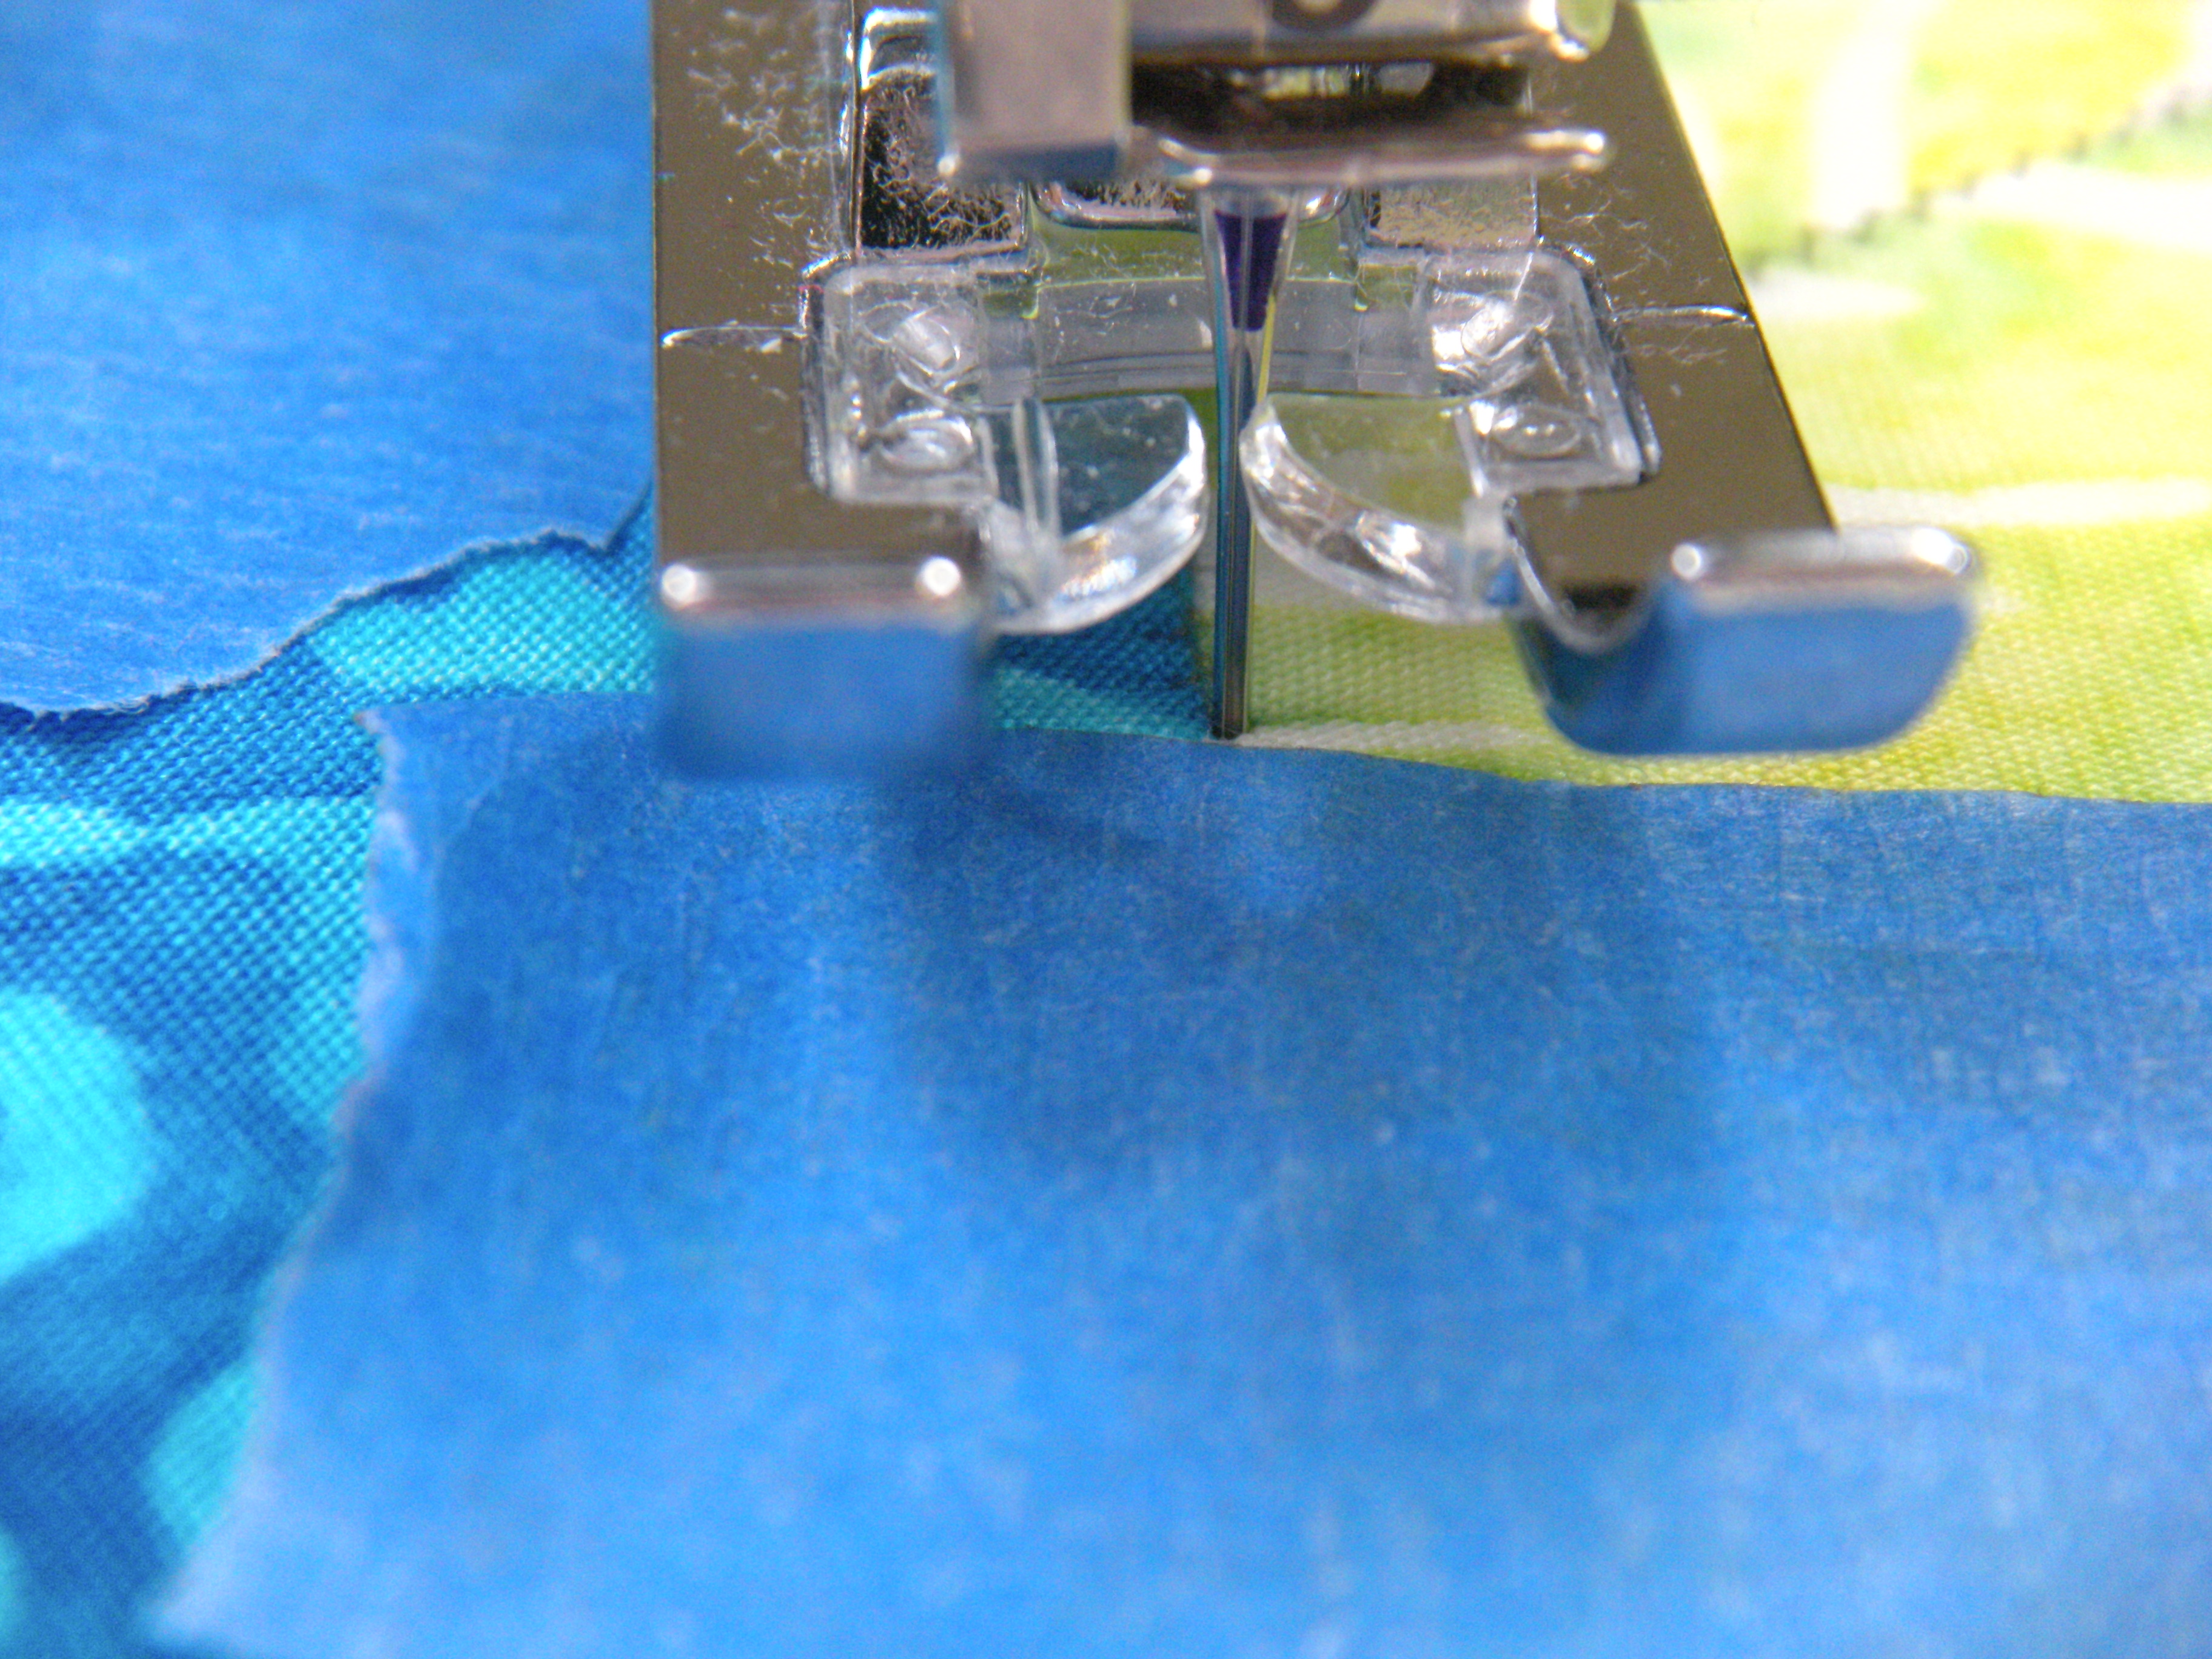


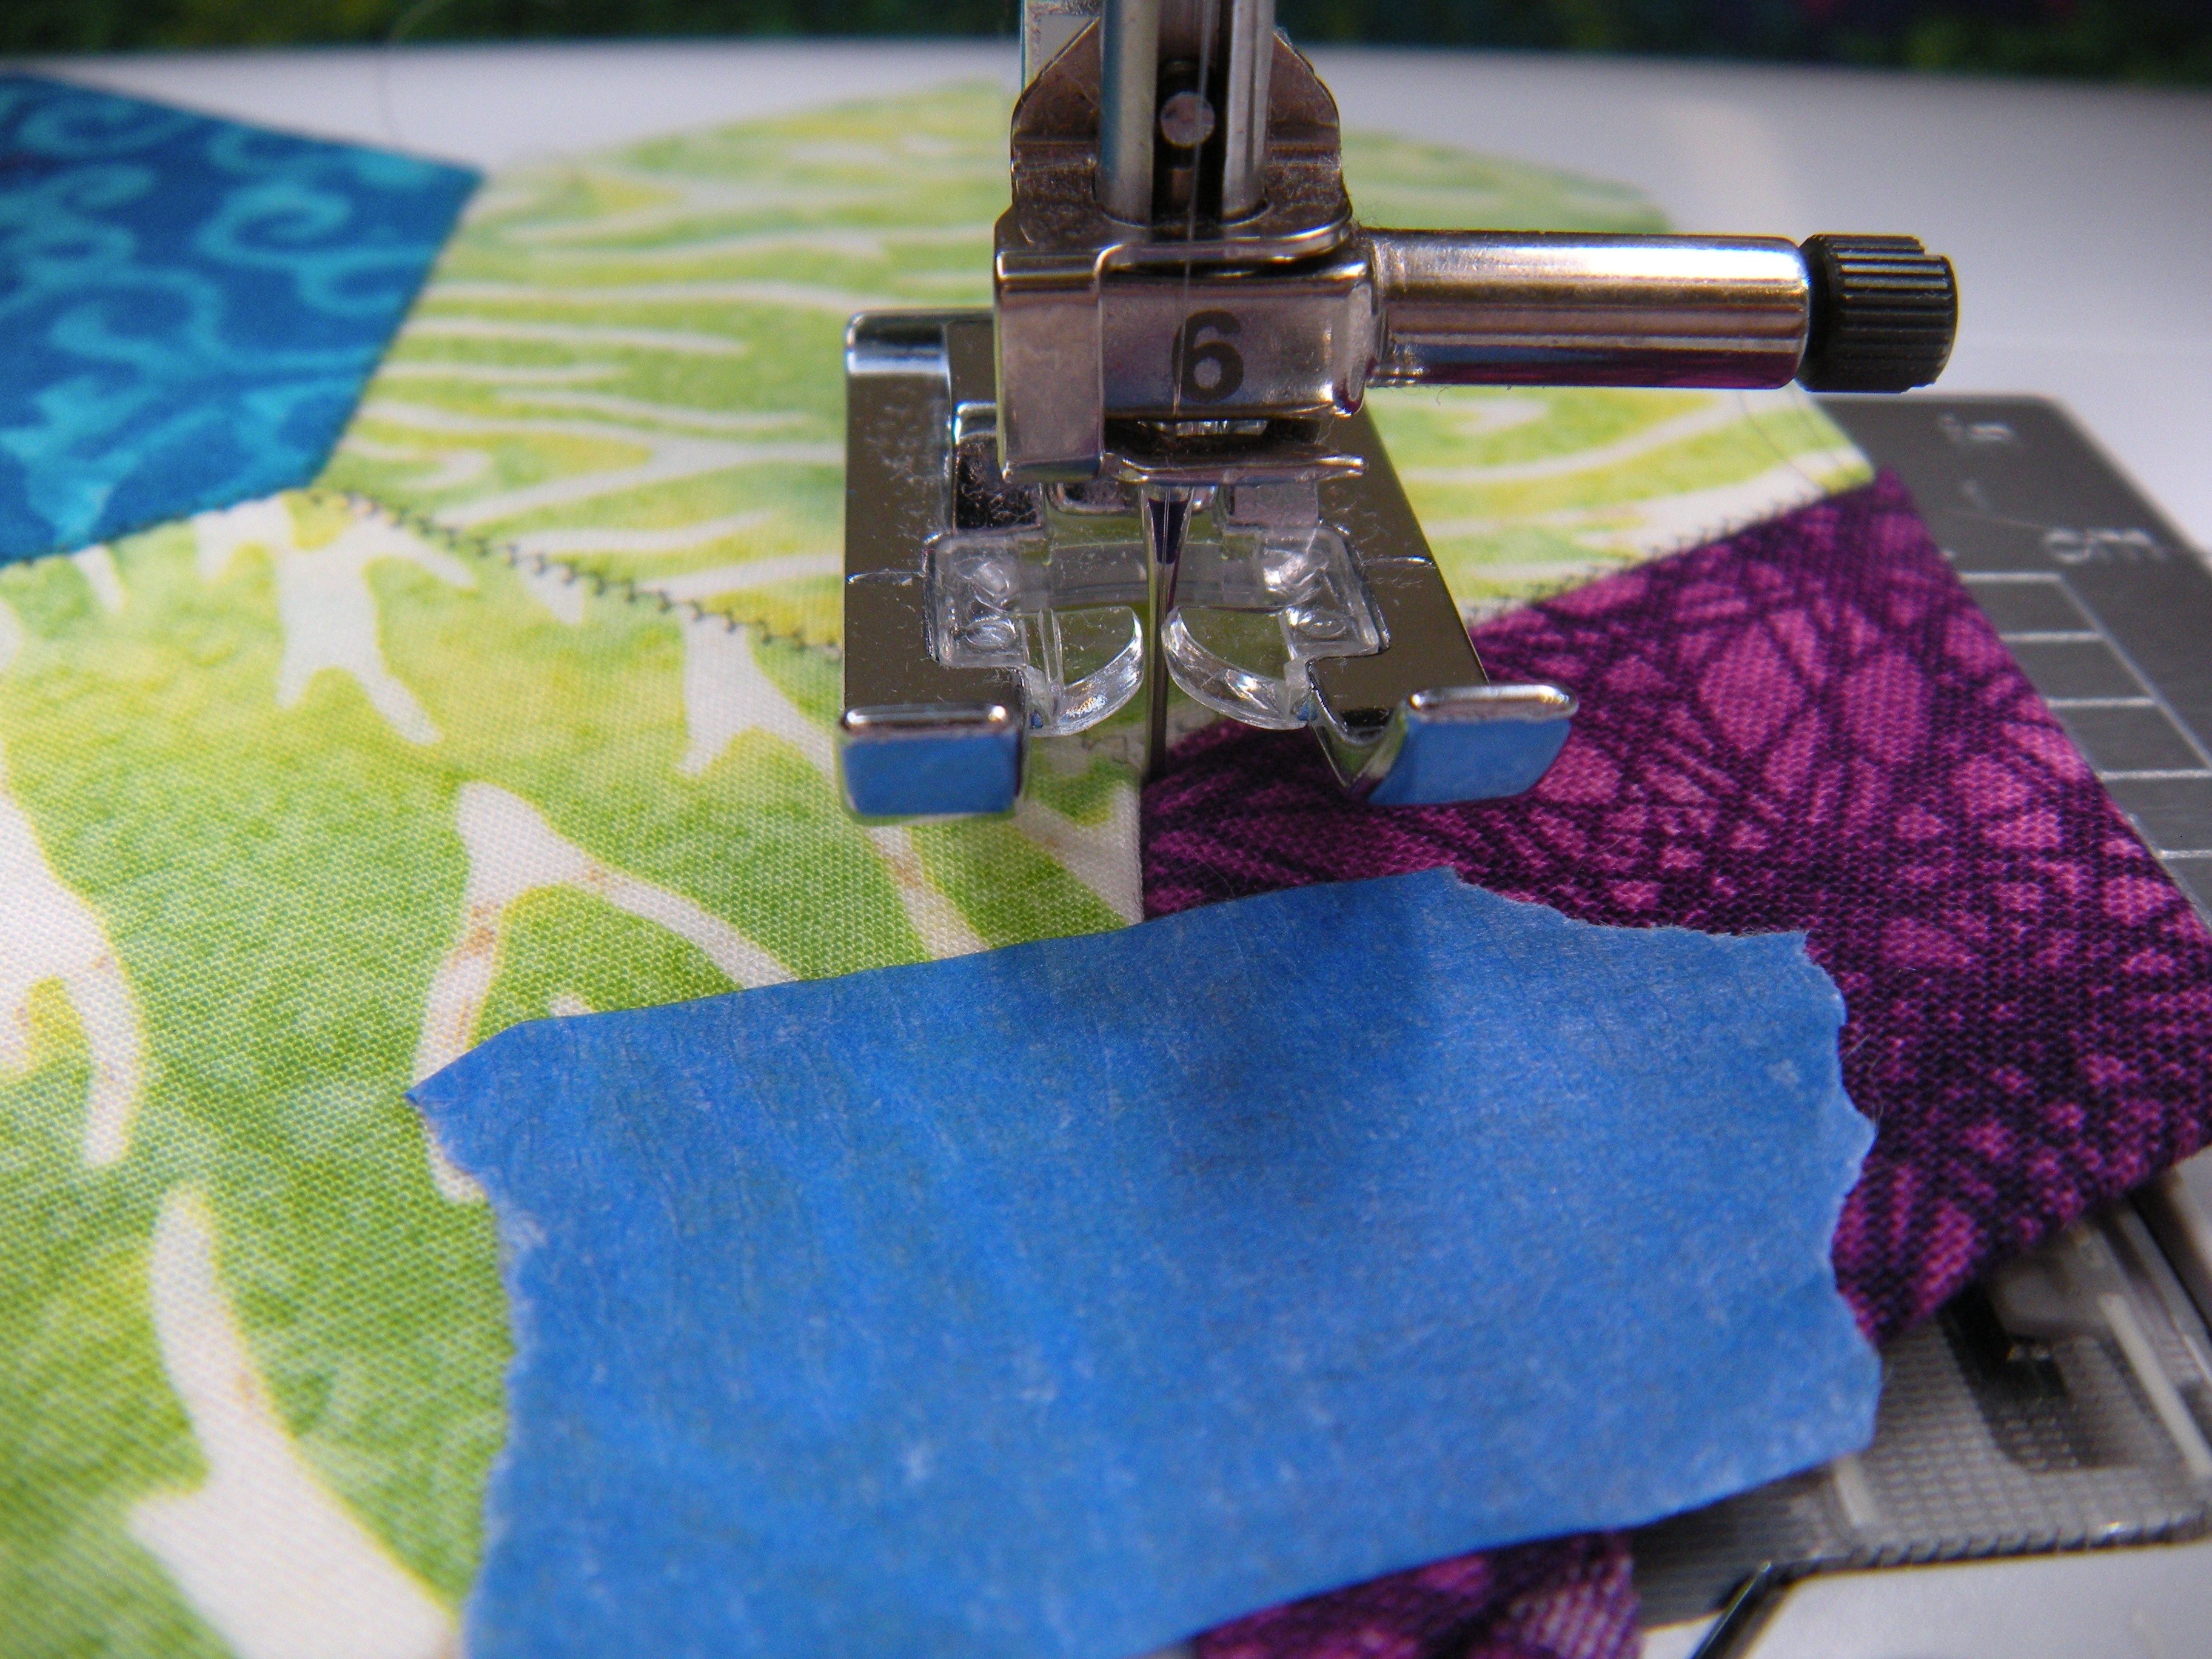
Start the seam, remove the tape, finish the seam, lockstitch. Lather, rinse and repeat.
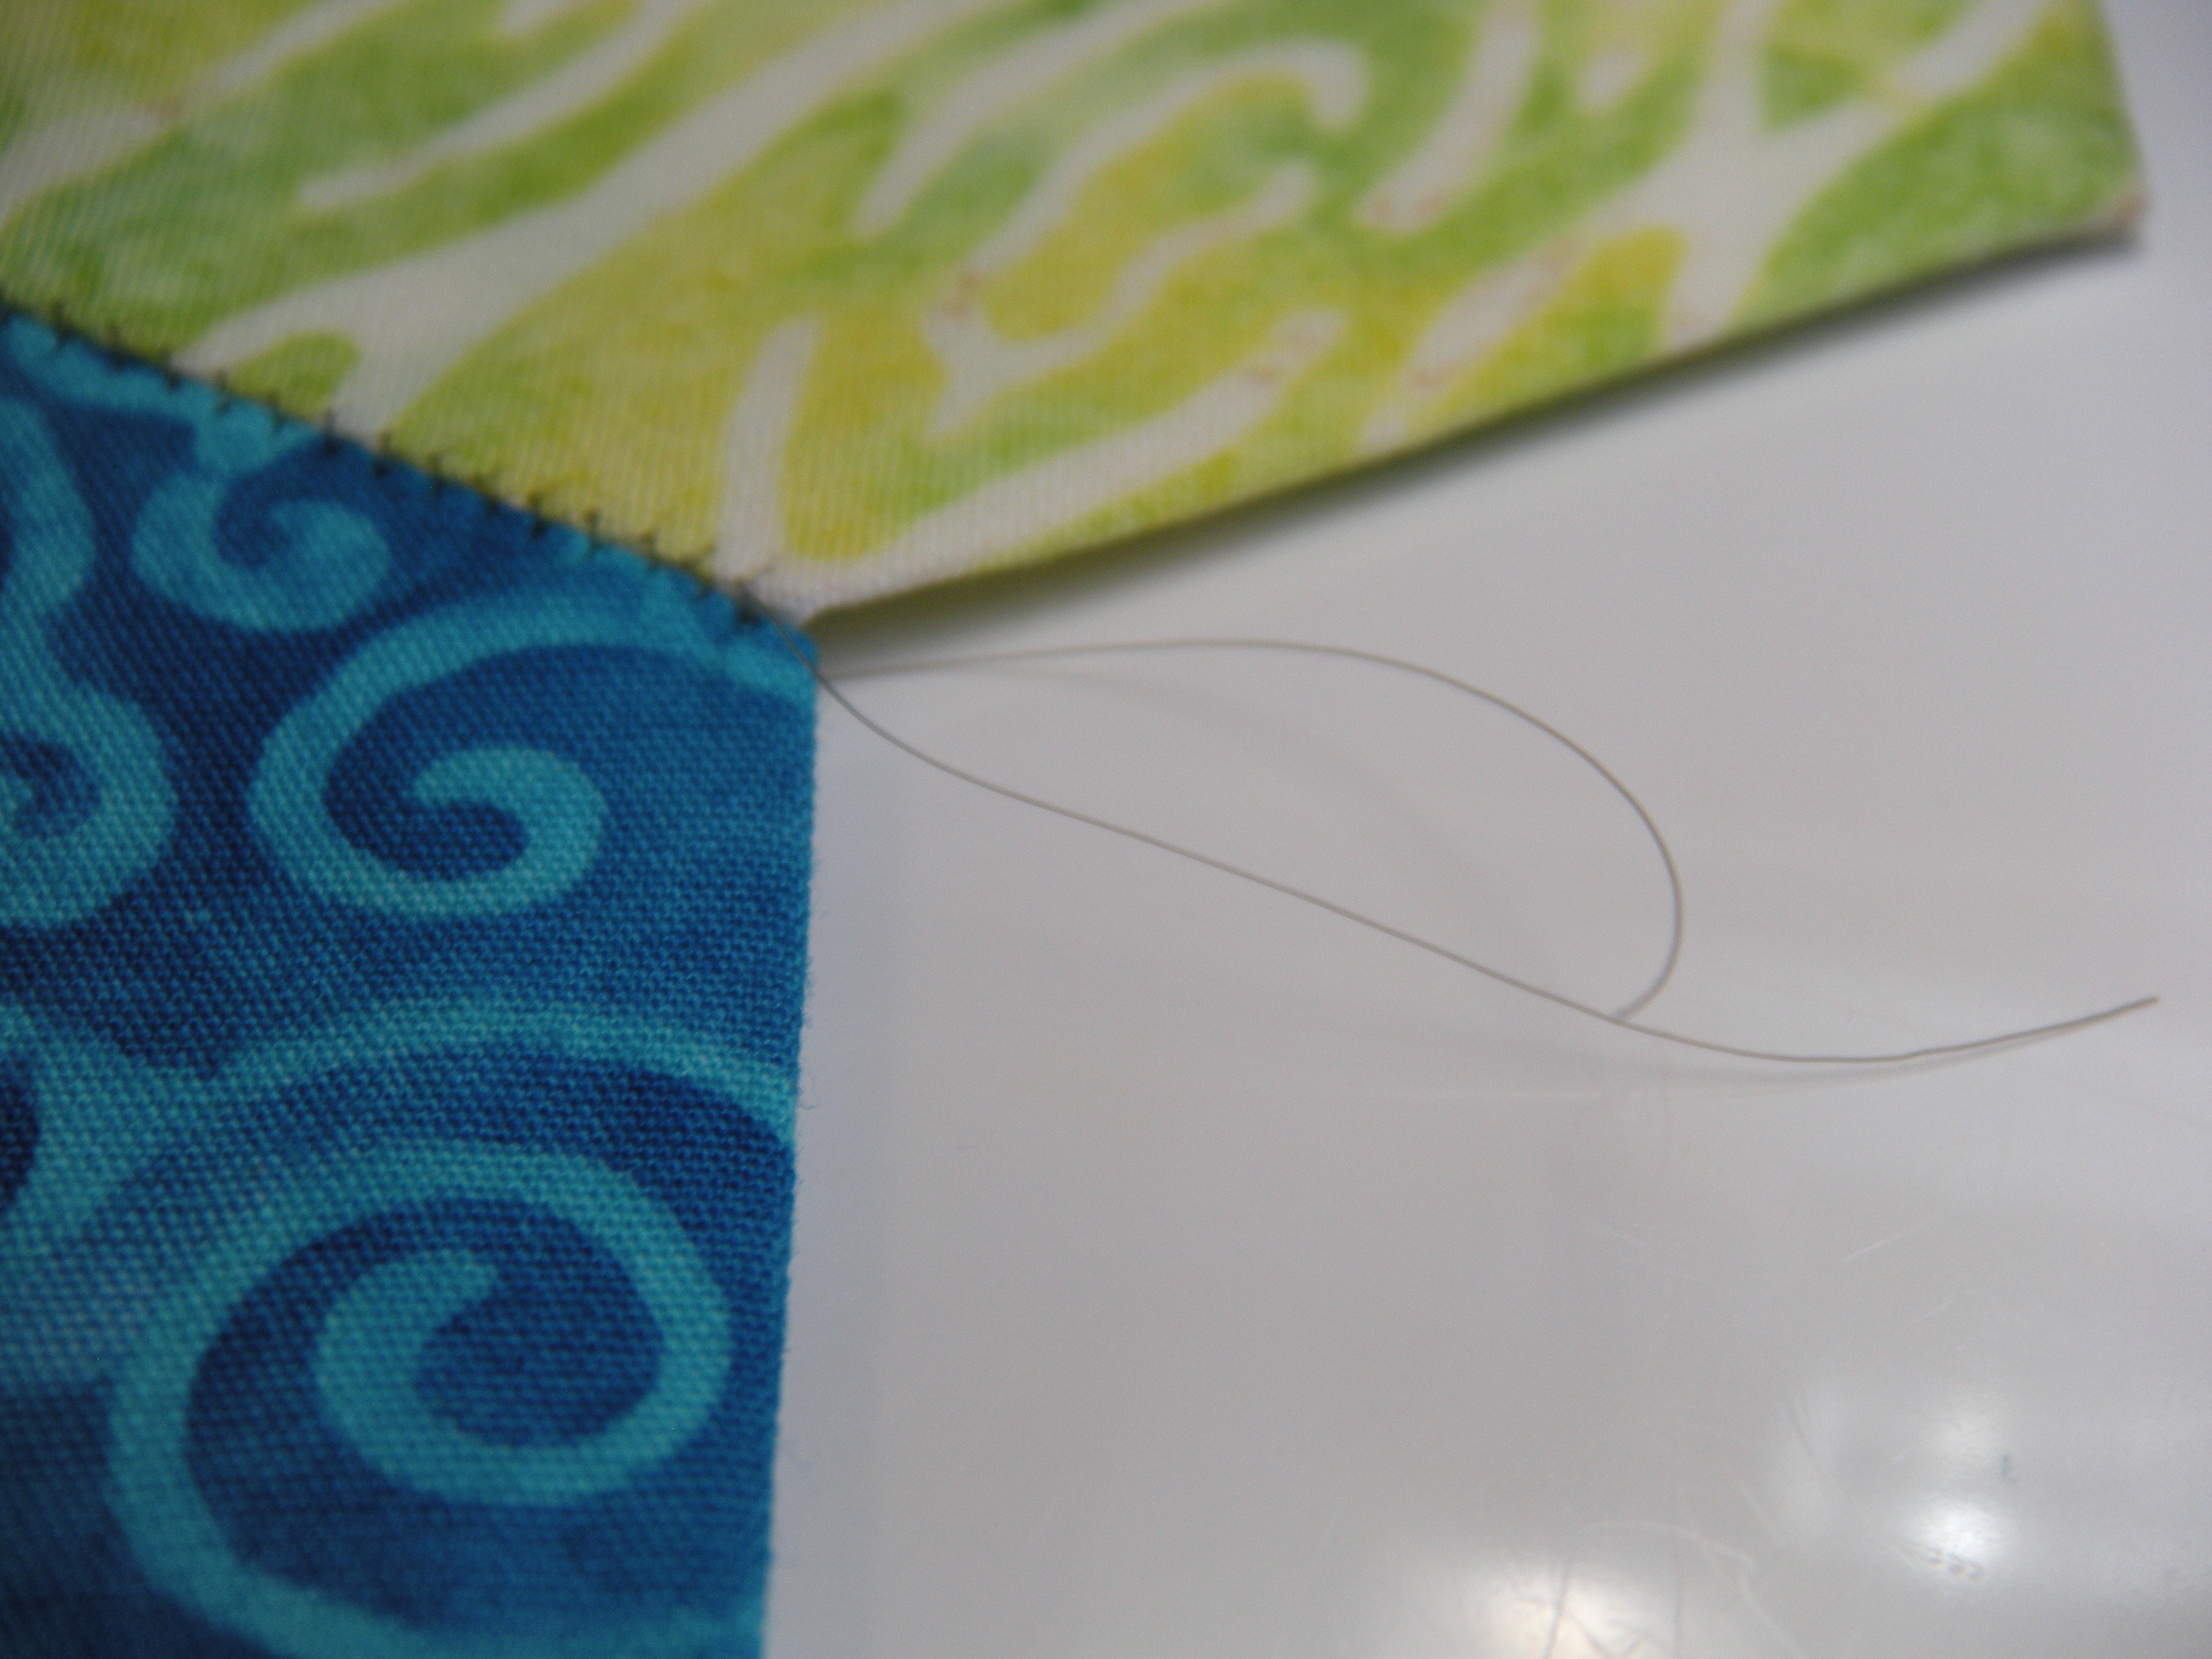
Look at those hairy little threads just dangling. Now we’re going to do the seam joining this blue hexie to the other green/yellow hexie.


This is the first time we have to deal with a thread sticking out of the middle of a hexie.

Flip that baby over, and use a pin or a needle to coax that thread end through to the wrong side. Then just leave it flopping around on the wrong side.
Now we’re going to add the next piece, a purple diamond. Notice that I have kept the pieces stacked the same way they are to be constructed. Just lay the stitched section on top of the stack, lining it up with it’s kin, and it’s easy to see what gets attached and where. I tuck in the thread ends that are sticking out where the two green/yellow hexies meet. Tape them to the backside if they are misbehaving. And then do it!


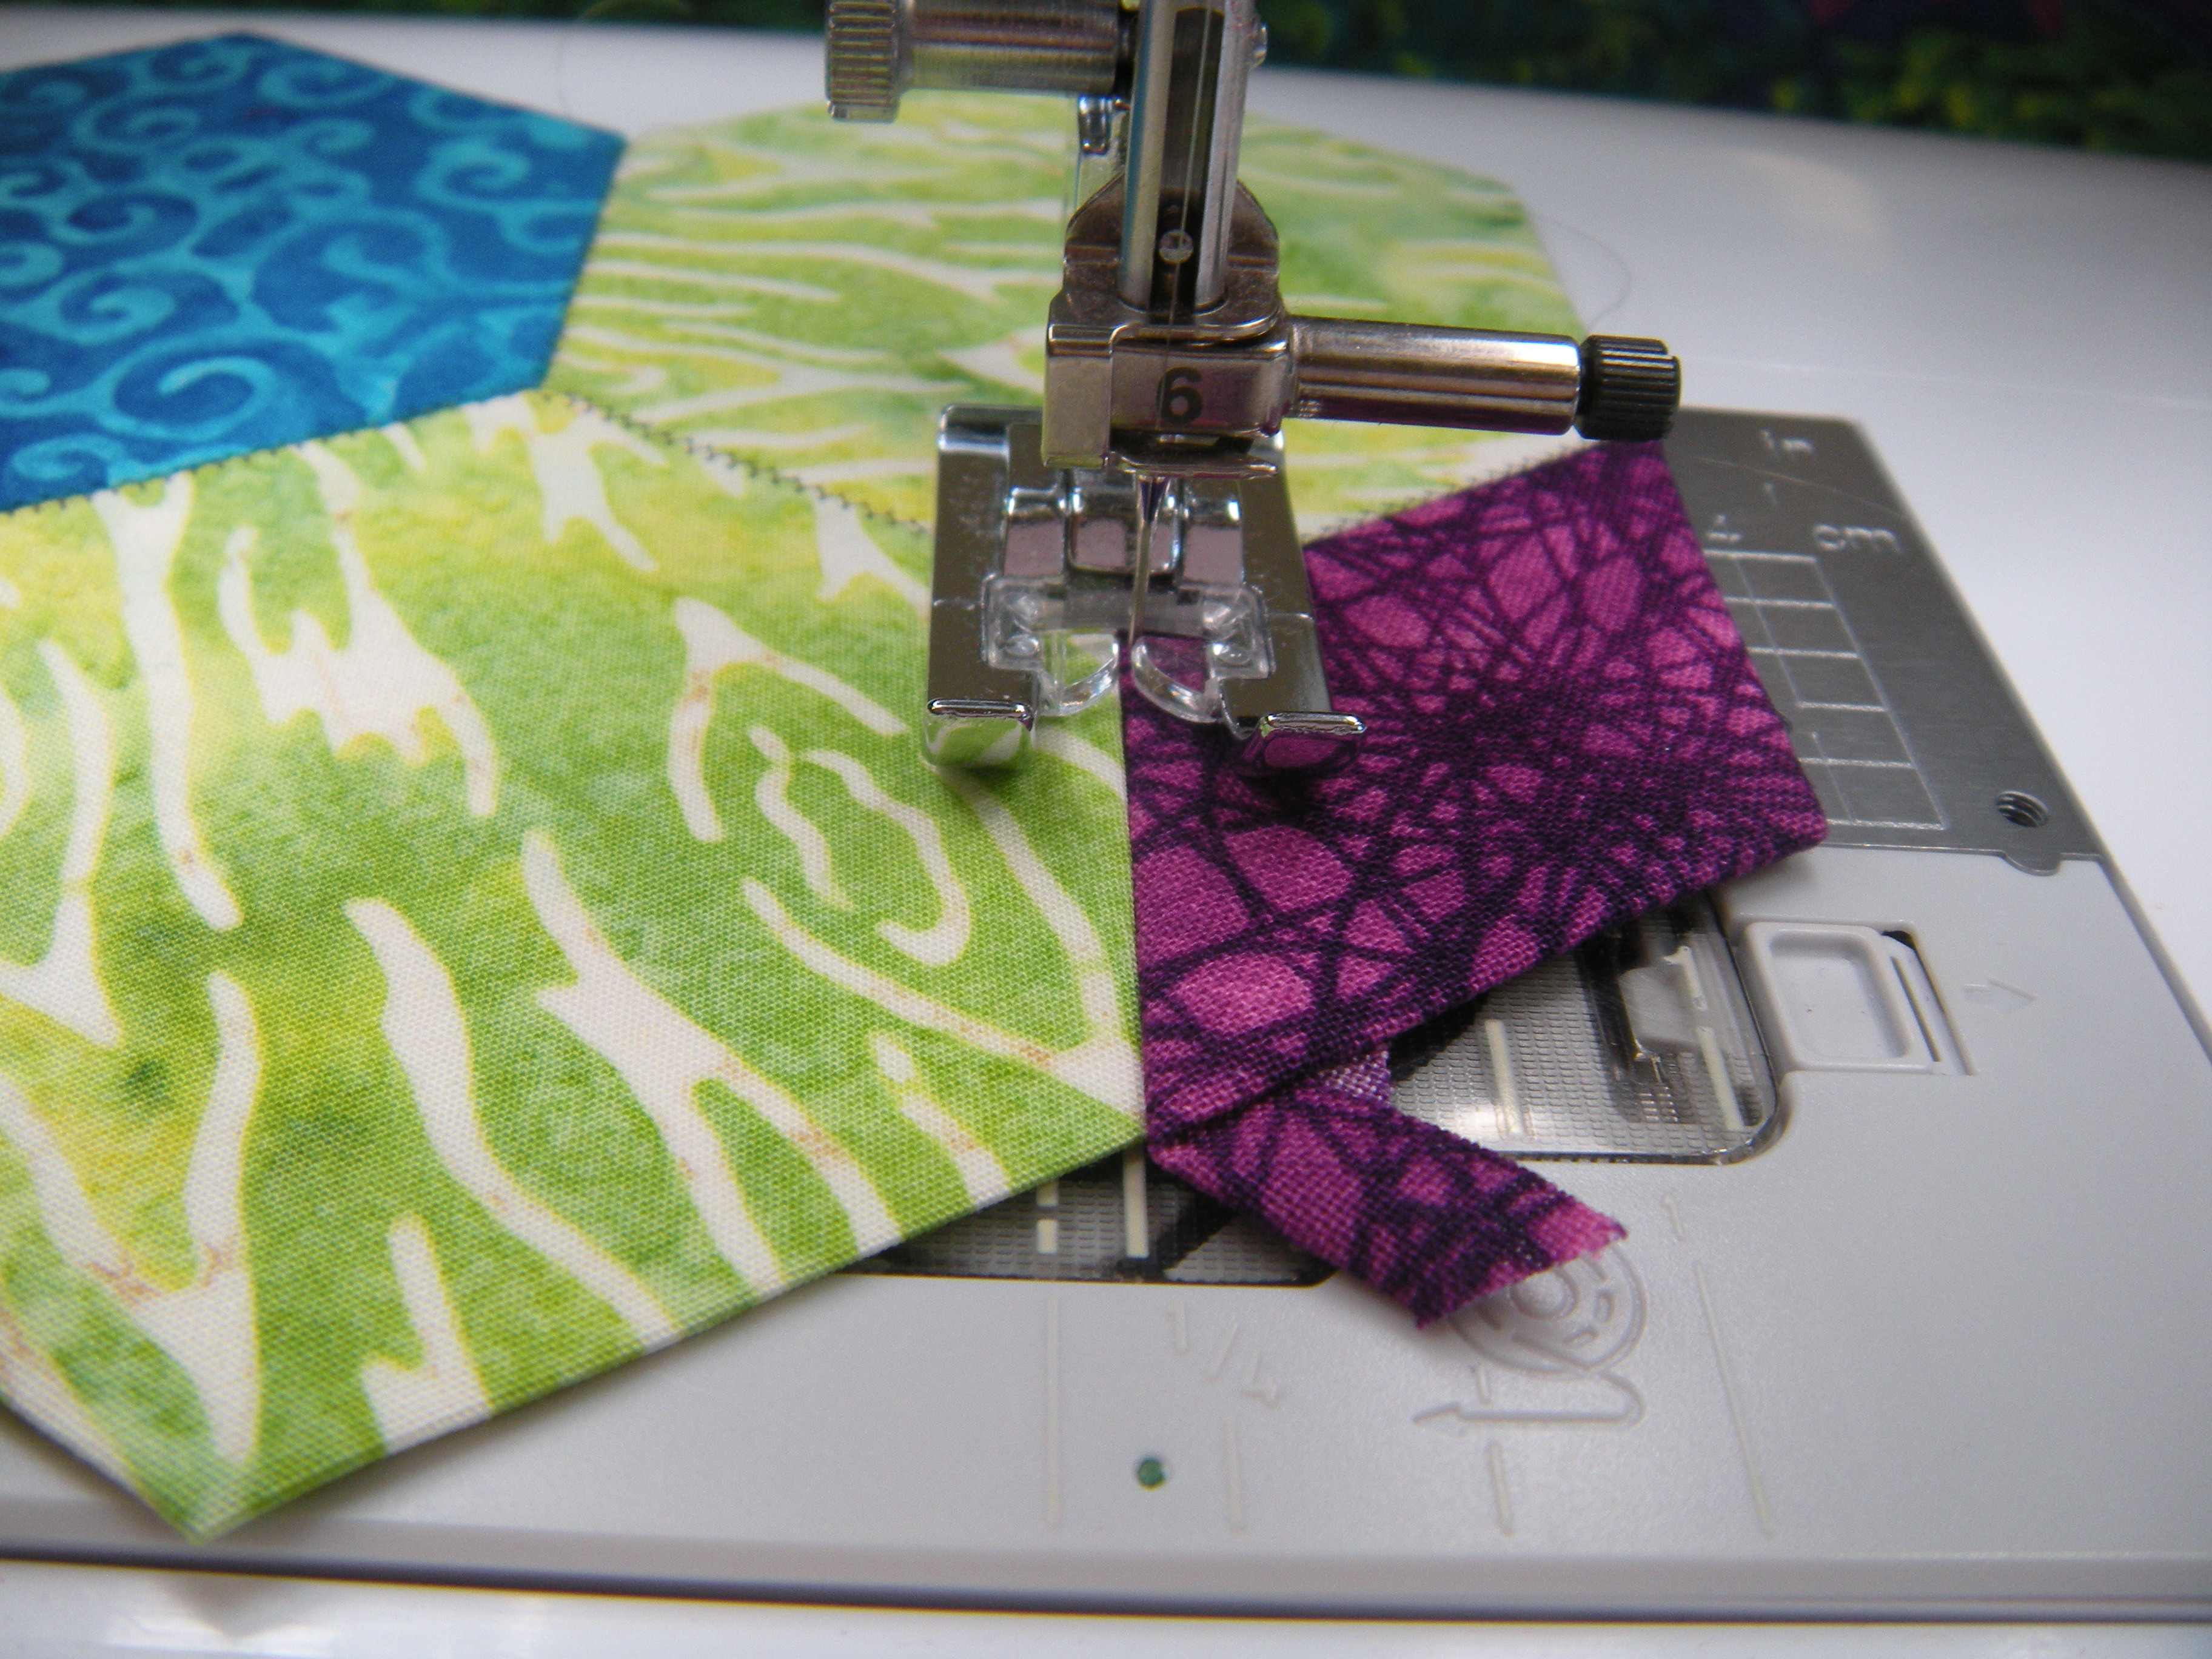


Tuh duh! Now keep on keepin’ on.
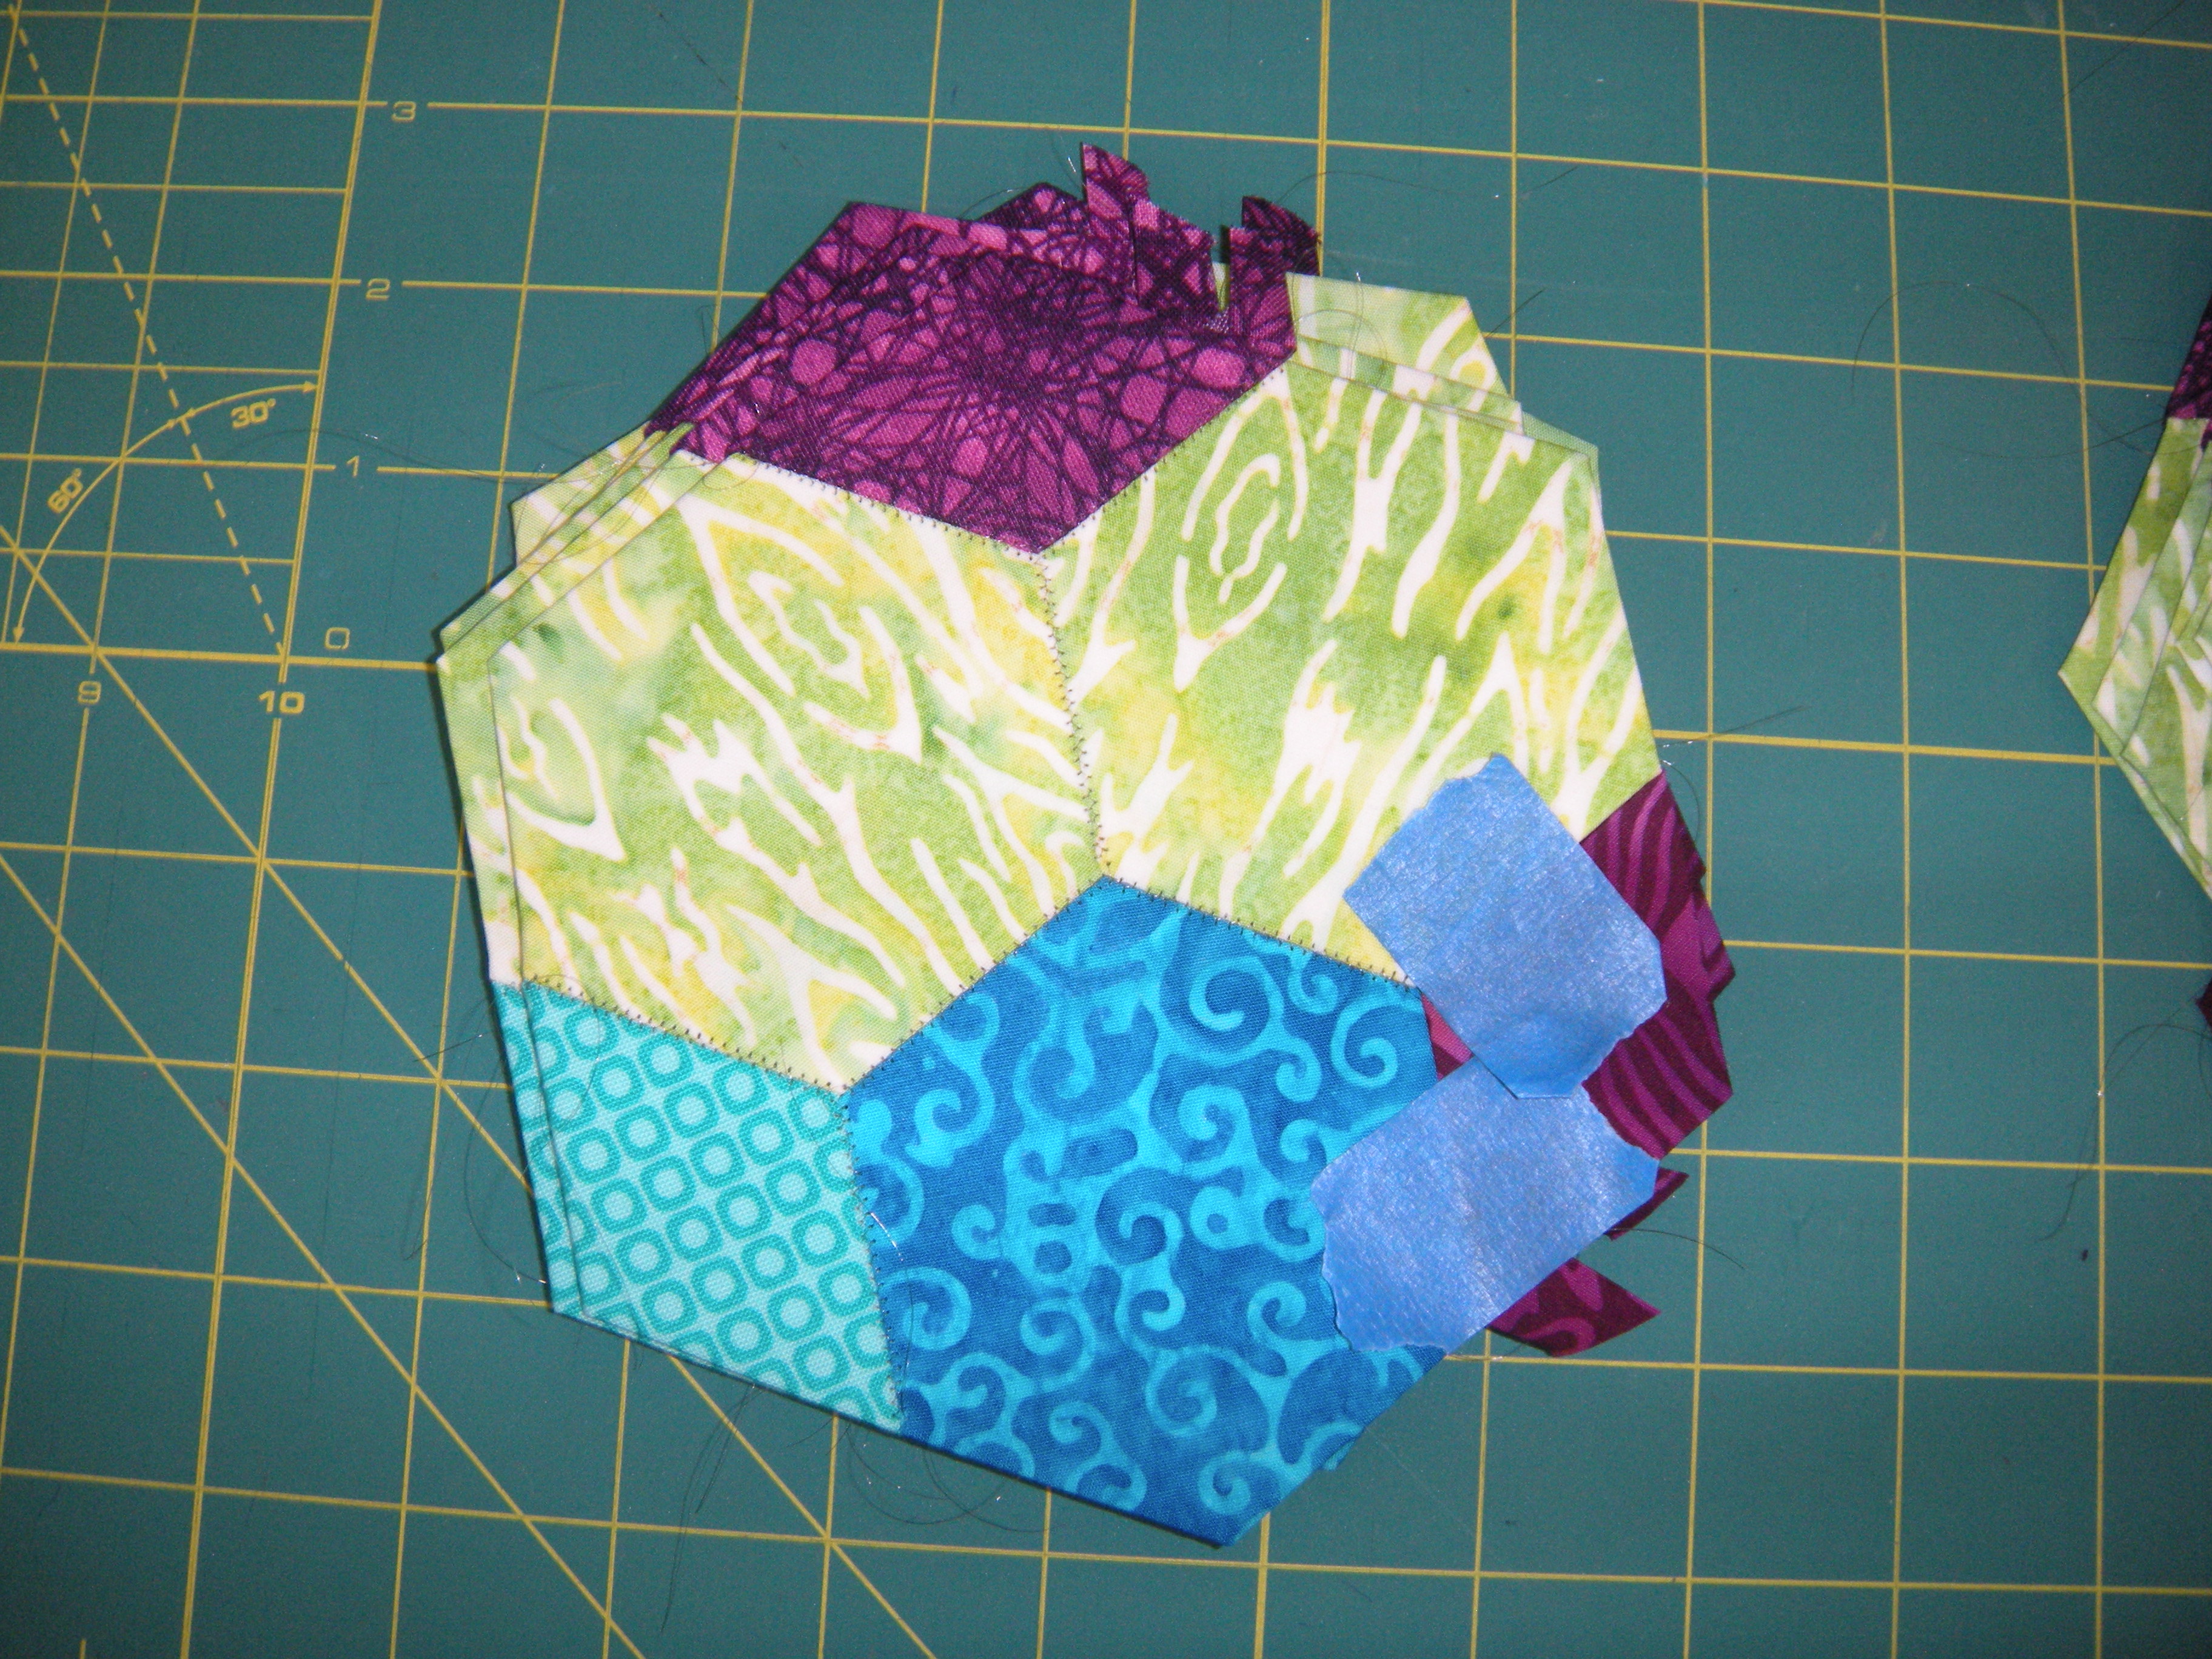
Now you must stand back and admire this stack of yumminess!

Tomorrow is the third (and final) part of the tutorial, where everything joins together to finish rosette one! Just in time to start rosette 2. Tomorrow I’ll also talk about popping out the papers. My fingers are getting tired of talking today.
Now stop reading and go make something pretty!

Thanks for these tutorials. I live in your world, where anything by hand gets set aside for a different lifetime. I have hope now!
LikeLiked by 1 person
Lets plan on getting together in that next lifetime. We will have an ethereal quilt along, using lots and lots of teeny weeny pieces.
LikeLiked by 1 person
My teeny weeny pieces go in a bag for dog beds. So I will have to go shopping in that next ethereal quilt along! Want to ride along?
LikeLiked by 1 person
Wait…there’s fabric shopping involved? Sign me up!
LikeLike
Great pictorial Carole!
LikeLiked by 1 person
Thanks Katja!
LikeLike