
I wish I could carry a cute little bag with me when I go out. Lipstick, license, card, phone. And then there’s the elephant in the room (because I can’t get it in my little bag.) It’s my glasses. They don’t fit in little bags. I’ve considered going the Mr. Monopoly route and trying a monocle. But until I can find one with bling, I’m going to add little pouches for my glasses onto little bags.

I’ve been making versions of the Necessary Clutch Wallet by Emmaline Bags. The orange plumeria wallet in my last post got a lot of comments and requests for instructions. Somewhere else. Not here on my blog, because I have not yet told anyone I am writing a blog. But I might lure a few people over with my new and improved tutorial:
How to make a glasses pocket for your NCW, or your other wallet, or your little pursey thing, or just about anything that needs to hold your glasses
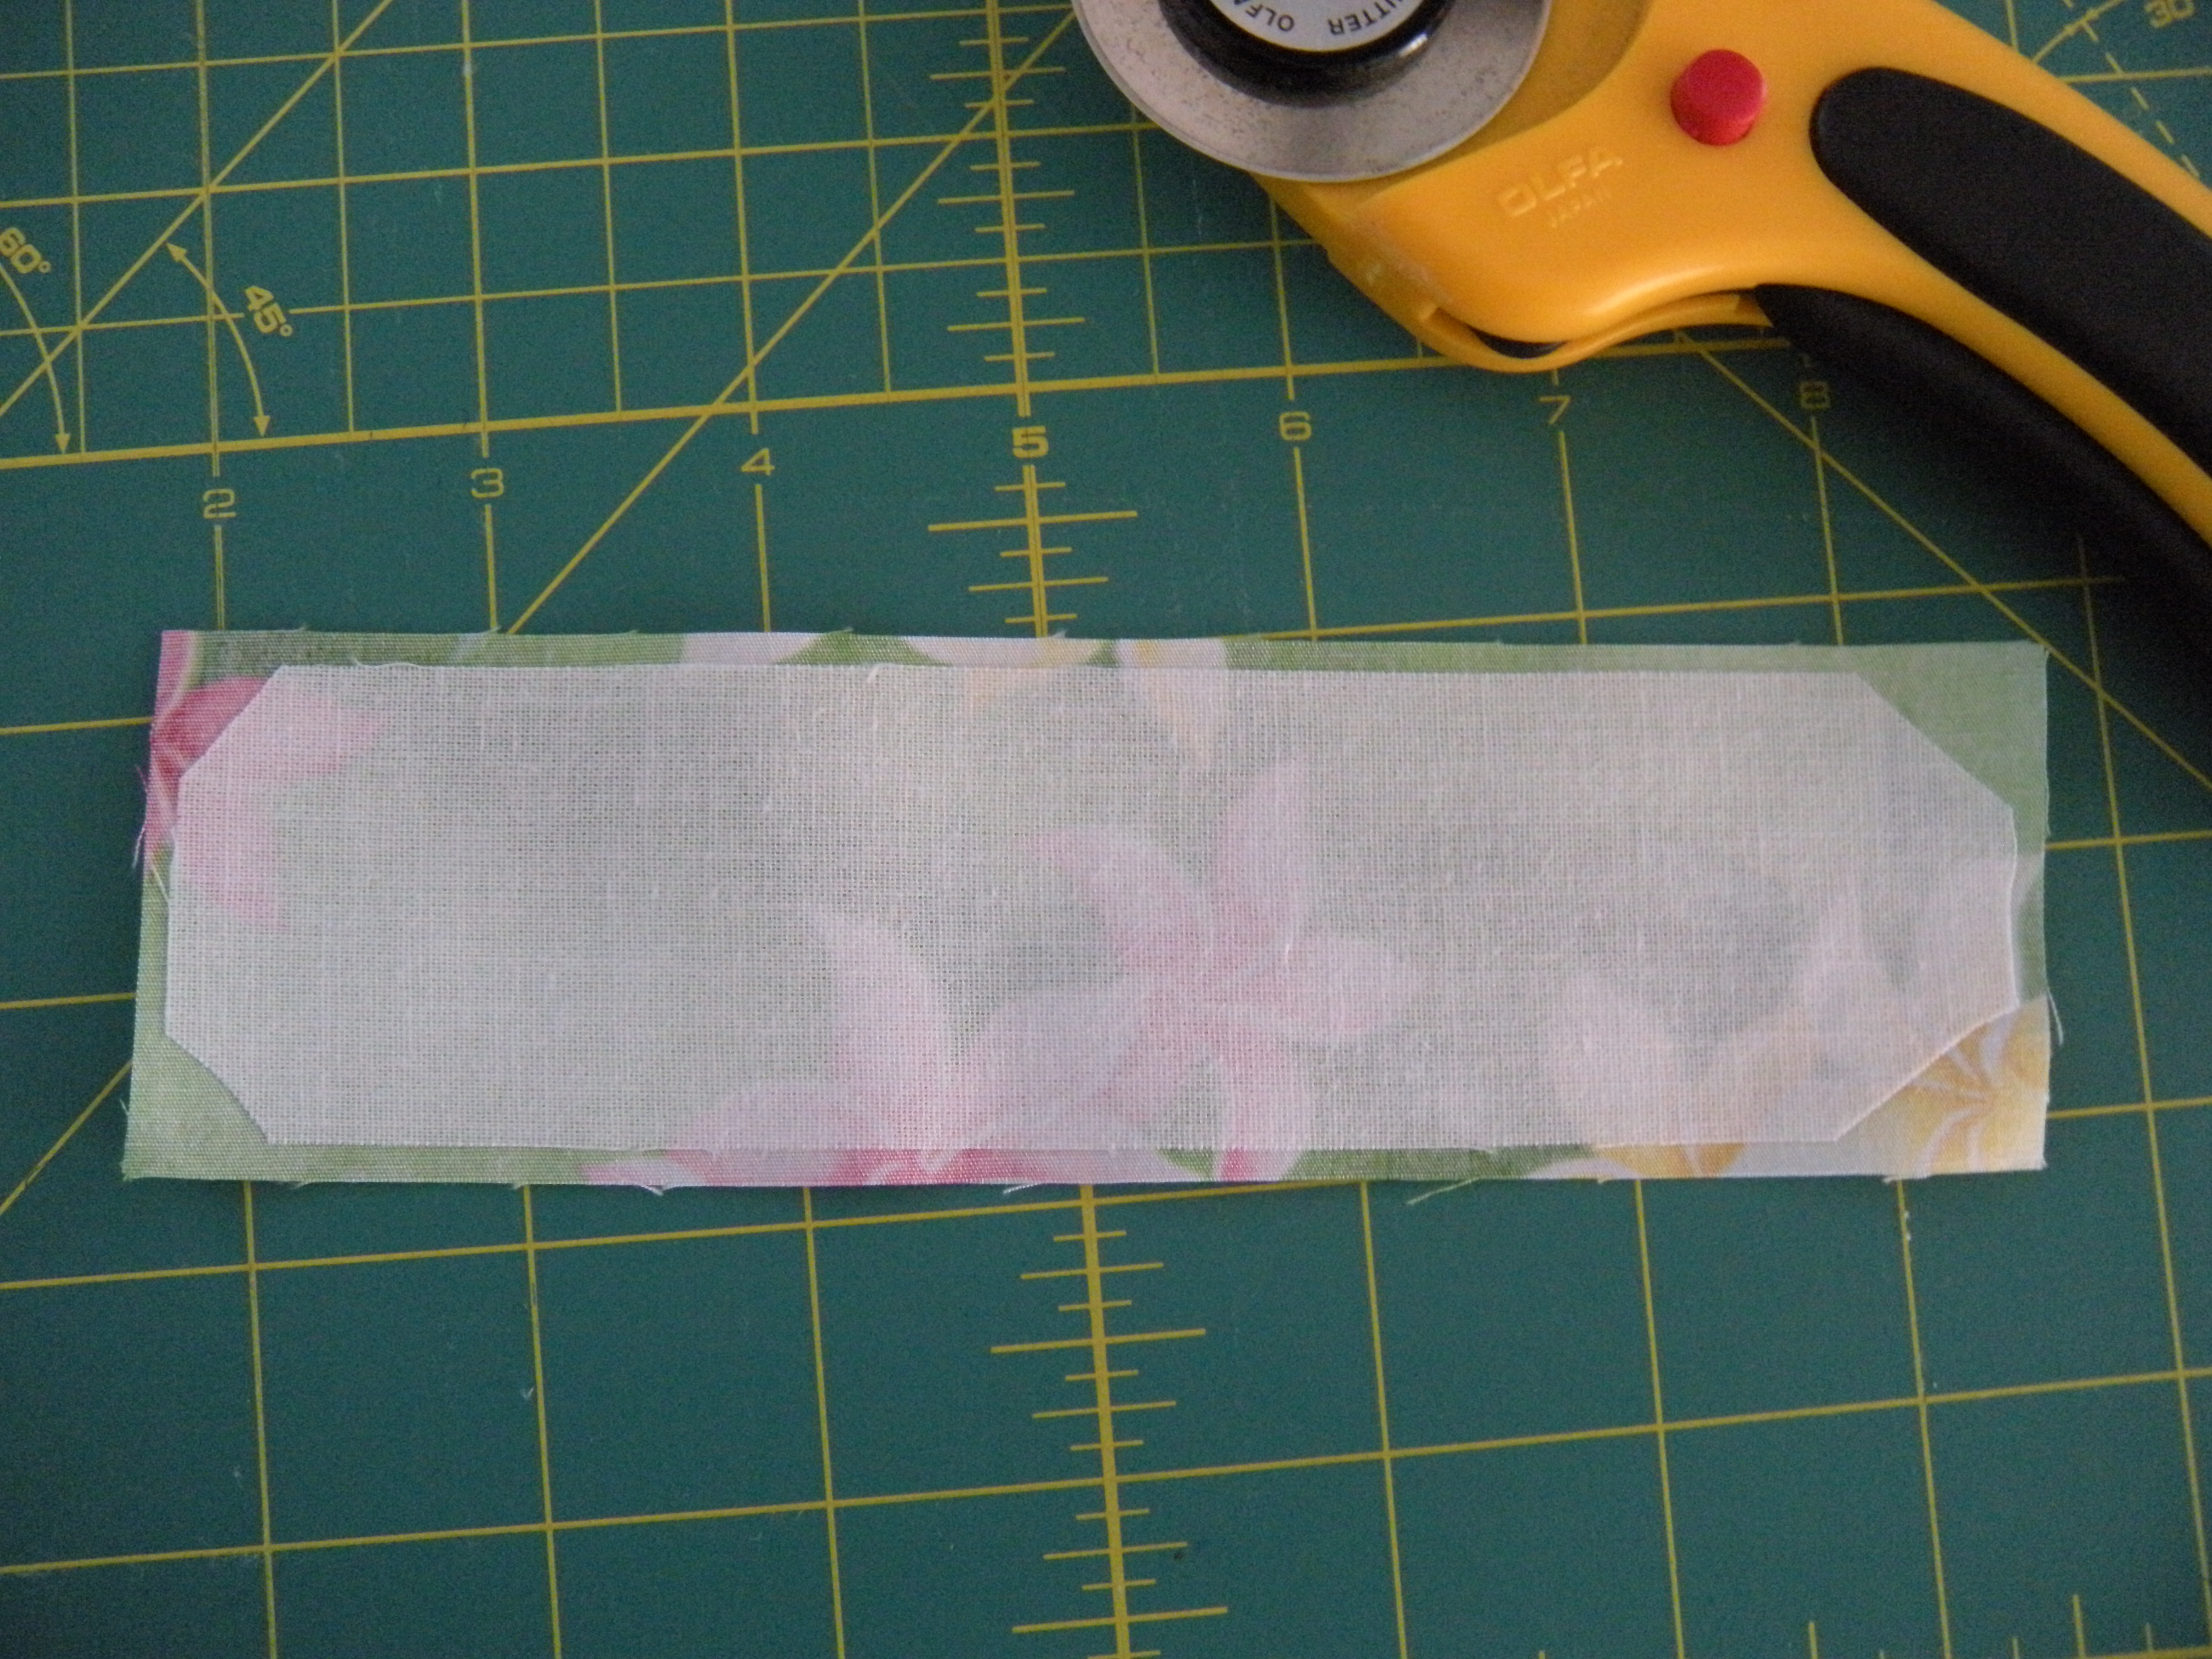
you will need: 7-1/2″w x 9″h fabric, 8-1/4″ x 6-3/4″ interfacing (I use shape-flex,) a magnetic snap, all the usual suspects in sewing supplies
Fuse the interfacing on the back of your fabric. Why is the interfacing so much smaller than the fabric? To keep it out of the seam allowances, eliminating unnecessary bulk.

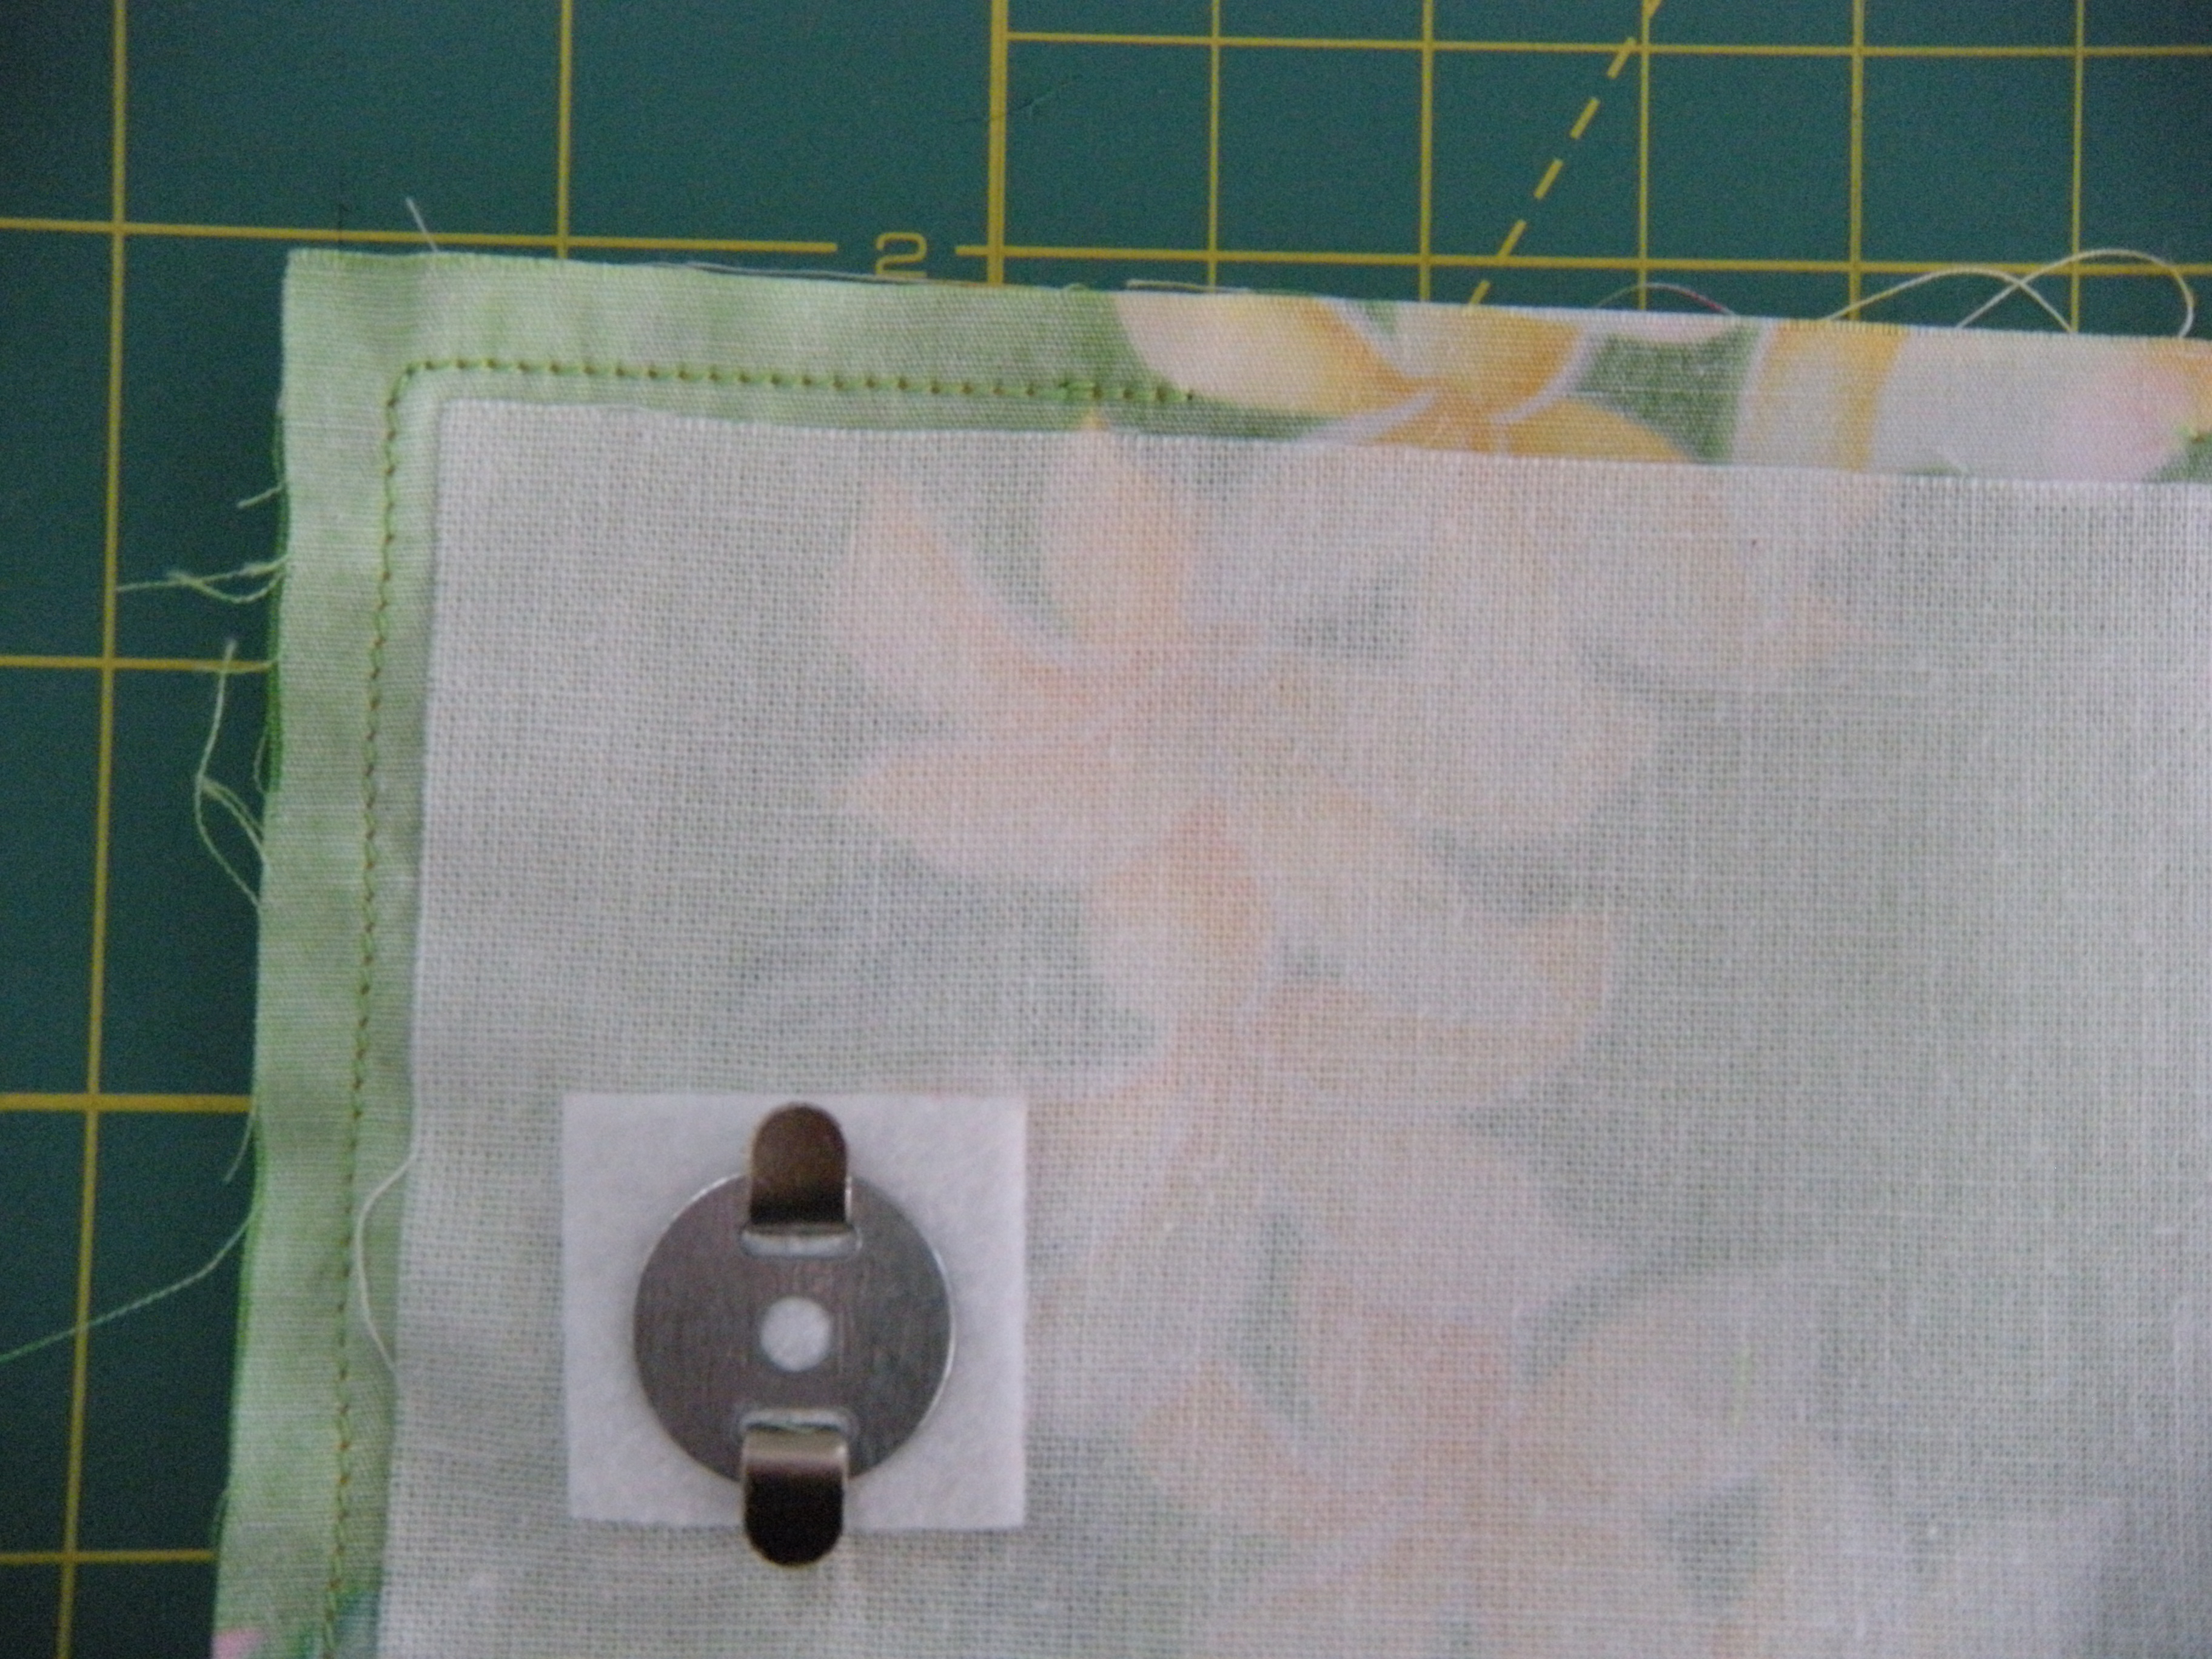
Bet your glad I put in a picture of that. Fold this in half (wrong sides together) with 7-1/2″ sides meeting so you can decide which side of your fabric you want to show. Now mark the position of your snap. The center of the snap should be 1-1/4″ from the left raw edge, 2-3/8″ from the lower raw edge. If you want your fabric to appear in such a way that the raw edge is on the top, measure 2-3/8″ down from the top. Don’t argue with me, remember there is a quarter inch seam coming along, so it will be centered. Attach the female side of the magnetic snap on the marking, using a small piece of peltex or batting on the back for stability.


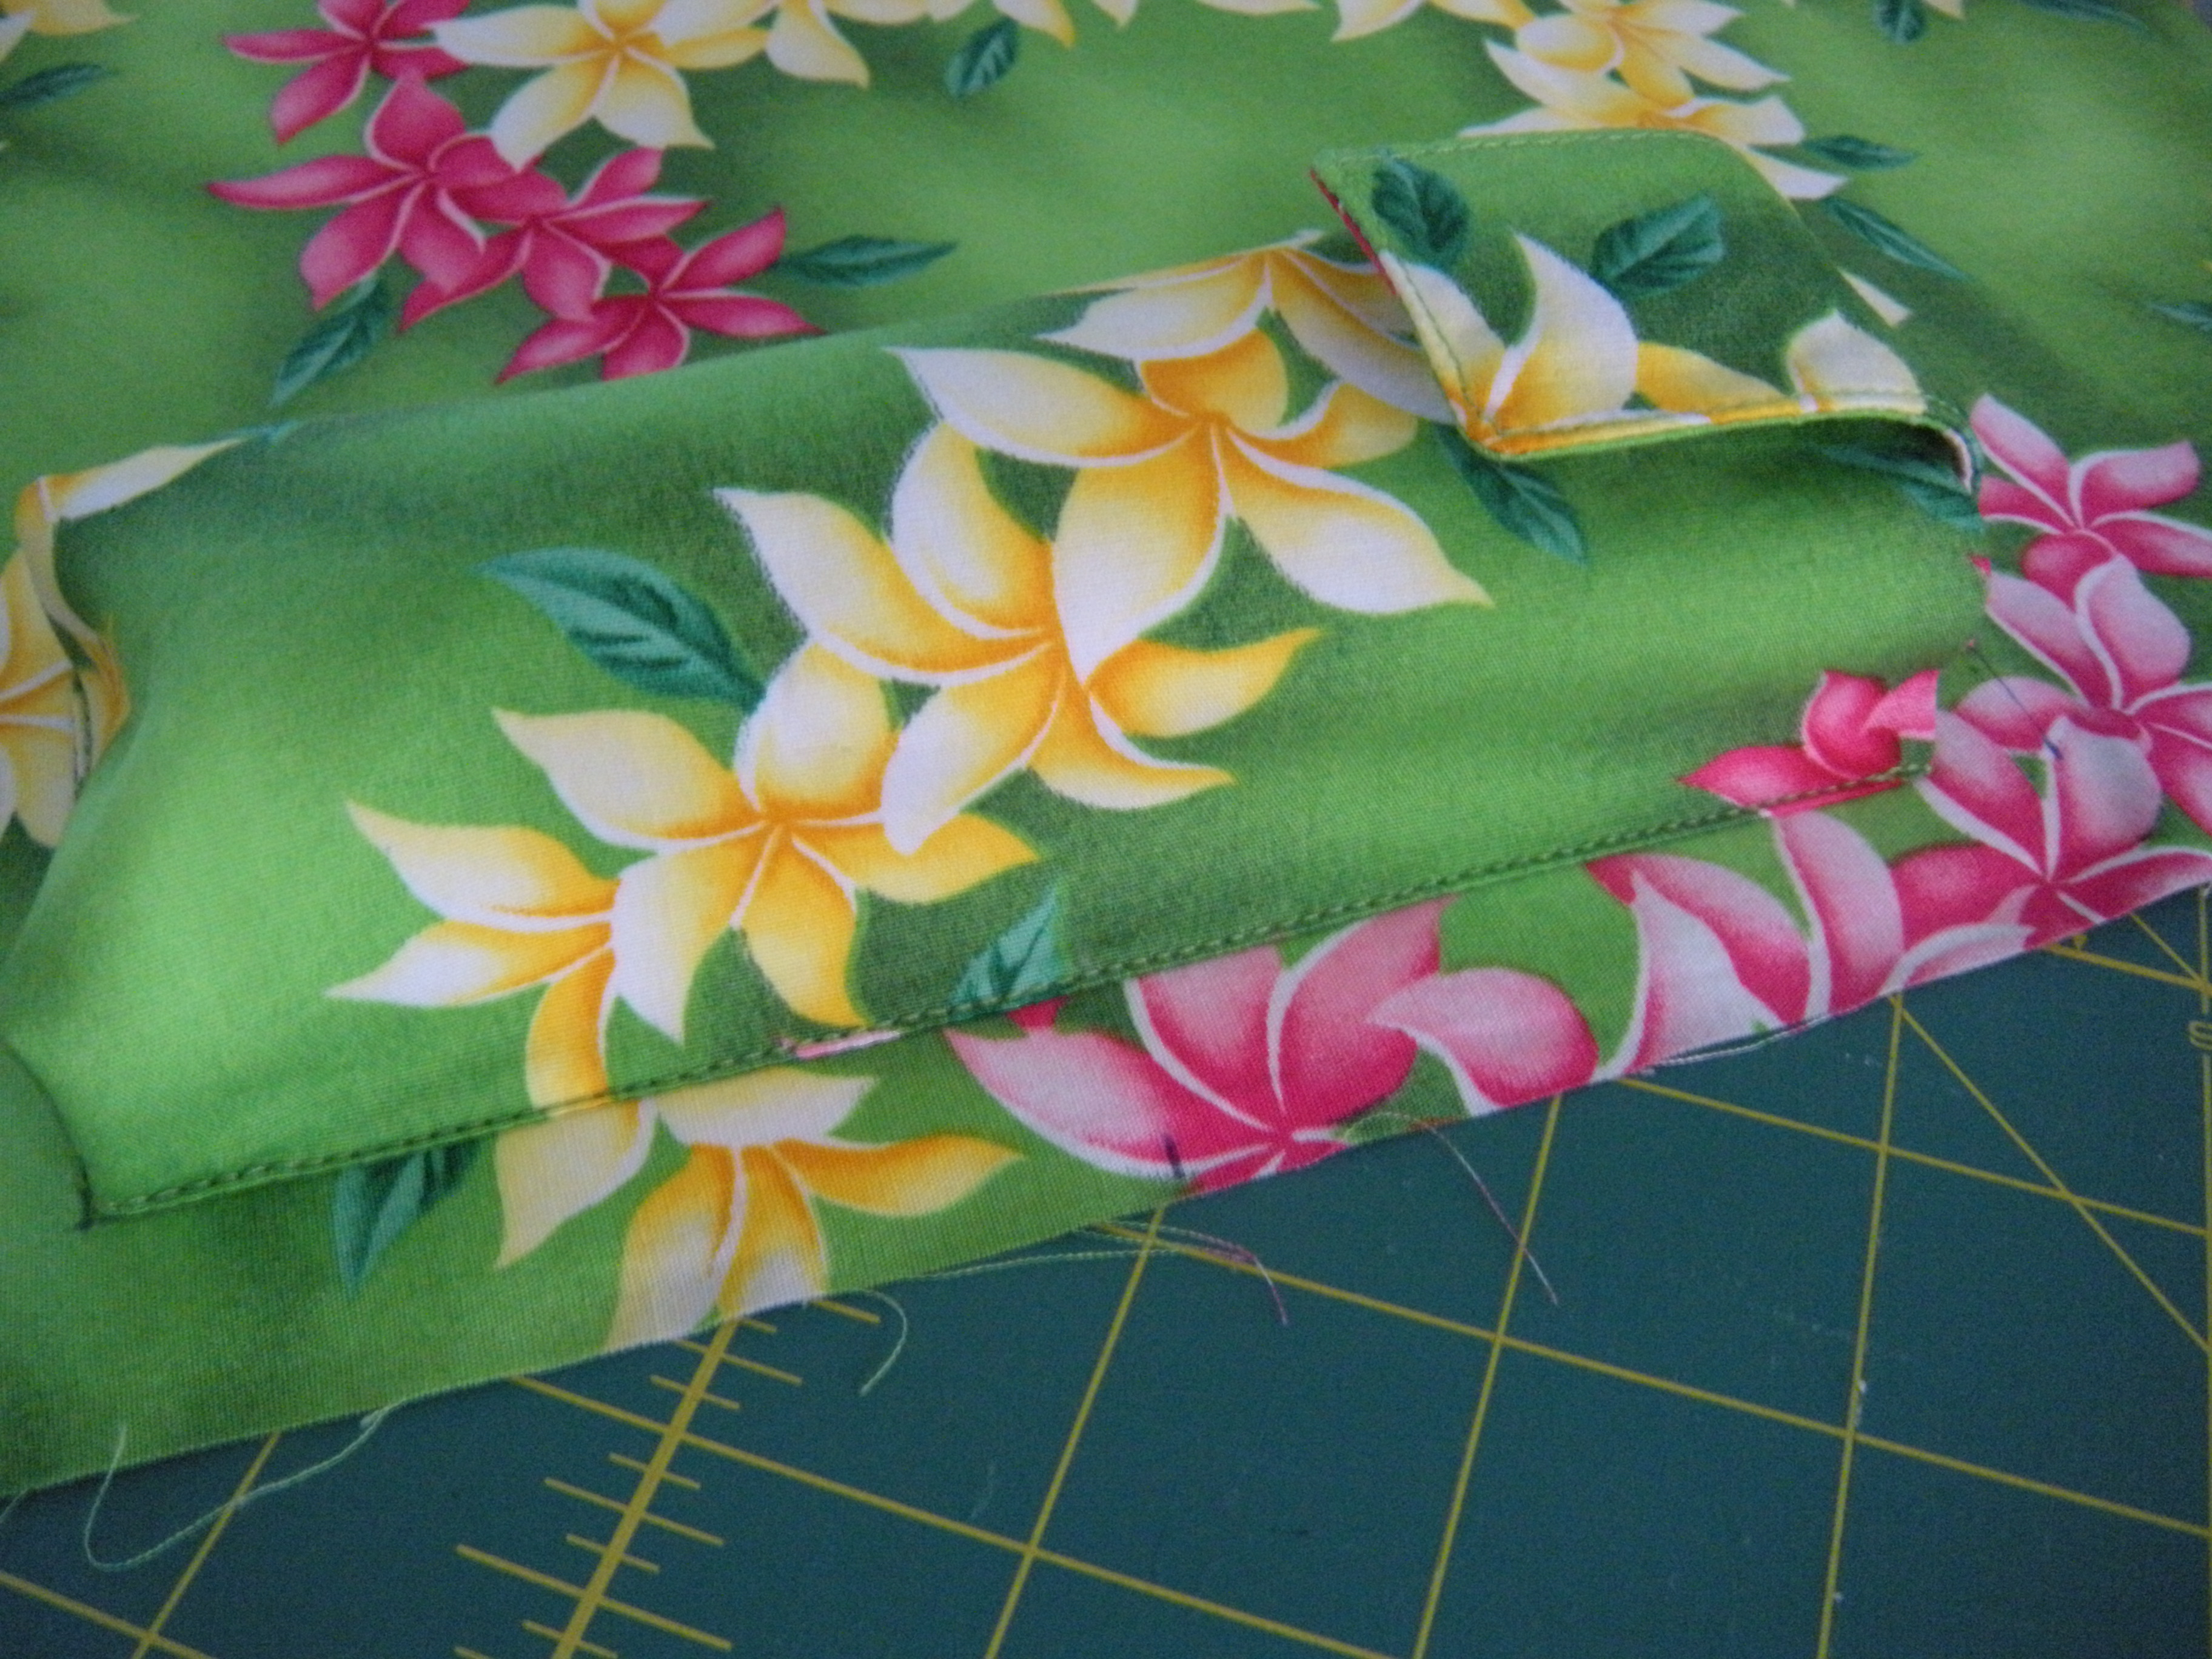
Isn’t that just spiffy?

Fold this bad mamma-jamma in half, short sides together. Stitch a 1/4″ seam leaving about 3″ open on the long side.

Trim, turn, press, admire.

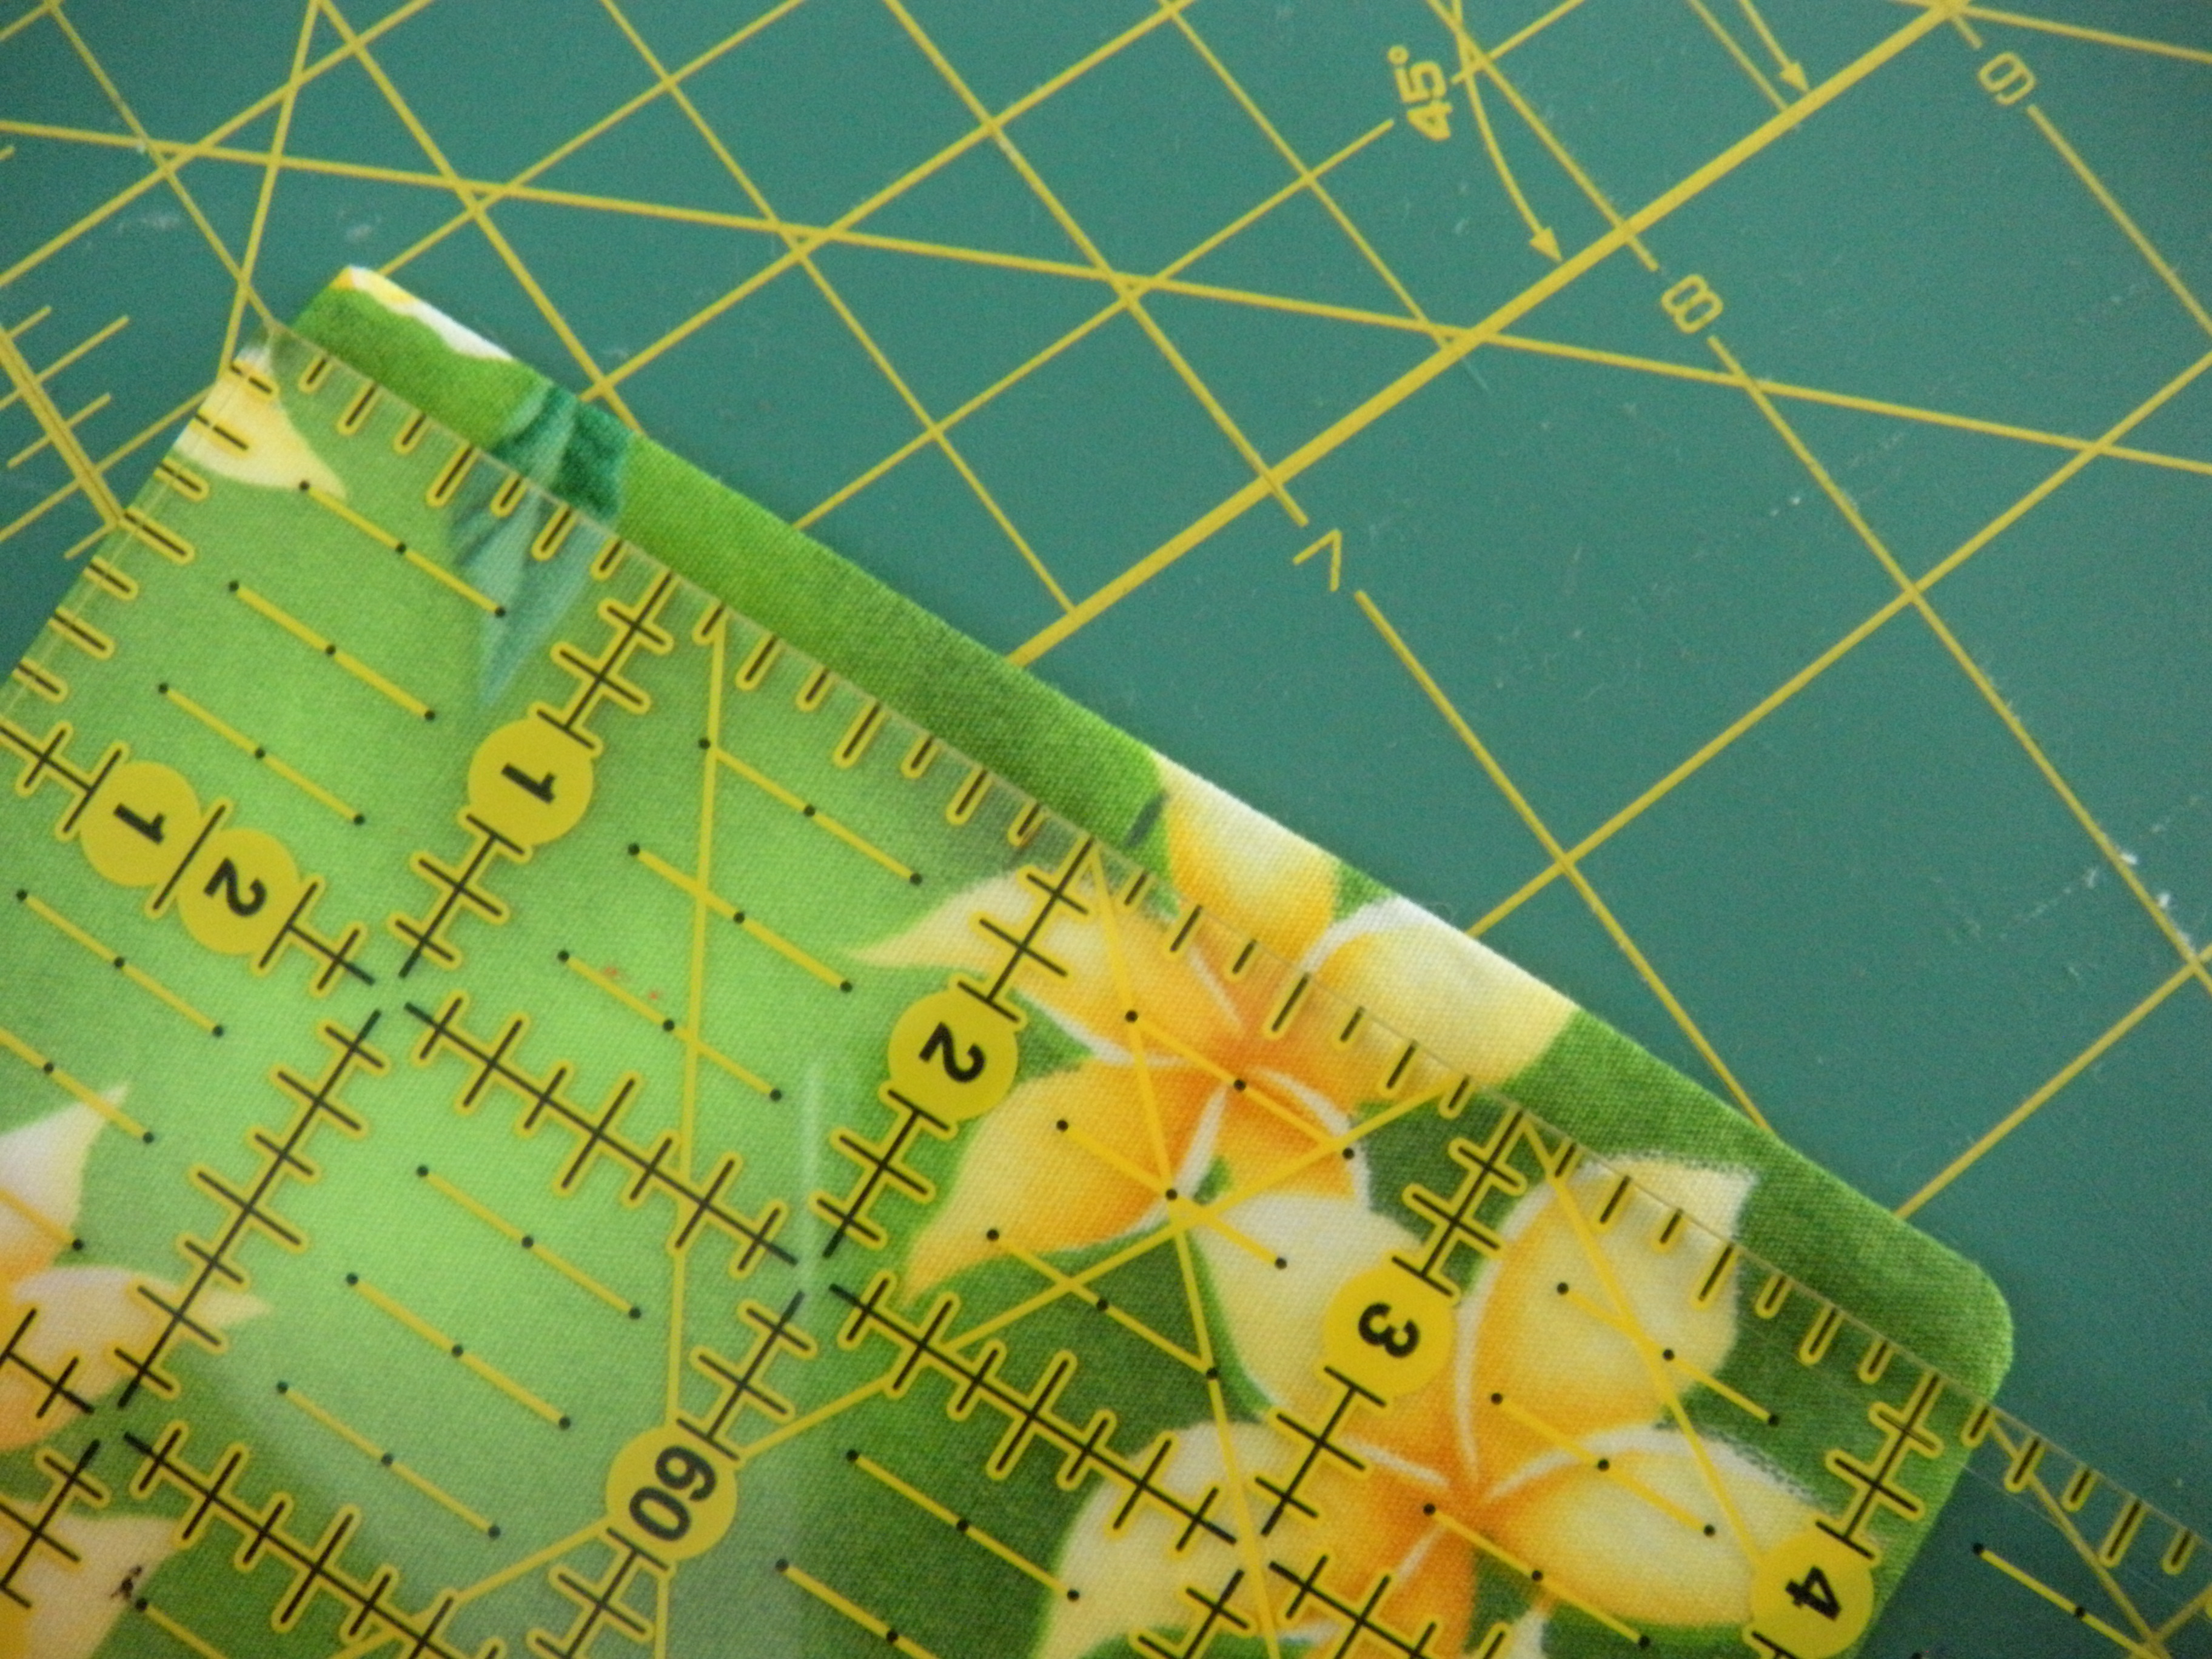
Flip that baby over. On the short side without the snap, mark the center. I do all my marking with a Frixion pen. A little shot of steam or a touch with the iron and the marks disappear. It’s like magic happening right there in your sewing room! Also mark 1-1/4″ on each side of the center mark. The center of mine was just a hair past the 2″ mark. Doesn’t matter, just find your center. I should teach meditation. Look how crappy my one corner looks! Don’t care. Gonna hide it.
Origami time! Choose one of those corners to start. Fold the piece like you’re making a paper airplane – from the corner with the right sides together. This is the corner on the right from the picture above. Well, it would be except I marked the incorrect side first and took a picture of it. My bad. Anyway, you can see the center and two side marks below.

Stitch this little folded end like below. Then do the other one.

Here’s the inside. And when you flip it, tah dah! Starting to look pouchy.


Mark the center of each of the long sides. After stitching the corners, mine measured 6″ on the long sides. So I marked each side at 3″. Look at my pens pointing at my little marks!

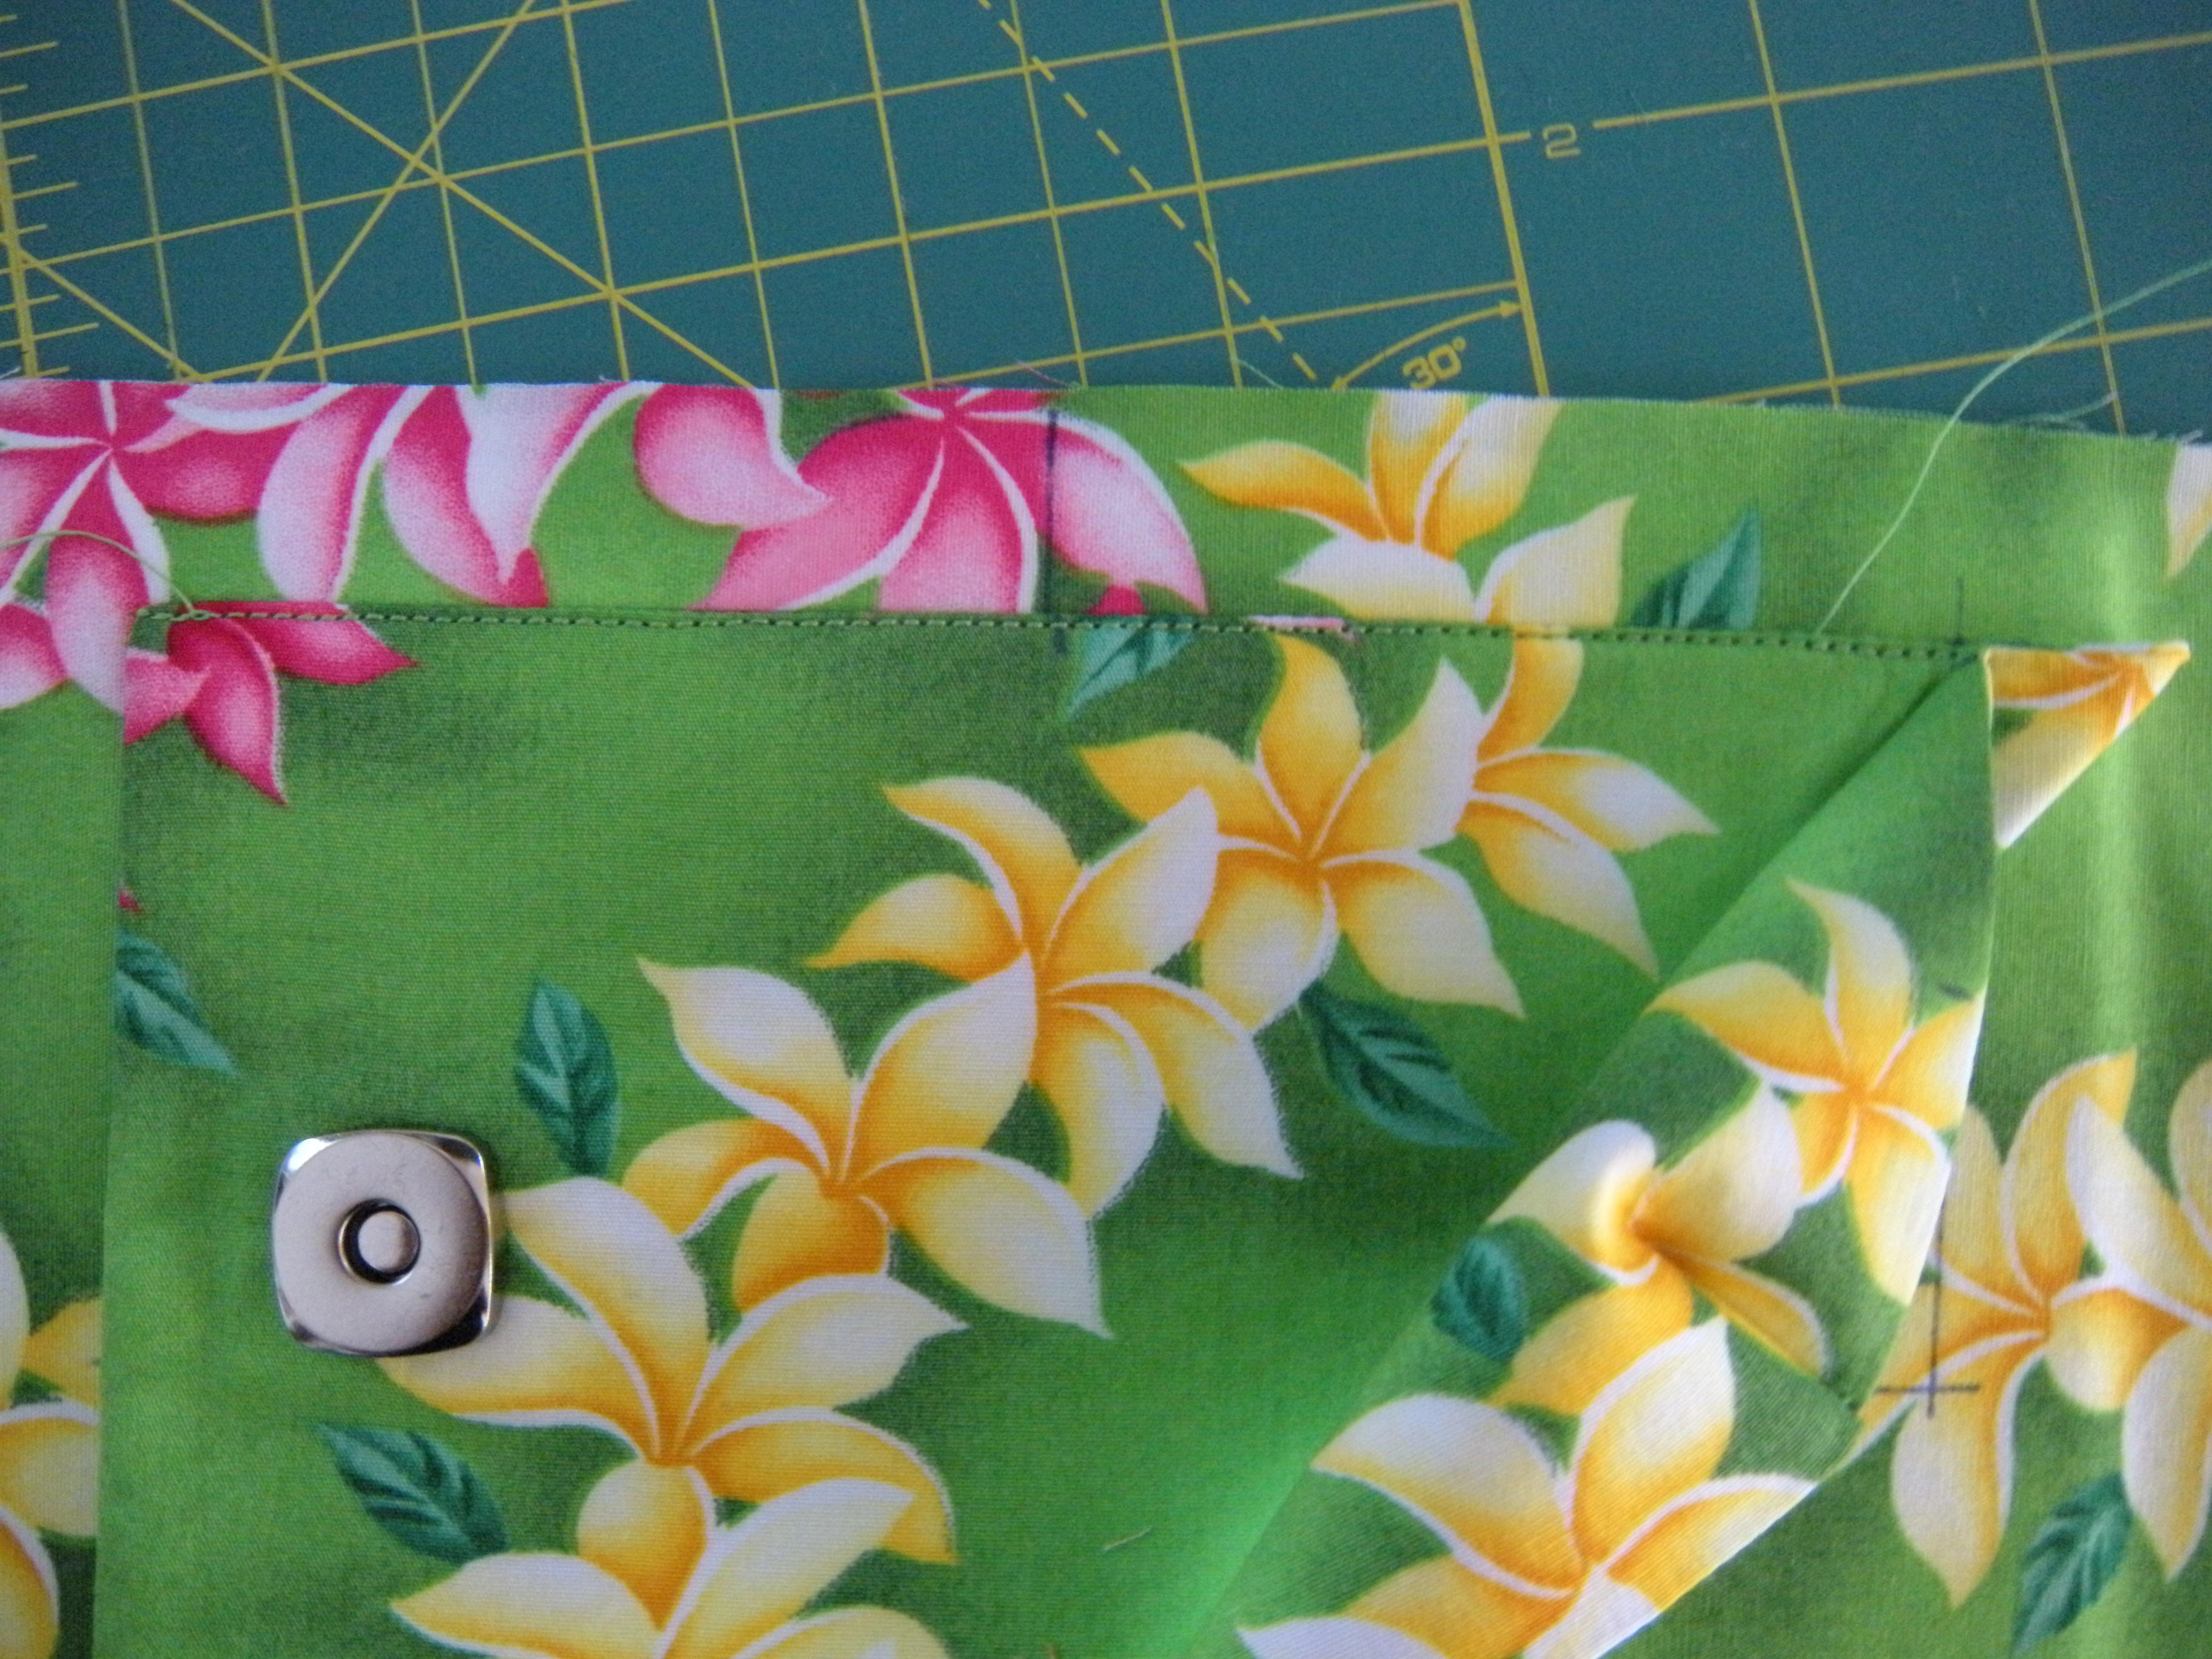
Now it’s time to mark the placement on your wallet. The specifics here are for the NCW, adjust placement as appropriate if you’re making something else. Mark the center of the back of the wallet. Draw a line 3/4″ from the top of the wallet, another line 2-1/2″ down from that. Draw a line 3″ to the right of the center line (adjust this line if necessary to equal half the length of the long sides of the pouchy thingie.) Remember, in my photos I am using a Frixion pen which will disappear with heat. If you’re not using one of those, you might not want to draw all over the back of your bag.

With the snap on the left, match the centers of the top edge of the pouch and the wallet. Pin carefully, stitch close to the edge, backstitching at each end.


Now go do the other side. I’ll wait. Repeat for the end, tucking in the little points so they’re not in the way.

Now you seriously need to spend some time admiring your amazing work!
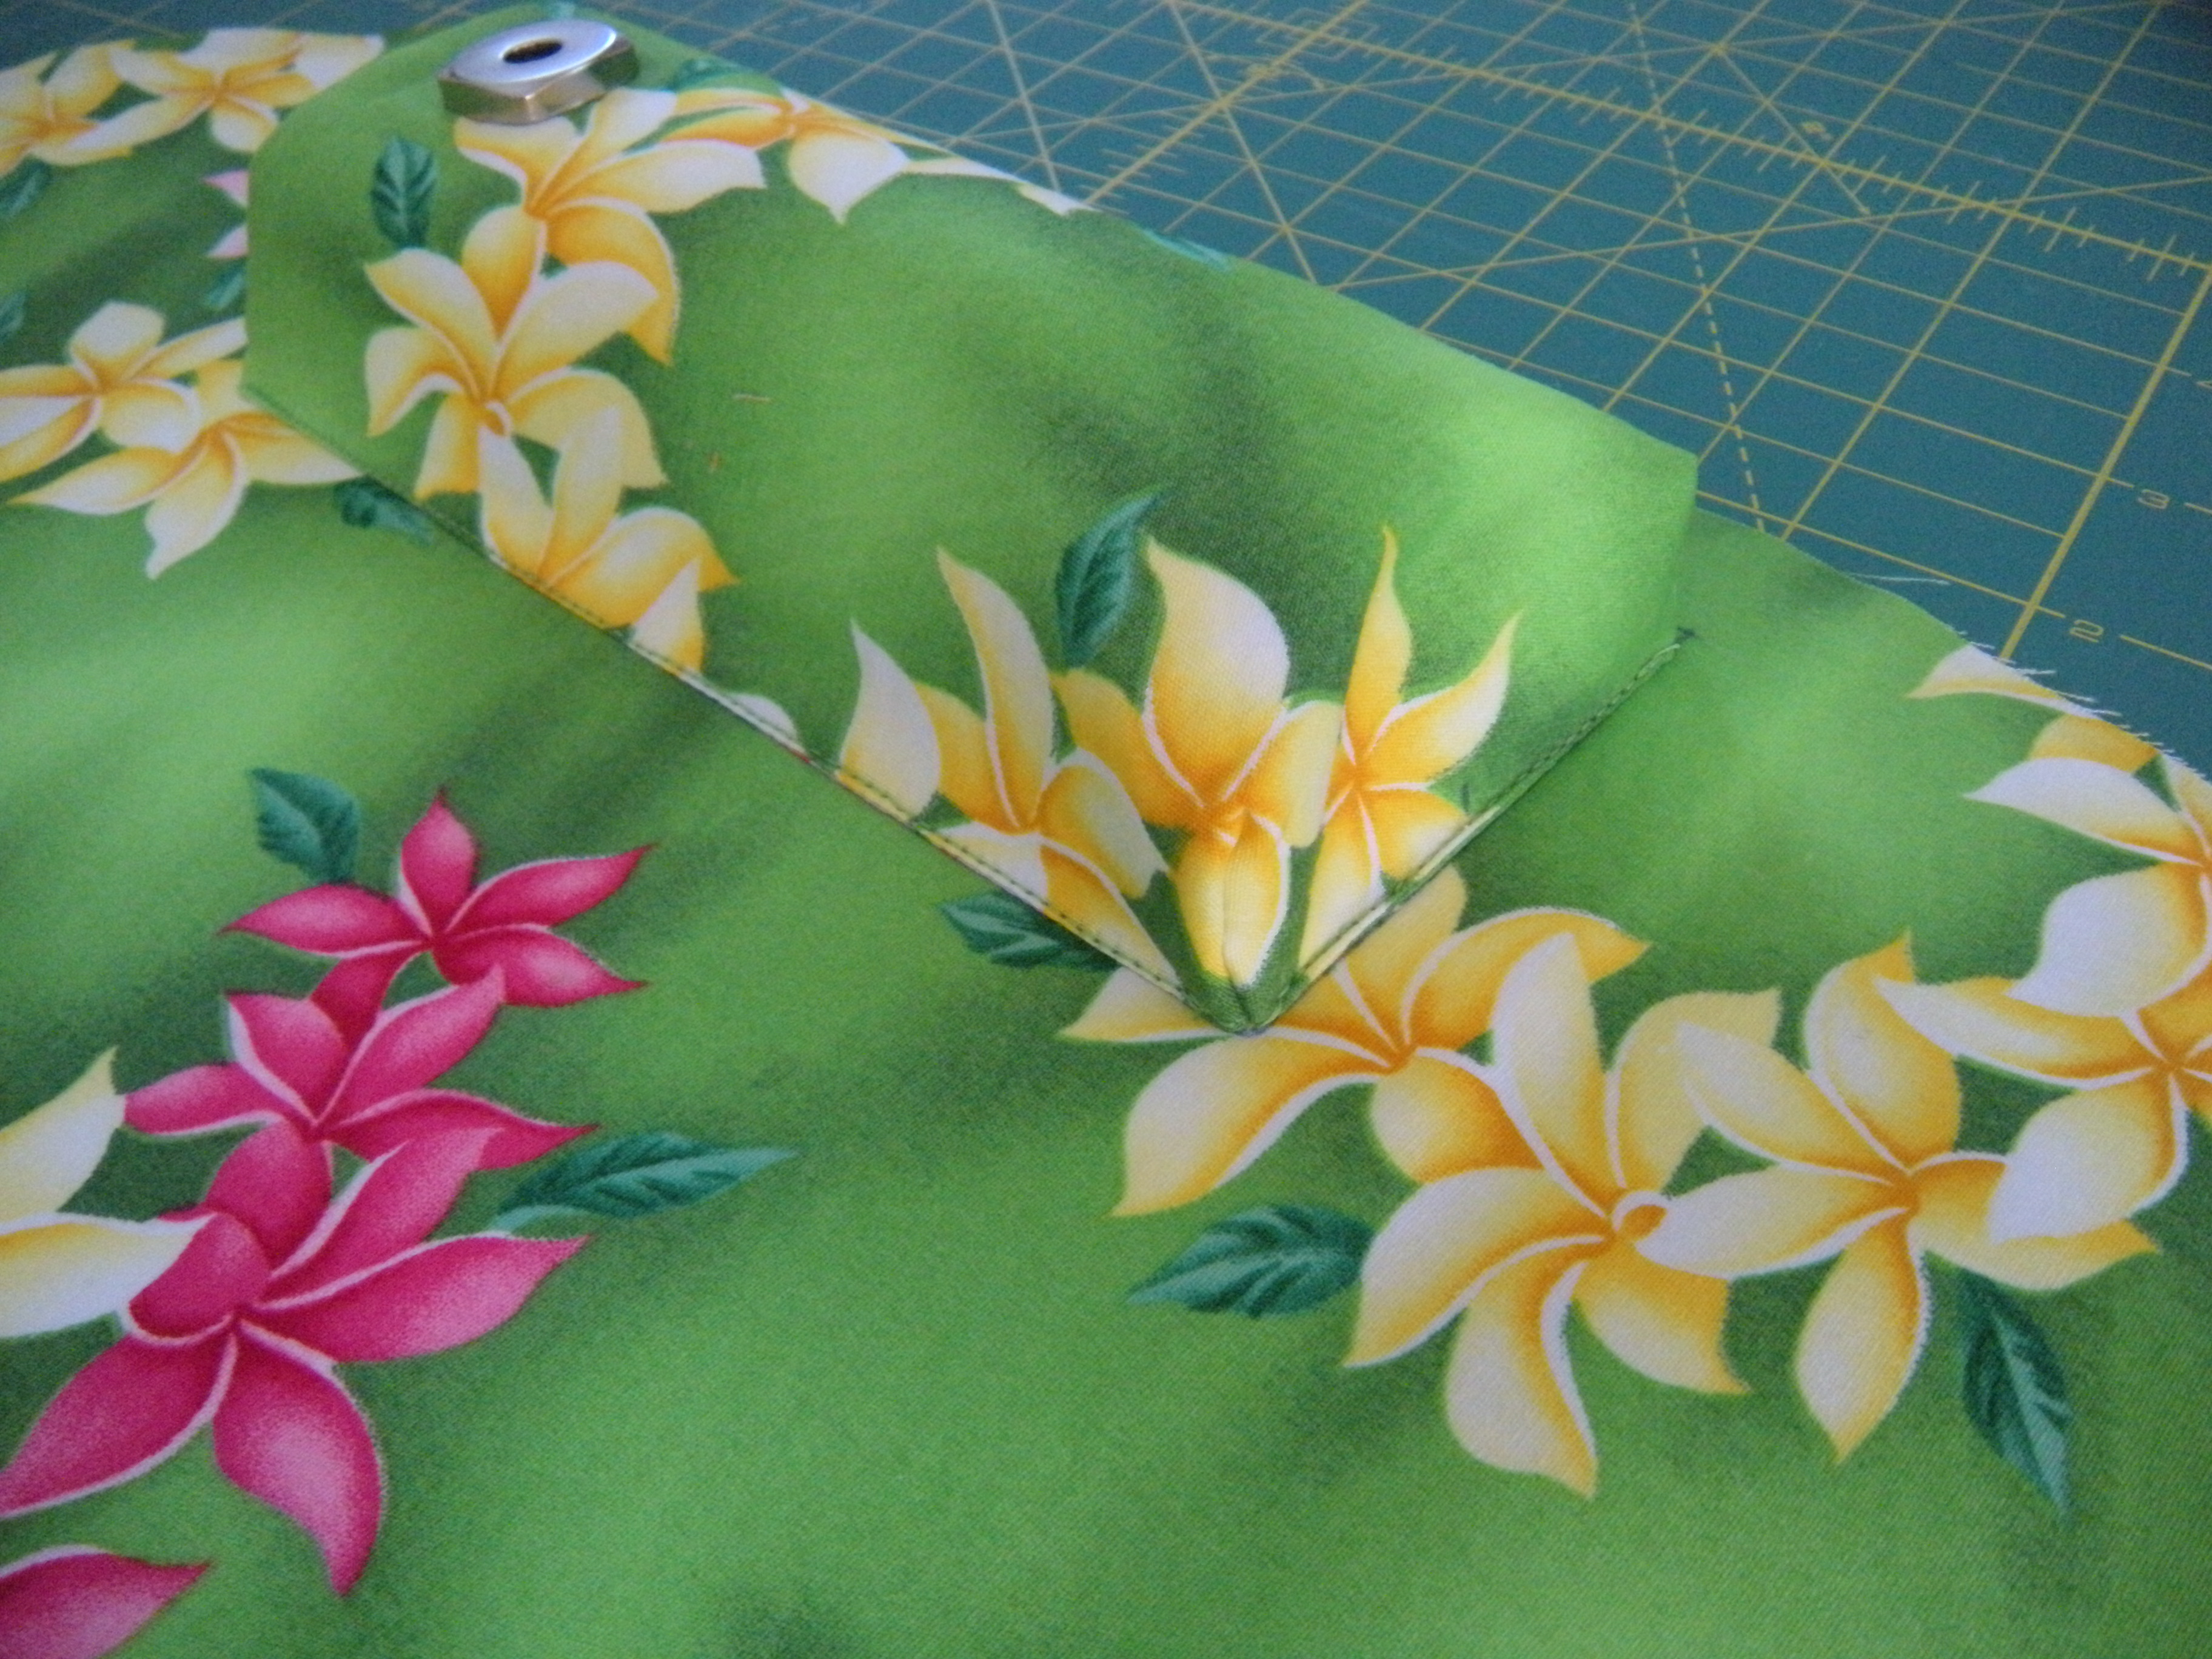


Let’s move on to the tab. This part is super easy after what you just accomplished! Cut a piece of fabric 7″ x 2″, and interfacing 6-3/4″ x 1-3/4″. Trim the corners off the interfacing and fuse it to the wrong side.
Attach the male end of the snap on one end, 1″ from the end and centered. Seems to me it is easier to turn if you spread the little tabs lengthwise instead of crosswise. Remember to add a piece of Peltex or batting behind the snap for stability.


Fold this in half, short sides together, and stitch. Leave an opening on one long side approx 2″.

Trim, turn, press, topstitch around the edges.

Mark a line 1/2″ from the open end of the pouch. Center the non-snap end of the tab along that line. Stitch the tab securely in place.


Hot diggity dog, you’re done! Do a happy dance and admire your work. Then call someone and brag about it!

Of course, you still have to finish the wallet. But aren’t you just tickled?
I would love to have your feedback on this tutorial. Leave me your comments, and send me pictures of your glasses in their new little pouches!
Aloha, and stay crafty my friends!

Love this !!! Will absolutely try it on my next wallet. Thanks so much for doing this, and I enjoyed your writing style. 🙂
LikeLiked by 1 person