I swear this is the last travel bag I’m making. Before I leave next Sunday.

DSCN0070

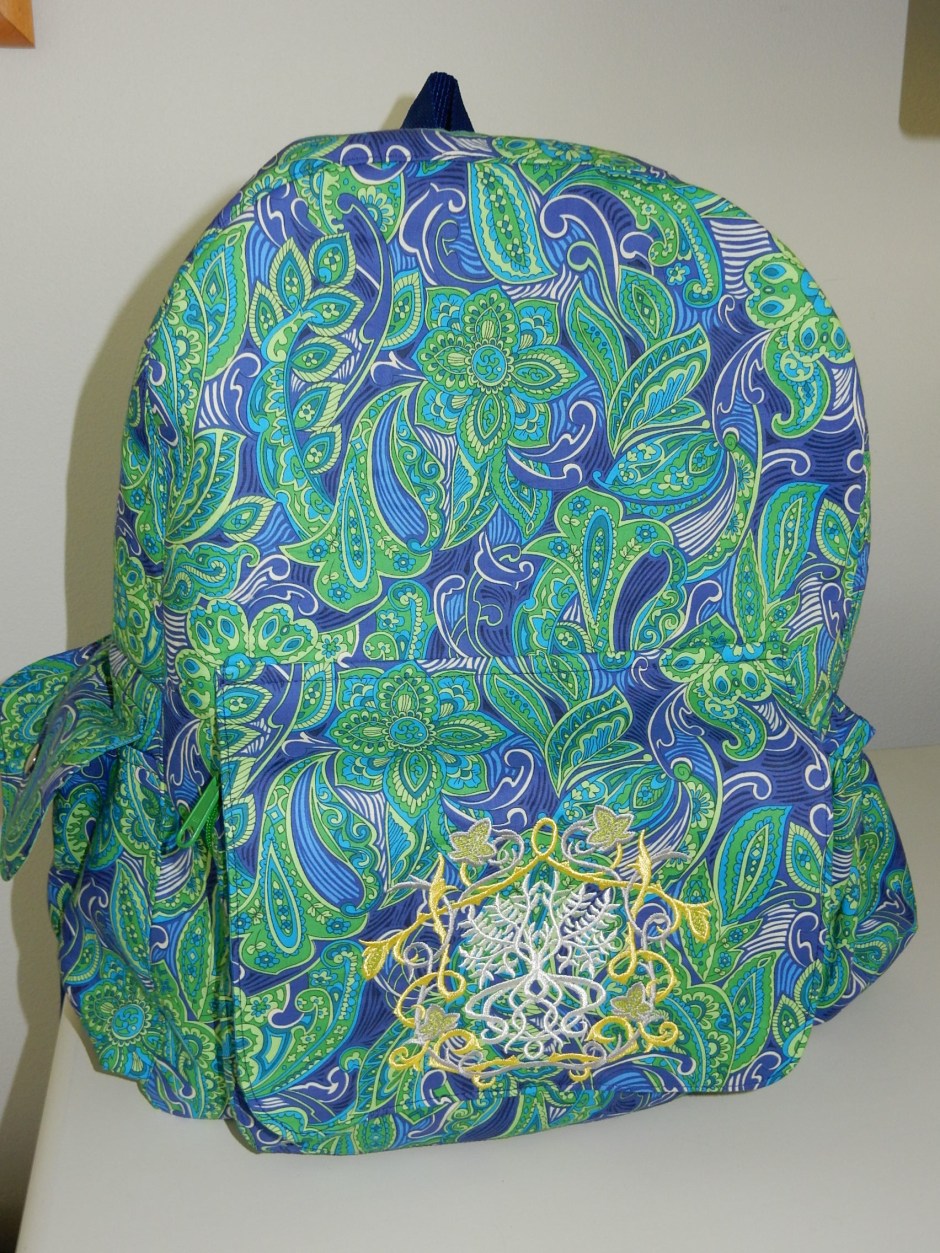
This time I mean it.  I have completed my travel bag journey.  This is the backpack I am using on my grand European tour.

DSCN0073

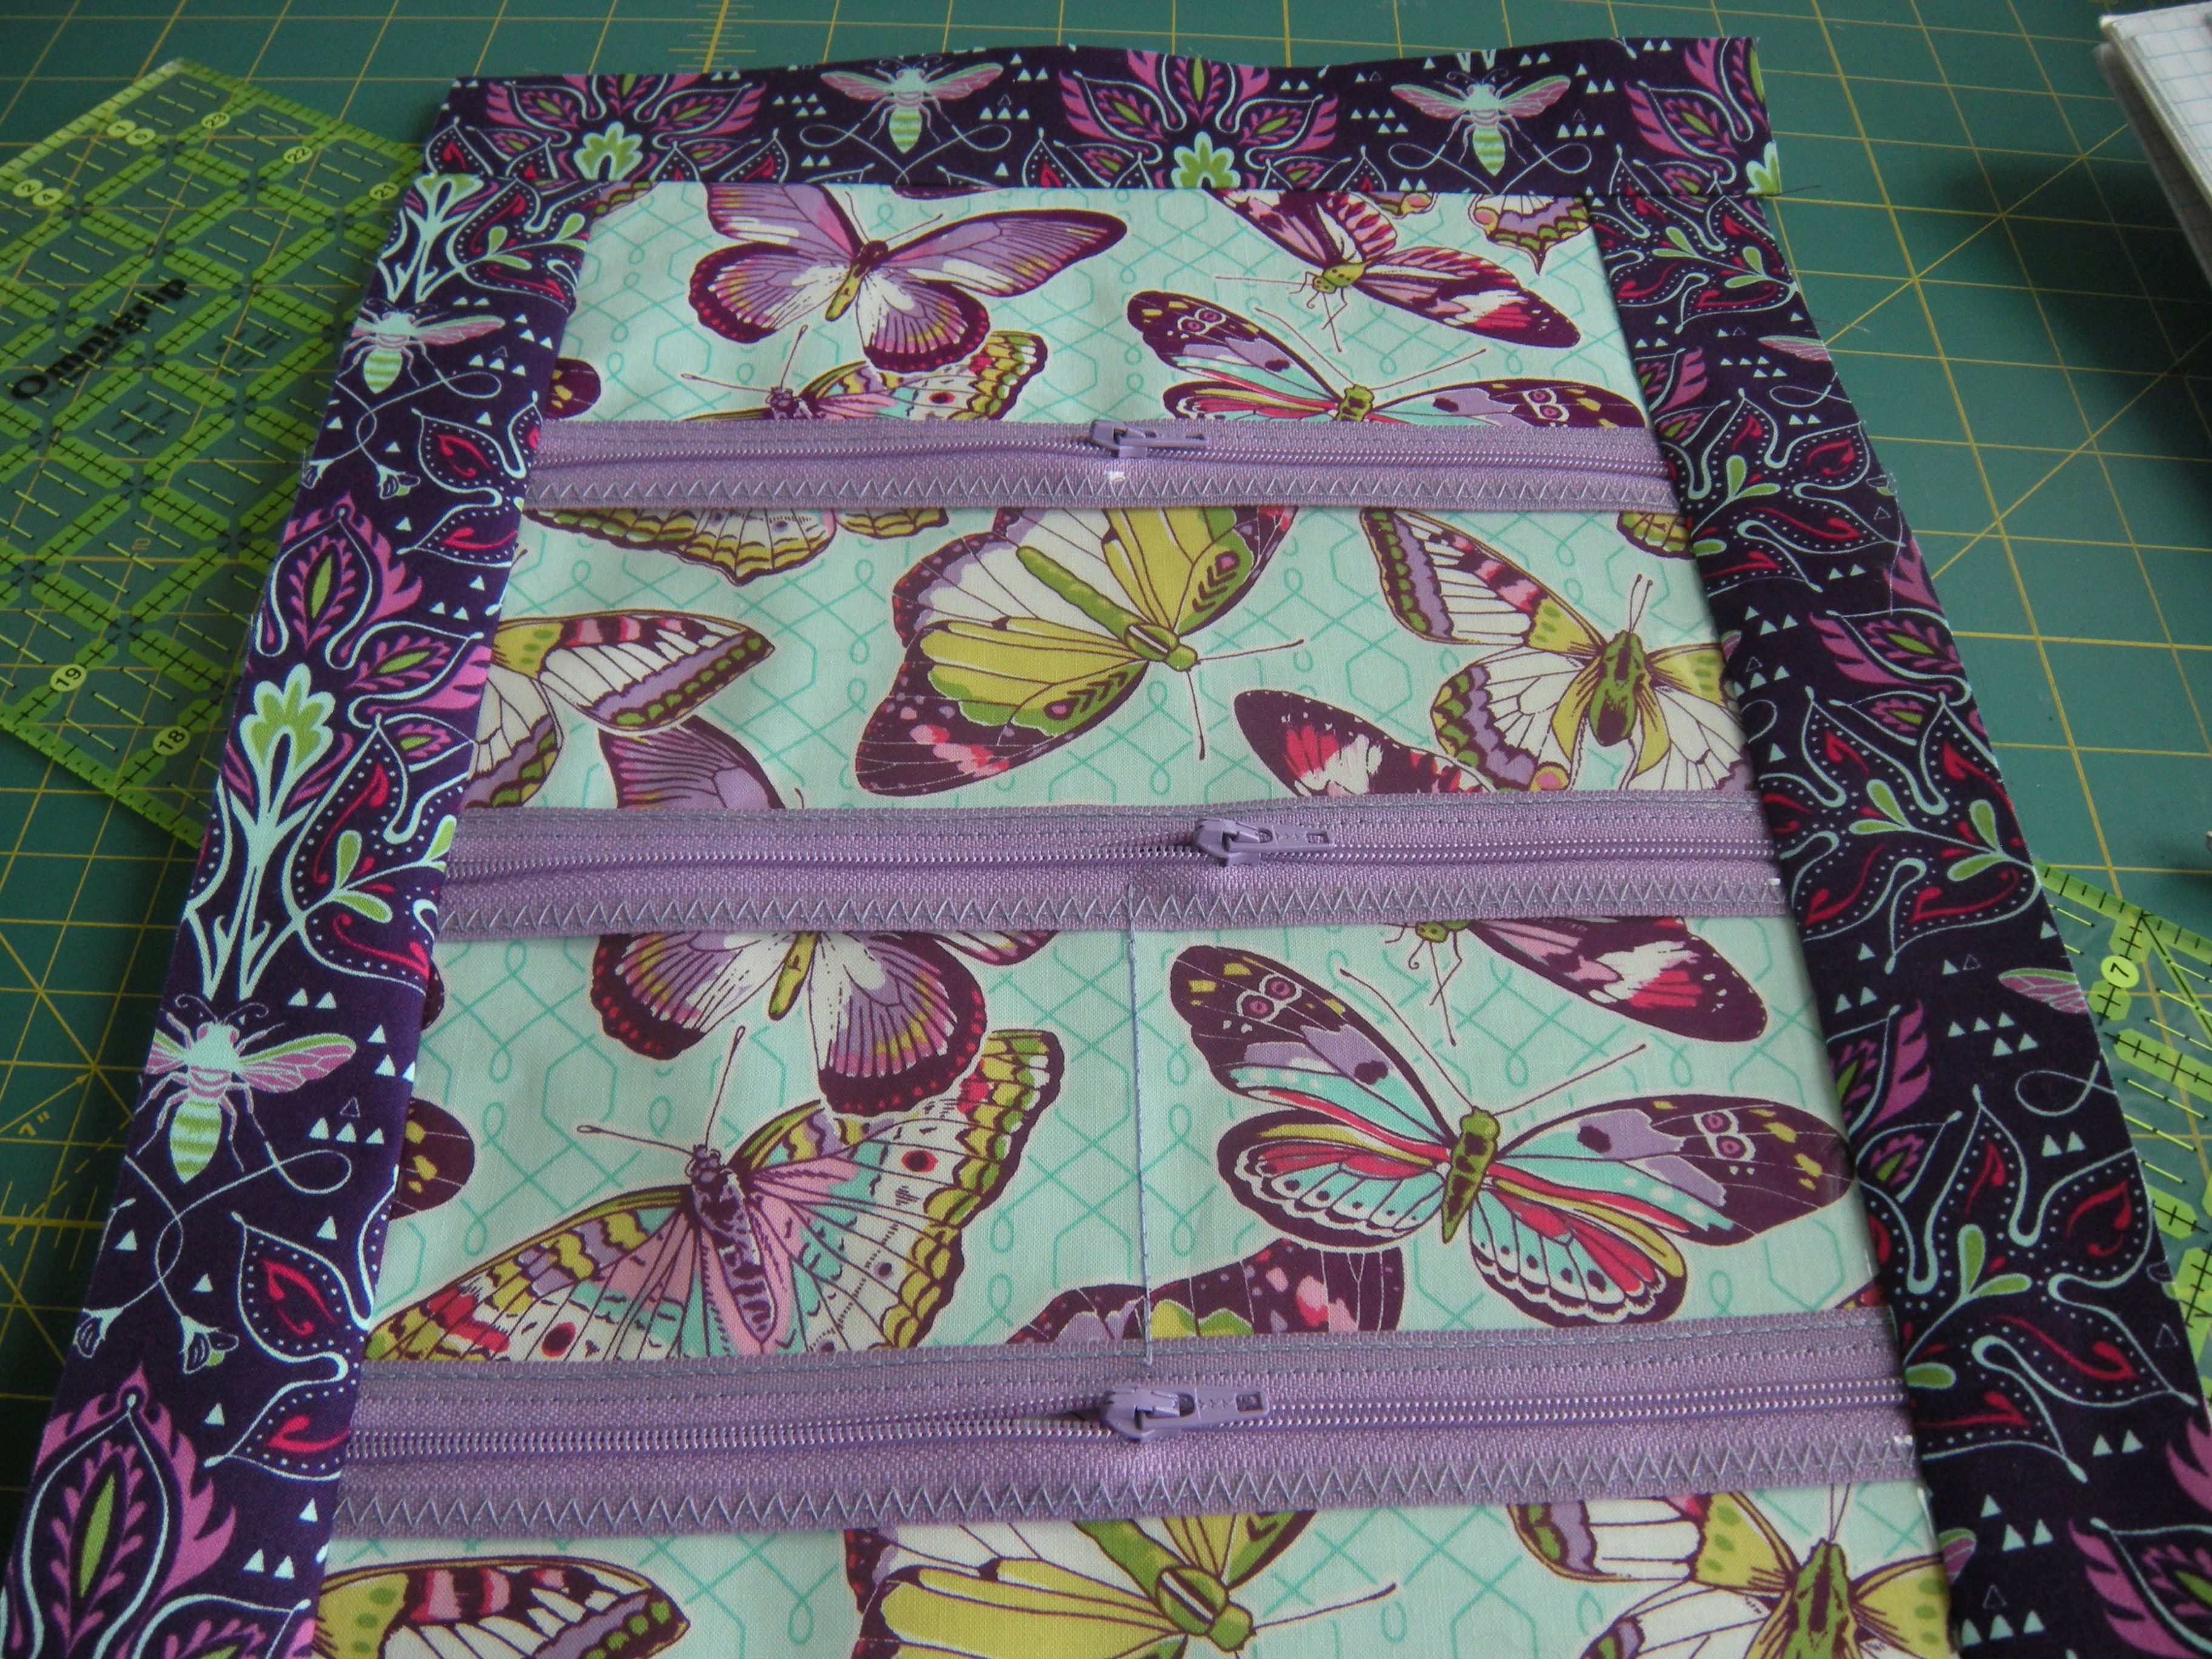
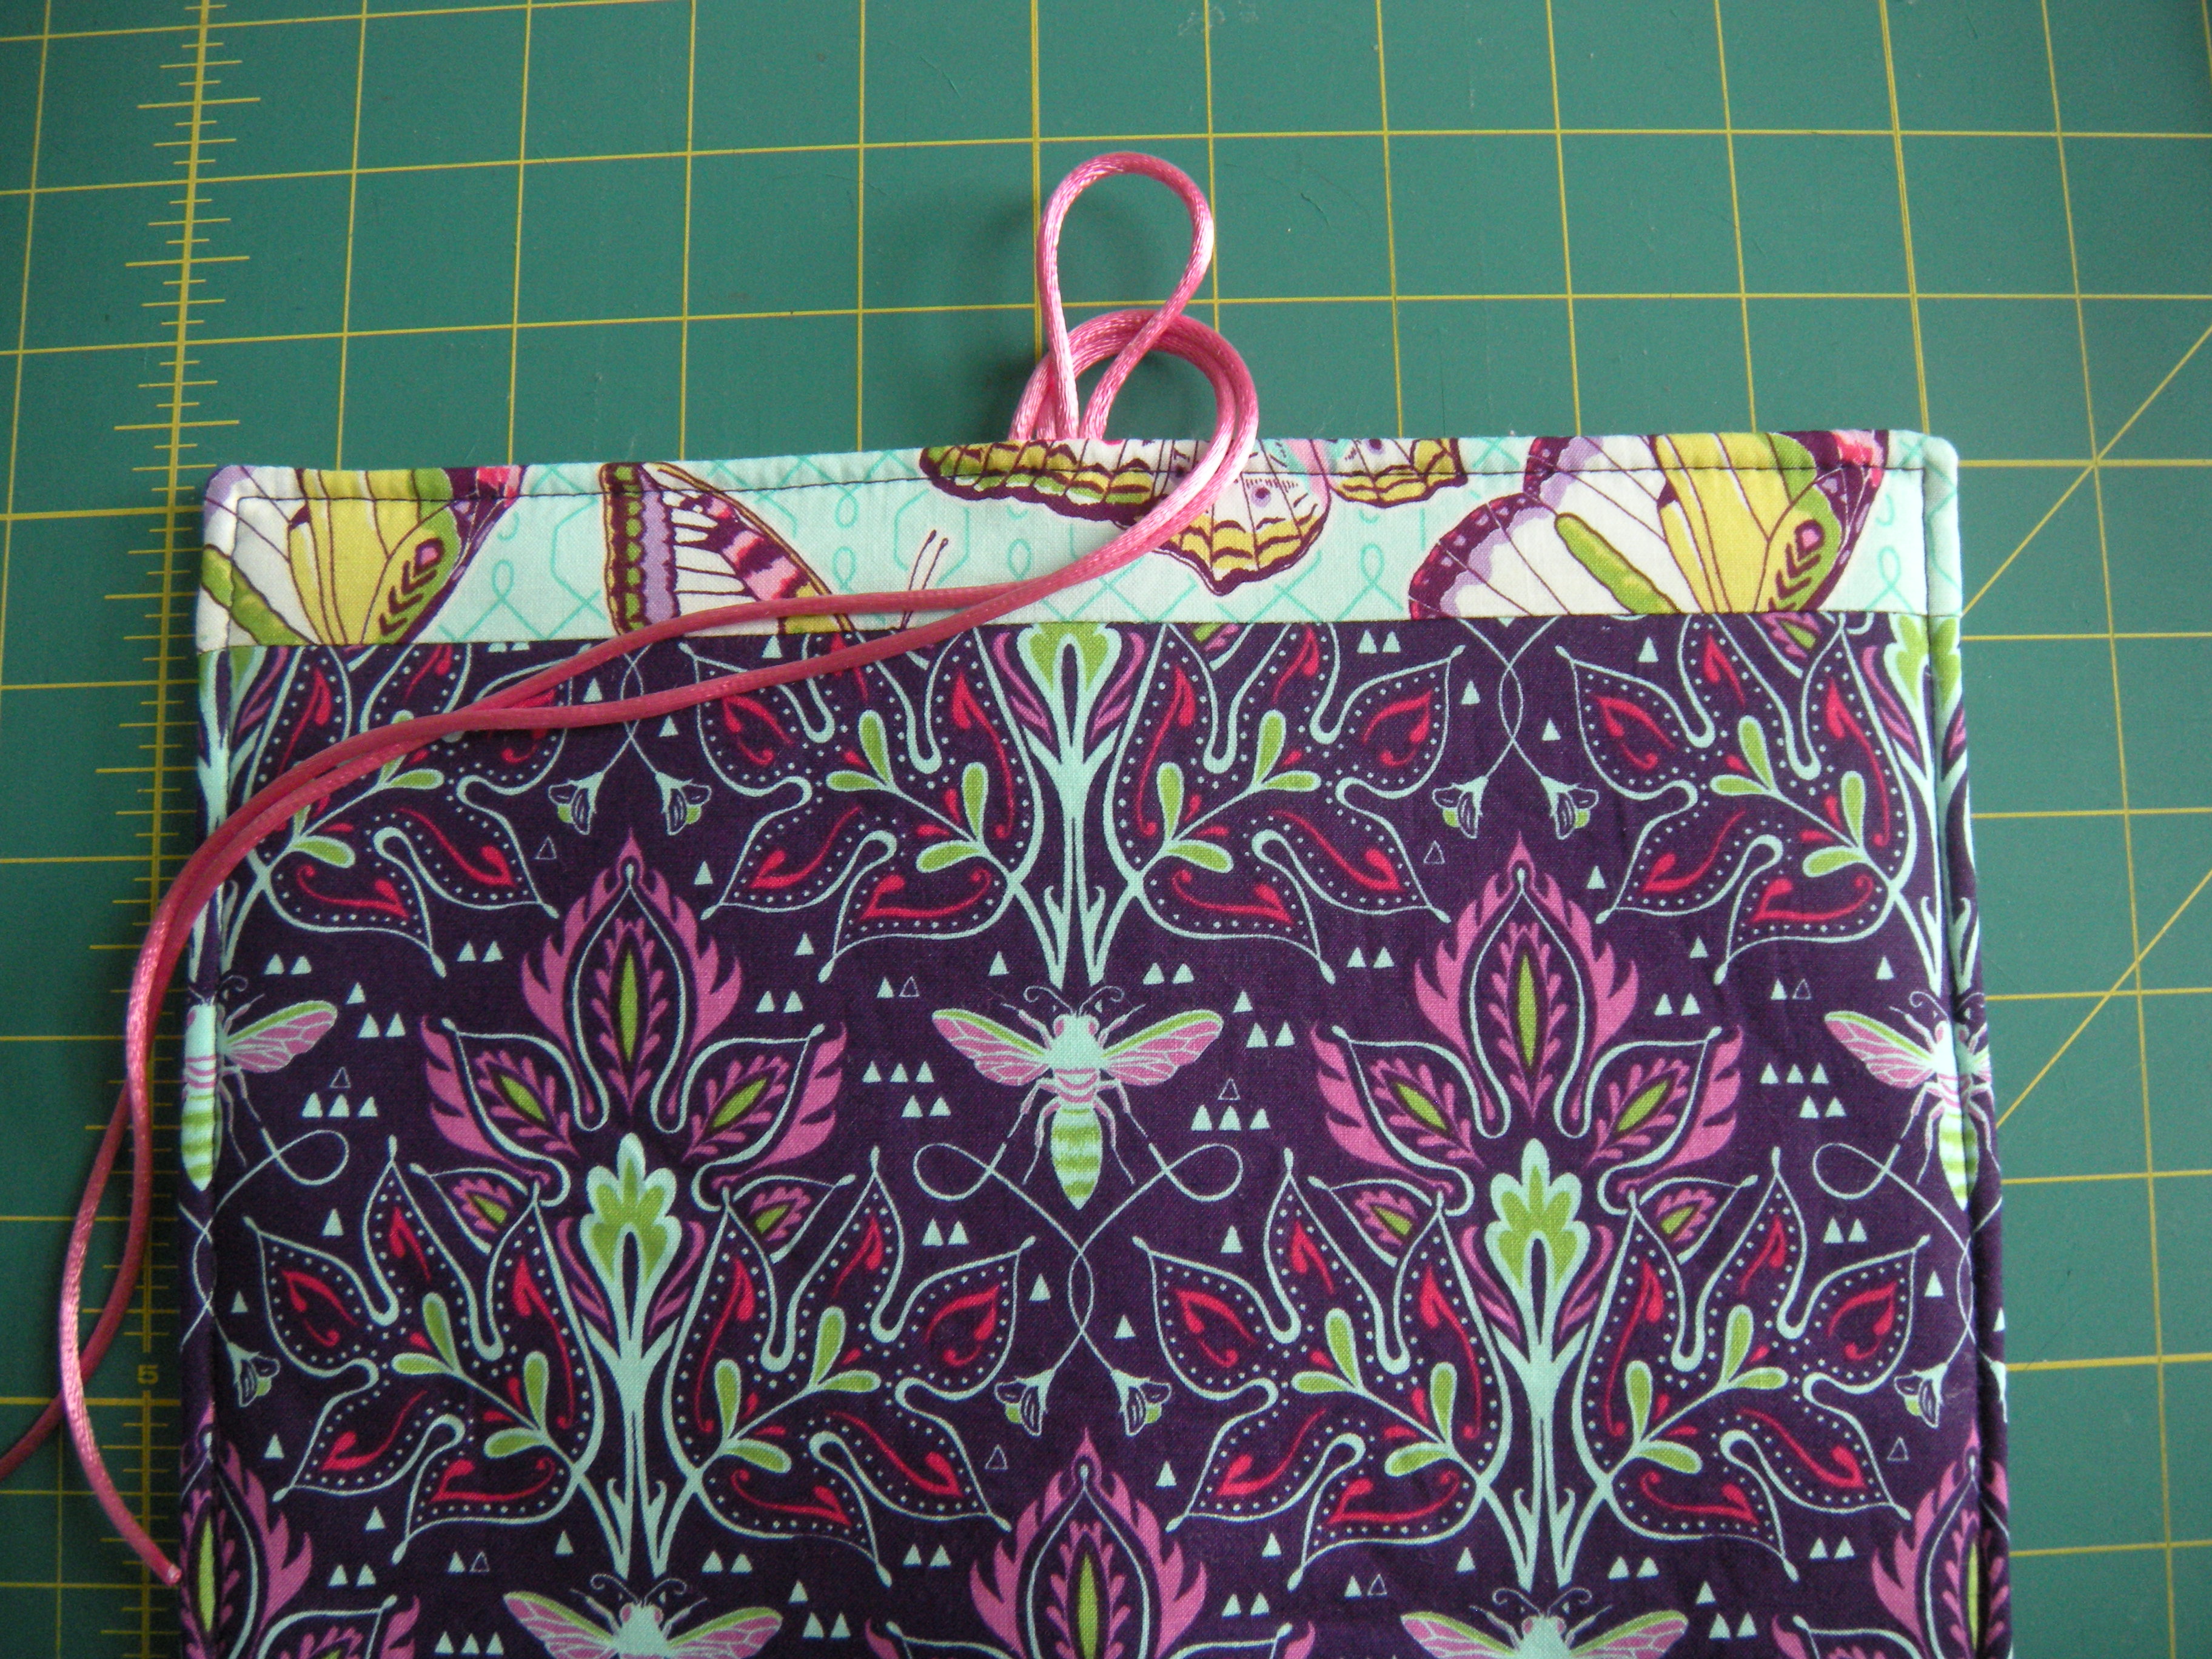
It is a super-sized version of the Dawn to Dusk backpack pattern by Chris W. Designs.  I left off the decorative straps on the pockets, just too fussy for my taste.  I wanted to let this glorious fabric shine.  It is a cotton voile by Robert Kaufman fabrics.

DSCN0074

This is the water bottle pocket.  Himself pointed out that it would actually hold two water bottles.  Yeah, because you know I’ll carry his water for him.  Not!  Since we are traveling to Britain and Ireland, I have decided to adopt the old custom and refer to the Mr. as Himself.  I shall be Herself.  Thanks, Carolann.

DSCN0075

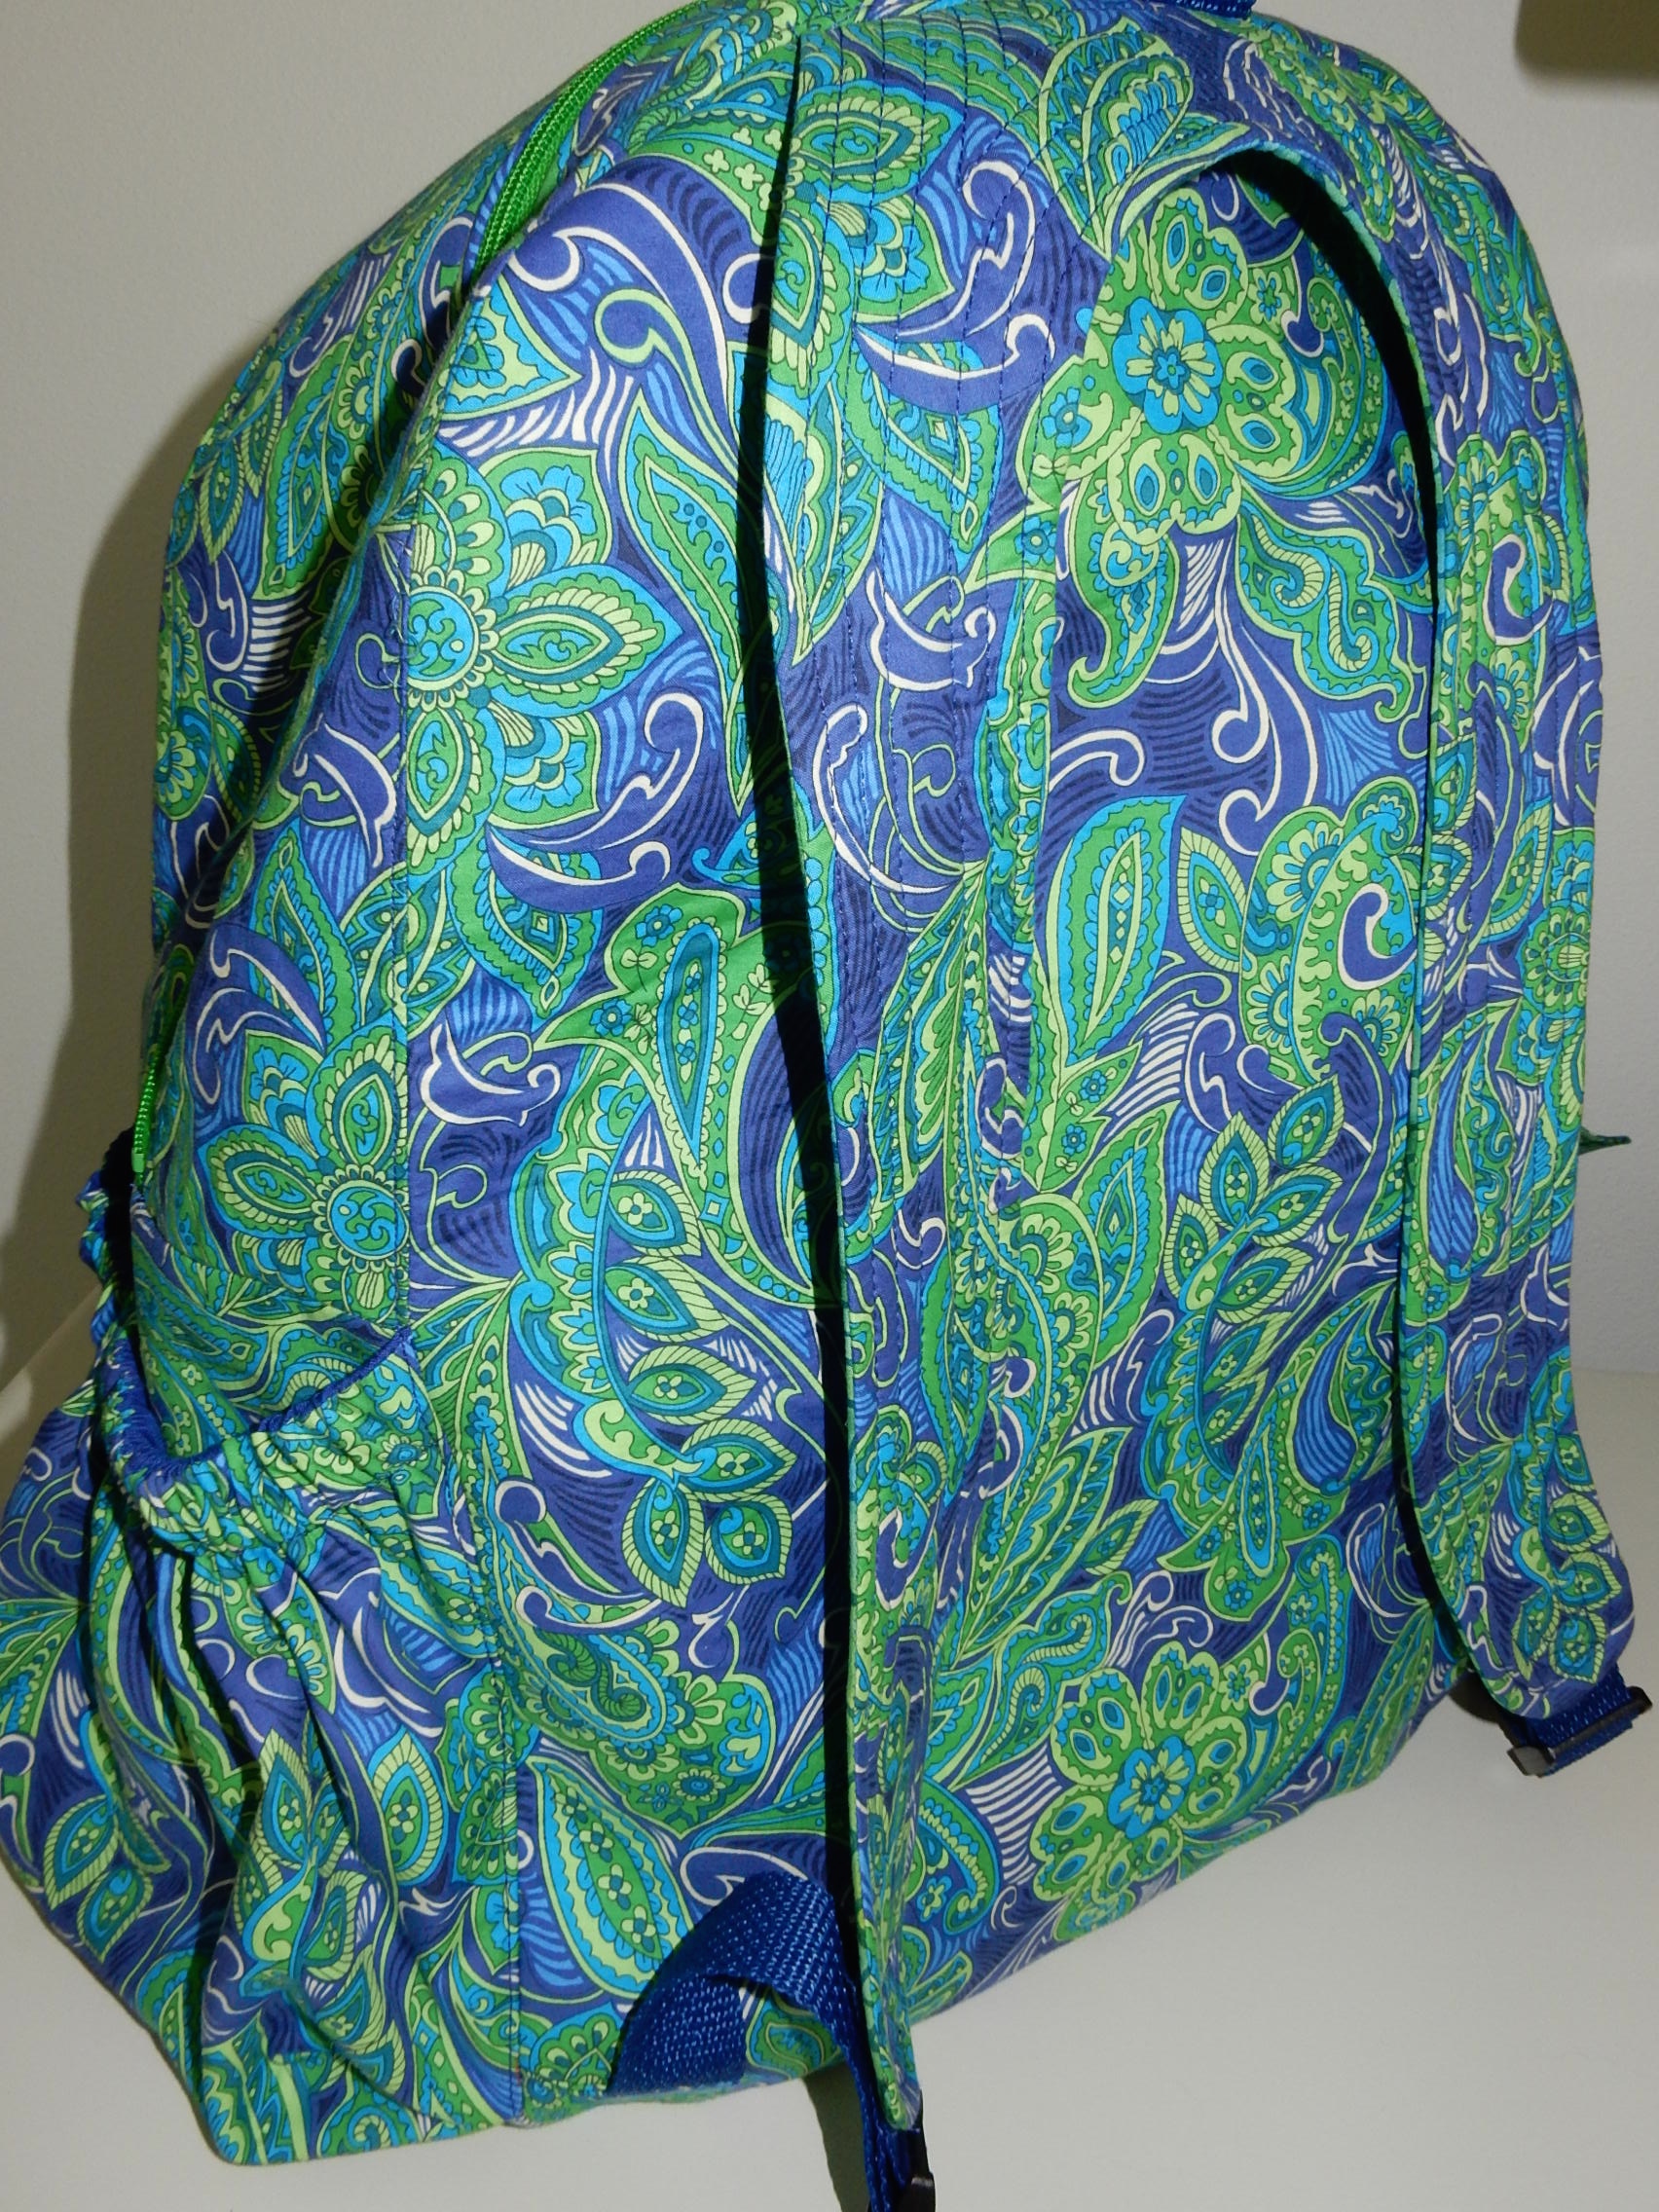
I redrafted all the pattern pieces except for the front pocket and the straps.  We’ll be traveling for more than a day on the first leg of our journey, so I must have enough room for a book and some fresh undergarments.

DSCN0076

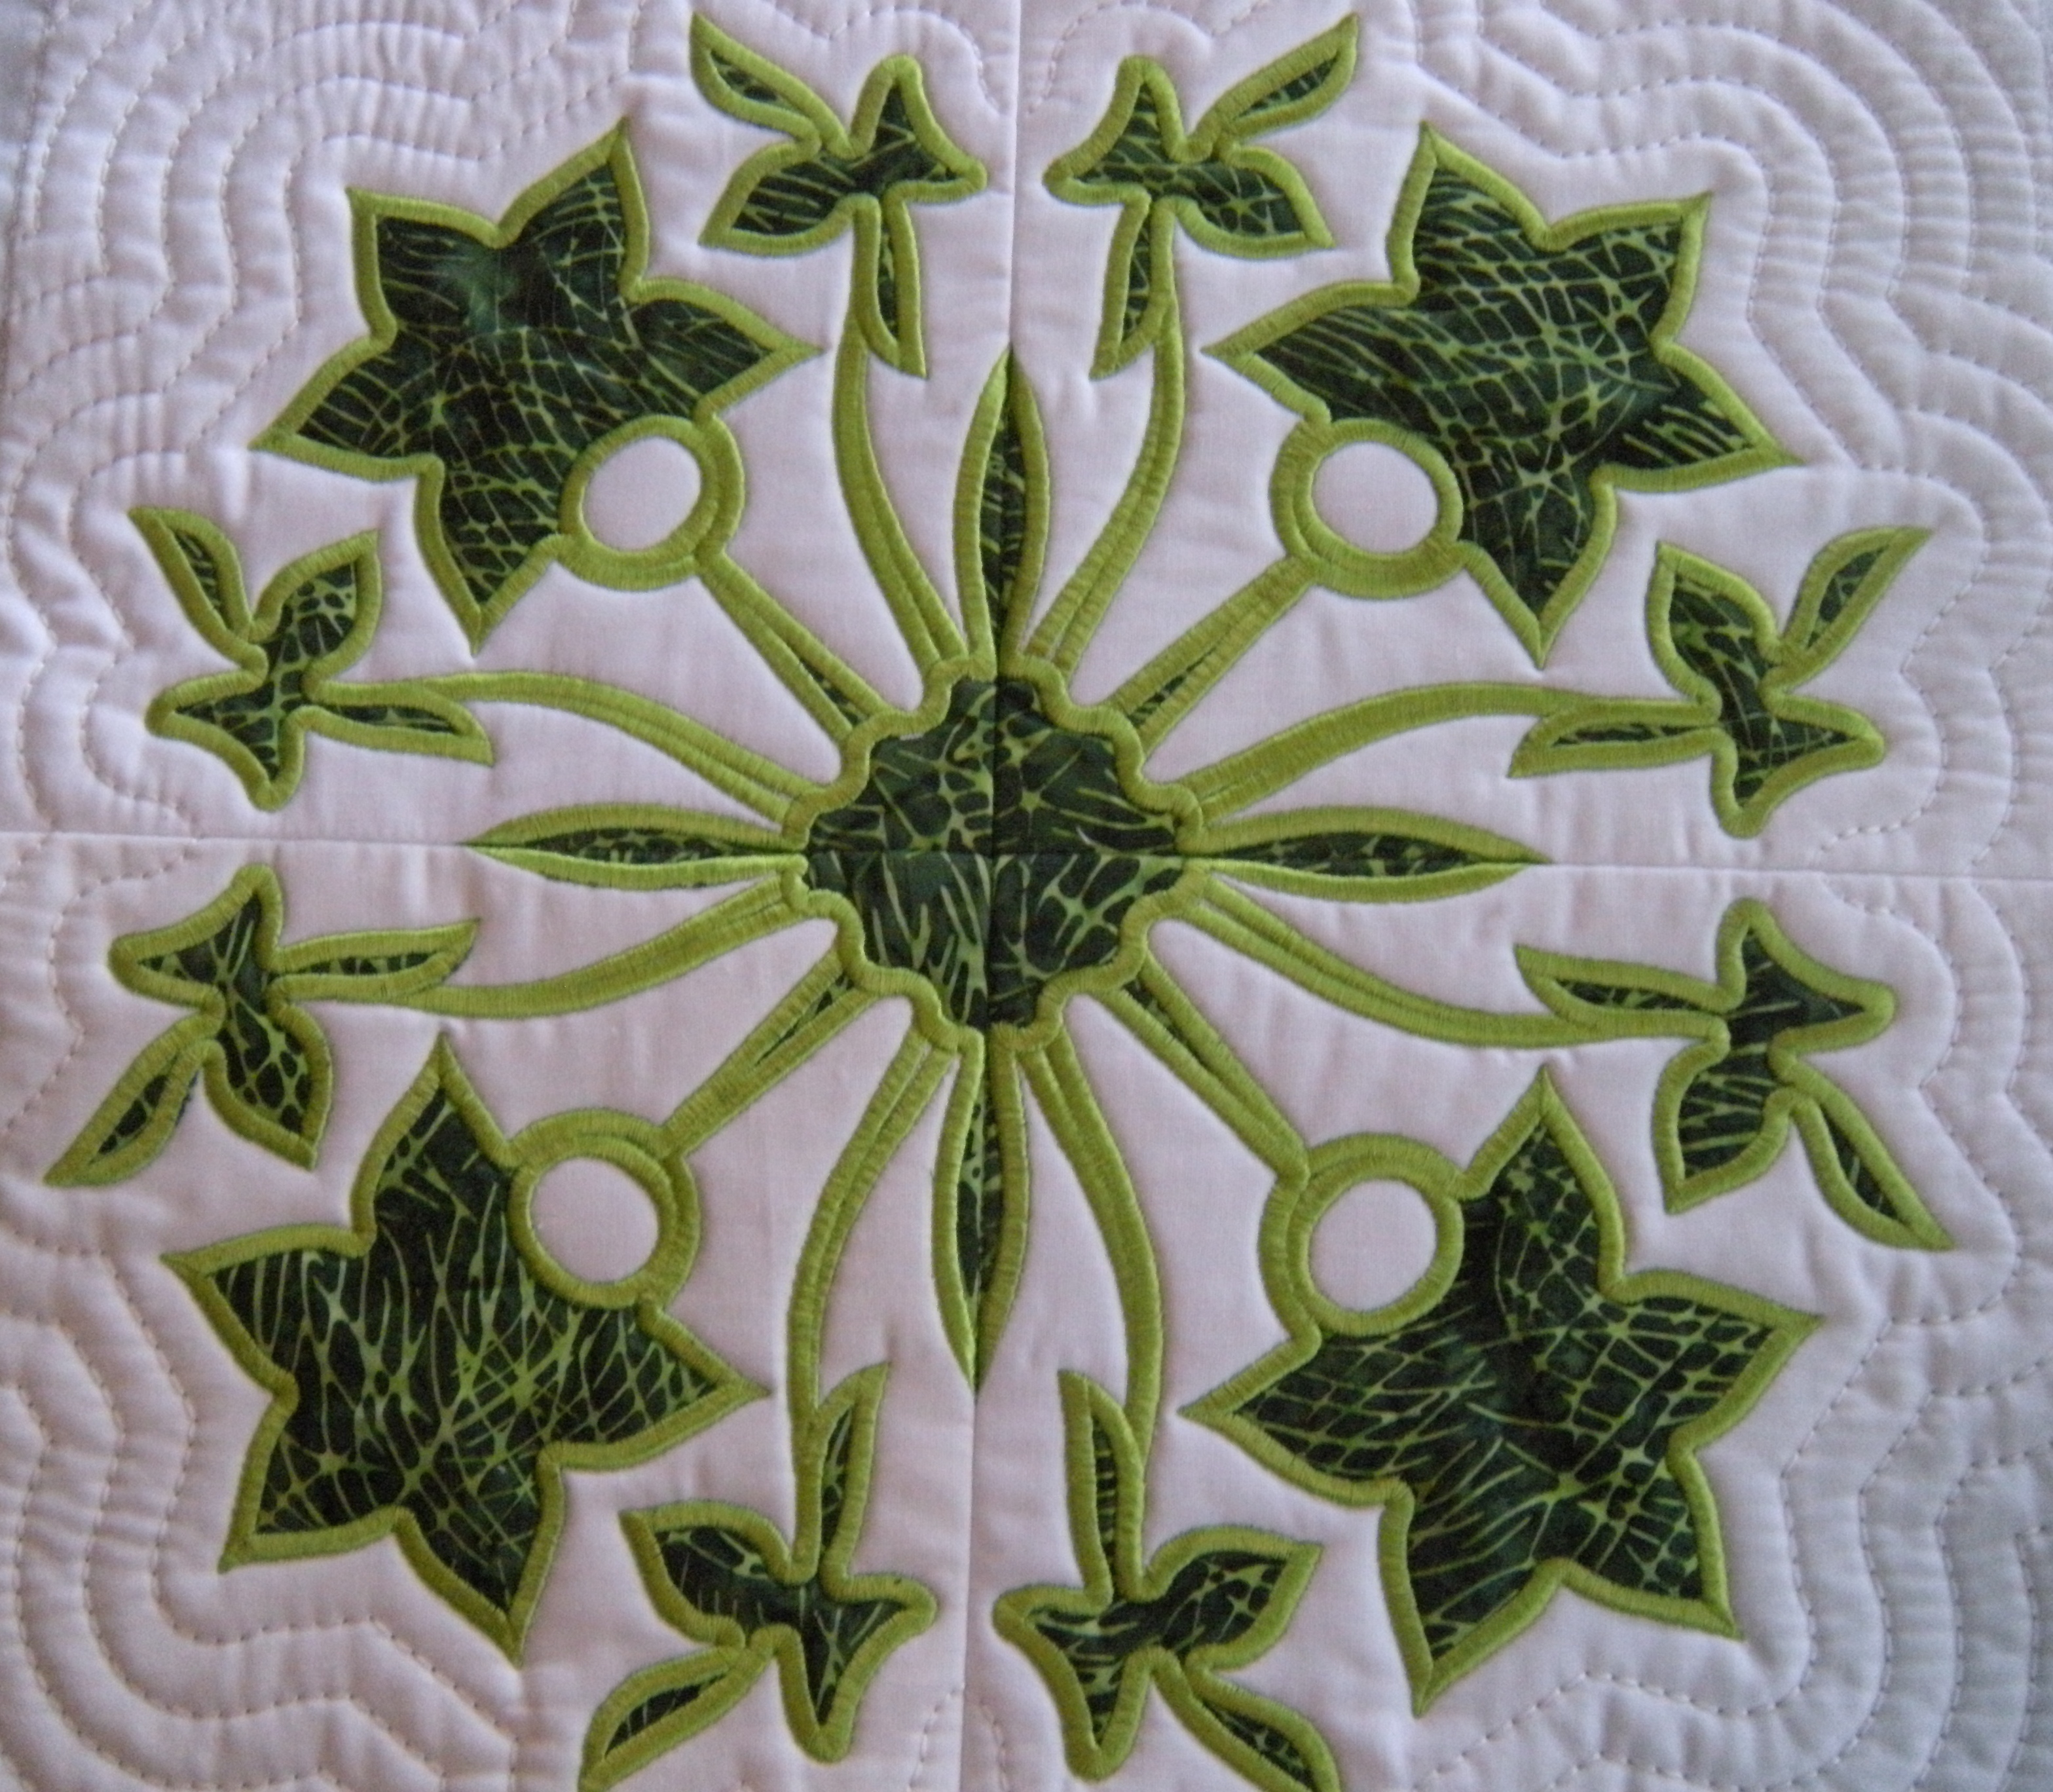
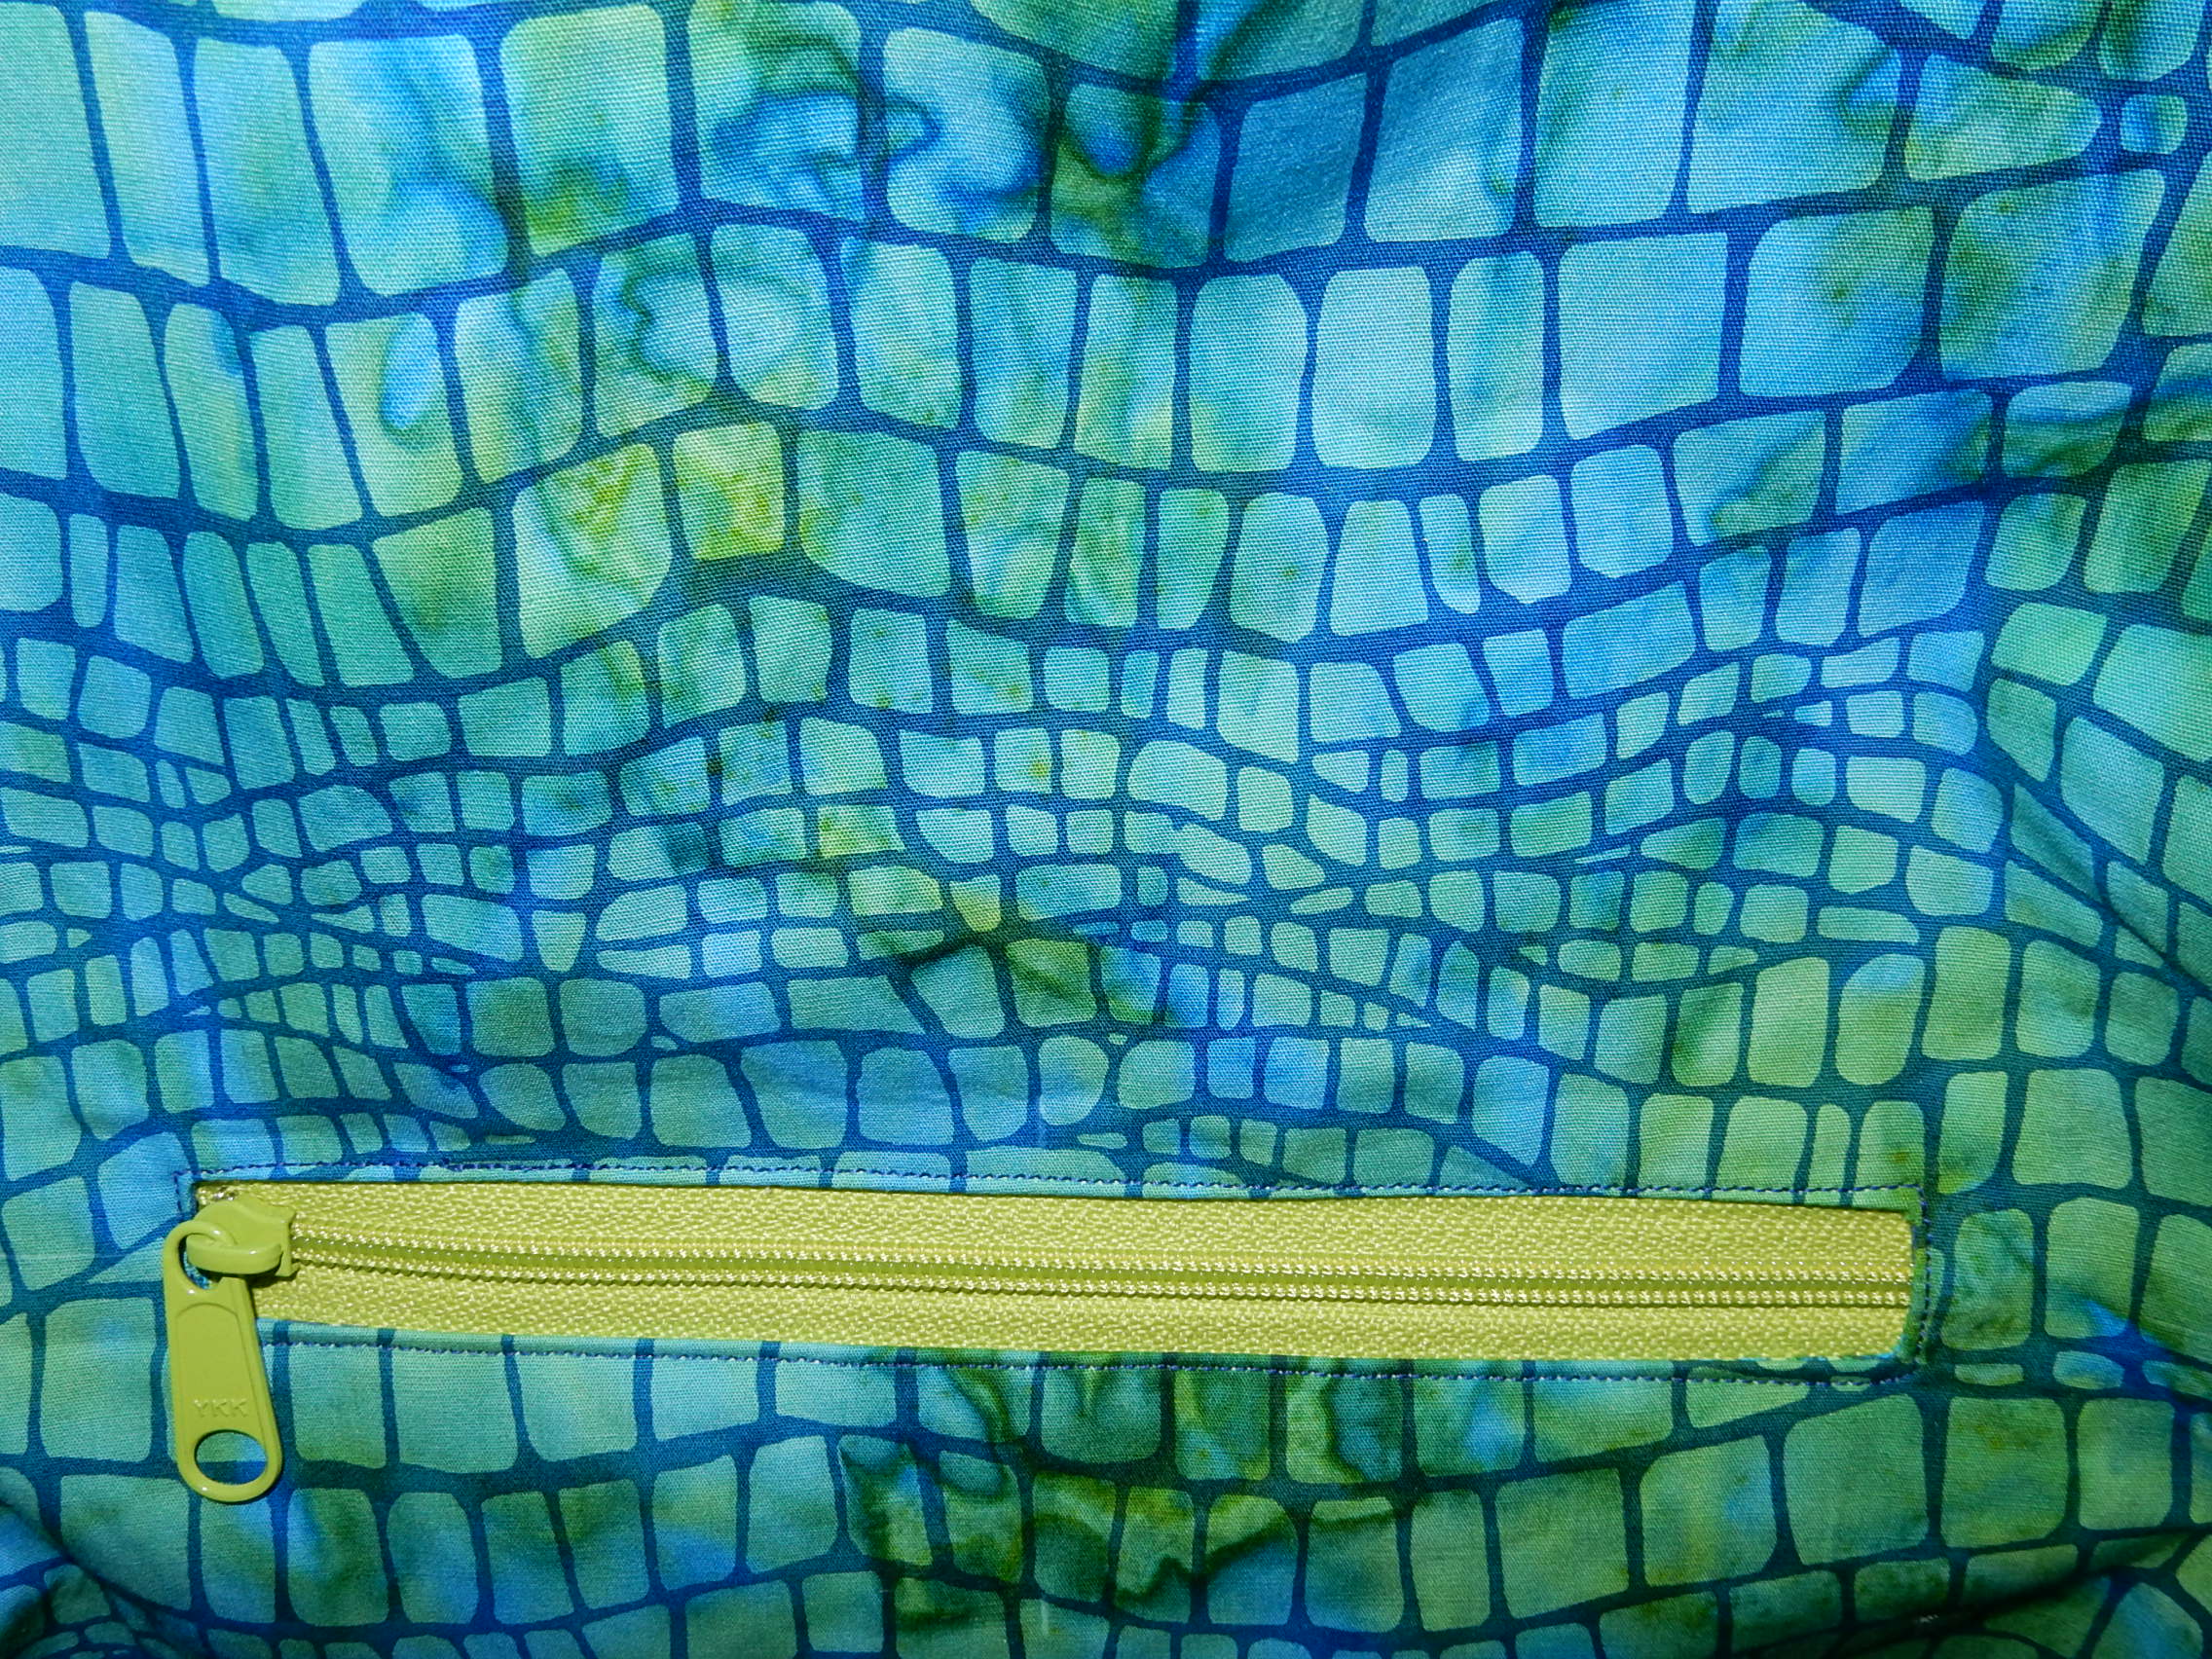
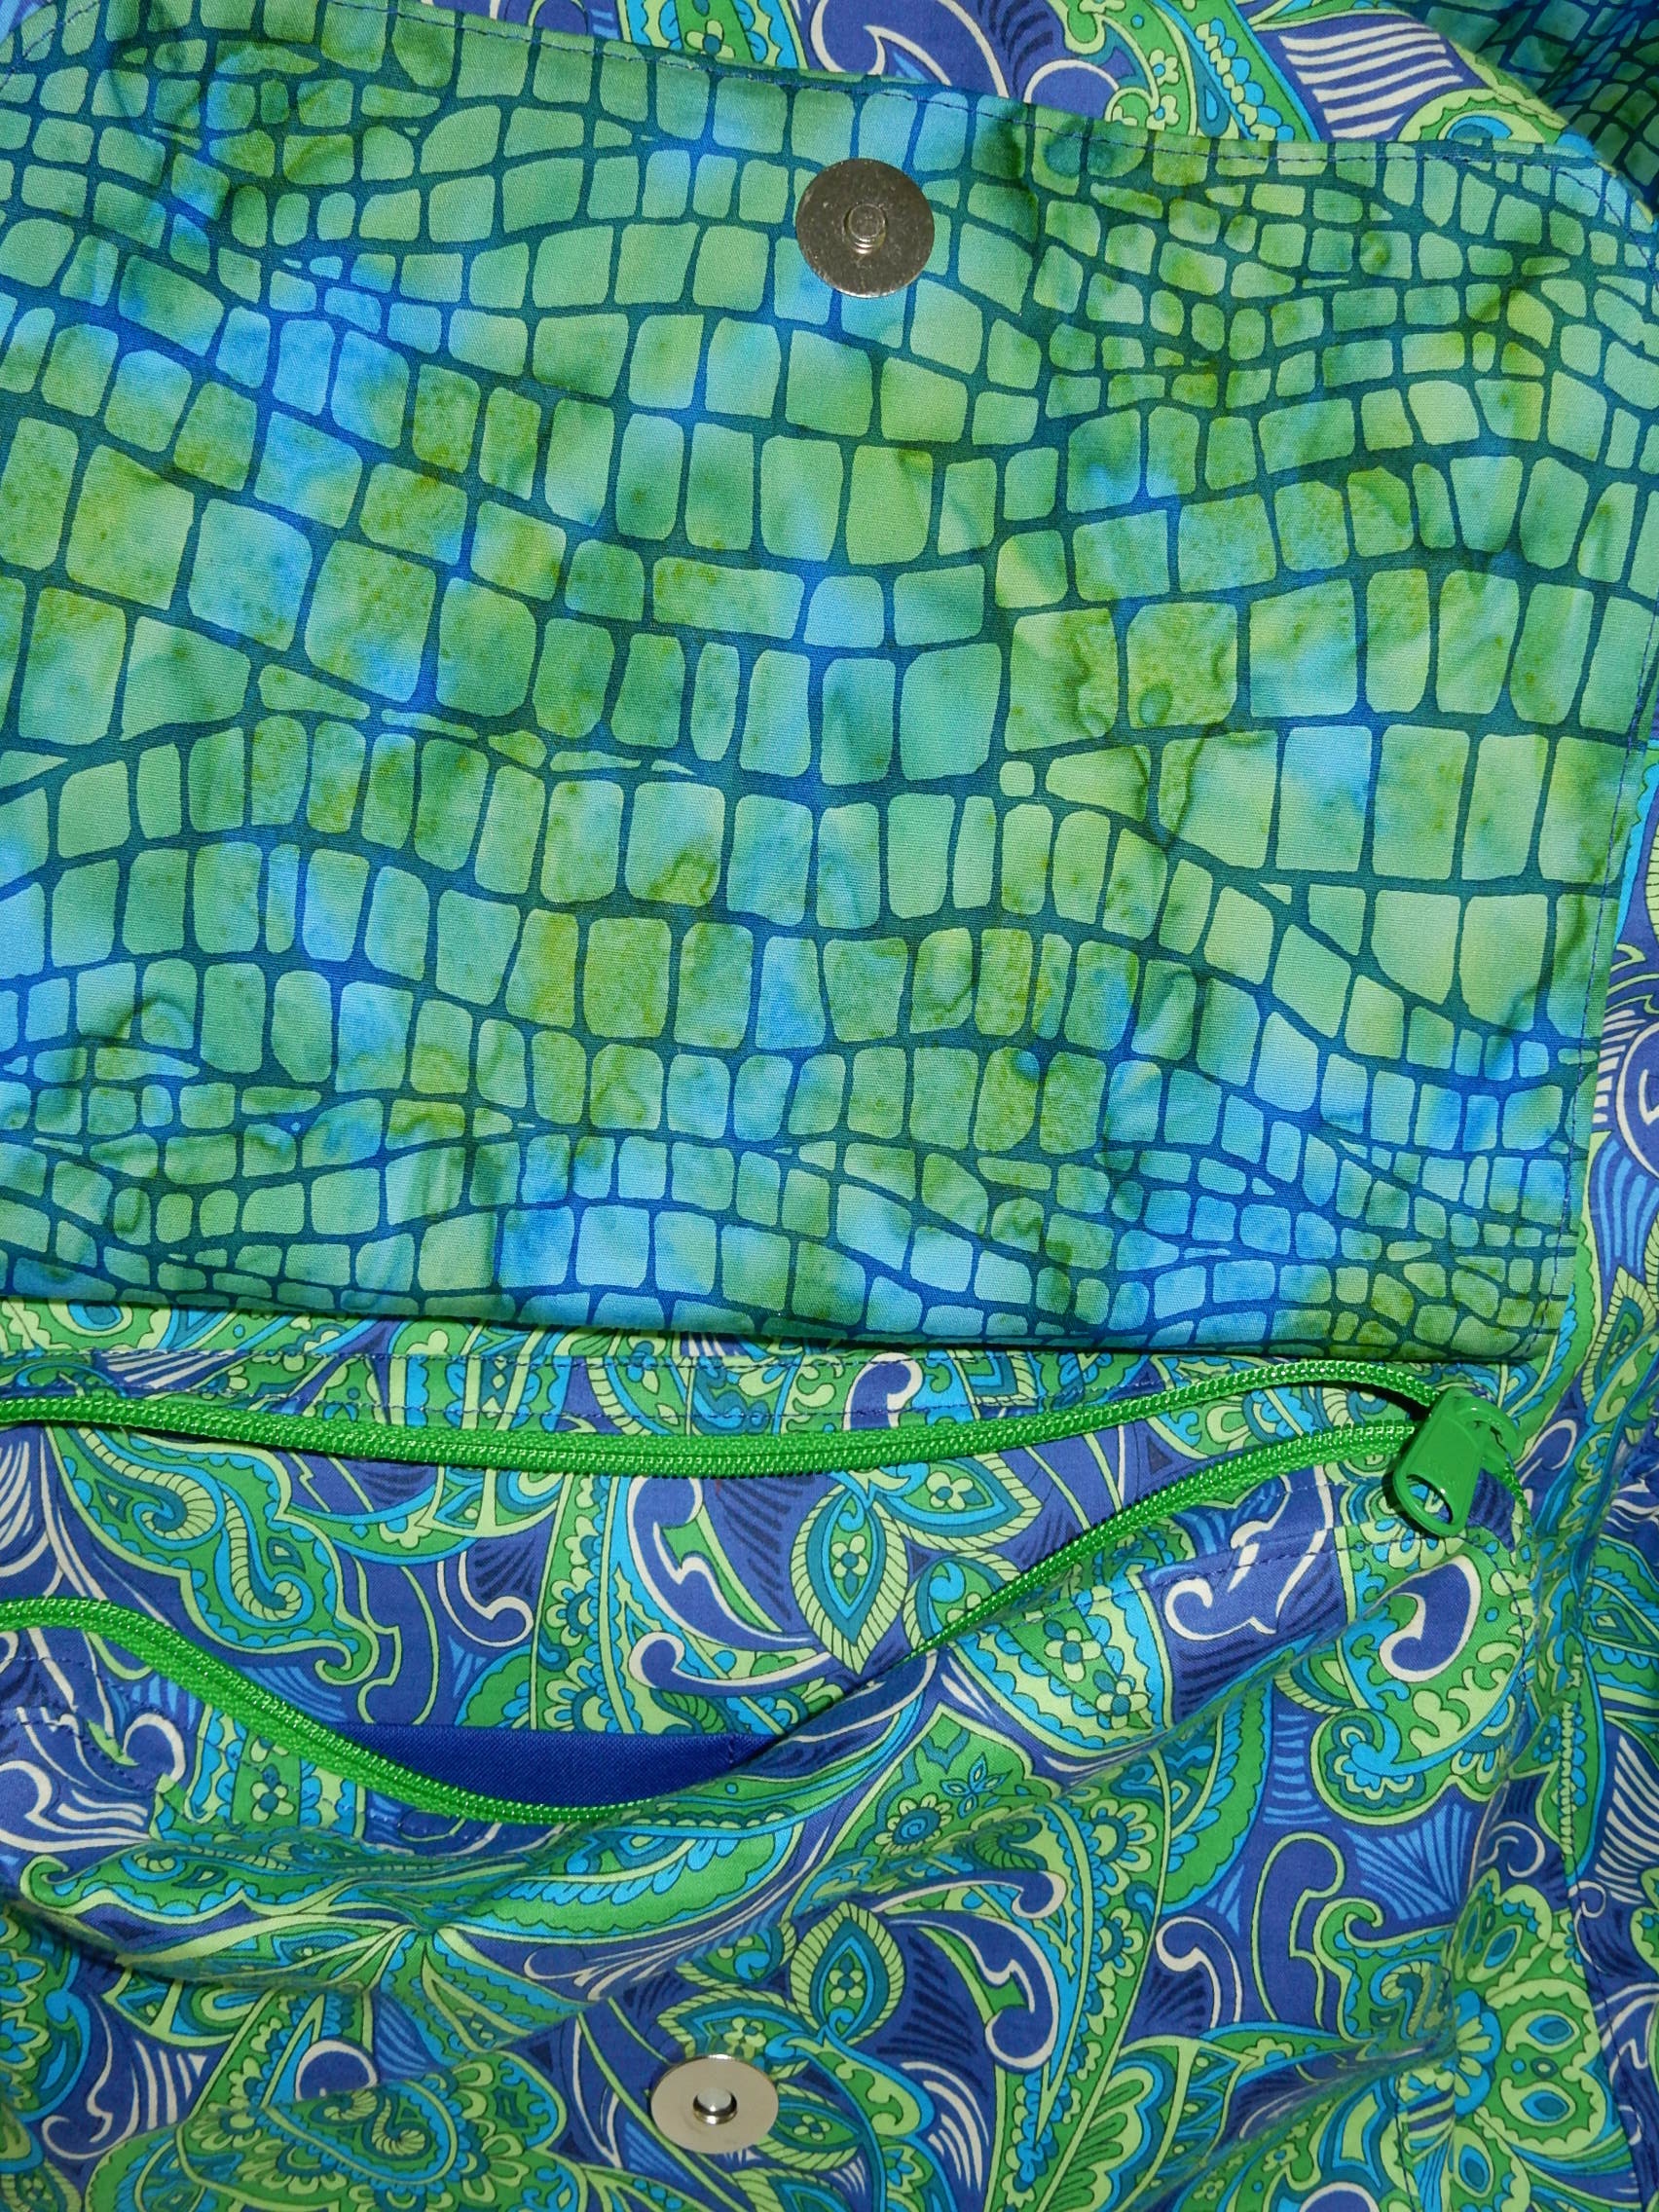
I love this lining fabric, it reminds me of alligator.

DSCN0080 DSCN0084

I had made one of these modified backpacks earlier this year.  The colors just were not grabbing me for my travel wardrobe.  I am much happier with this print.

DSCN0064

I am taking the advice of one of my friends, packing a wardrobe comprised of black and white with royal blue as my accent color.  Everything I am bringing plays well together.  This is a tough challenge for me since I am such a color girl.  I want to bring red, and pink, and all the colors of the rainbow.  But only blue is going in that bag with the black and white.

DSCN0086

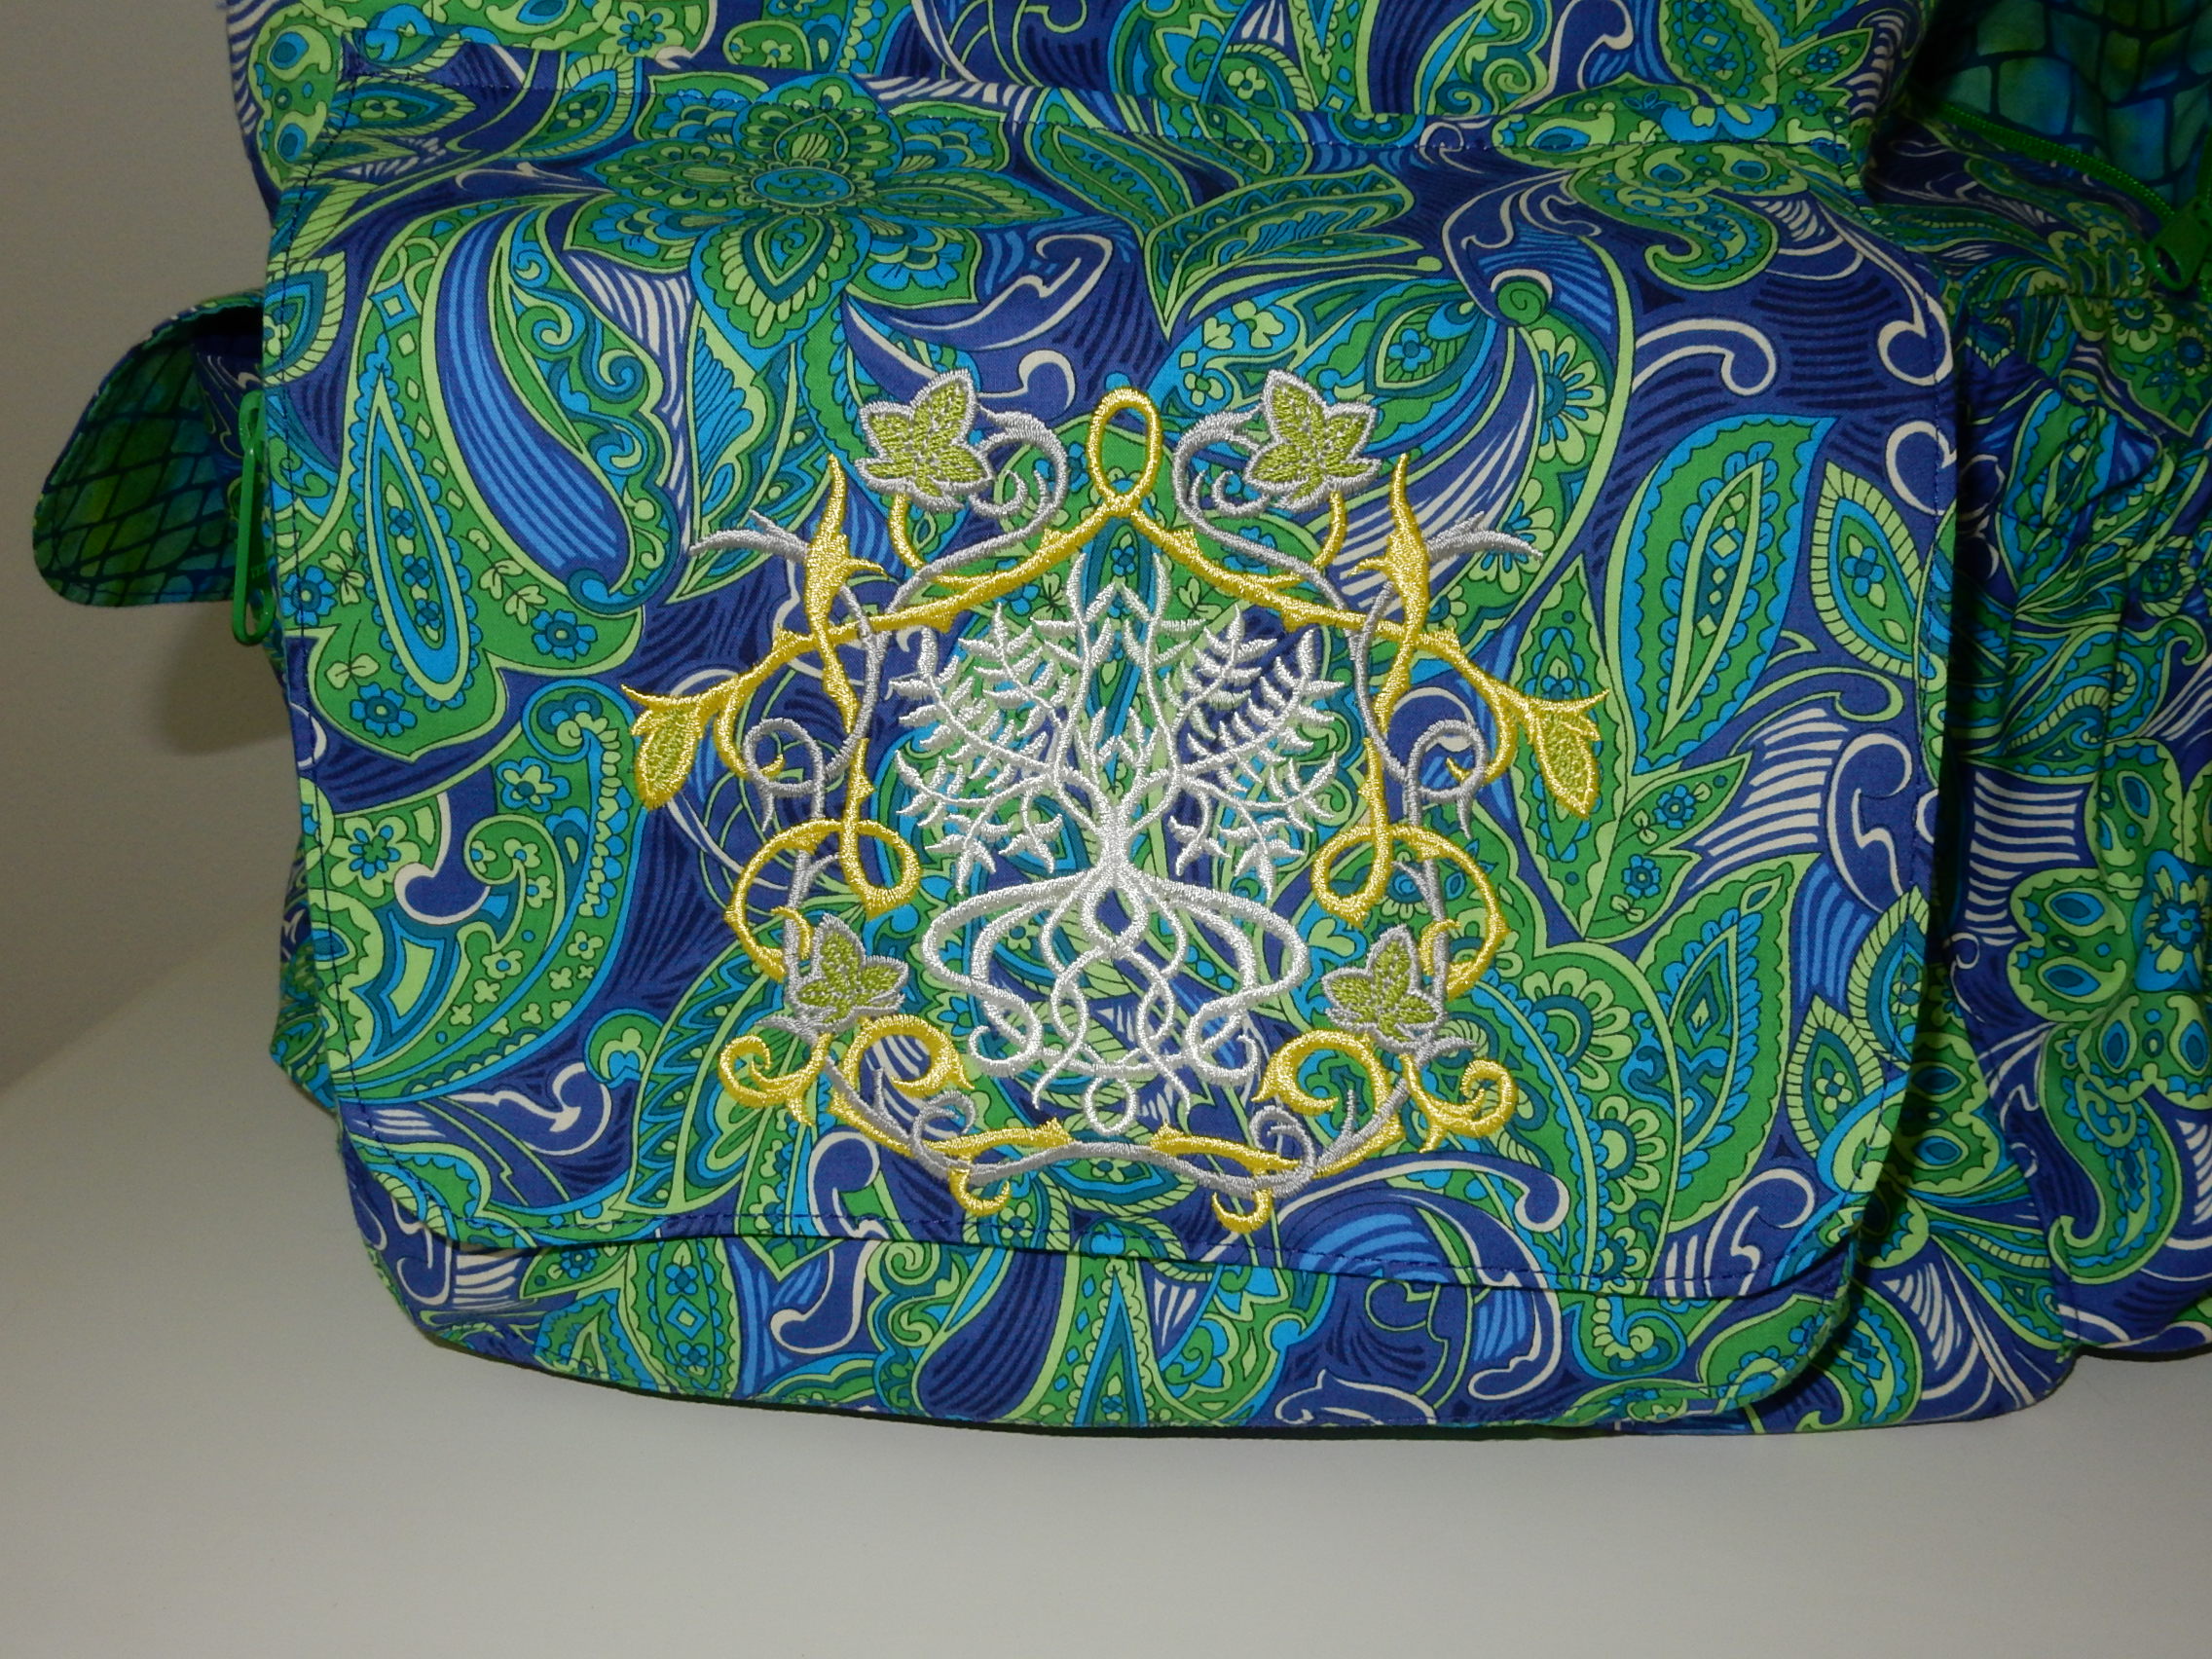
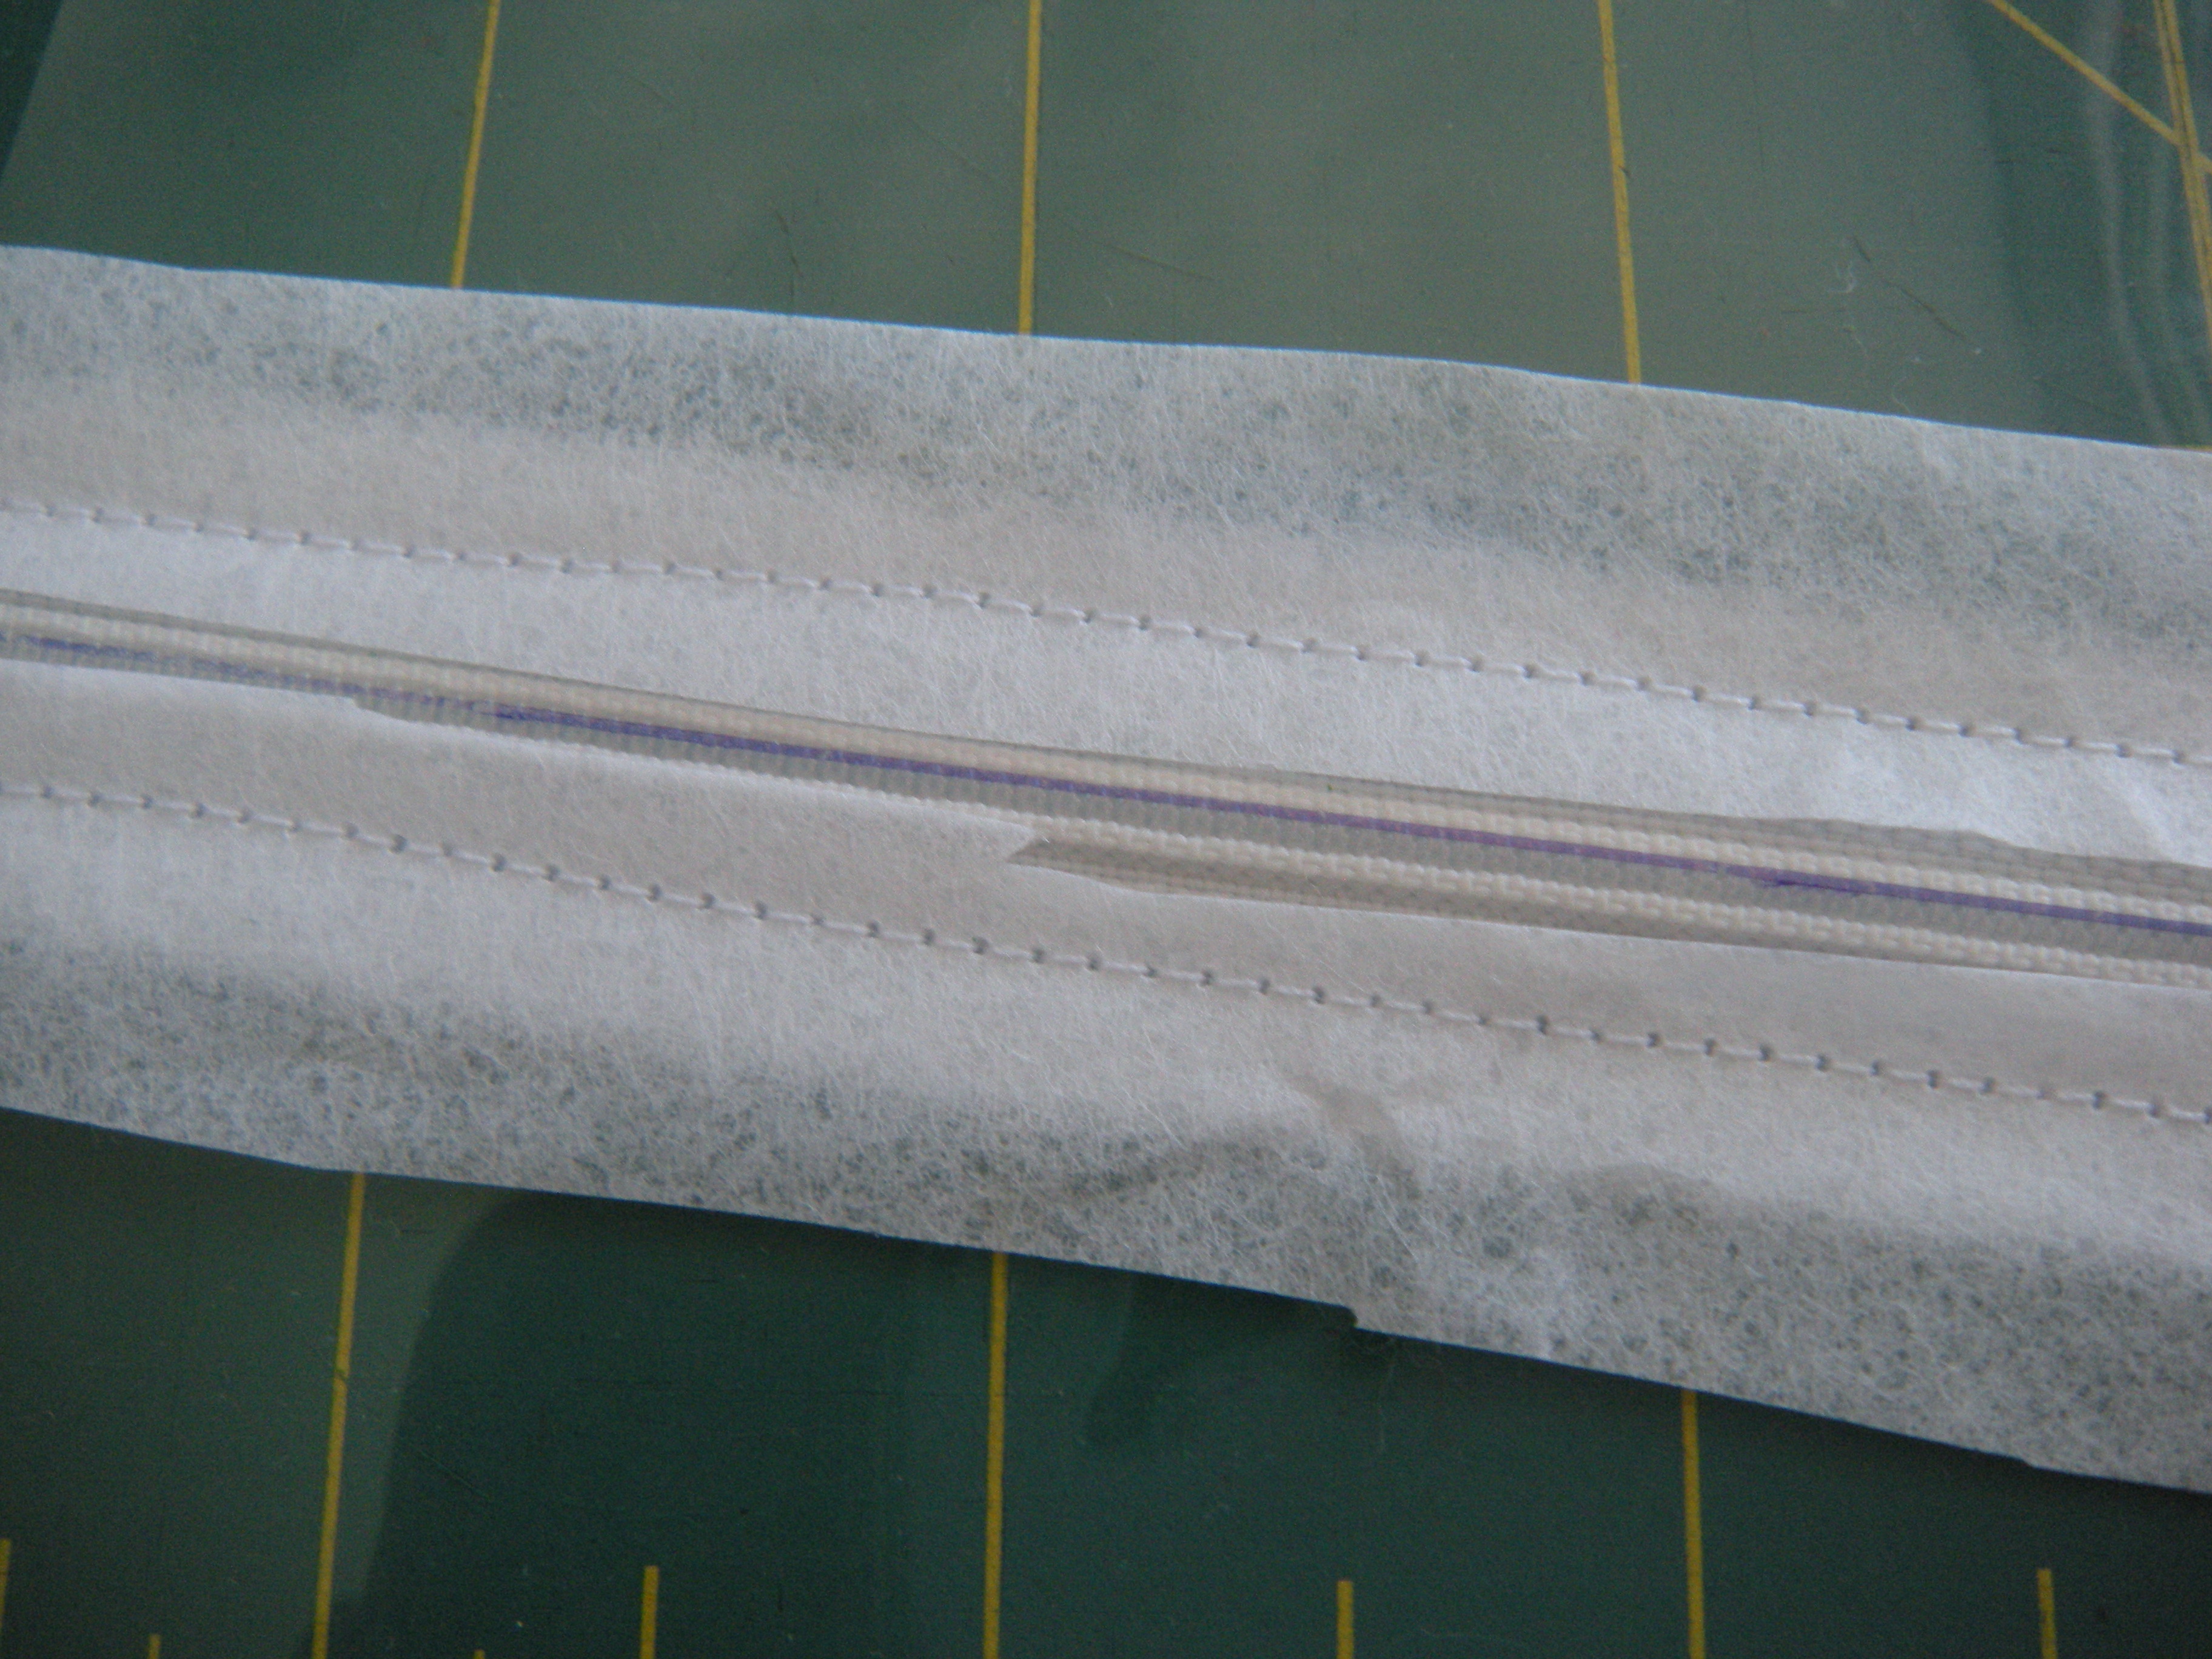
I embroidered this awesome tree of life design on the front pocket.  The design is from Urban Threads, one of my fave embroidery websites.

With departure less than a week away, I can barely contain my excitement.  Will you miss me?  I’ll be gone almost 5 weeks.   I’m going to do some type of travelogue if you want to come along vicariously.  There will be lots of pubs involved.  Lots.  Probably some blurry photos.  And some castles.

Rollin’, rollin’, rollin’, though the paint ain’t flowin’, rollin’, rollin’, rollin’, brush roll!

DSCN5984

Two, count ’em two, brush roll projects today!  I found out that a friend of mine is a painter.  She told me that her teacher had the coolest fabric roll to carry her brushes.  I, of course, took that as a challenge, and said I could make her one.

DSCN5985

She picked out this faboo day of the dead fabric from my collection.

DSCN5993

Pardon me, fine ladies, you are  looking quite skeletal today!

DSCN5996DSCN5995

She has 21 brushes that she uses.  I measured the length and determined that the interior needed to be10-1/2″ high finished.    The pockets needed to be 5″ tall to hold the brushes, and 1″ wide each.

DSCN5998

I found one brush for the photo shoot, so 20 colored pencils are actors portraying paint brushes.  I added the flap on the top so the brushes don’t leap out as she flings around her brush roll.  Satin pigtail cord ties this puppy up nicely.

DSCN5986

This is my makeup brush roll for my upcoming European adventure.  Decided to make it look Hawaiian, for that little touch of home on the road.

DSCN6001 DSCN6000

The brushes have varied sizes of stems/sticks/handles.  The pockets are sewn to accommodate that.

DSCN5992

Don’t they look happy and cheerful in their floral home?  Once again, a flap to prevent flinging.  I also made a shaped flap for the tie end.

DSCN5987

I think I have found my mission:  to organize brushes, one roll at a time.  If anybody wants to make their own brush roll and would like pointers, let me know.

Now go out there and make something pretty!

How about a nice Hawaiian punch? (You knew this was coming, right?)

DSCN5970

I think I’m up to 21 Hawaiian quilt blocks!  This one is lemonade.

DSCN5972

You know, I’m just gonna let you look at pictures of all this yummy batiki goodness.

DSCN5976

DSCN5965DSCN5974

DSCN5968DSCN5964

After spending some time looking at what I think are yellow tulips, I’m really starting to think this looks more like silverware.  Like forks and knives radiating out from the center.

DSCN5980

It’s like a fancy little hopscotch game in my back yard.

DSCN5982

I’m making good progress for my project.  Are you getting sick of looking at my pretty blocks?

Hawaiian quilt blocks continue to spring forth!

DSCN5957 Pineapples are ripe and ready for picking!  I loved the first pineapple block so much, I had to make another.  Of course I used a different fabric and outline color.  I am determined that each and every block on this quilt-to-be will be unique. DSCN5959 I think my blue block has crab claws. DSCN5955 I love all the tentacles on this design.  I can’t even begin to guess what Hawaiian theme this block represents, we’ll just go with “artistic license” on the part of Anita Goodesign.  I love this fabric, but it doesn’t grab me in this block.  This one will most likely sit out the quilt and become a pillow. I’ve made one of every design on the Anita Goodesign Hawaiian Quilt embroidery disc.  I’ve got some new fabrics for round two…

Do you think babies like hedgehogs? Or do they prefer bunnies?

DSCN5942

Does this hedgehog look like he’s got seeds?  I suppose tiny little babies won’t question whether the this critter has some odd dermatological issues.

DSCN5941

This little bunny with a basket of flowers is so soft.  Does it look like she is pooping out a tag?  I hope that’s just me.

DSCN5945

I made these using some new stretch velour from my local dealer.  I used the Forest Friends disc from Anita Goodesign for the embroidery.  I stitched my vanity labels into the bottom seams as an afterthought.

DSCN5952

These are for a friend in Denmark who just had twins.  I’ll stuff them in my suitcase for our upcoming trip.  The toys, not the babies.

DSCN5940

Just another day, working on another project.

257446_241126702565987_6511367_o

I was in the zone.  Even with those little matching boys running around.

The Great Escape Jewelry Roll, part two: finishing the project and showing it off! Free jewelry roll pattern and tutorial.

DSCN5925

I am watching the Poseidon Adventure as I finish this tutorial.  There is no better motivation for a travel-related item than the Poseidon Adventure.  I just wanna run out a book a cruise.

Shall we leap right in and finish our project?

10.  Place the plastic over the interior fabric, matching sides and bottom edges.  I held mine in place using wonder clips, with pins along the top edge of the 4th zipper.DSCN5867DSCN5869Now this part is very important – move the zipper pulls to the center of the zippers!  Tape the zipper closed next to the left side.DSCN5881

11.  Baste around sides and bottom using a 3/8″ seam.

12.  On the TOP tape of each of the four zippers, stitch 2 lines approximately 1/4″ apart.  I used a stitch length of 3.0.  This forms the bottoms of the pockets and the top of the top pocket.DSCN5874 DSCN5875 DSCN5876 DSCN5877

13.  Stitch the divider lines for the pockets, backstitching at each end.DSCN5878 DSCN5879

14.  Trim the excess zipper tapes even with the edges of the interior fabric.  DON’T use your good scissors!  You know that, right?

DSCN5883

Interior borders

15.  Clip 18×2″ borders to each long side, right sides facing.  Stitch using a 1/2″ seam.DSCN5885

DSCN5887

16.  CAREFULLY press the borders away from the plastic.  Use a press cloth, and make sure you don’t touch your iron to the plastic.  Duh.

DSCN5888

17.  Repeat step 15 and 16 to attach the 11×2″ strips to the top and bottom.  Look at this awesome sight!  Now we are on to the home stretch!

DSCN5892

Assemble the jewelry roll

18.  Pin one piece of the batting or fleece to the wrong side of the finished interior piece.  Stitch in the ditch on all four sides, between the plastic pocket piece and the borders.

DSCN5895

Trim the corners of the batting or fleece to reduce bulk when the roll is assembled.  This example shows batting.

DSCN5898

19.  Grab your jewelry roll exterior.  In this photo, you can see that I pieced my exterior.

DSCN5899

Trim corners of the batting or fleece and attach batting or fleece to the wrong side of the exterior piece.  This photo shows fusible fleece attached to the wrong side of the exterior.  At this point you may quilt the exterior if desired.

DSCN5900

20.  Mark the center of the top edge of the exterior piece.  Cut one 24″ piece and one 5″ piece of the cord or ribbon.  I see rattail cord, and applied fray-check to the raw ends.  Fold each cord in half.  Place the cut edges of the 5″ cord and the fold of the 24″ cord at the center mark on the top edge.  Stitch in place within the seam allowance.DSCN5902

DSCN5903

Secure the tie ends to the front piece so they will not get caught in the seams.

DSCN5904

21.  Pin or clip exterior and interior right sides together.

DSCN5906

22.  Stitch around edges using 1/2″ seam.  Leave a 6-7″ opening on the bottom edge.  Make sure to backstitch at the beginning and end.  Trim fleece or batting and clip corners.

DSCN5908

23.  Turn right side out through opening.  Press, turning under 1/2″on each side of the opening you left for turning.  Topstitch as desired.

DSCN5909

DSCN5910 DSCN5912 DSCN5913DSCN5914 DSCN5915

DSCN5938

Look at all the stuff you can fit in your new jewelry roll!  Now go book a holiday.

The Great Escape Jewelry Roll, part one: zippers are your new best friends. Free jewelry roll pattern with a long-winded tutorial.

DSCN5919

Gearing up for a big trip?  My jewelry usually it ends up in a tangle at the bottom of a small bag.  Mischief managed.

DSCN5915

This jewelry roll is easy to make, looks great, and has just enough padding to keep all that pokey jewelry safe.  The plastic compartments make it easy to see everything you stuffed in there.

Because I like to include so many pictures, hopefully to make the steps clearer, this post is getting really long.  I will publish part two of this tutorial tomorrow.

Let’s gather up some supplies, and you can make your own!  This project is fat quarter friendly.  Here’s what you need:

  • fat quarter exterior fabric (*see note in cutting instructions)
  • fat quarter interior fabric
  • 3/8 yard thin, supple plastic, like the stuff used for table covers or beautiful sofa protectors
  • iron-on interfacing ( I use Pellon Shape-flex)
  • regular or fusible fleece or batting
  • 29″ cord or ribbon for the ties
  • 4 zippers, 12″ or longer
  • Teflon foot for your sewing machine (not required, but your life will be much easier)
  • all the usual suspects for sewing

Cutting instructions:

interior fabric – cut one 9×18

exterior fabric – cut one 11×20, one 4×18, one 4×11  (*note:  if you are using a fat quarter, you will need to cut one or both of the border pieces from the interior fabric OR piece the exterior, as I did in the purple example)

interfacing – cut one 9×18, one 4×18, one 4×11

plastic – cut one 9x 13-3/4

DSCN5828

Construction:

  1. Attach interfacing, following manufacturer’s instructions, to the interior fabric and the exterior  4×18 and 4×11 pieces.  Cut the fused 4×18 piece in half to make 2 – 2×18 pieces.  Cut the fused 4×11 piece in half to make 2 – 2×11 pieces.  Set aside.
  2. Mark lines on the plastic as follows:  with one of the short 9″ sides towards you, measure and draw a line 3-1/2″ up.  Draw two more lines at 7″ and 10-1/2″.  I use a ball-point pen for my lines.  This is easier if you tape your plastic to the cutting board and use your grid as a reference. DSCN5832
  3. Now it’s zipper time!  These will be the easiest zippers you have ever inserted, I promise.  With the zipper closed and the pull on the left, lay the plastic OVER the zipper, centering the zipper teeth under the pen line.  Tape the zipper to the plastic to hold in place while stitching.DSCN5837The next photo shows some fabric between the zipper and the plastic, just so you can see the pen line better.  DSCN5835Notice how the zipper extends beyond the edge of the plastic.  No worries!  We’ll chop it off later.
  4. Slap that Teflon foot on your machine.  We’re going to stitch the plastic to the zipper. DSCN5839I used a stitch length of 3.0.  Start on the zipper tape OFF of the plastic, and stitch off of the plastic at the other end.  You’ll want to stitch about 1/8″ from the edge of the zipper tape.  The blue tape I use is 3M painter’s tape, and it comes off like a dream without leaving any residue.  DSCN5840 If you don’t have a Teflon foot, you will have to put something on top of the plastic to stitch it, because a regular presser foot will not move over the plastic.  You can use strips of tear-away stabilizer or newsprint. DSCN5788 This works, but it is a real pain in the ass.  Do yourself a favor and go buy a Teflon or non-stick presser foot.  This is what your zip will look like, sewn on both sides, under the plastic.   Use thread that matches your zipper.DSCN5841How easy was that?
  5. Repeat this same procedure for zipper number 2 and 3 under the other lines drawn on your plastic.DSCN5842
  6. Now we are on to zipper #4.  Don’t you feel clever?  Place this zipper (the pull is on the left) at the top, the top edge of the plastic approximately 1/4″ below the zipper teeth.DSCN5843This next photo shows an example of this as it is being stitched.  And no, I did not stitch my seam ripper into the seam.DSCN5846All four zips are in, and this is what it looks like.DSCN5848The zips are closed, the pulls are on the left, all the stitch lines extend off the plastic on each side.  All is right with the world.  Take a deep breath.  Got some fun coming next.
  7. Get your scissors out.  NOT your good sewing scissors.  We’re going to cut plastic, I hope your momma taught you better than to use your good scissors on plastic.  Cut the plastic that covers the zipper teeth, approximately 1/8″ from the stitching lines.  DSCN5853 DSCN5855DSCN5858 DSCN5859Look!  The zipper has been freed from it’s oppressive plastic!
  8. On the lower edge ONLY of each zipper tape (zipper pulls on the left, zippers still zipped,) reinforce the stitching.  Set your machine for a long zigzag stitch, mine is set at 2.0 length.  Zigzag the plastic to the lower tape of each zipper tape.  This will help keep the pockets nice and secure, since we know that we will be digging around in those pockets a lot.  Don’t worry about the upper zipper tapes, we will reinforce those later as we form the bottoms of the pockets.DSCN5861 DSCN5864
  9. Mark the stitch lines on the plastic for the compartments.  With the bottom of the plastic facing you, below the first zipper, measure 3″ from the left side and draw a vertical line (from the zipper to the bottom of the plastic.)  Draw another line 2-1/2″ to the right of that line, leaving 3-1/2″ on the right.  Between the 2nd and 3rd zipper, draw a vertical line 4-1/2″ from the left.  I used a blue ball point pen.  You will stitch over the line in a later step, so no worries.DSCN5865DSCN5866

Now we’re ready for the fun part.  Not that this hasn’t been fun so far, right?  Tomorrow…assembling the jewelry roll!

DSCN5924

Cotton candy, sweet and low, let me see that jewelry roll. Here. Tomorrow. Free pattern and tutorial.

DSCN5924

Orchids in bloom! I’m only a year behind if we are speaking in Pantones.

DSCN5809

Last year’s color was orchid, right?  I got your orchids right here.

Tied this to the palm tree a year-and-a-half ago.  First time blooming.  I’m beginning to think I might have gardening skills.