

I am watching the Poseidon Adventure as I finish this tutorial. There is no better motivation for a travel-related item than the Poseidon Adventure. I just wanna run out a book a cruise.
Shall we leap right in and finish our project?
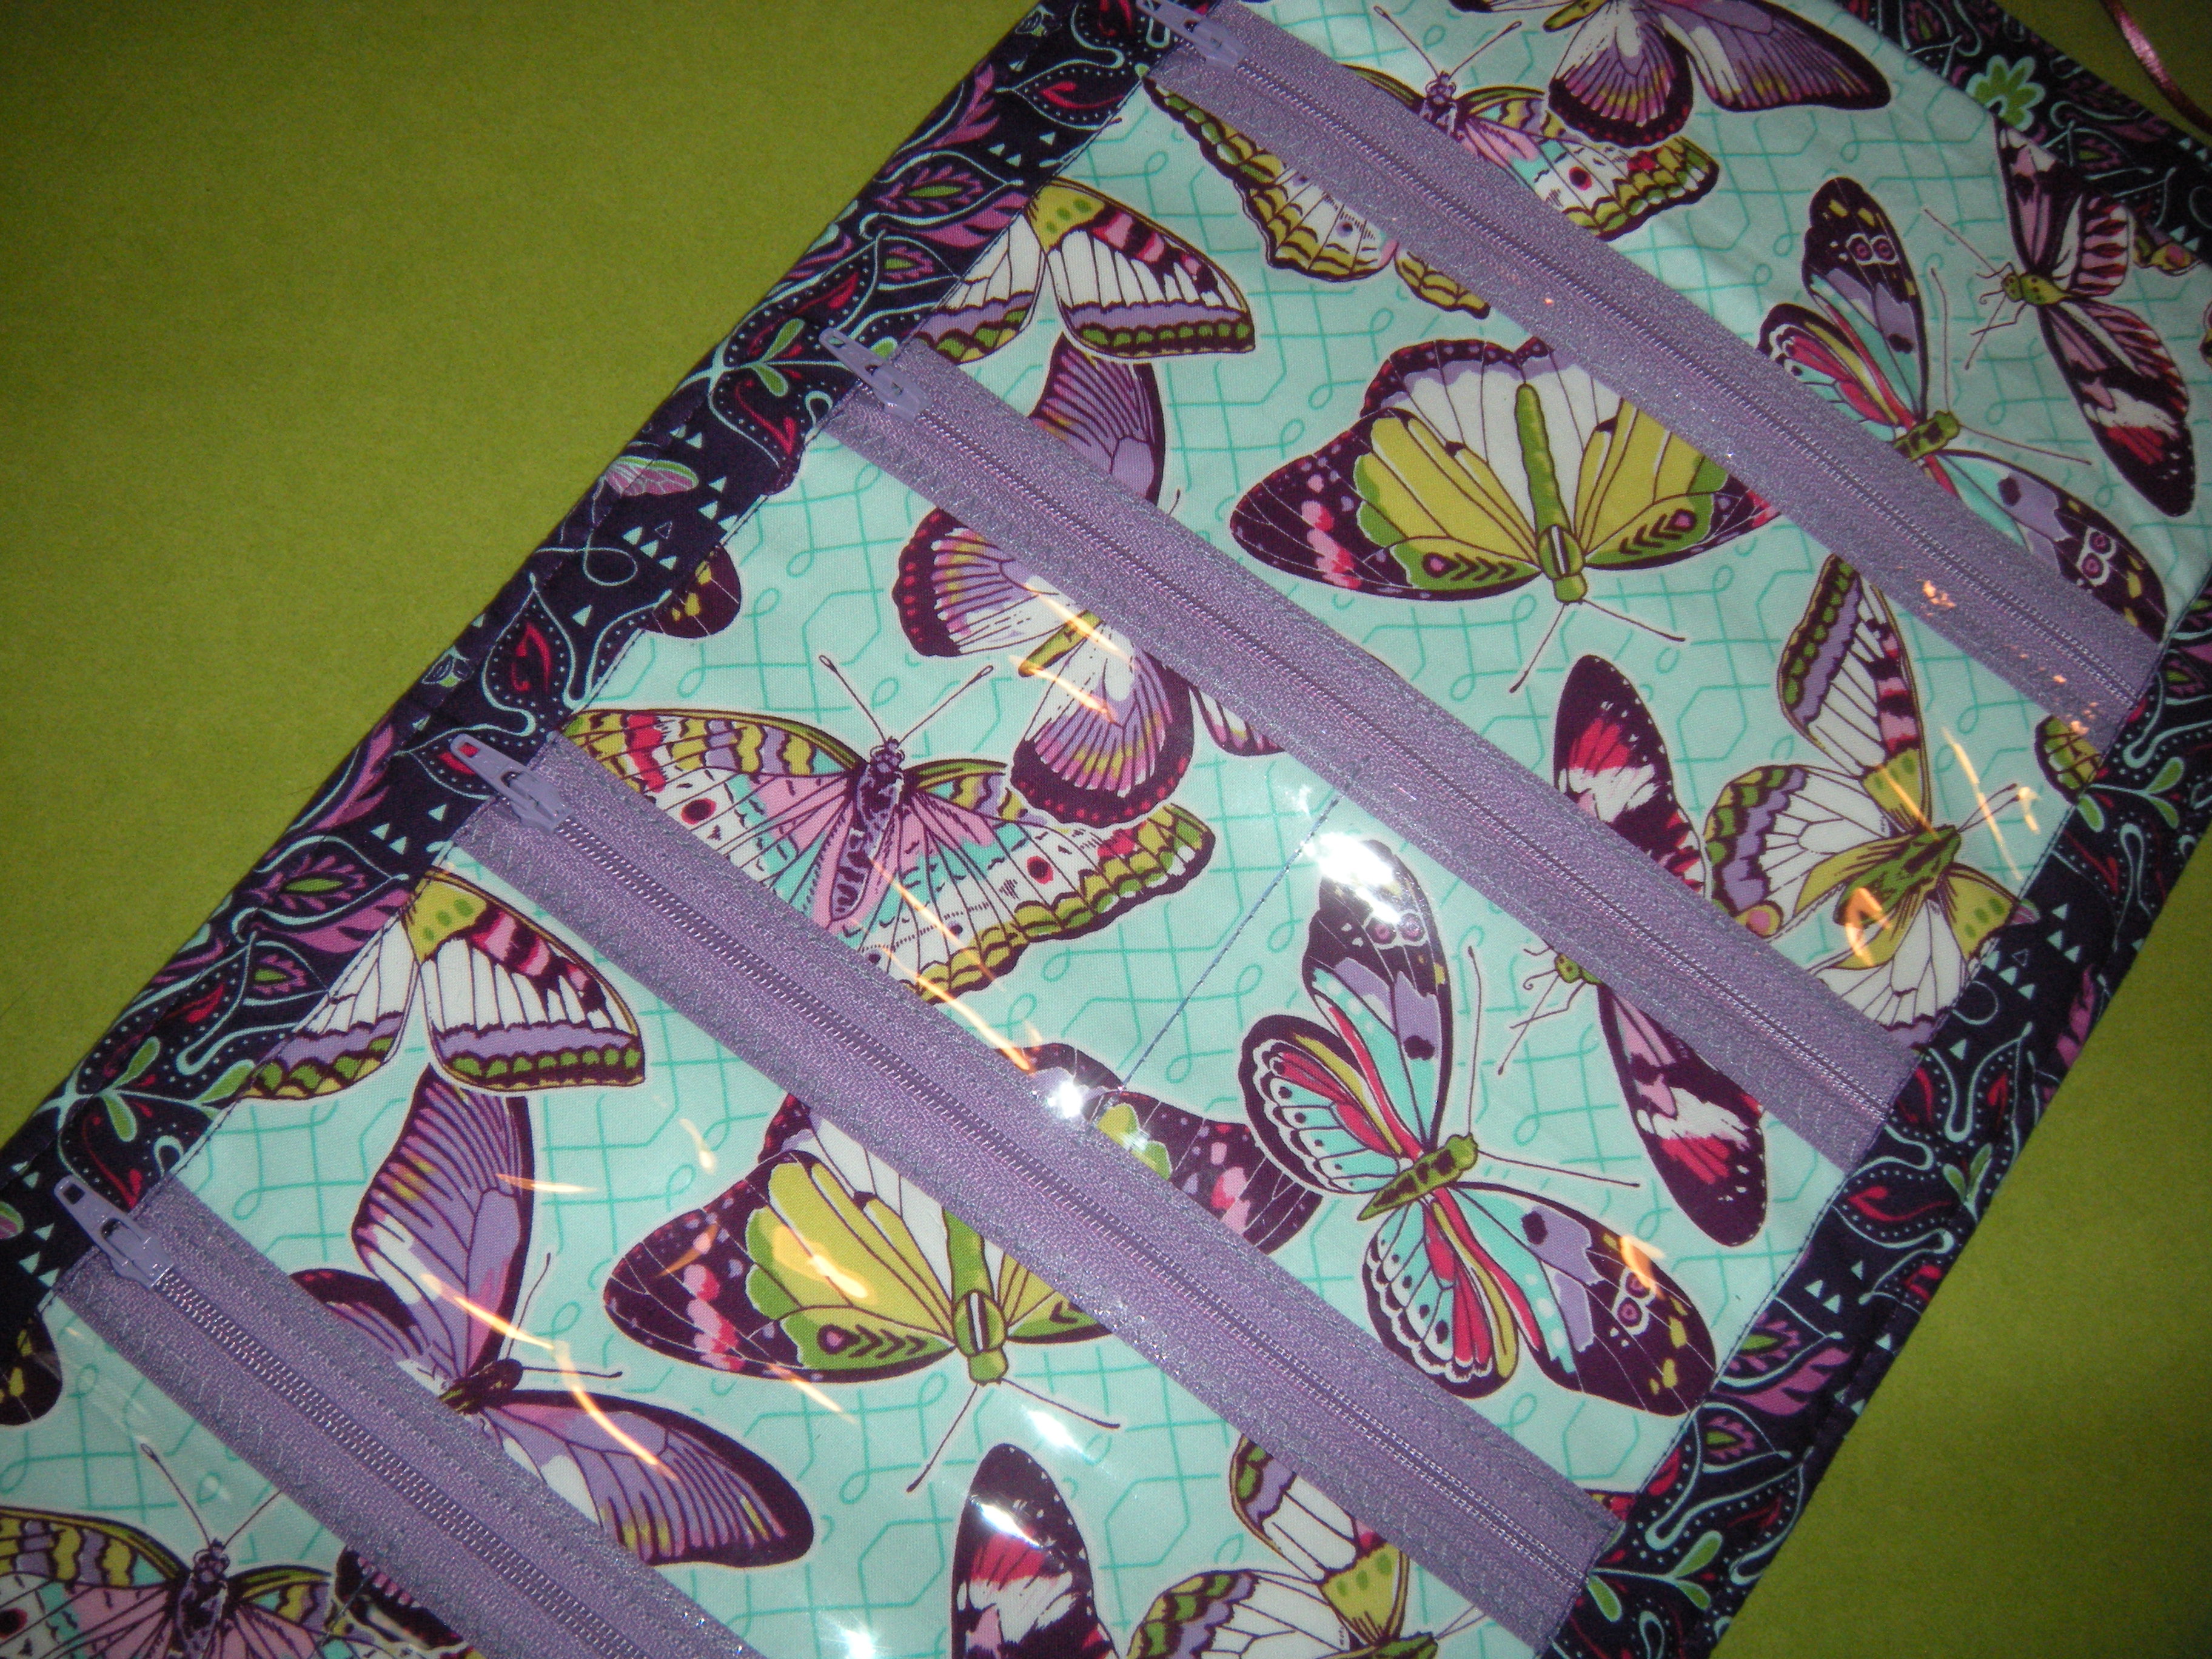
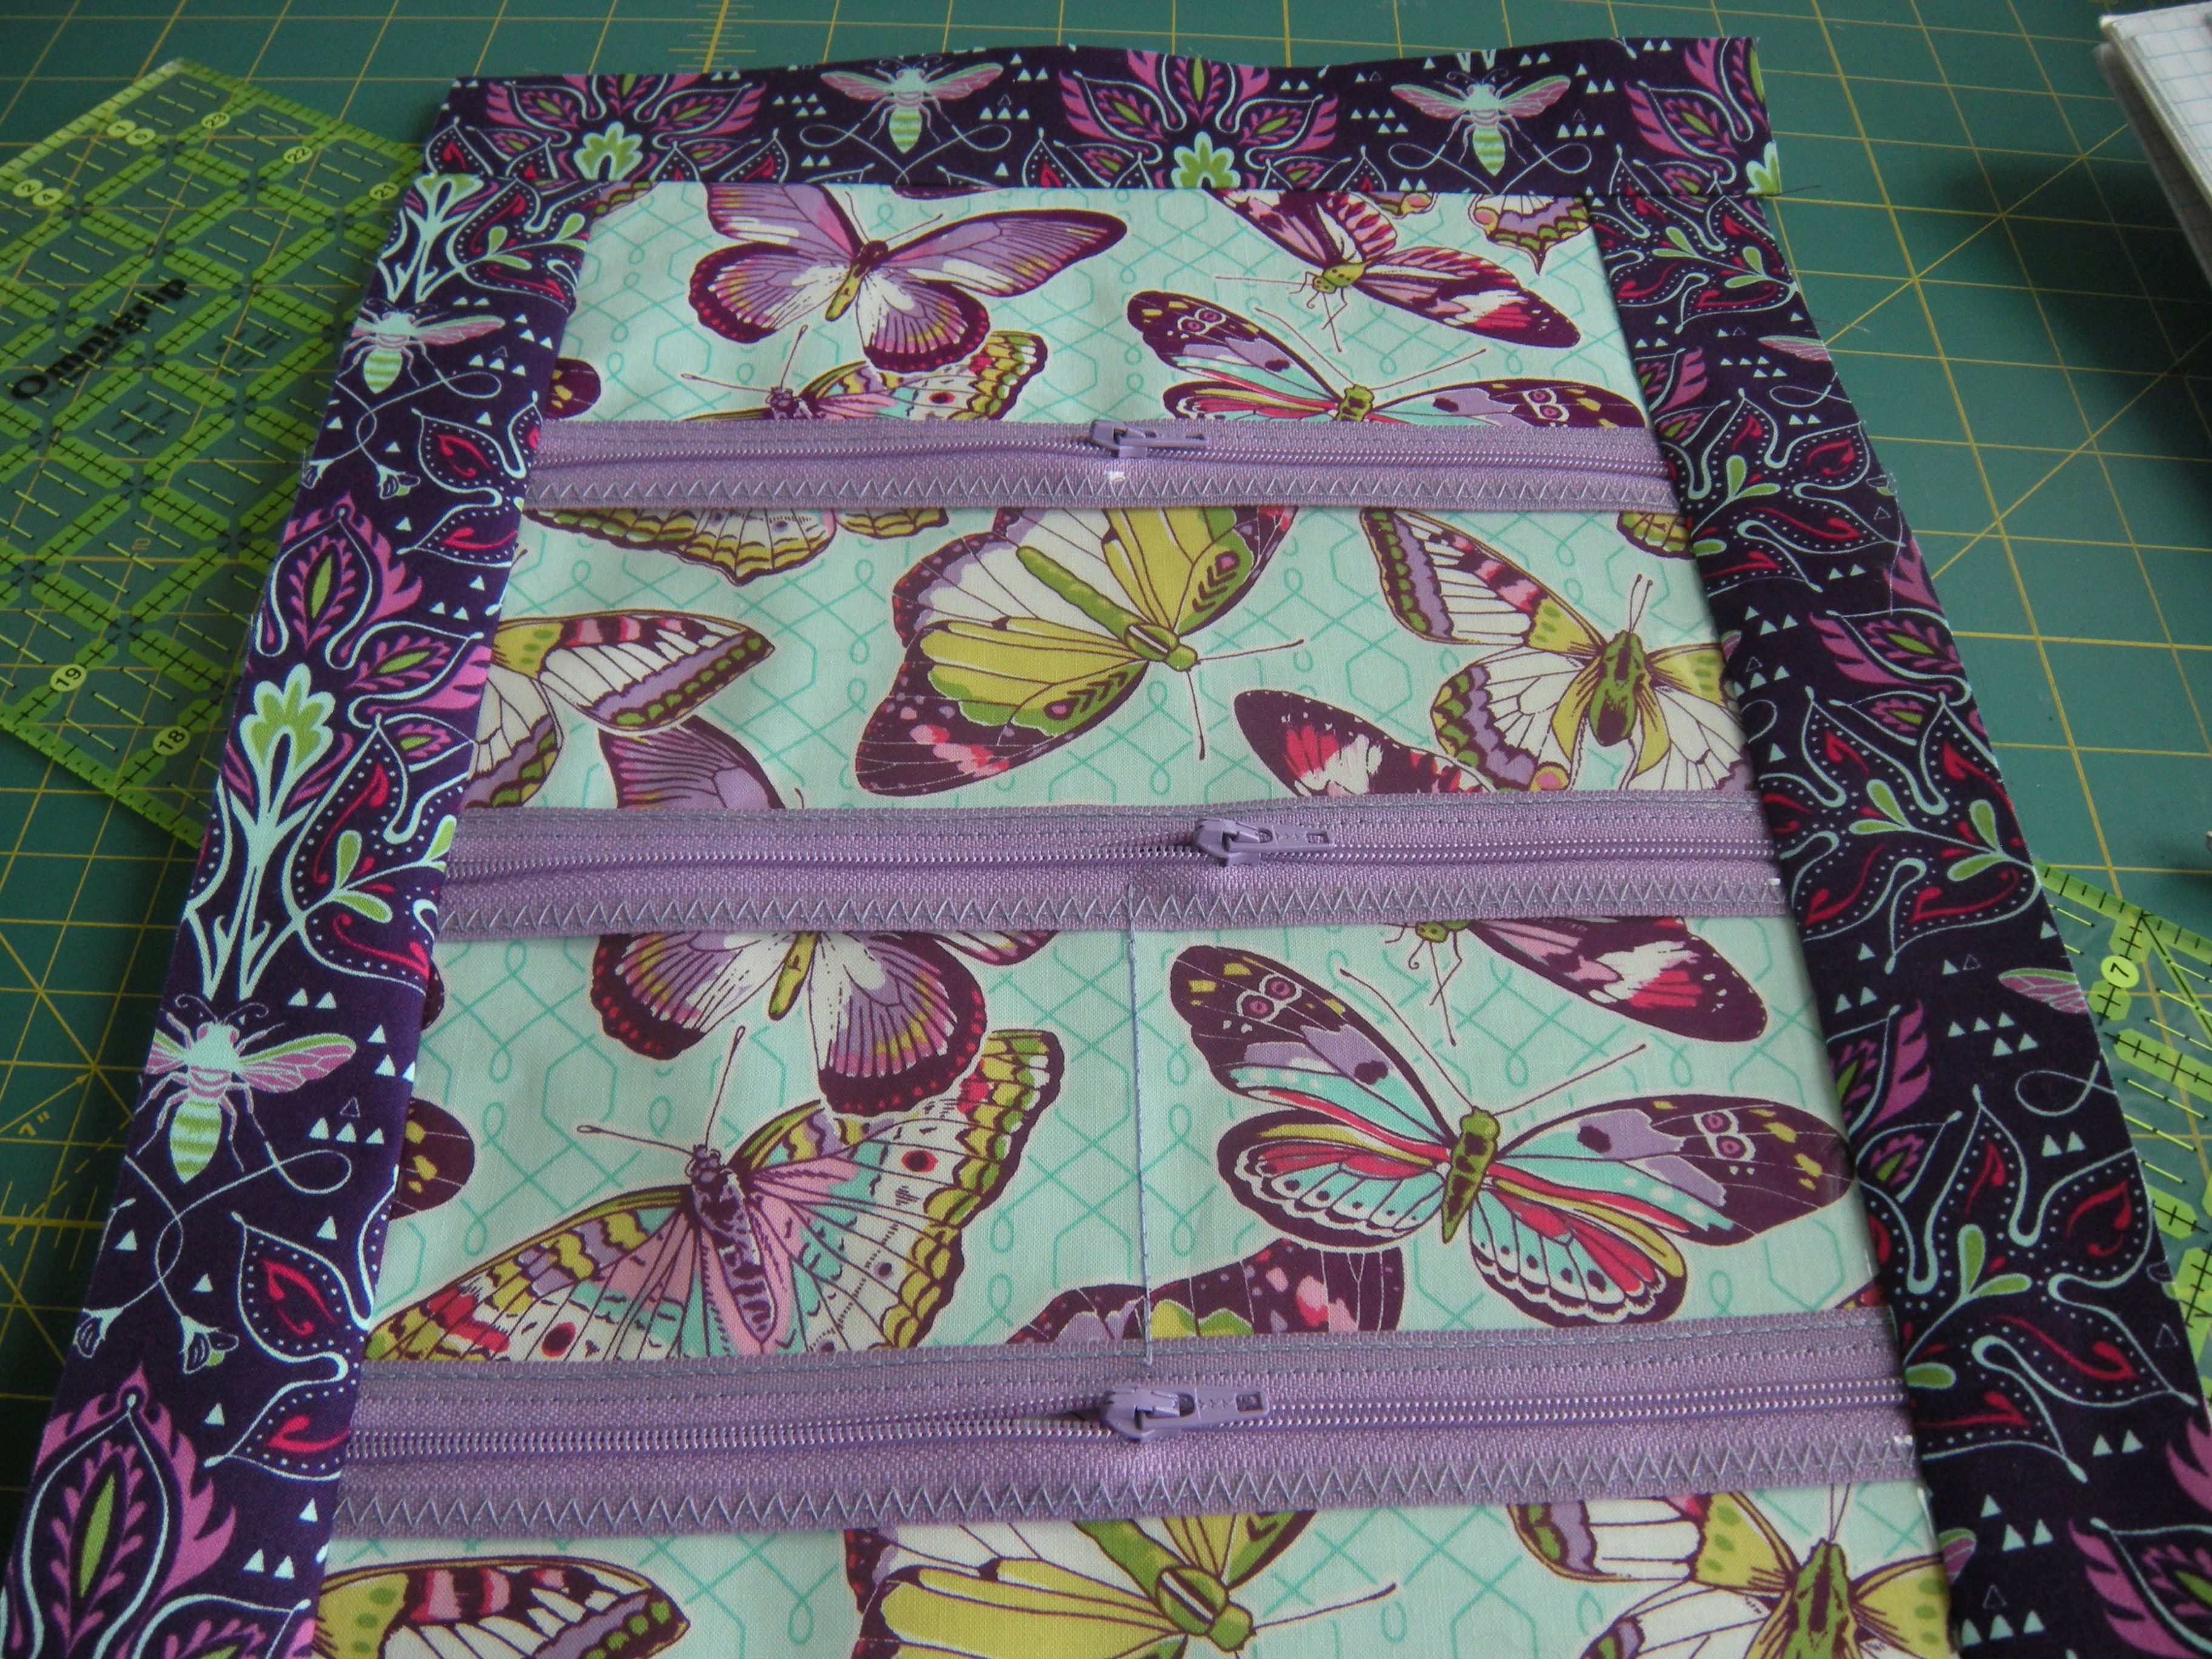
10. Place the plastic over the interior fabric, matching sides and bottom edges. I held mine in place using wonder clips, with pins along the top edge of the 4th zipper.
 Now this part is very important – move the zipper pulls to the center of the zippers! Tape the zipper closed next to the left side.
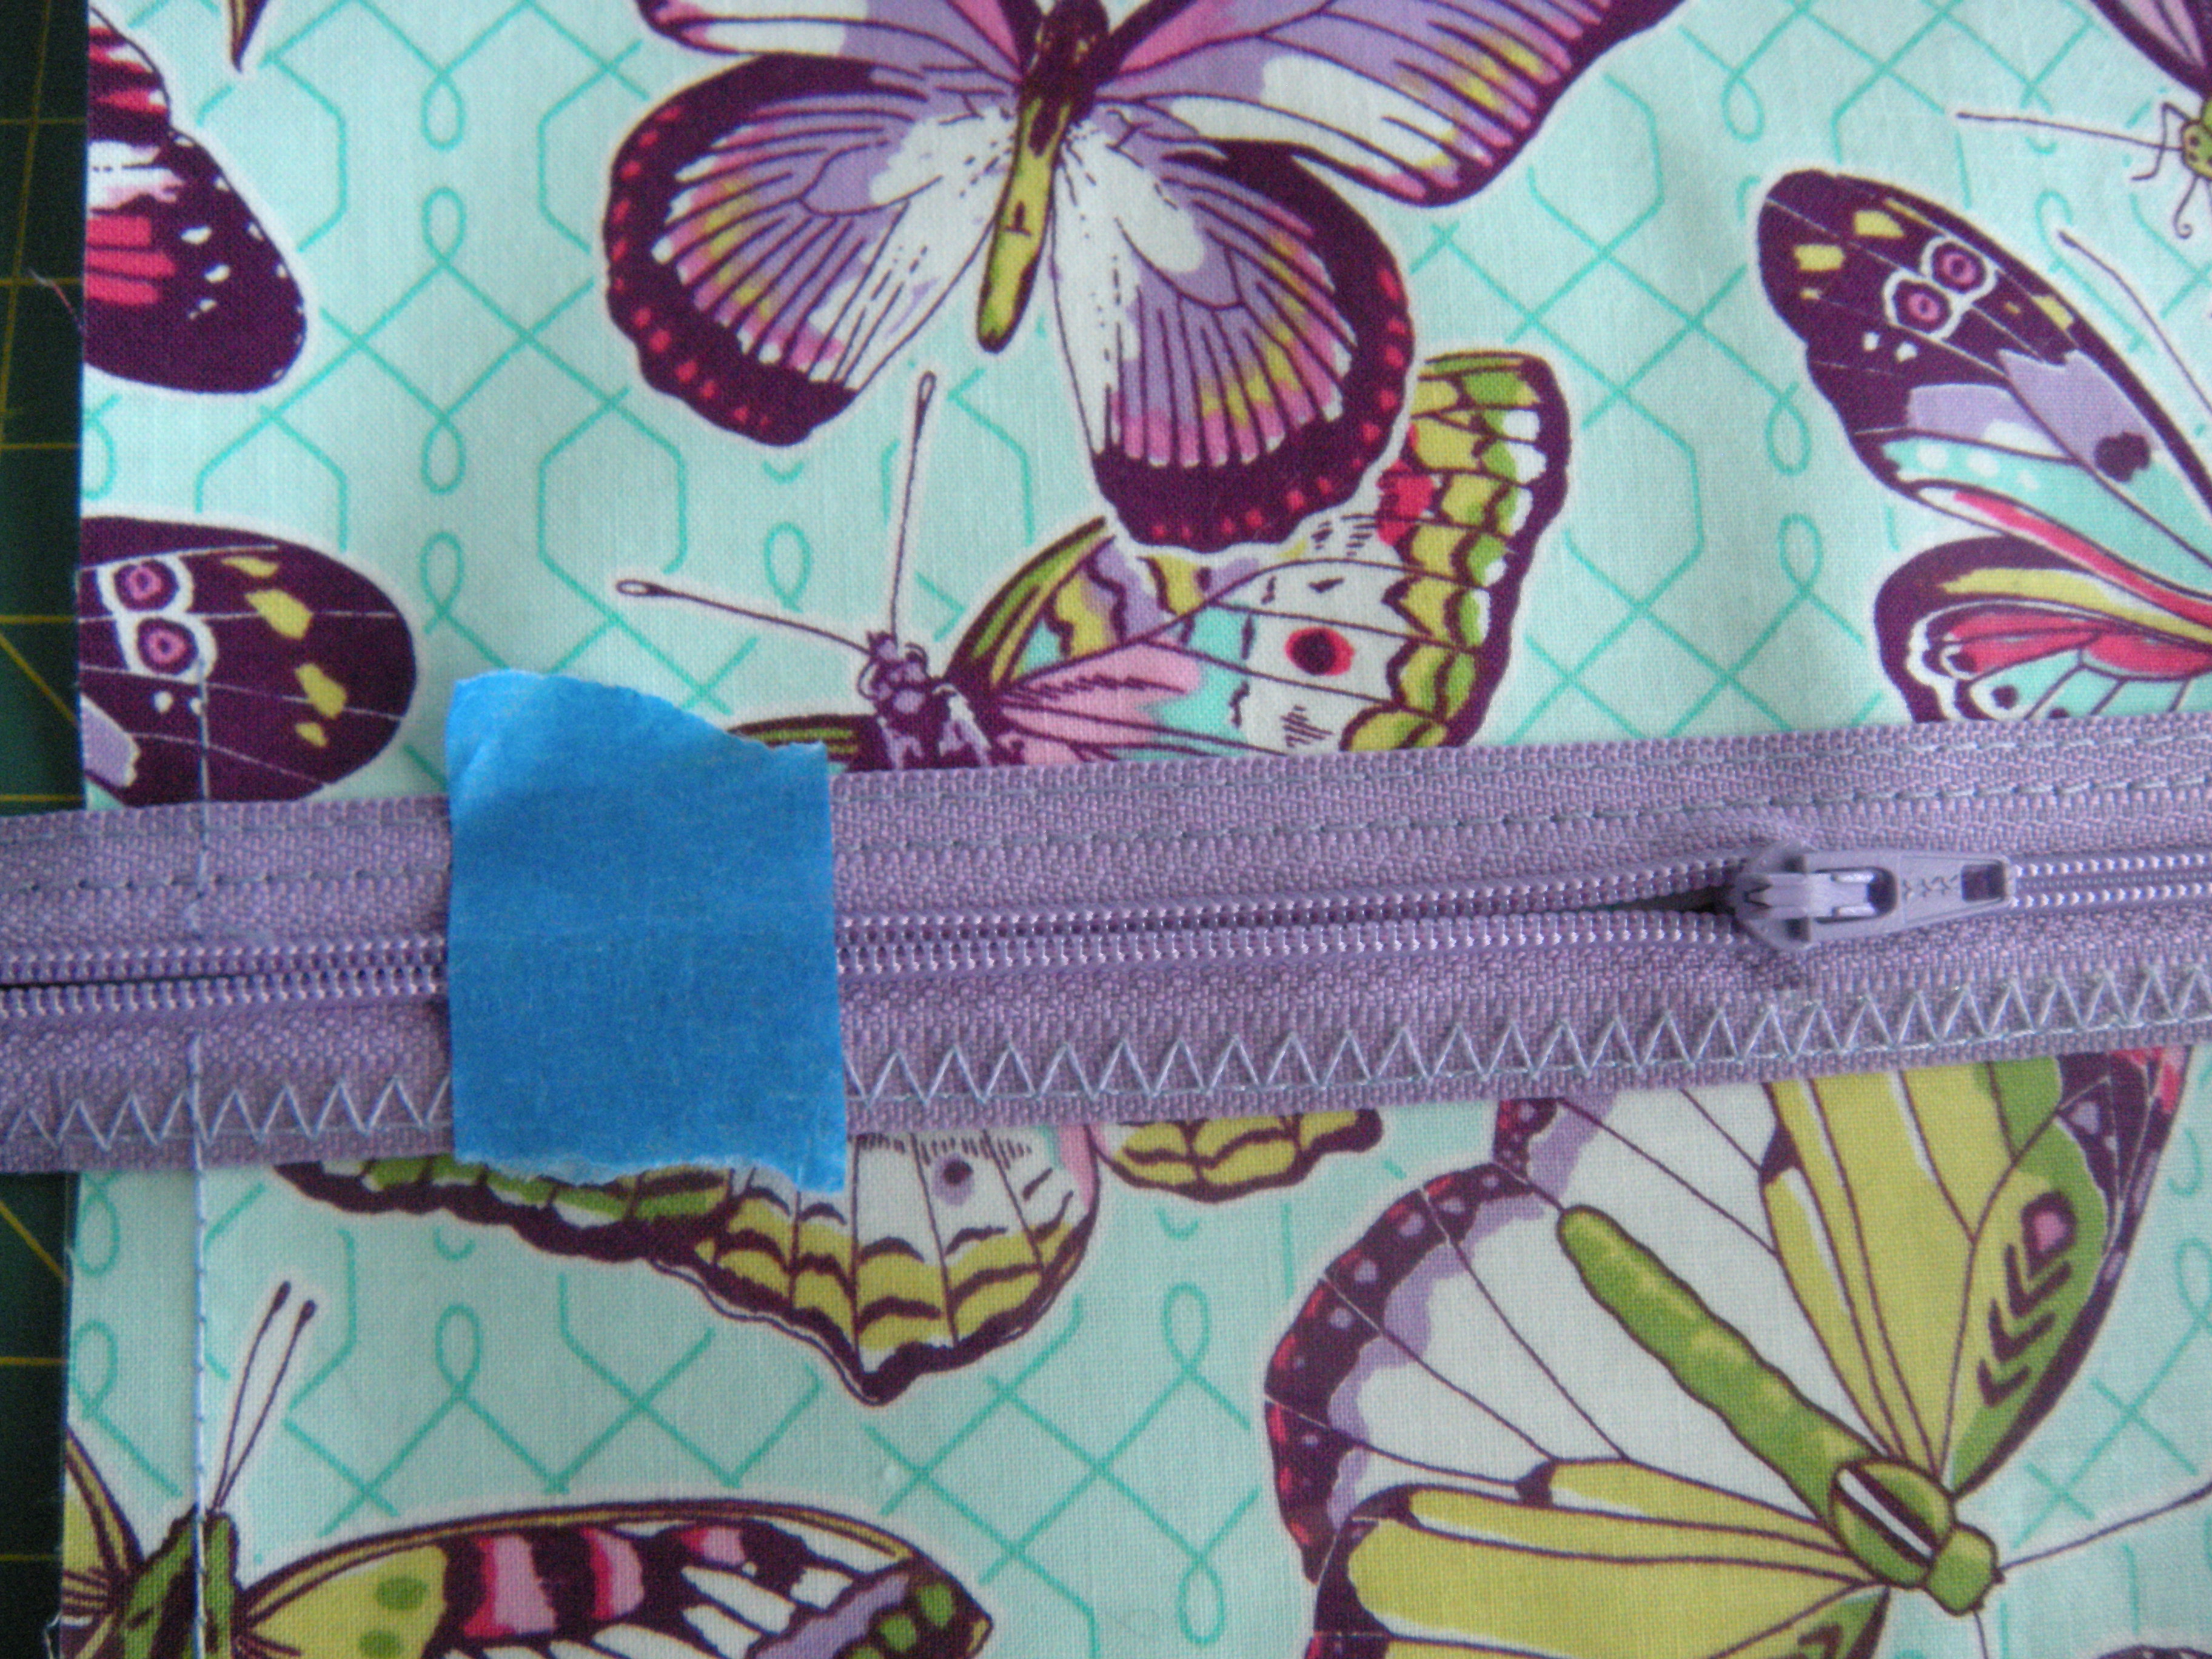
11. Baste around sides and bottom using a 3/8″ seam.
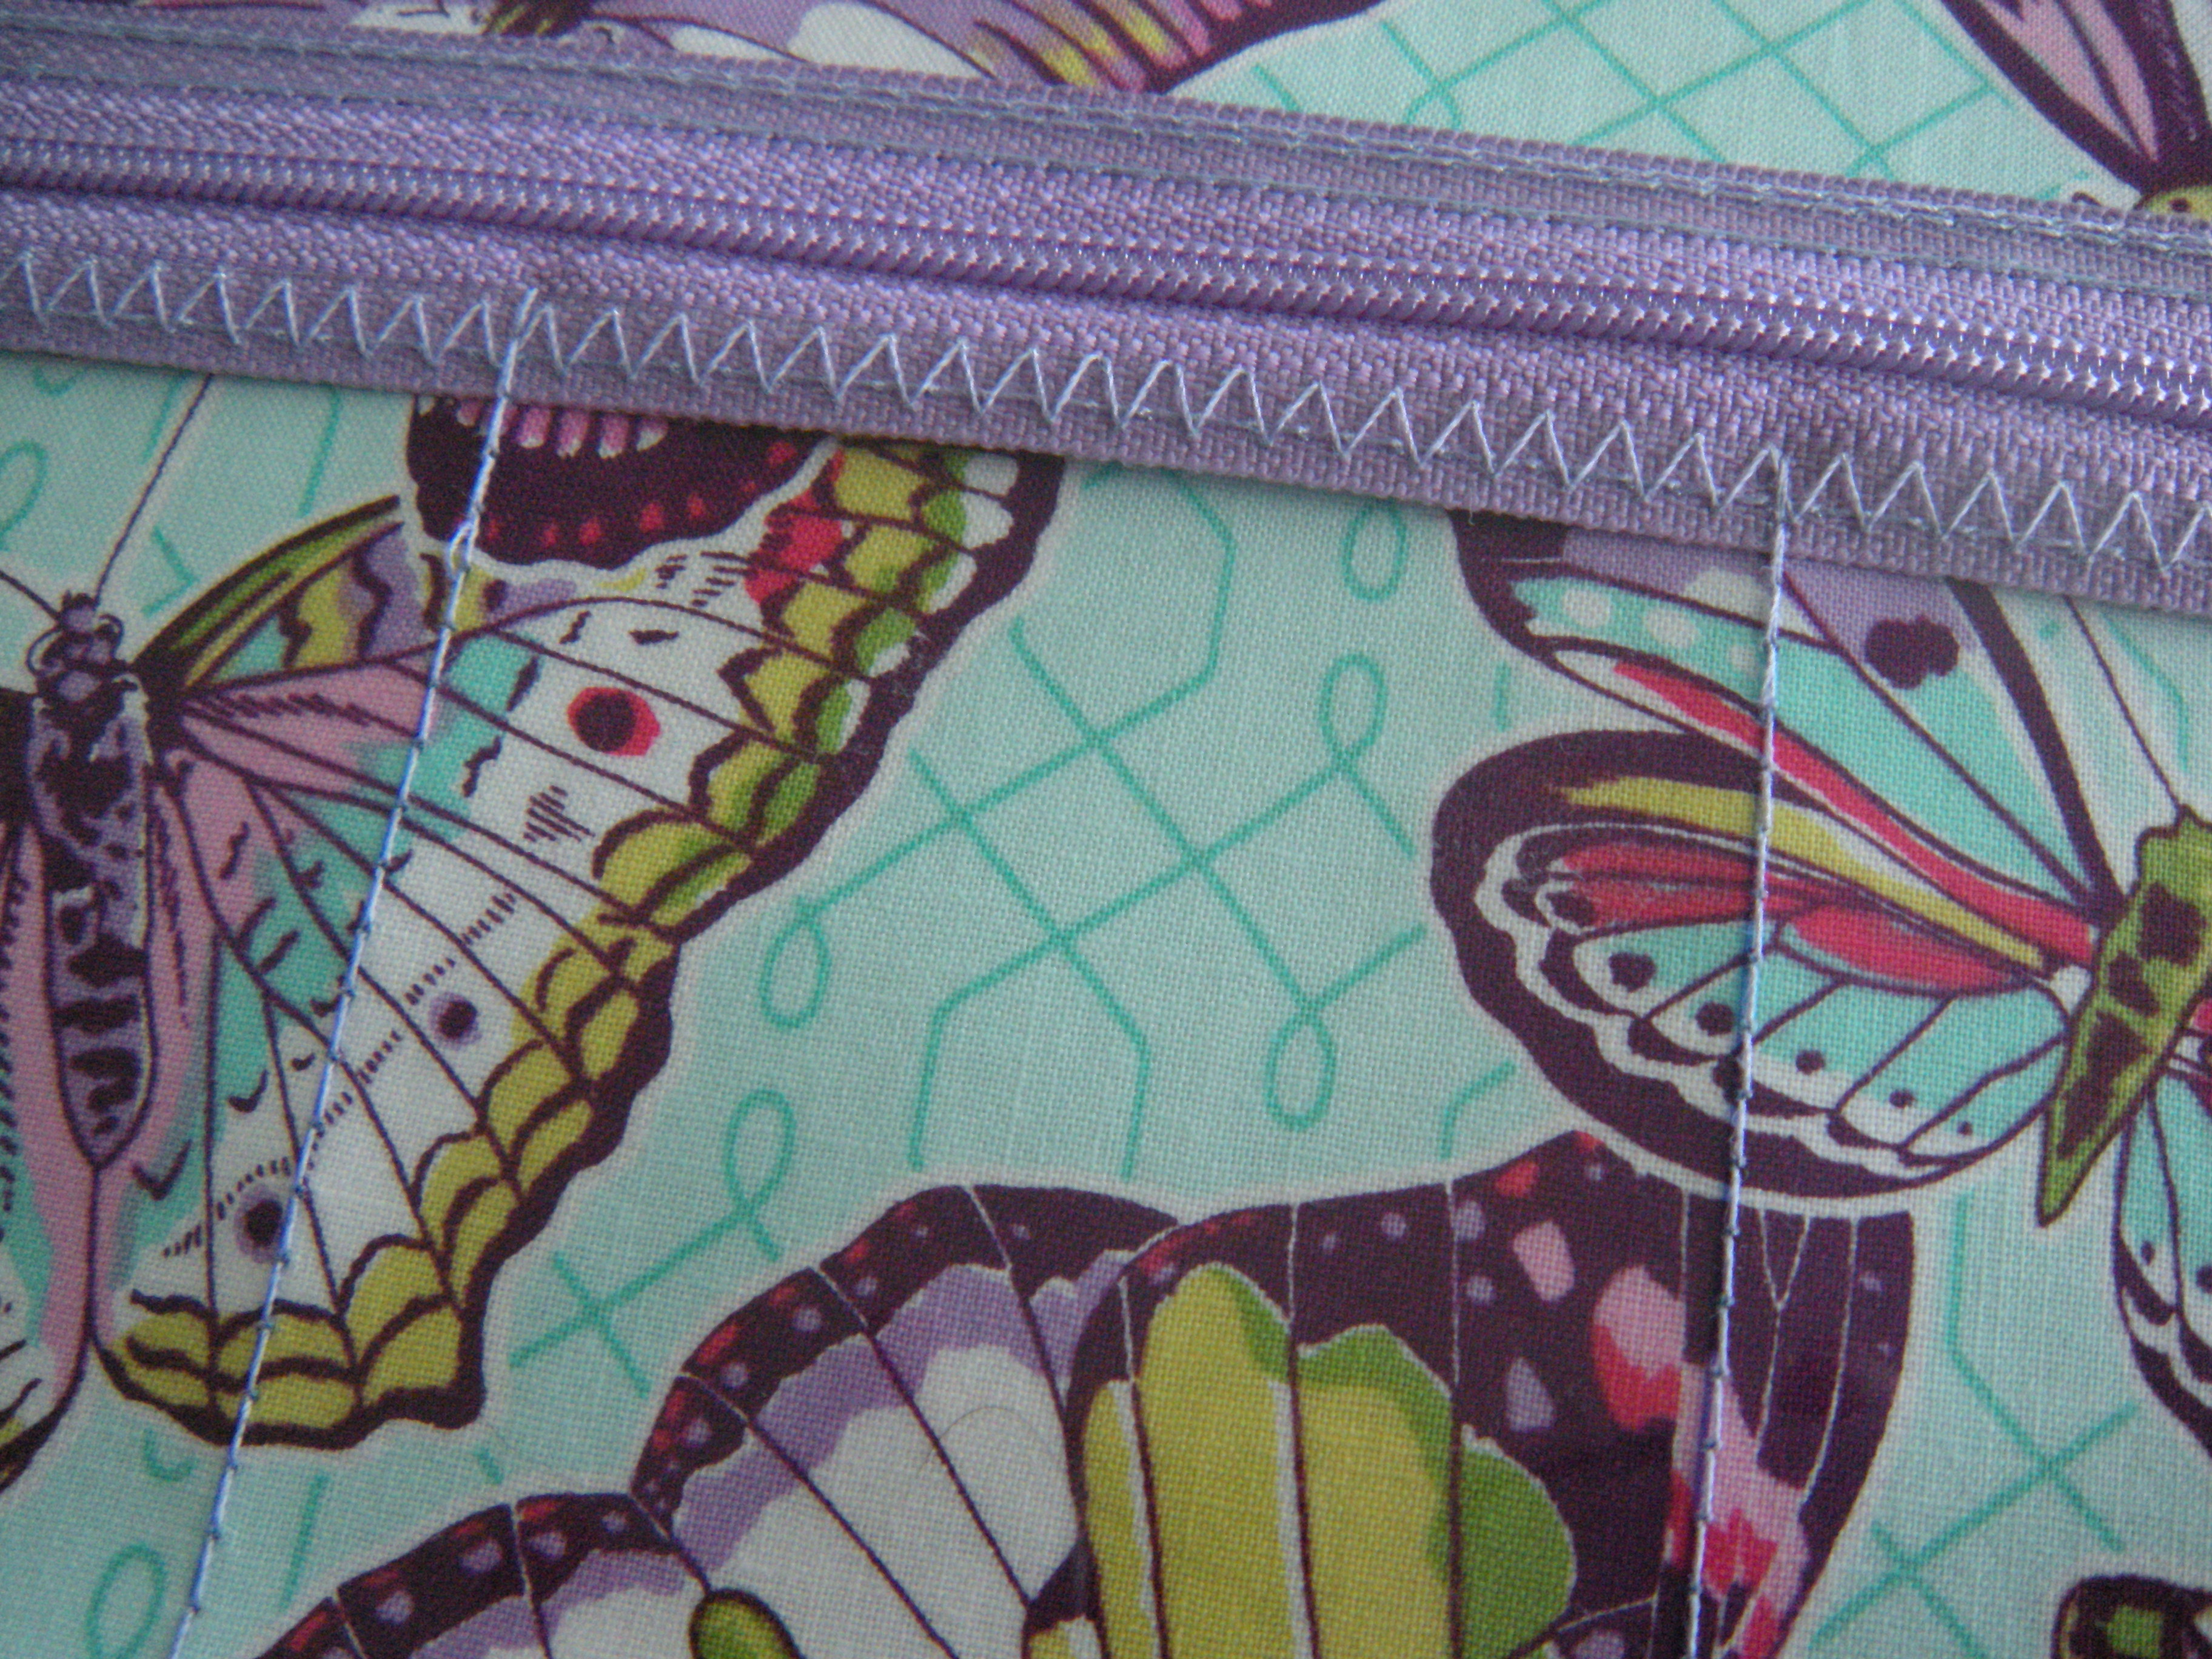
12. On the TOP tape of each of the four zippers, stitch 2 lines approximately 1/4″ apart. I used a stitch length of 3.0. This forms the bottoms of the pockets and the top of the top pocket.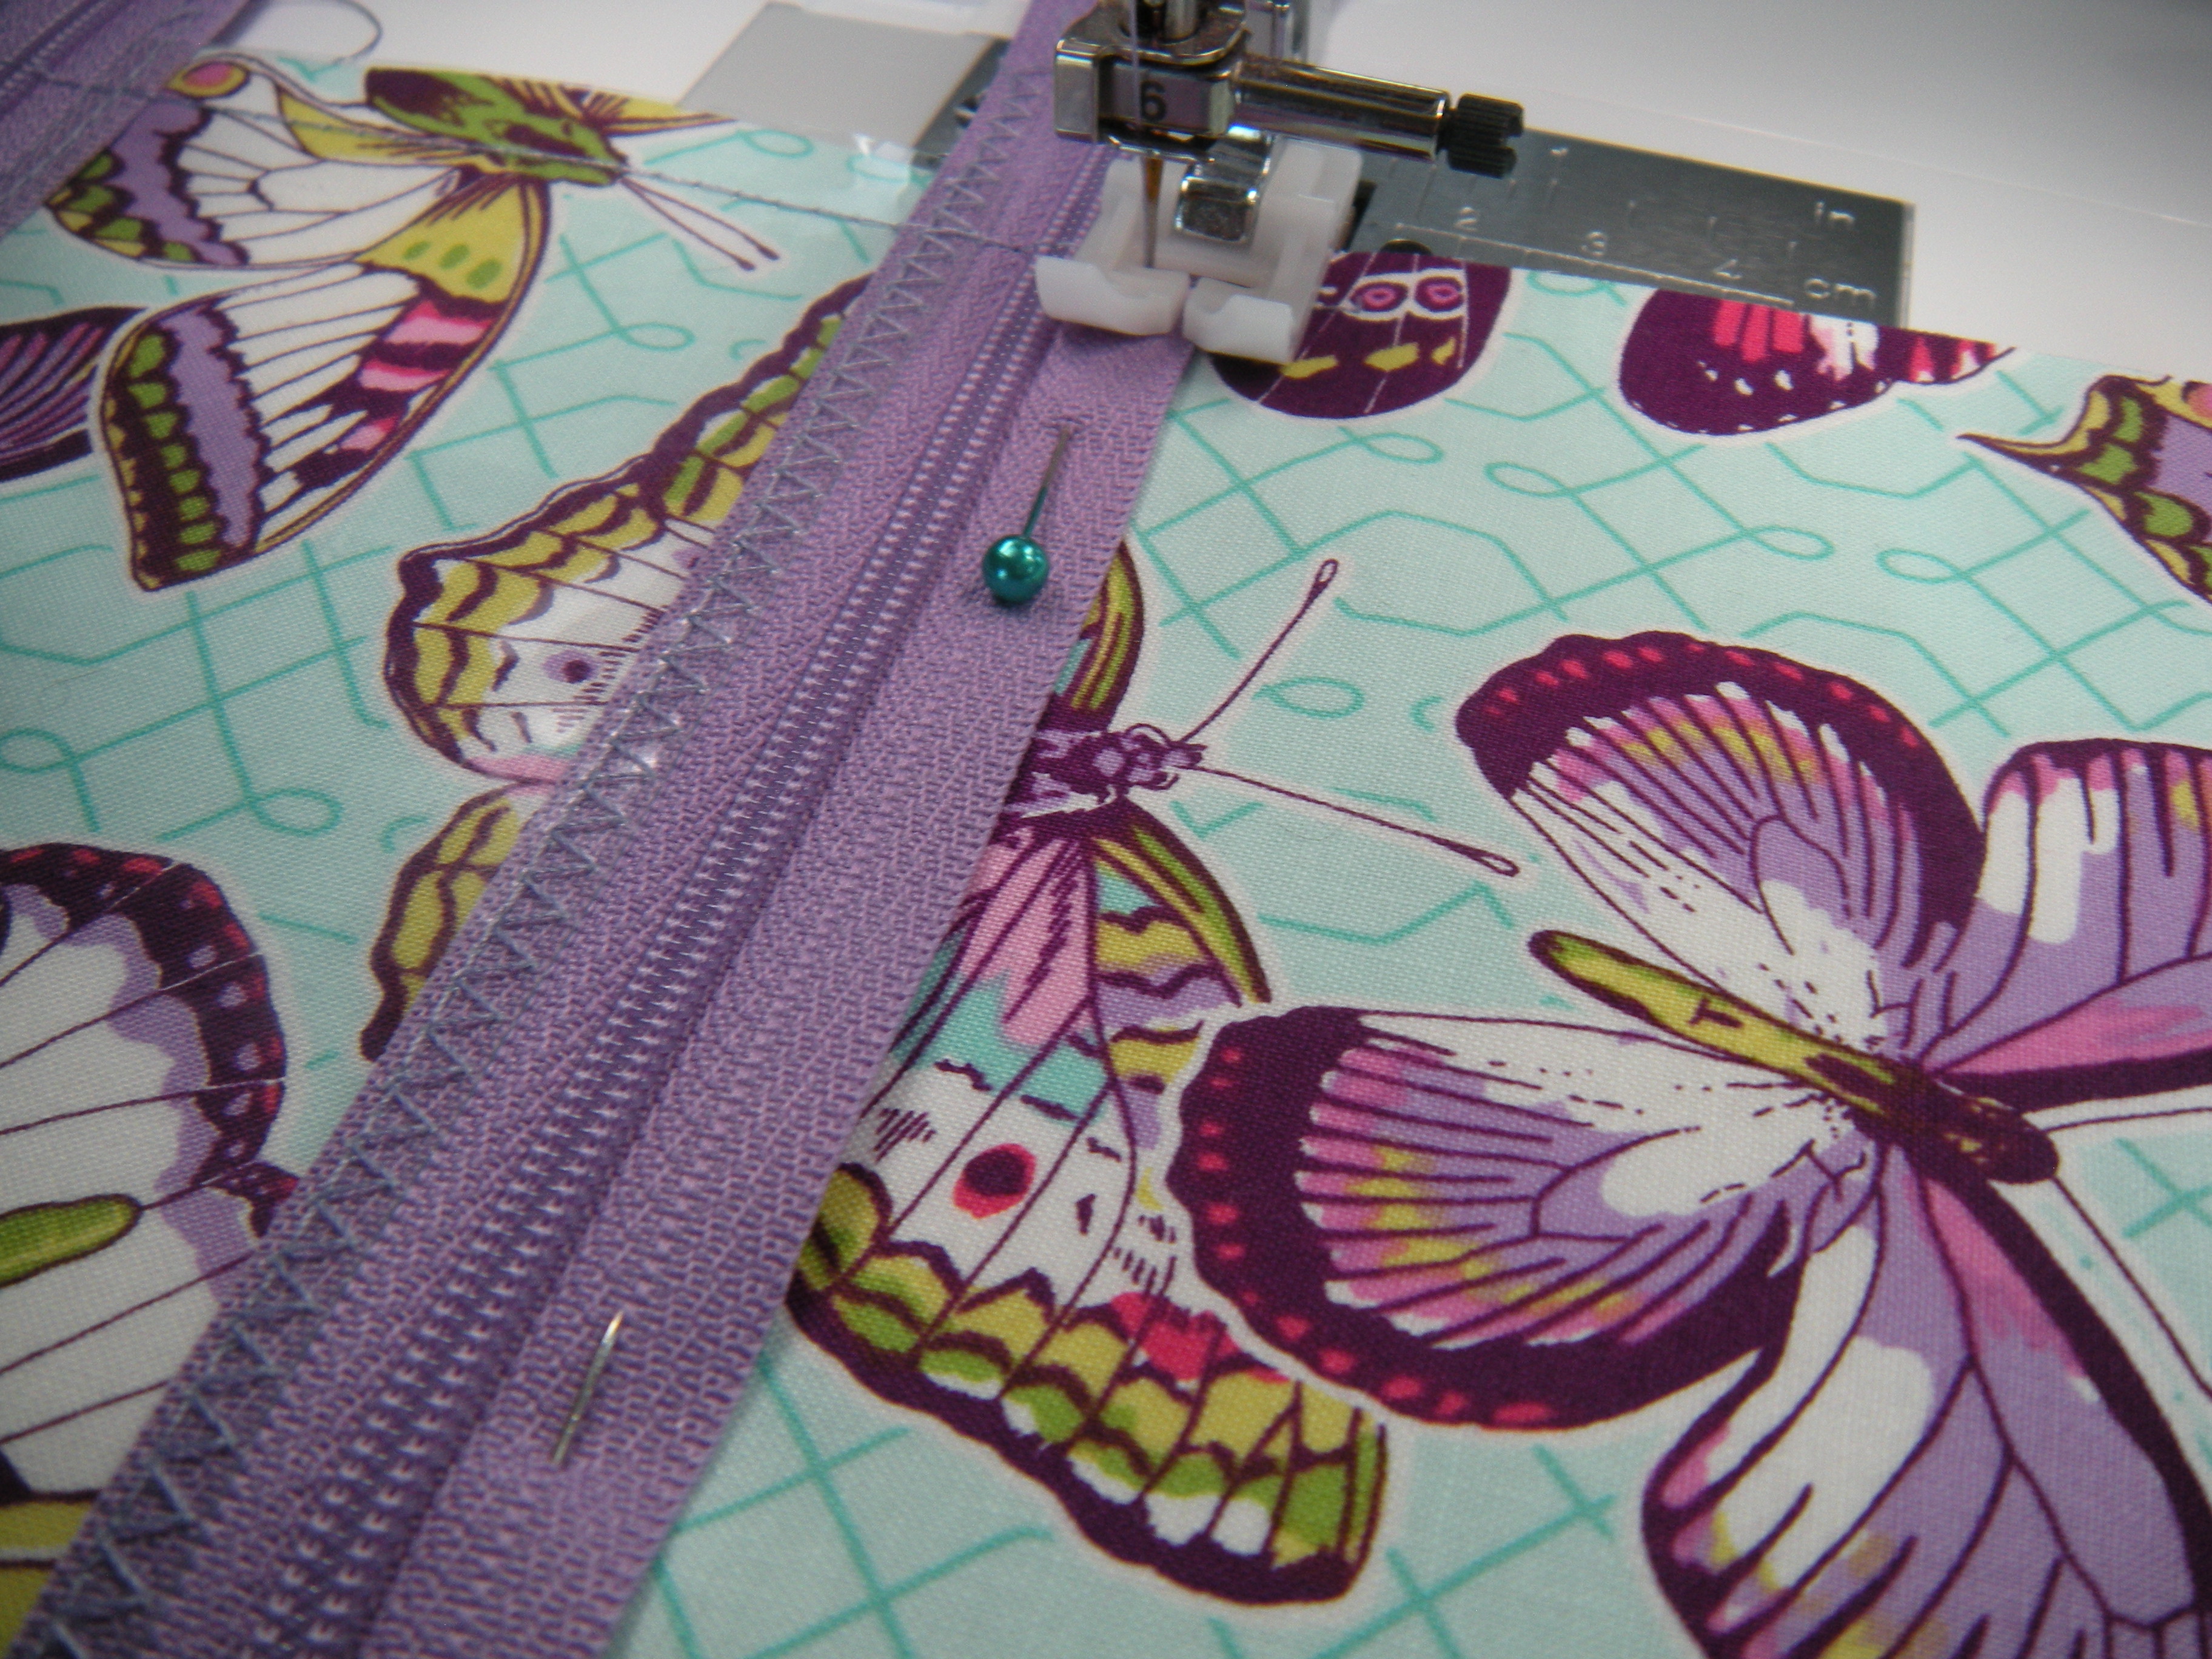
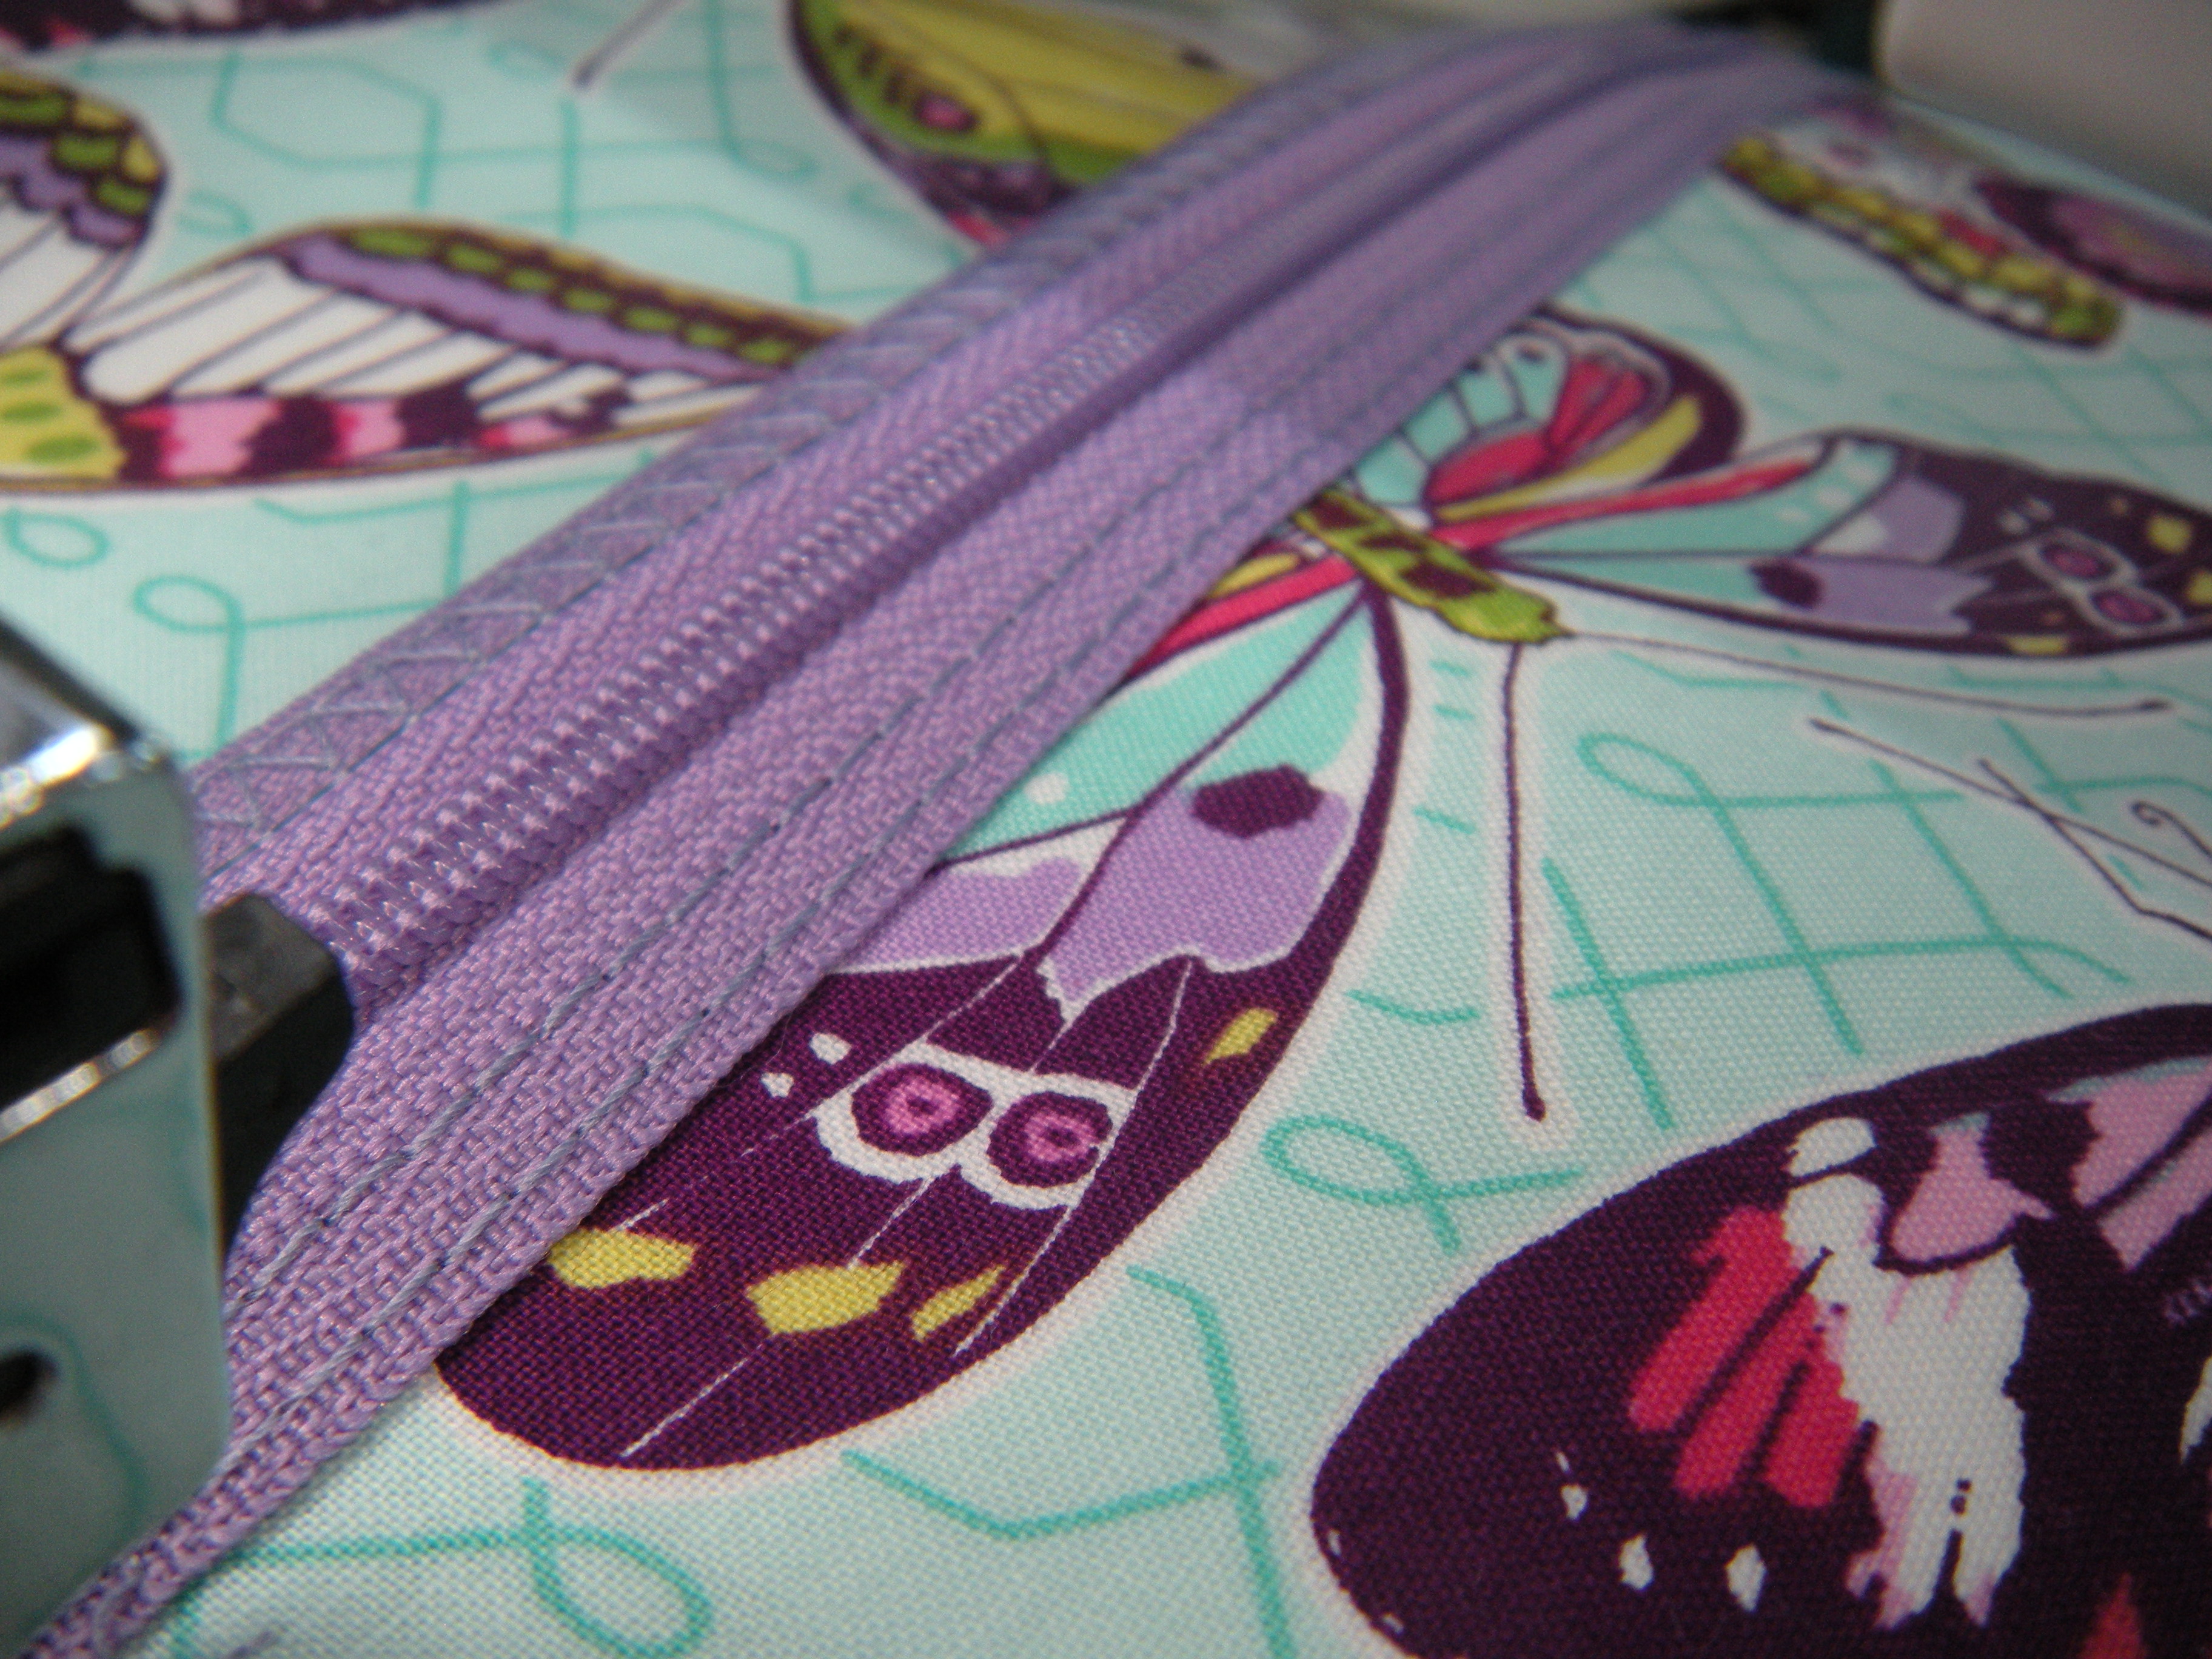
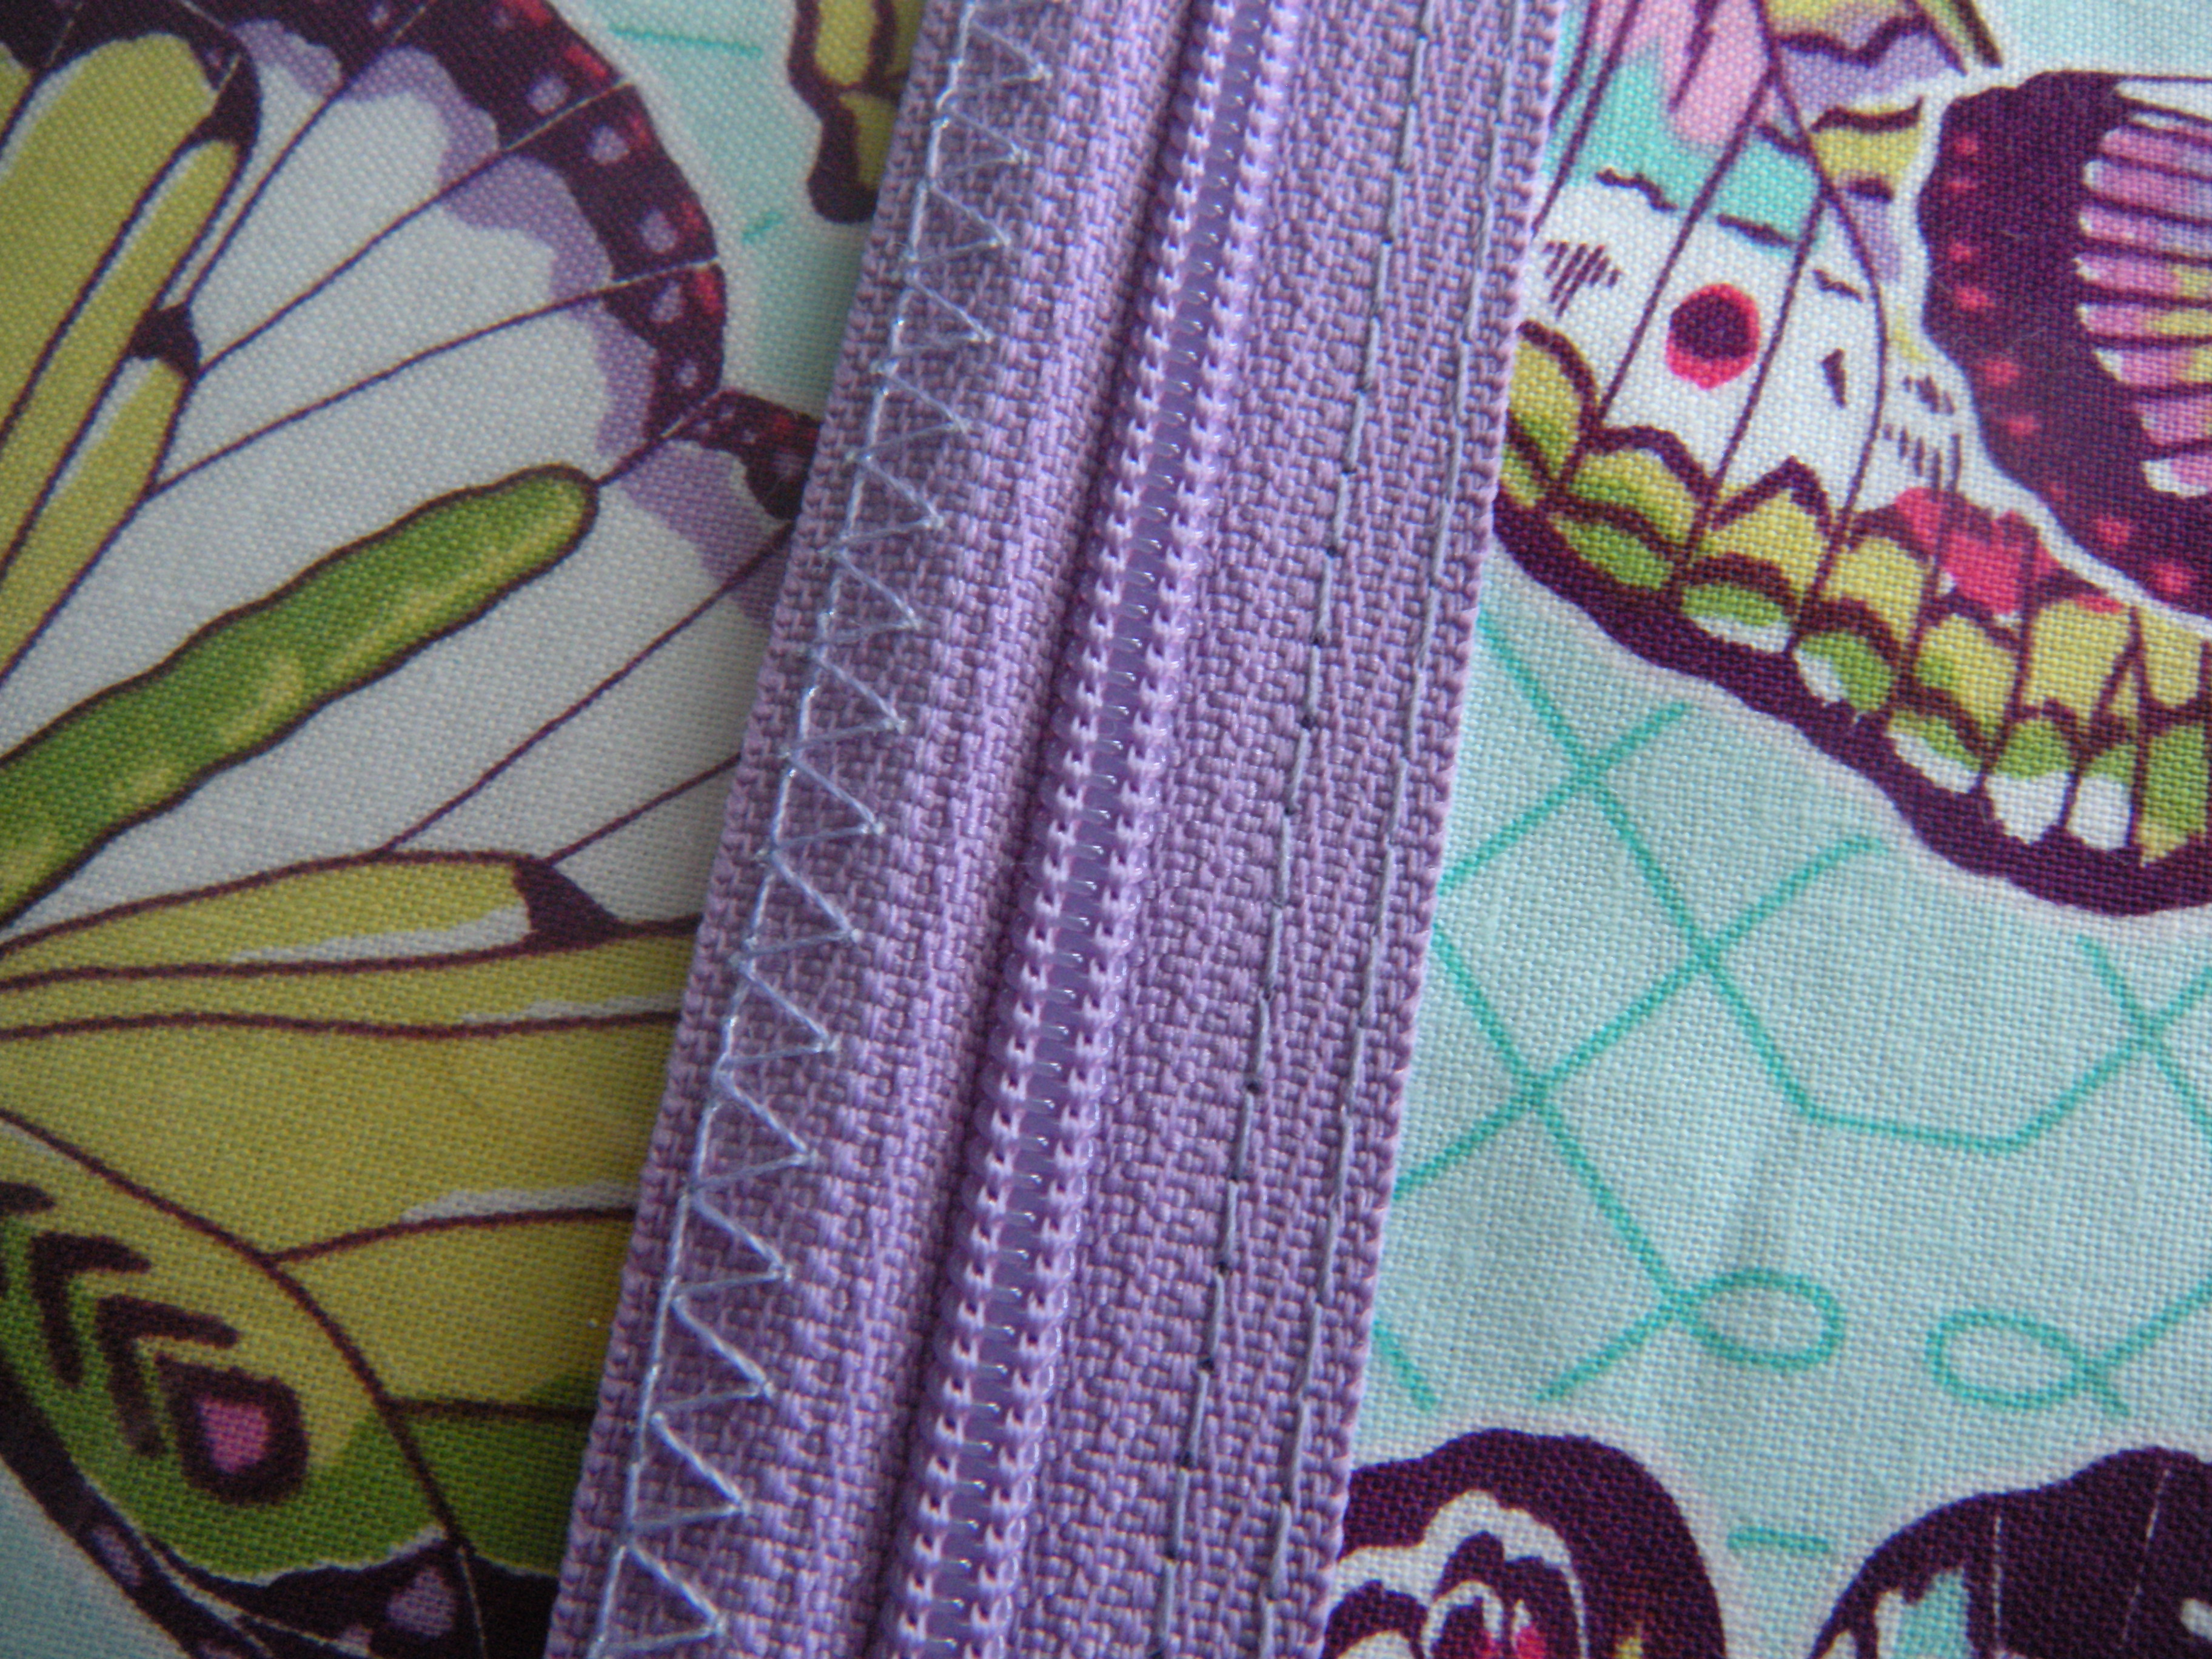

13. Stitch the divider lines for the pockets, backstitching at each end.
14. Trim the excess zipper tapes even with the edges of the interior fabric. DON’T use your good scissors! You know that, right?

Interior borders
15. Clip 18×2″ borders to each long side, right sides facing. Stitch using a 1/2″ seam.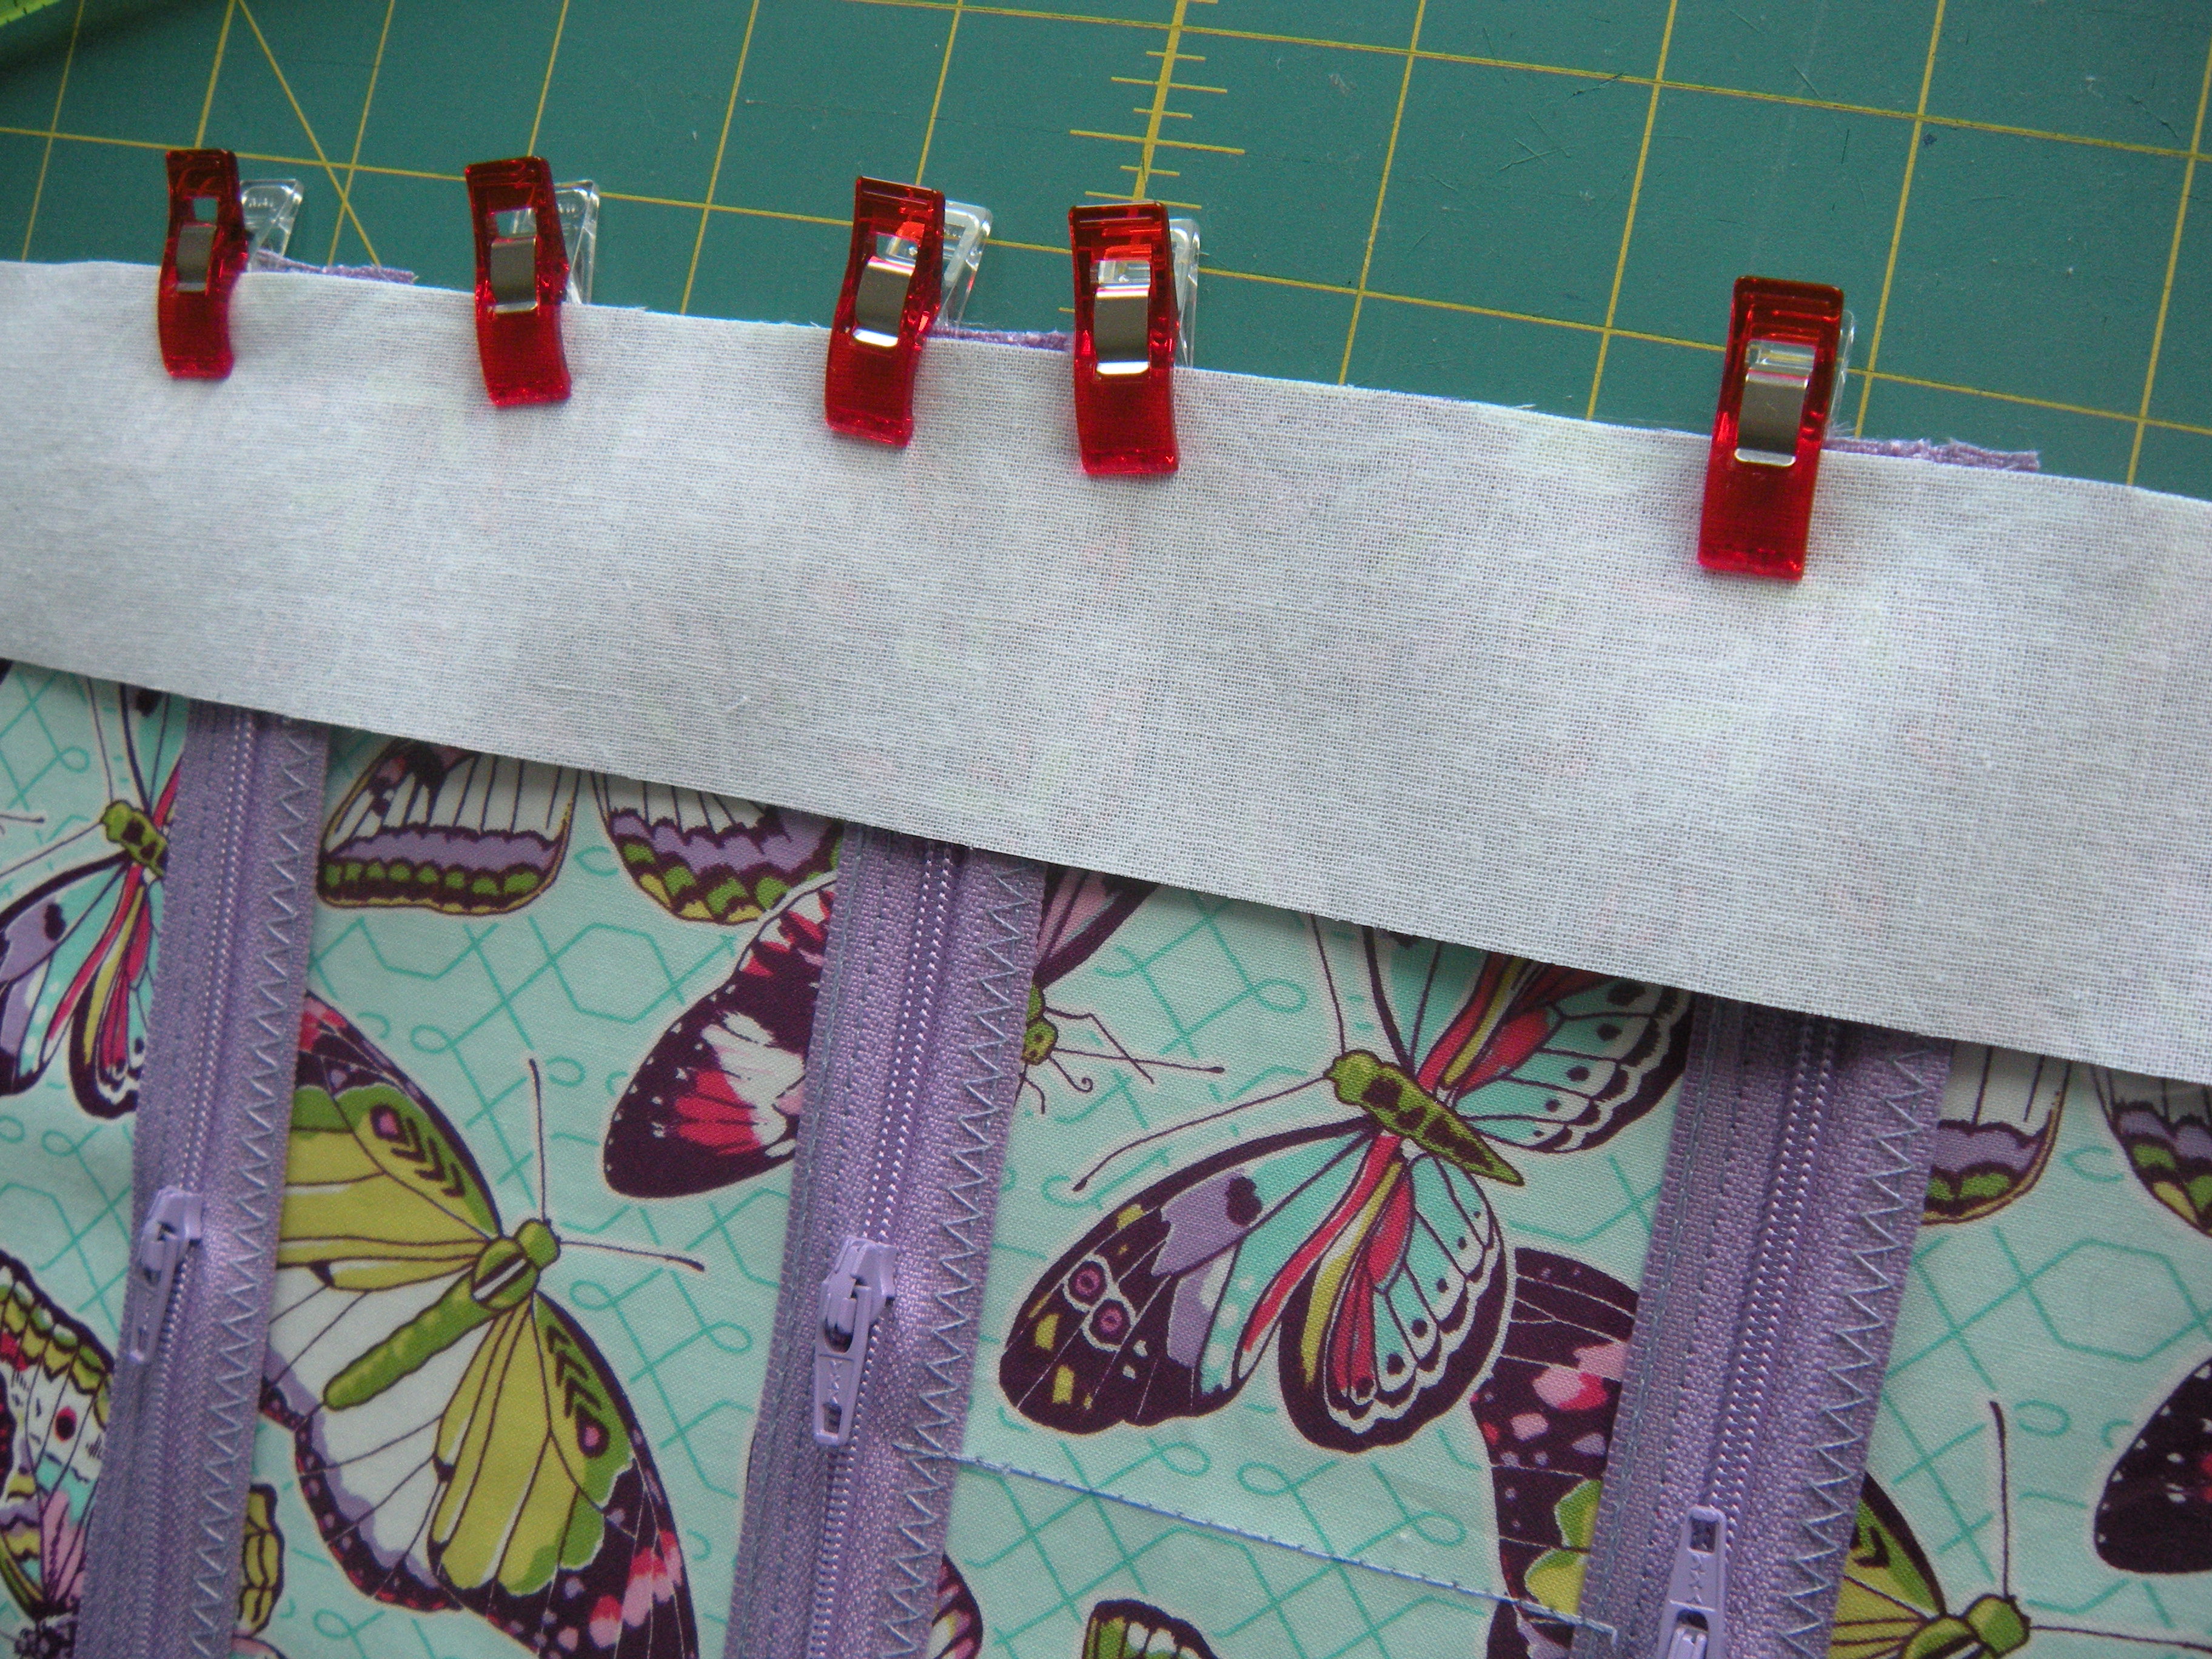
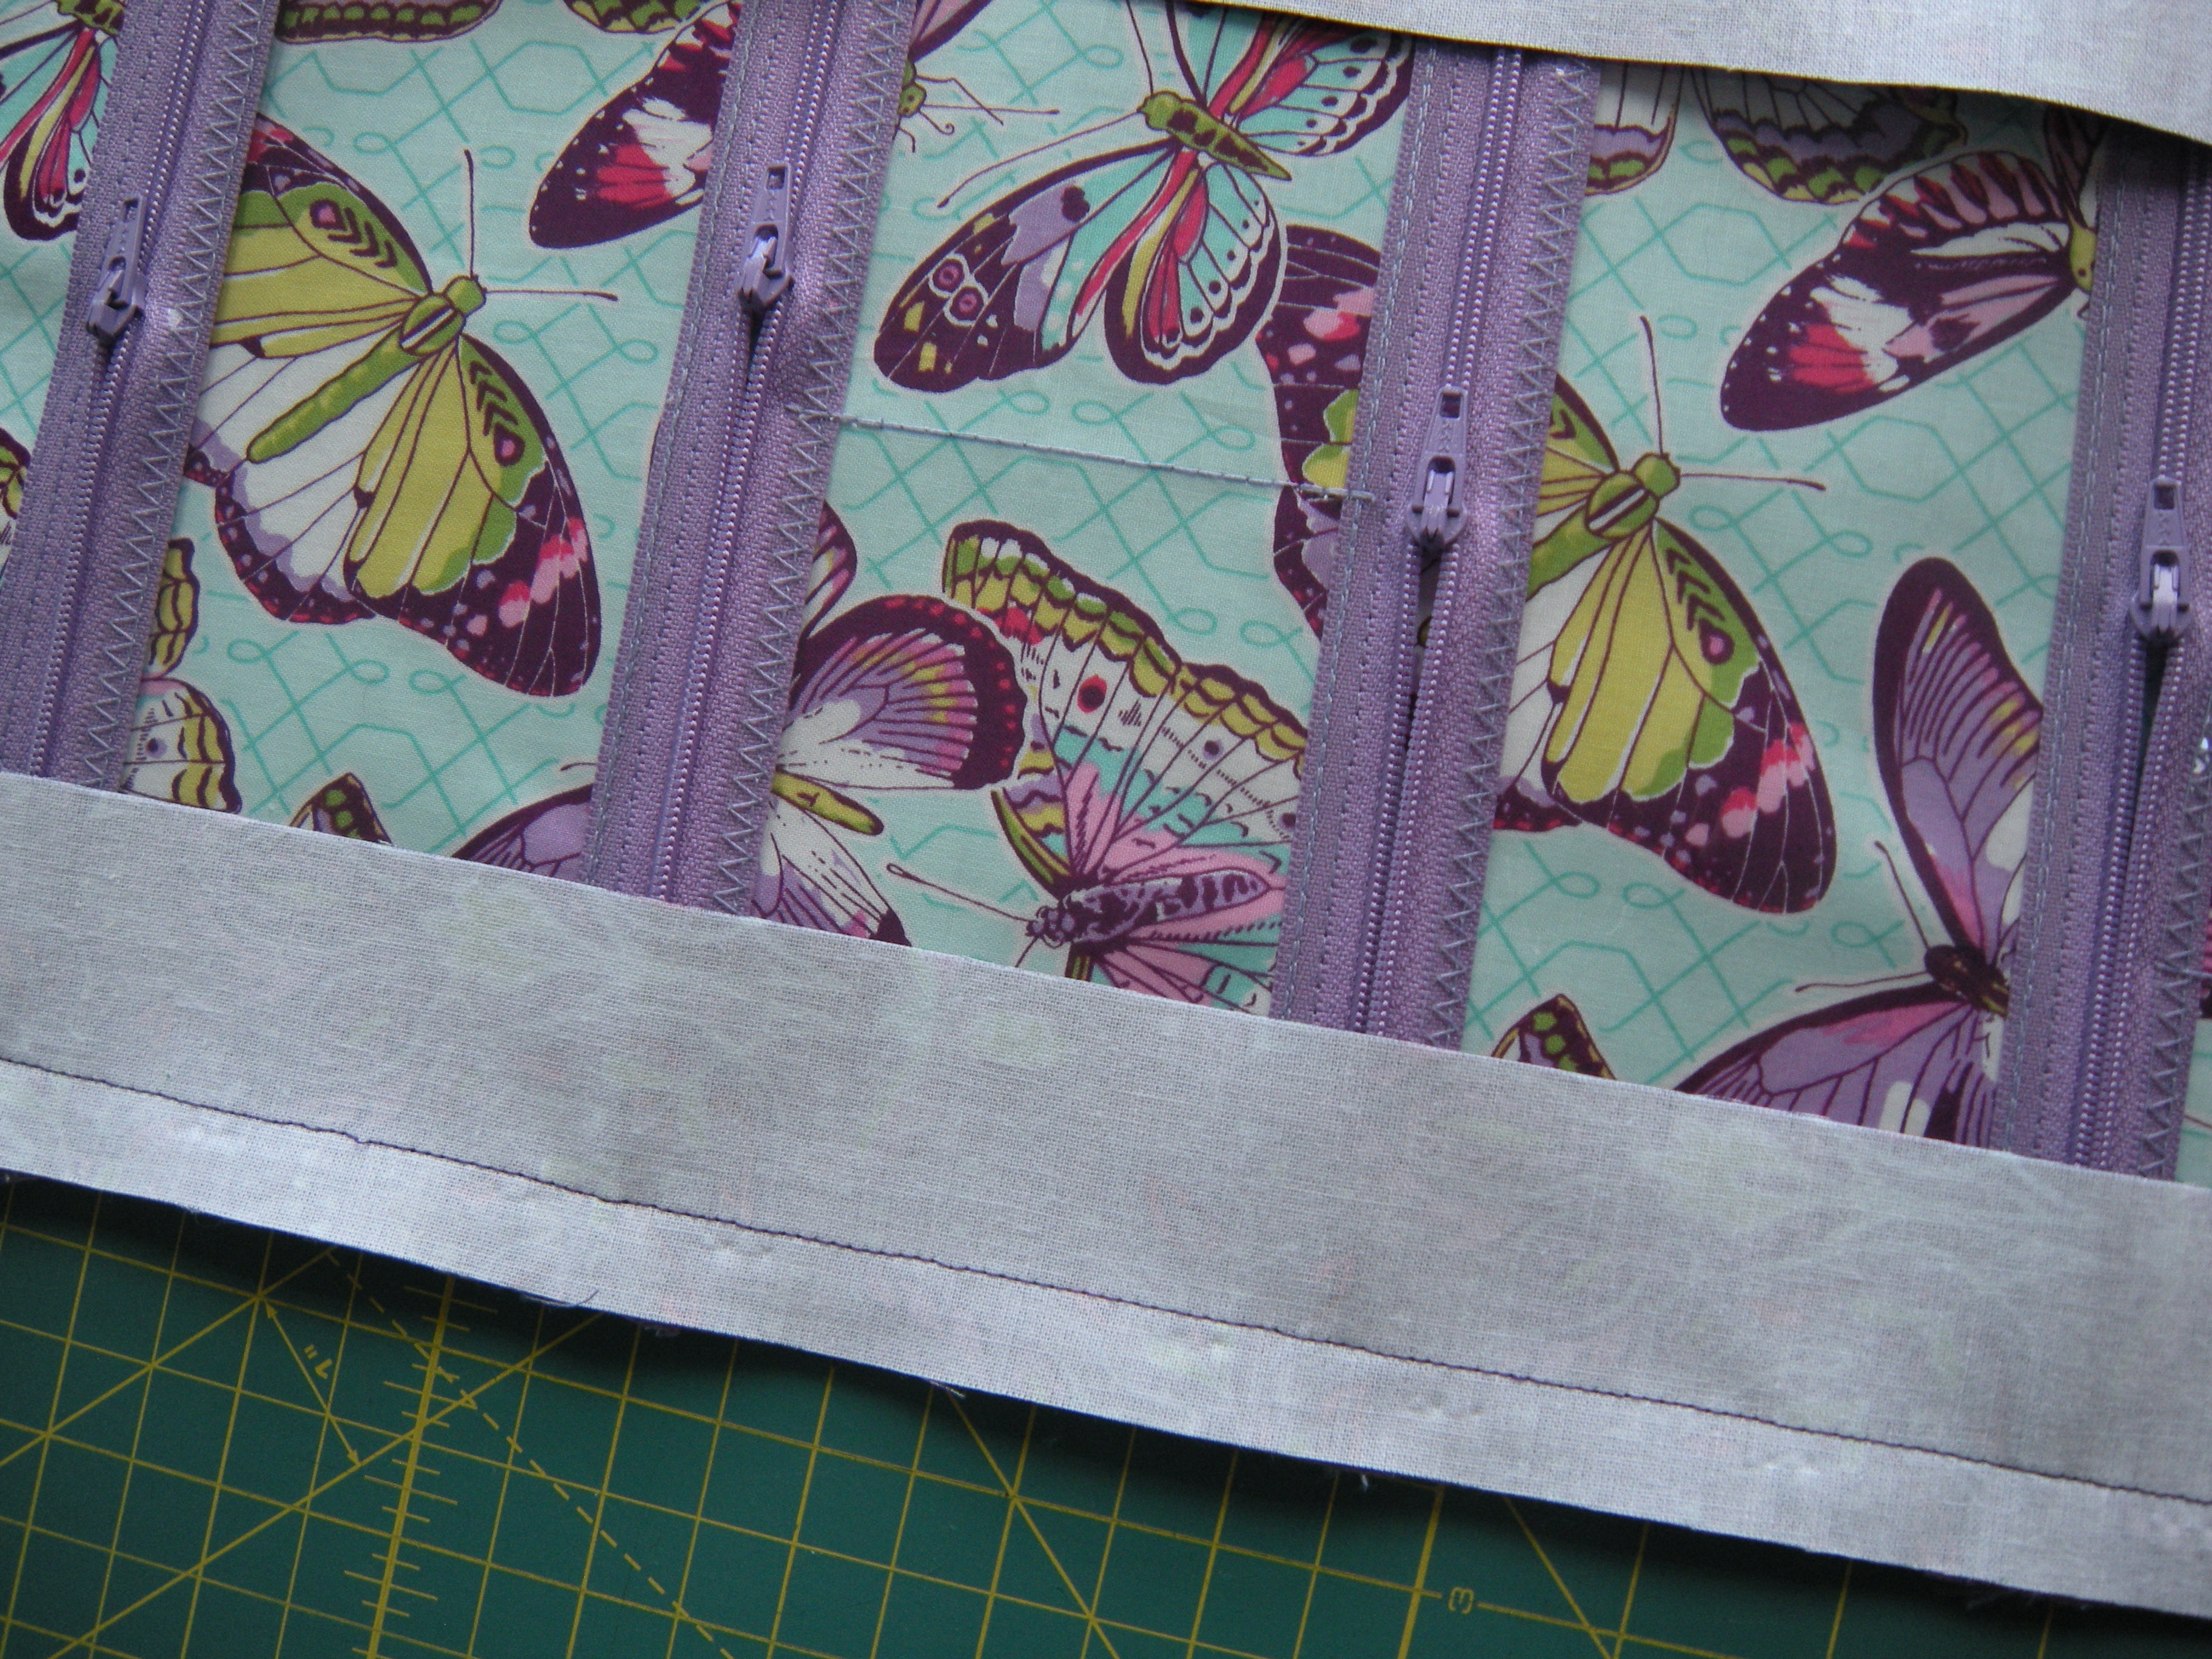
16. CAREFULLY press the borders away from the plastic. Use a press cloth, and make sure you don’t touch your iron to the plastic. Duh.

17. Repeat step 15 and 16 to attach the 11×2″ strips to the top and bottom. Look at this awesome sight! Now we are on to the home stretch!
Assemble the jewelry roll
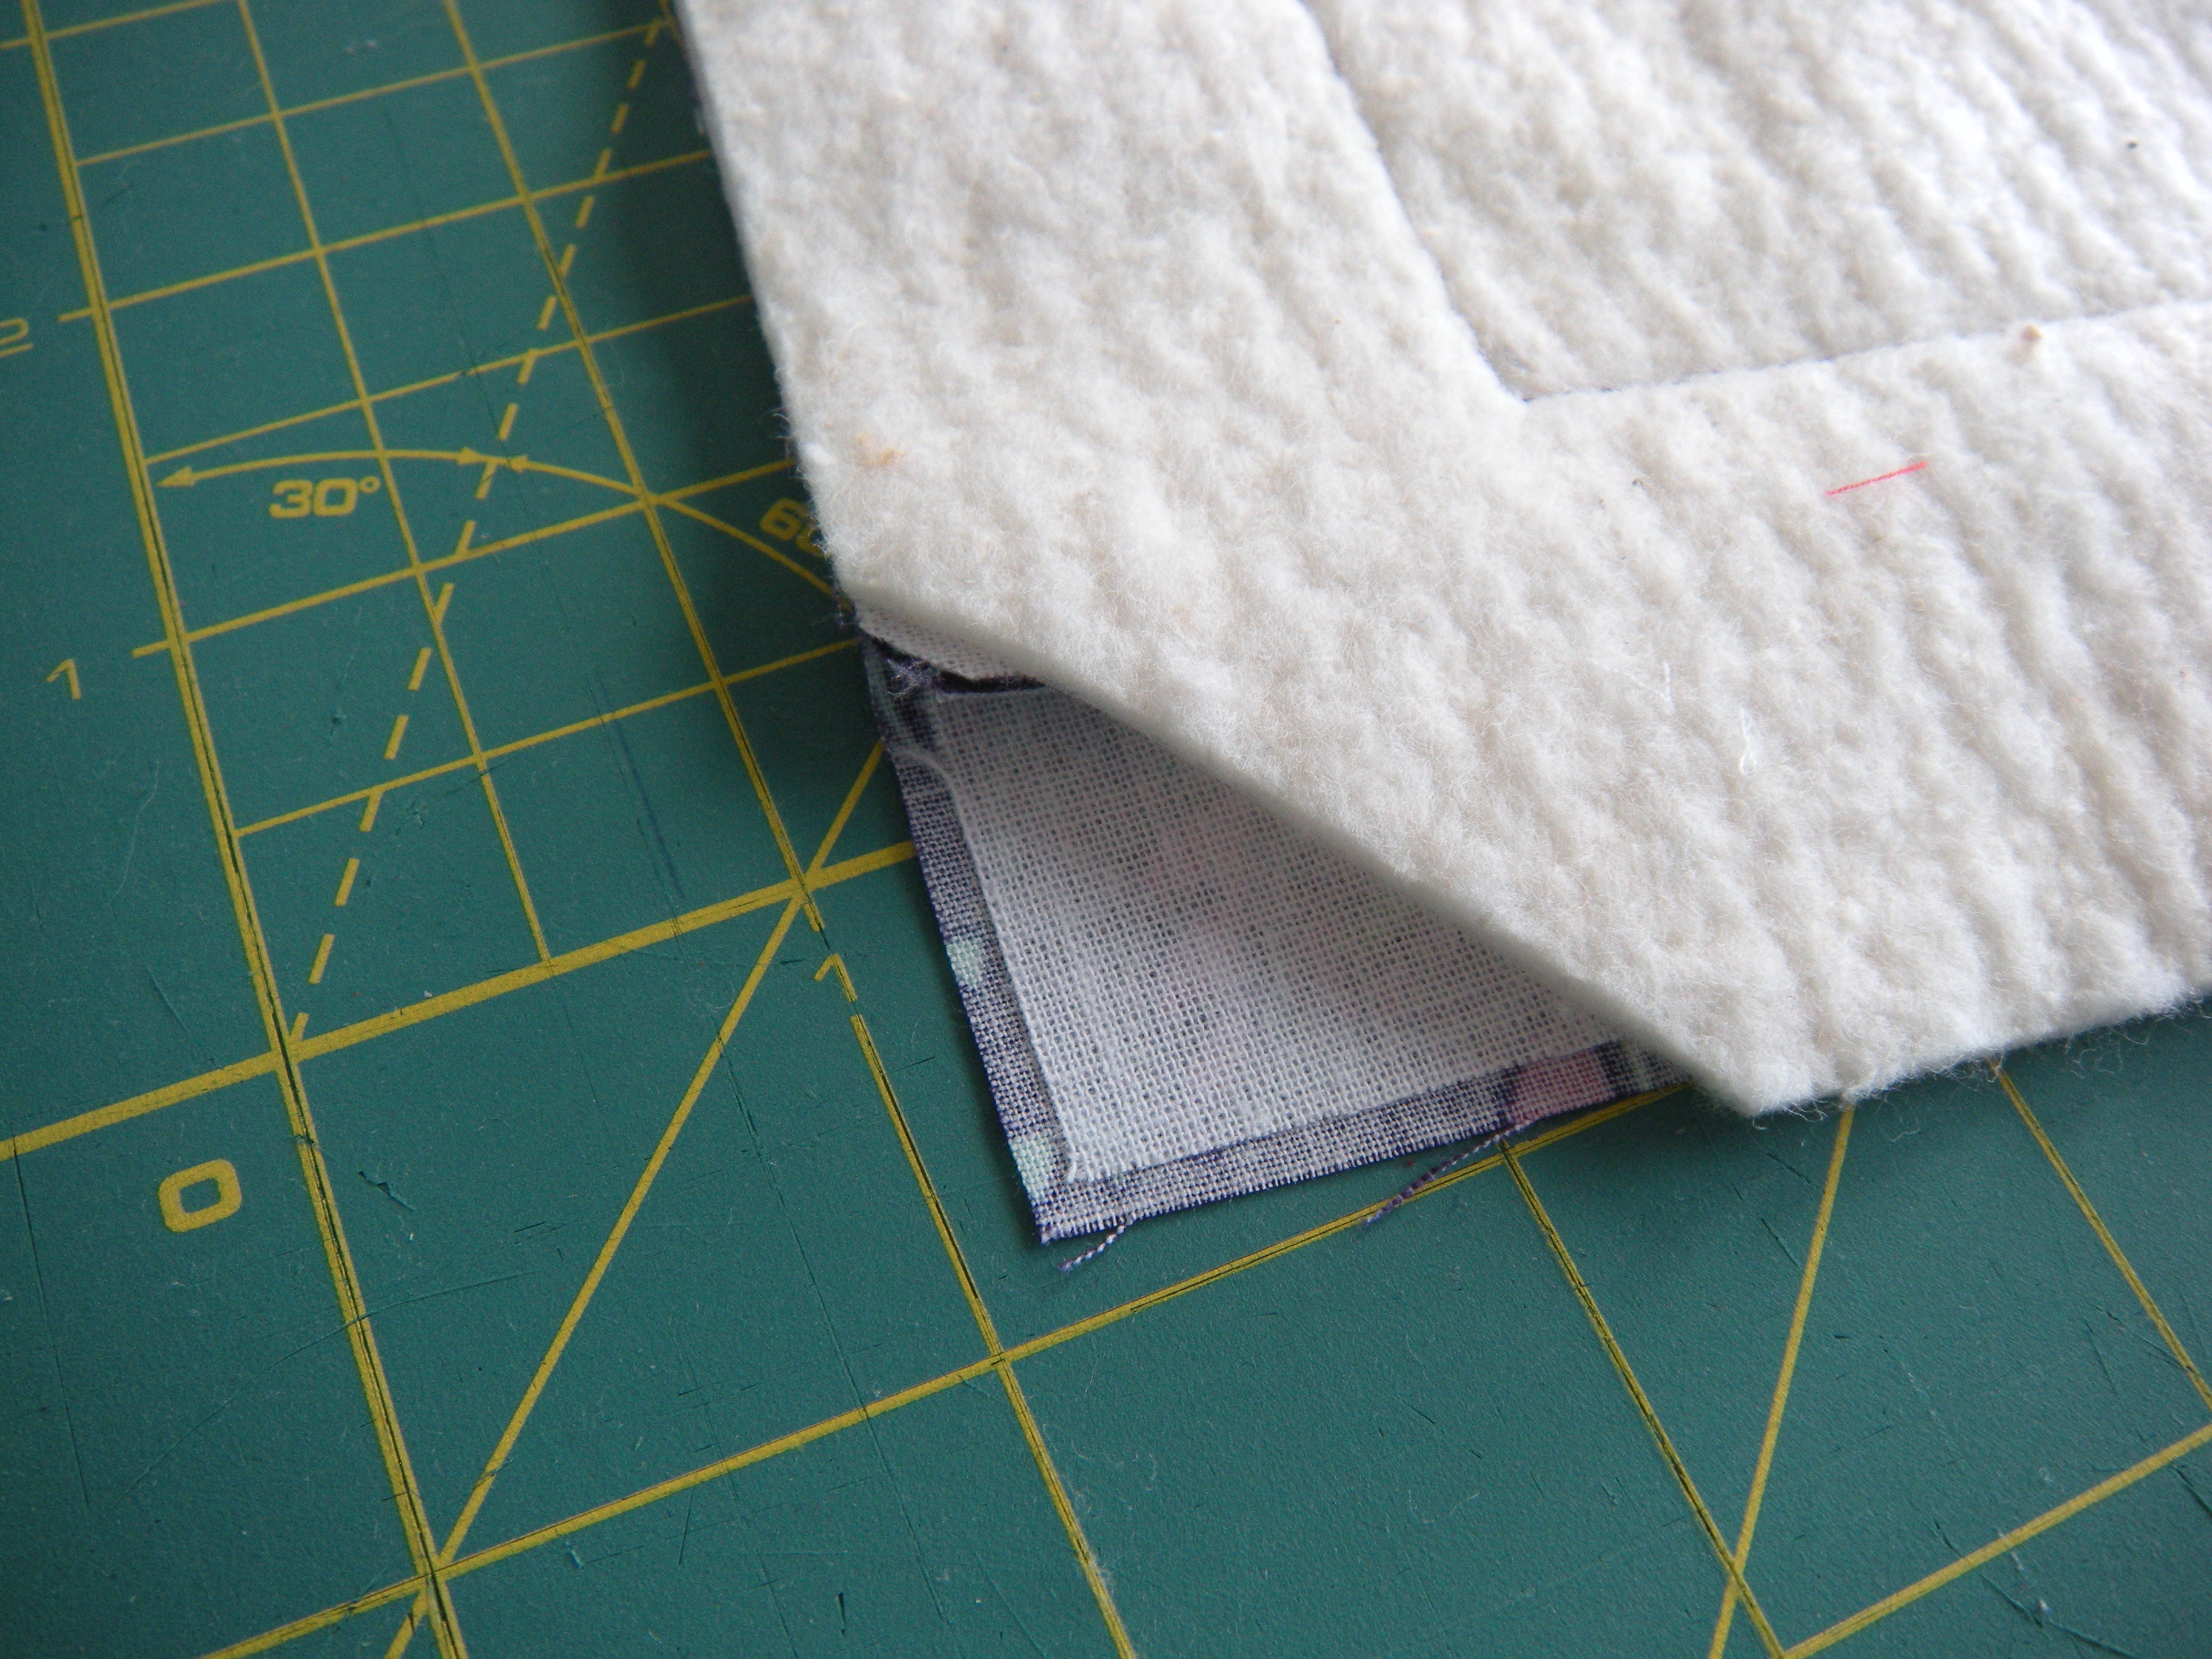
18. Pin one piece of the batting or fleece to the wrong side of the finished interior piece. Stitch in the ditch on all four sides, between the plastic pocket piece and the borders.

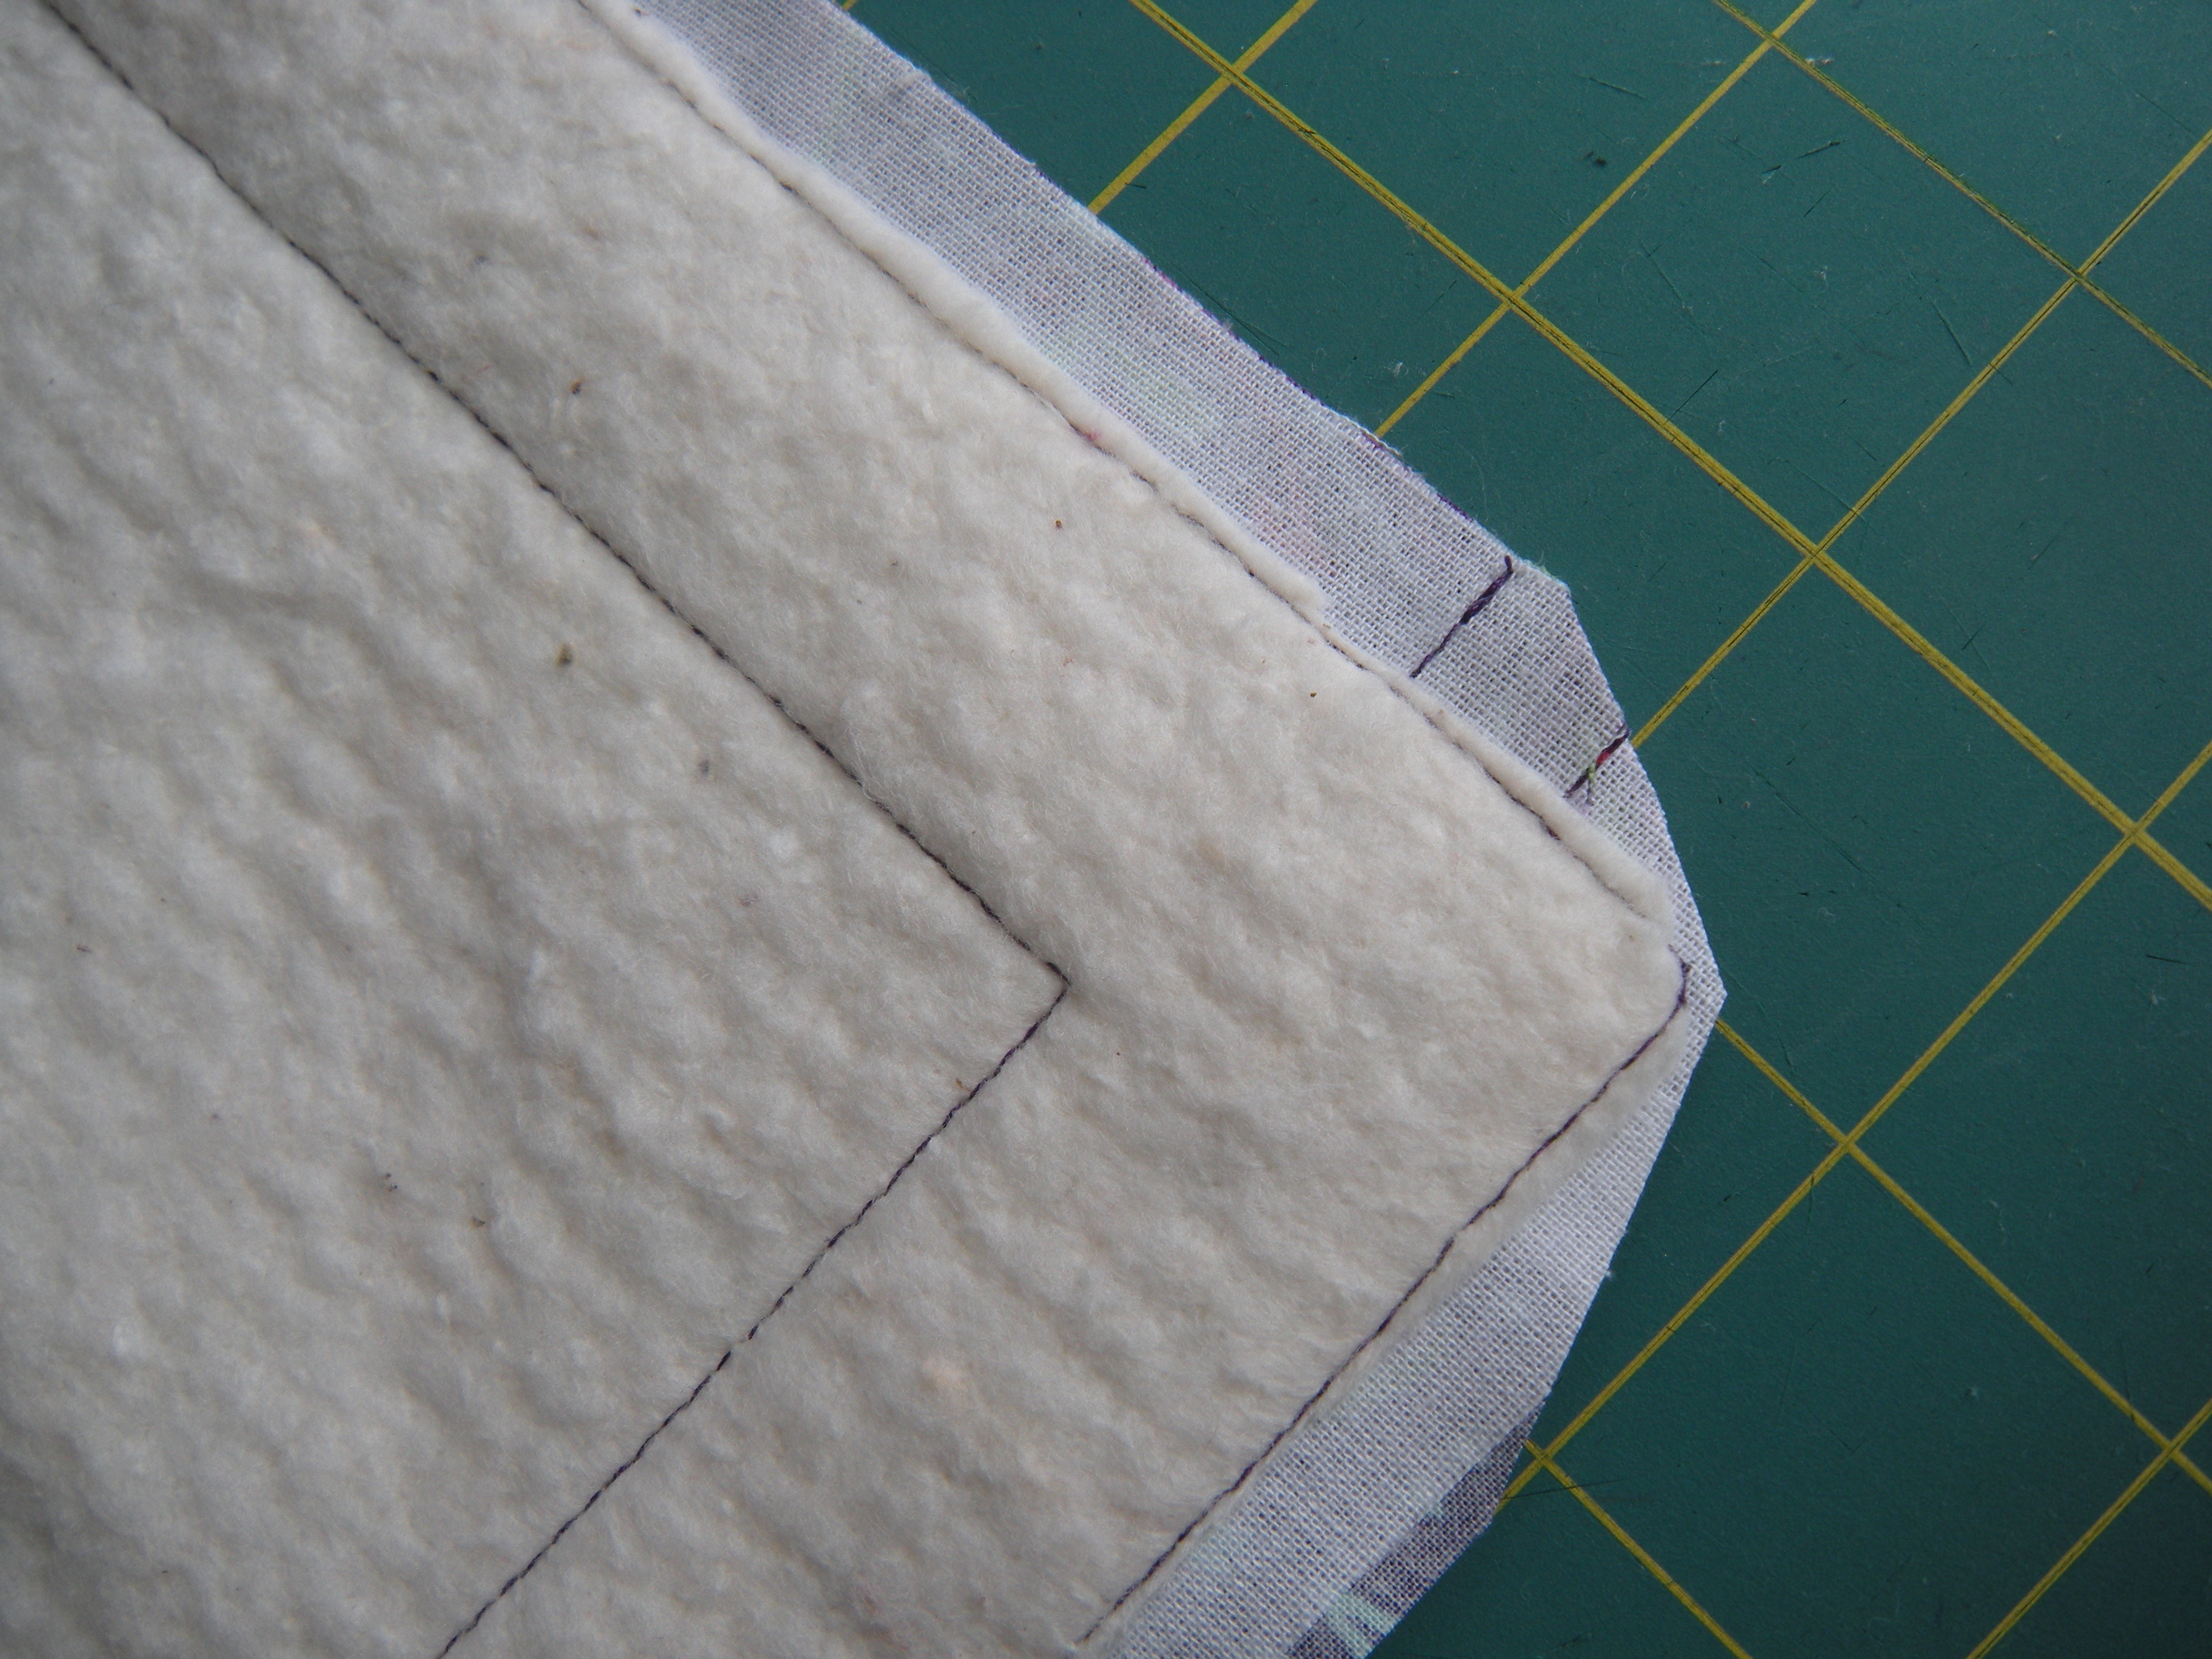
Trim the corners of the batting or fleece to reduce bulk when the roll is assembled. This example shows batting.
19. Grab your jewelry roll exterior. In this photo, you can see that I pieced my exterior.

Trim corners of the batting or fleece and attach batting or fleece to the wrong side of the exterior piece. This photo shows fusible fleece attached to the wrong side of the exterior. At this point you may quilt the exterior if desired.

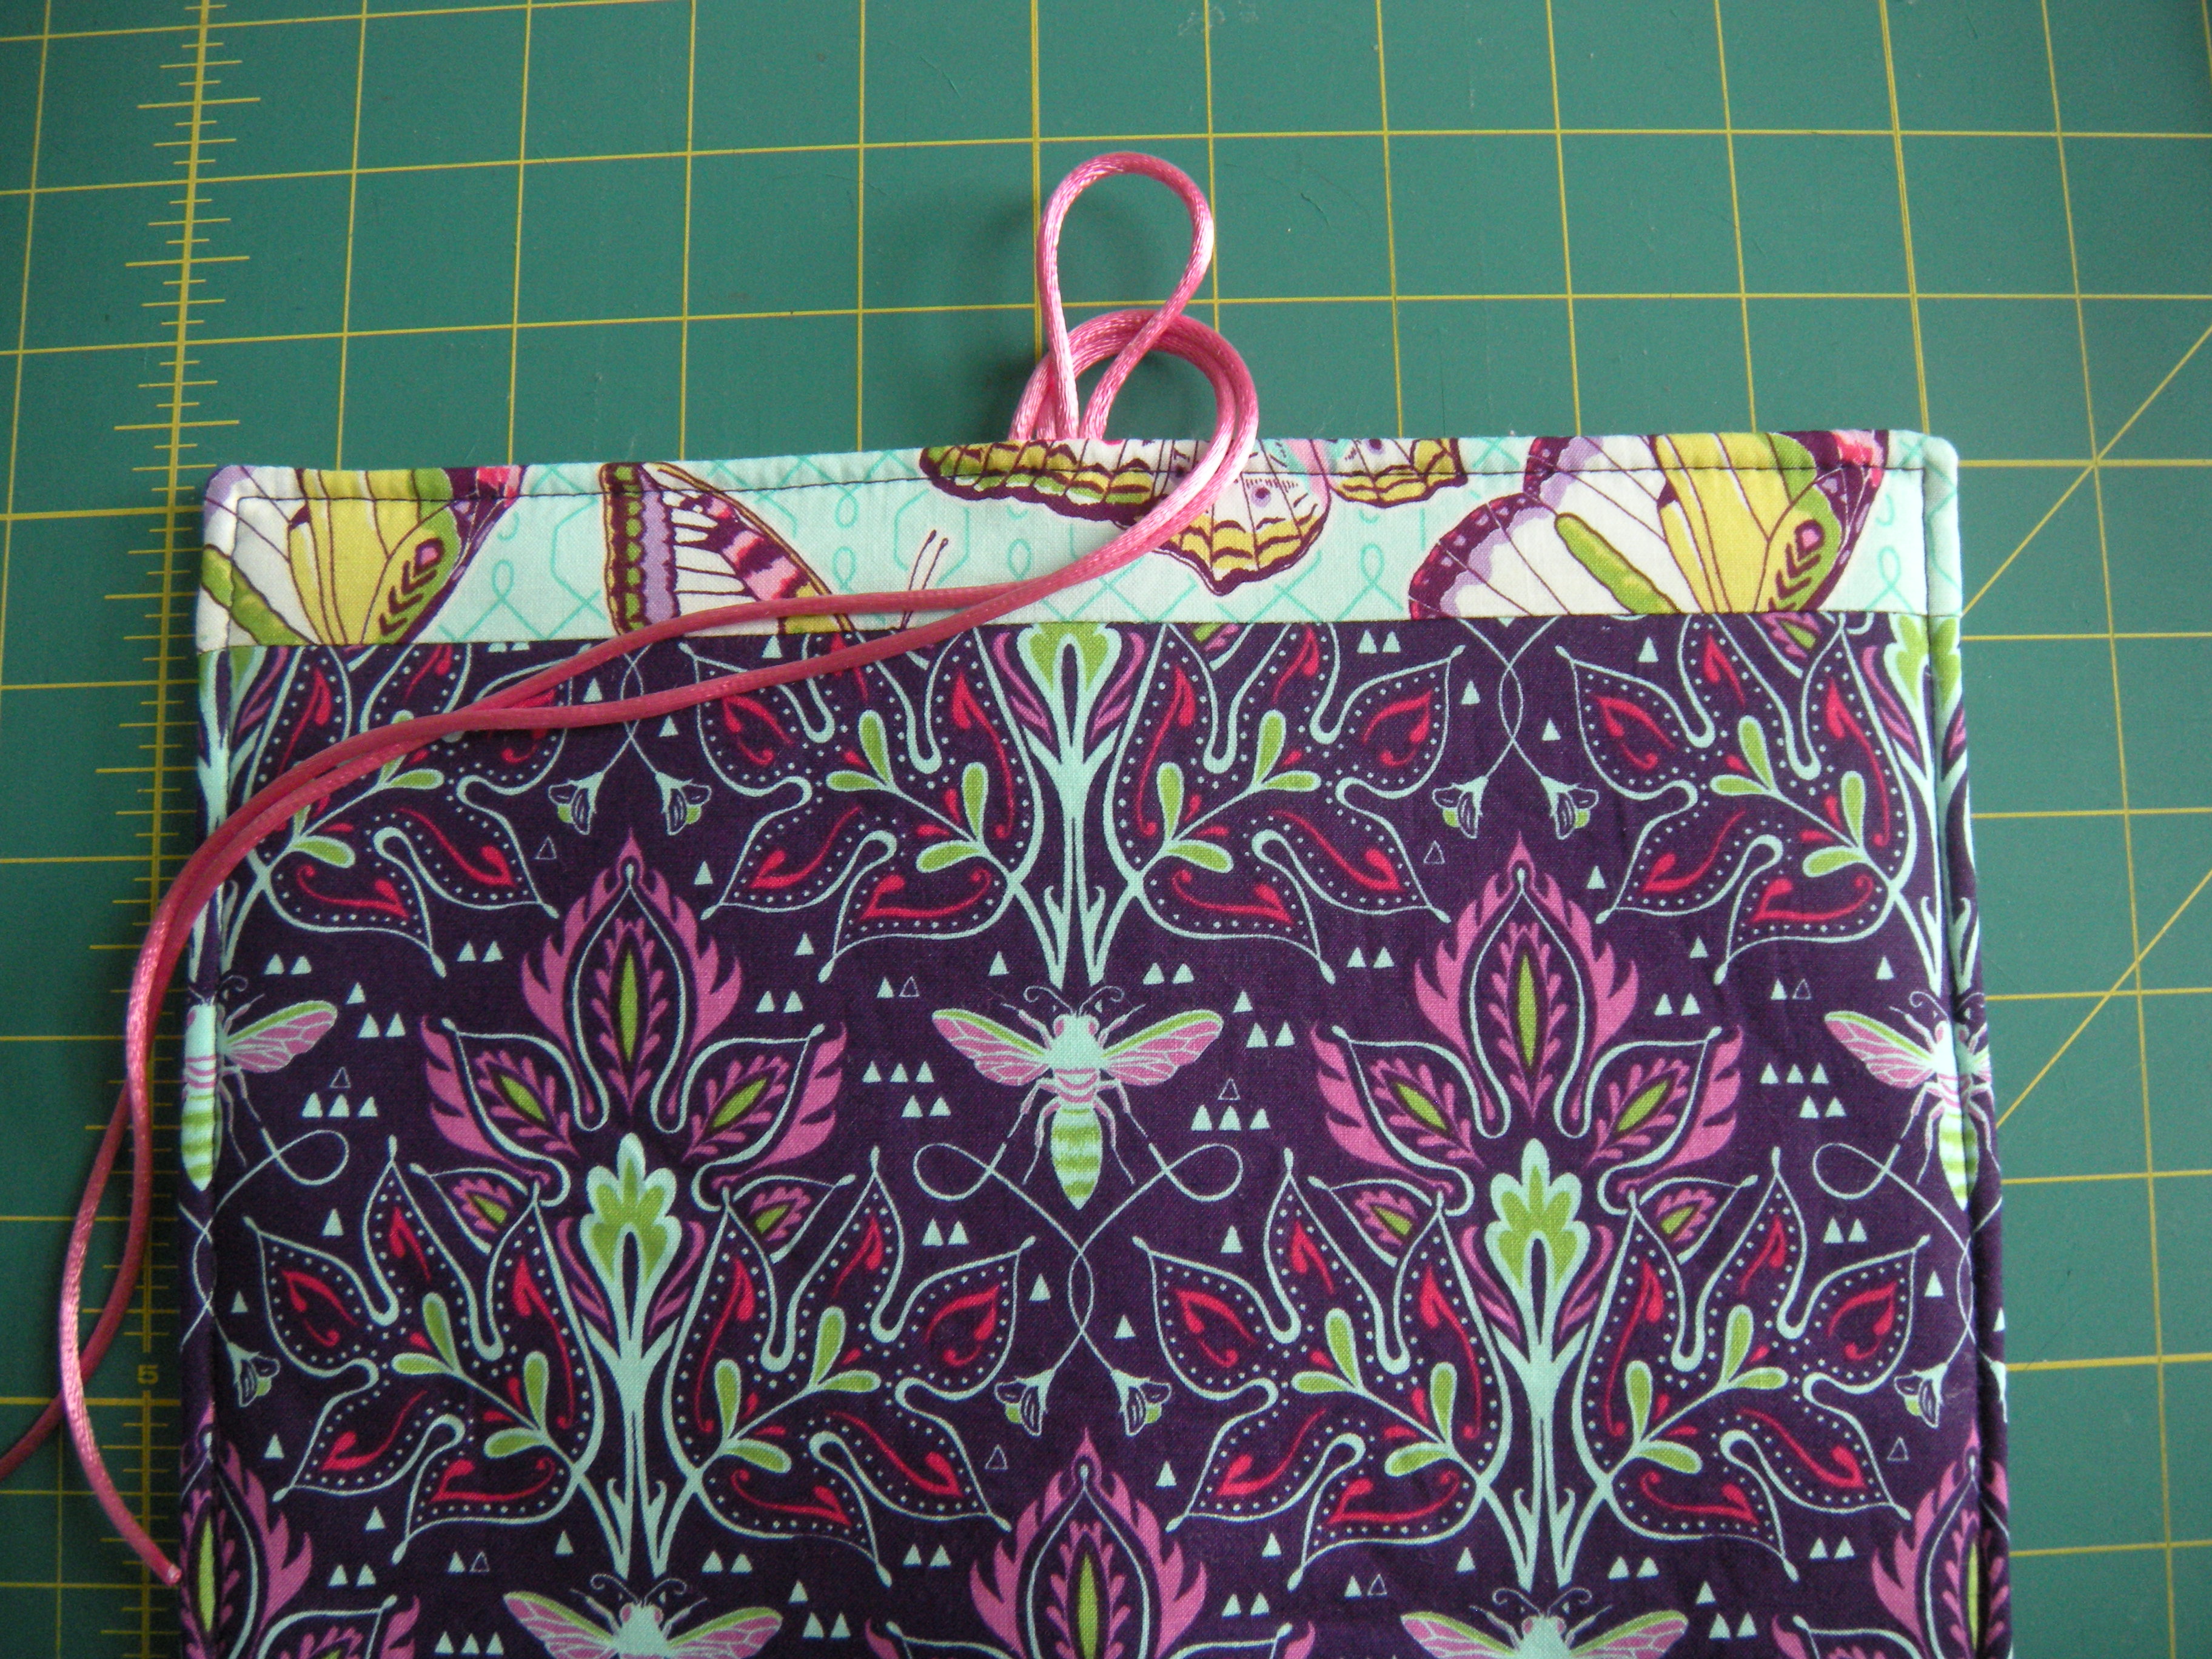
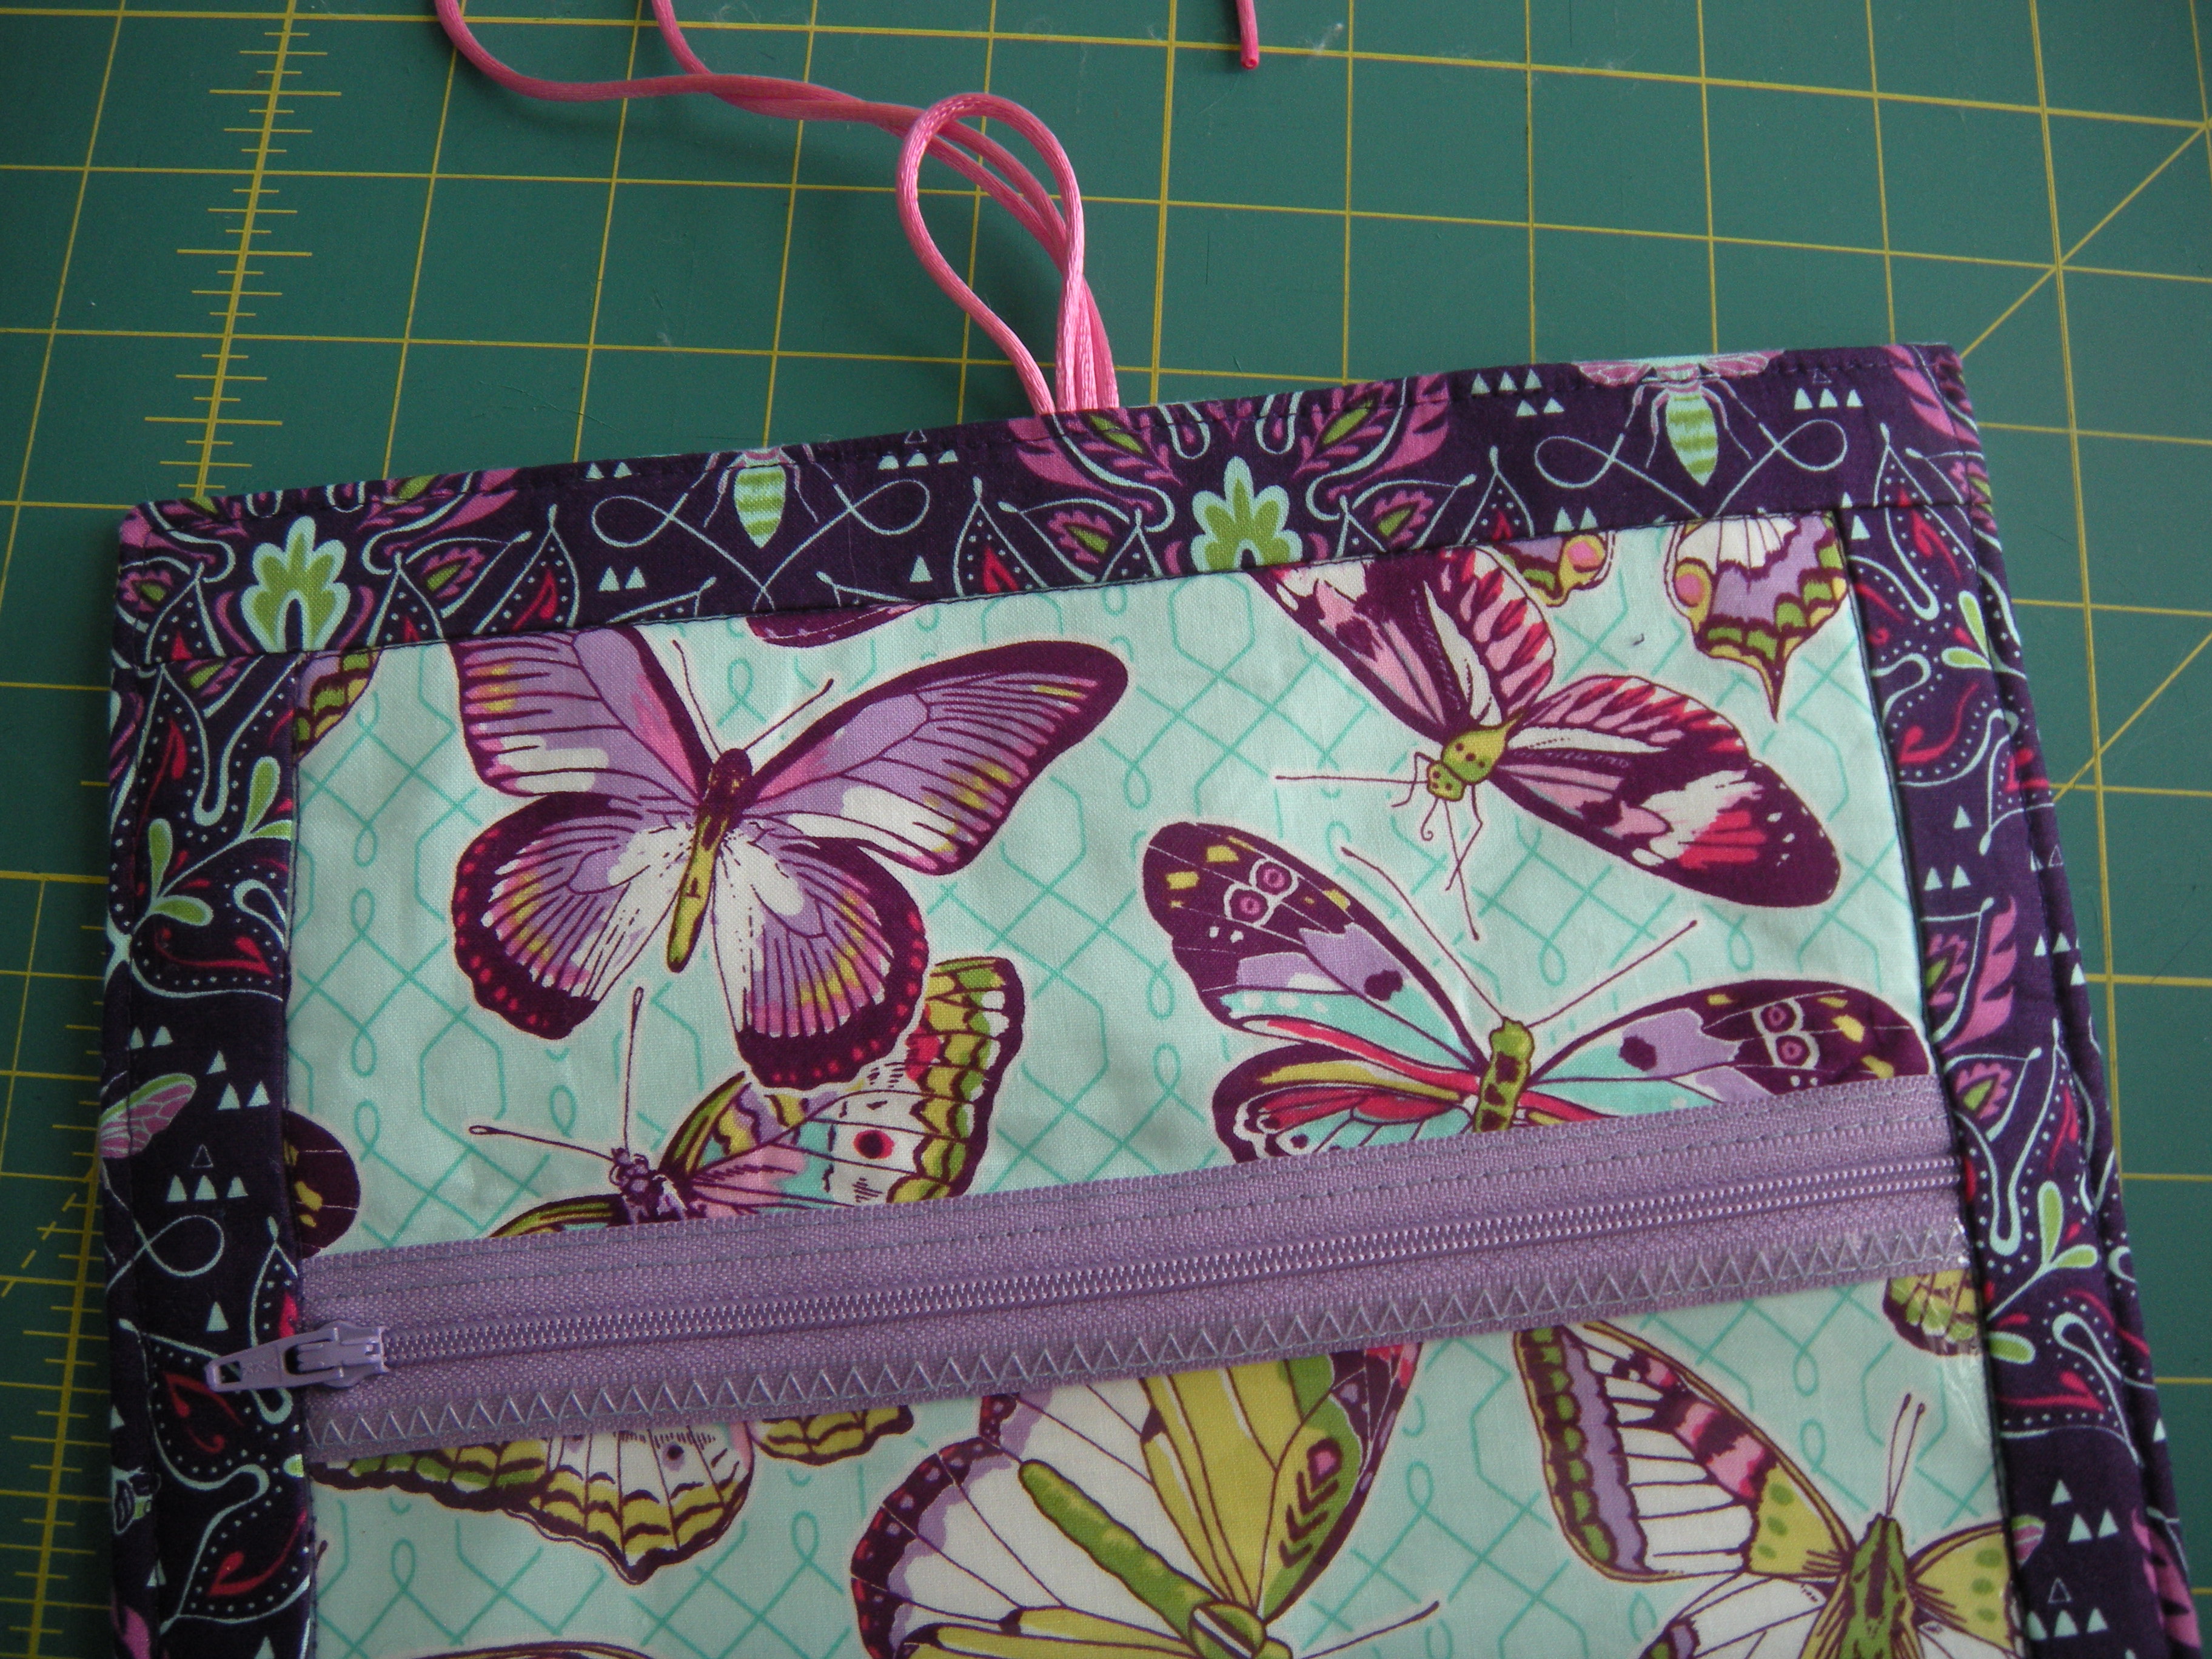
20. Mark the center of the top edge of the exterior piece. Cut one 24″ piece and one 5″ piece of the cord or ribbon. I see rattail cord, and applied fray-check to the raw ends. Fold each cord in half. Place the cut edges of the 5″ cord and the fold of the 24″ cord at the center mark on the top edge. Stitch in place within the seam allowance.

Secure the tie ends to the front piece so they will not get caught in the seams.

21. Pin or clip exterior and interior right sides together.

22. Stitch around edges using 1/2″ seam. Leave a 6-7″ opening on the bottom edge. Make sure to backstitch at the beginning and end. Trim fleece or batting and clip corners.
23. Turn right side out through opening. Press, turning under 1/2″on each side of the opening you left for turning. Topstitch as desired.


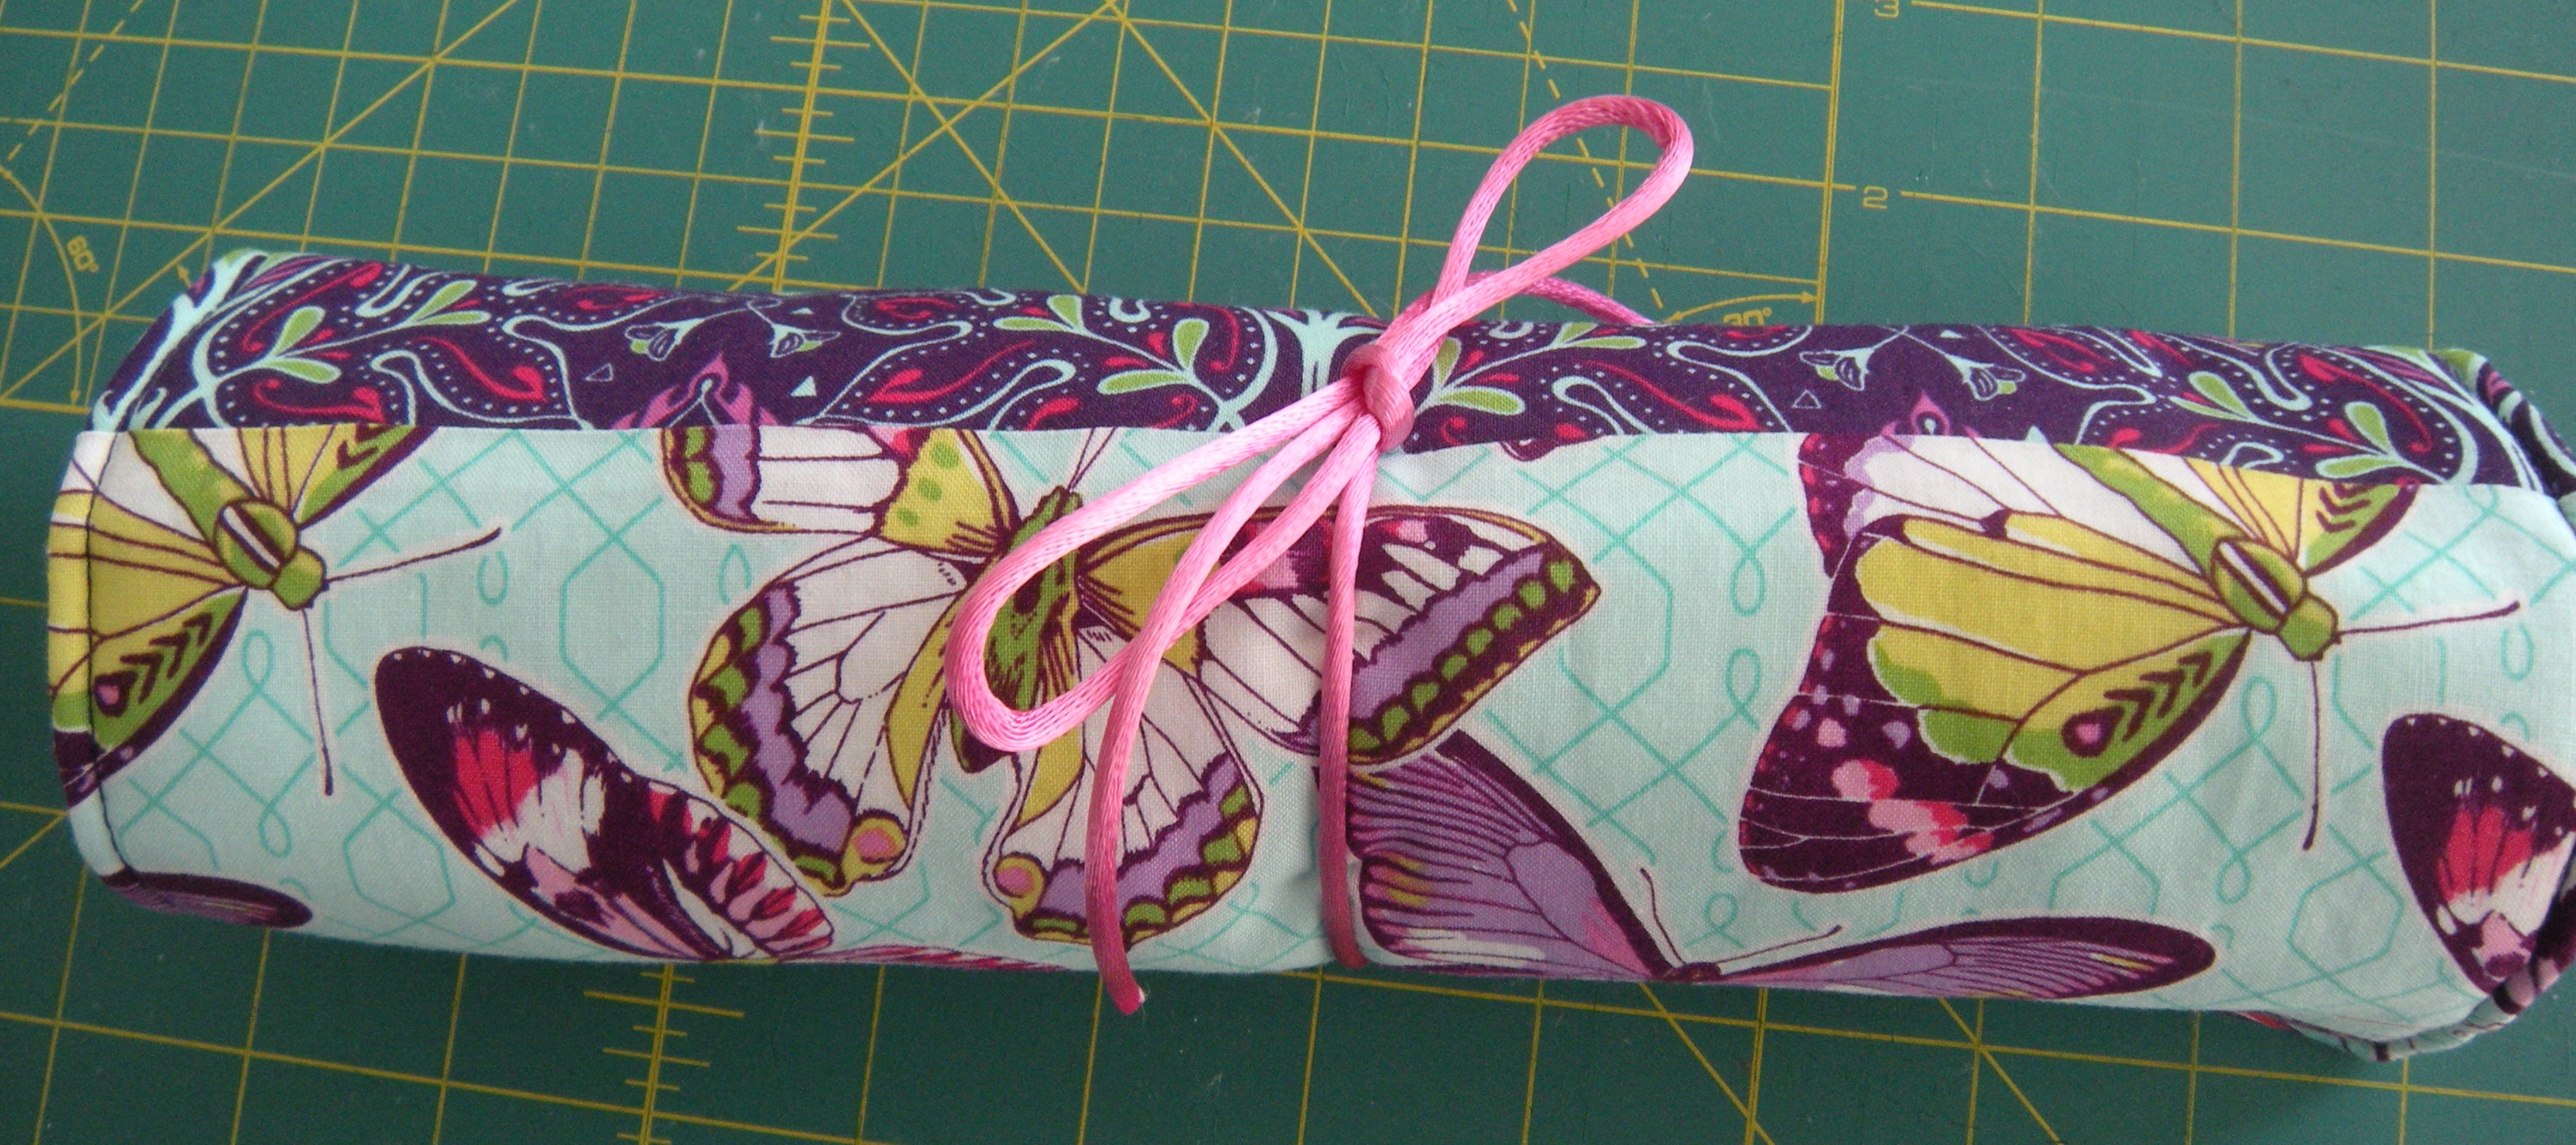

Look at all the stuff you can fit in your new jewelry roll! Now go book a holiday.

Great tutorial. Love the butterflies.
LikeLiked by 1 person
Thanks Linda!
LikeLike