


Gearing up for a big trip? My jewelry usually it ends up in a tangle at the bottom of a small bag. Mischief managed.
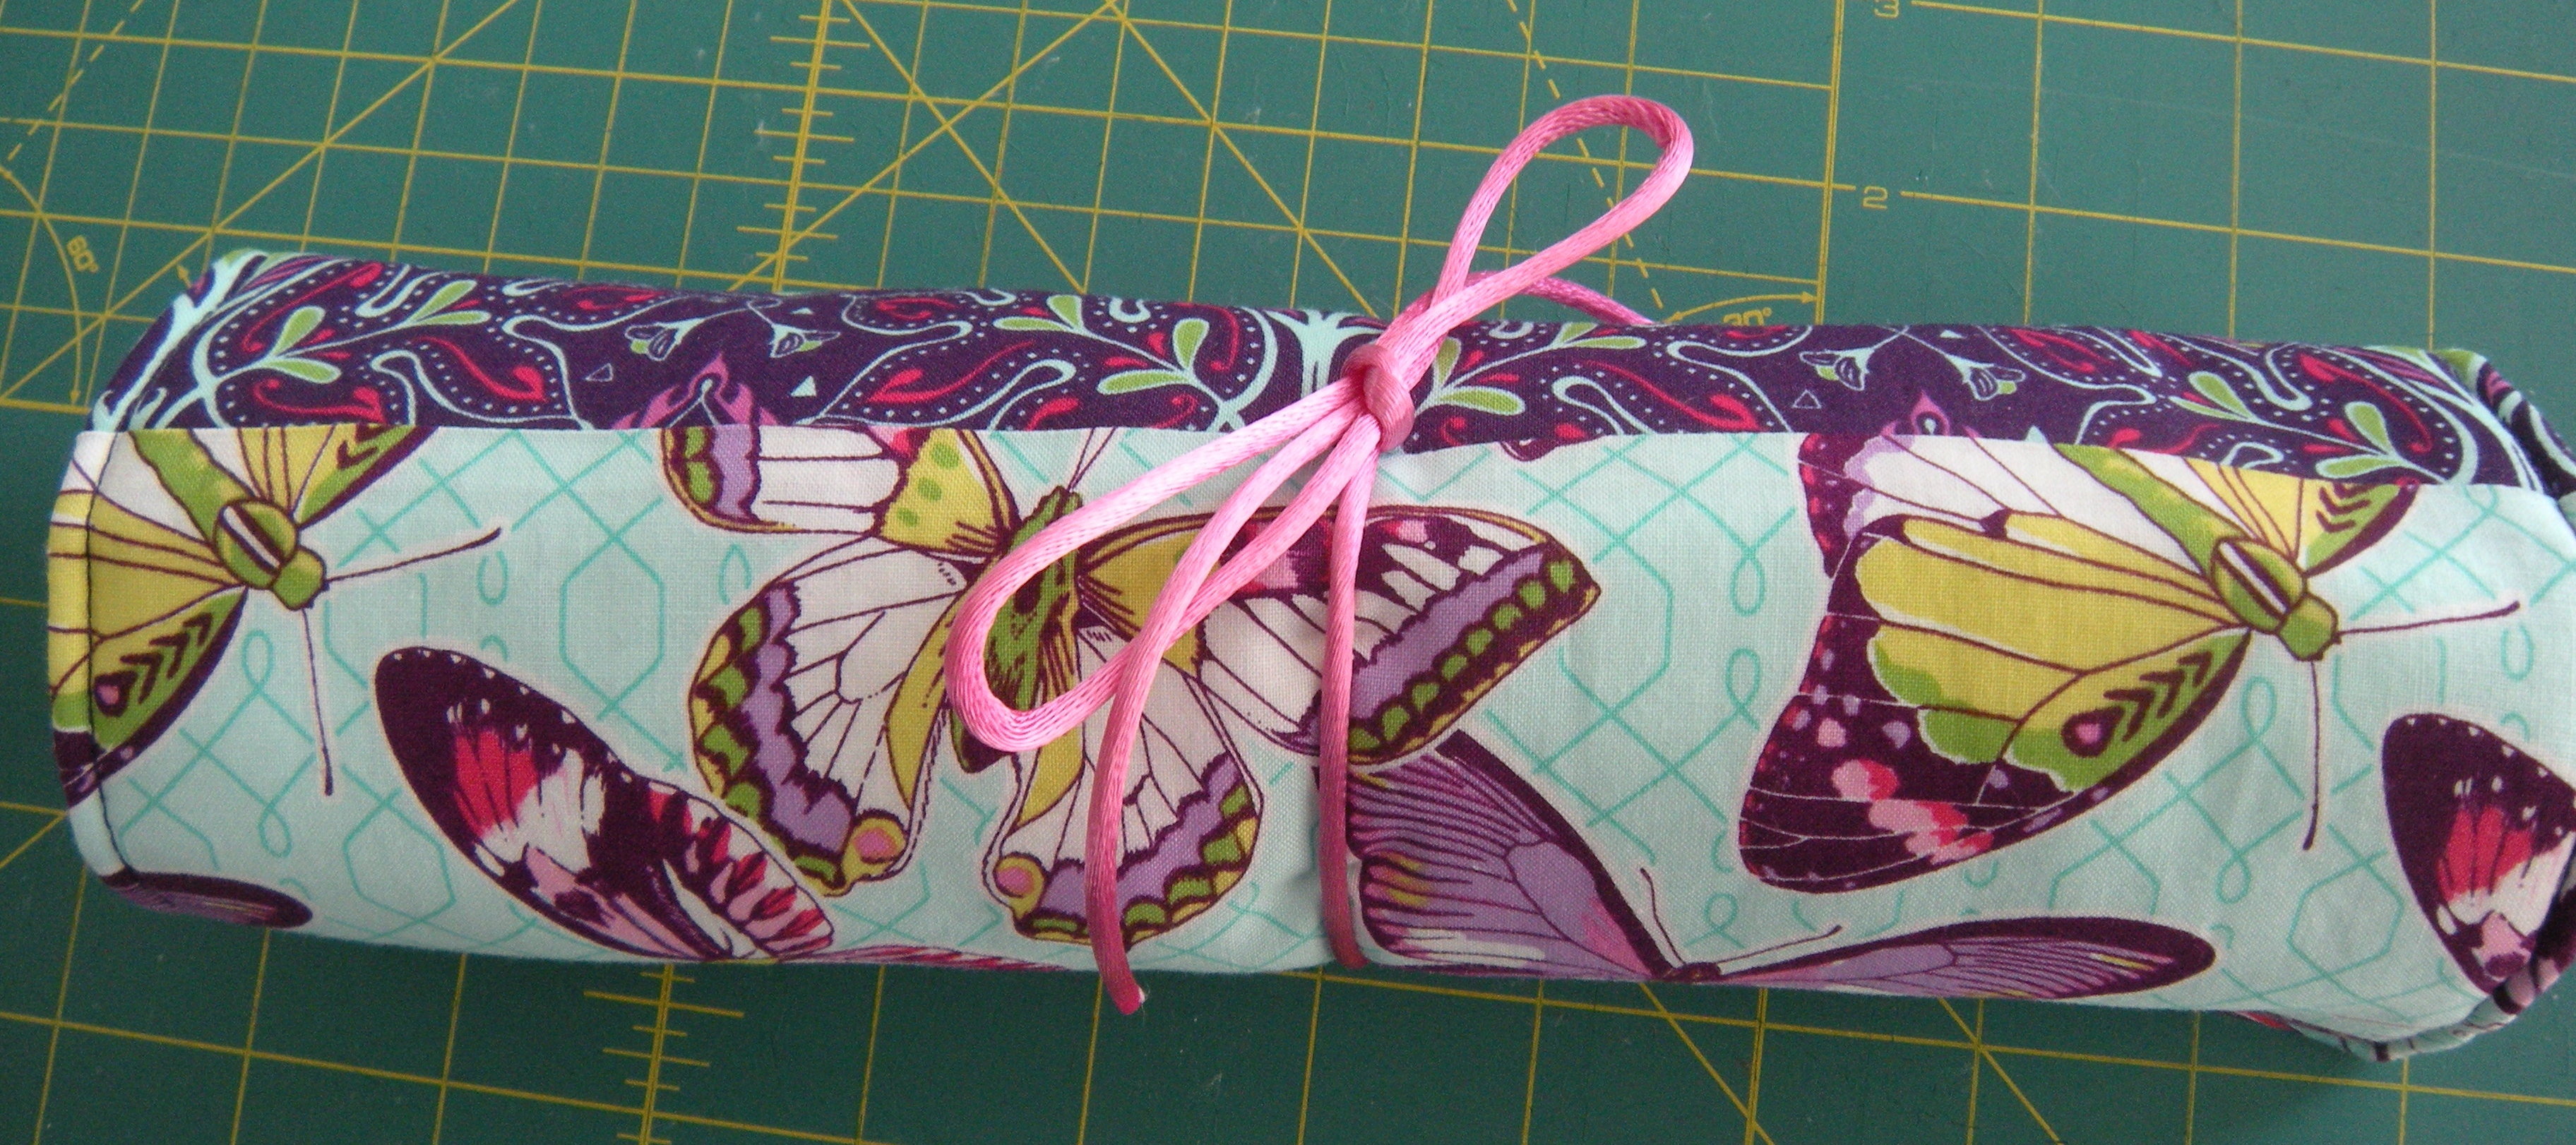
This jewelry roll is easy to make, looks great, and has just enough padding to keep all that pokey jewelry safe. The plastic compartments make it easy to see everything you stuffed in there.
Because I like to include so many pictures, hopefully to make the steps clearer, this post is getting really long. I will publish part two of this tutorial tomorrow.
Let’s gather up some supplies, and you can make your own! This project is fat quarter friendly. Here’s what you need:
- fat quarter exterior fabric (*see note in cutting instructions)
- fat quarter interior fabric
- 3/8 yard thin, supple plastic, like the stuff used for table covers or beautiful sofa protectors
- iron-on interfacing ( I use Pellon Shape-flex)
- regular or fusible fleece or batting
- 29″ cord or ribbon for the ties
- 4 zippers, 12″ or longer
- Teflon foot for your sewing machine (not required, but your life will be much easier)
- all the usual suspects for sewing
Cutting instructions:
interior fabric – cut one 9×18
exterior fabric – cut one 11×20, one 4×18, one 4×11 (*note: if you are using a fat quarter, you will need to cut one or both of the border pieces from the interior fabric OR piece the exterior, as I did in the purple example)
interfacing – cut one 9×18, one 4×18, one 4×11
plastic – cut one 9x 13-3/4

Construction:
- Attach interfacing, following manufacturer’s instructions, to the interior fabric and the exterior 4×18 and 4×11 pieces. Cut the fused 4×18 piece in half to make 2 – 2×18 pieces. Cut the fused 4×11 piece in half to make 2 – 2×11 pieces. Set aside.
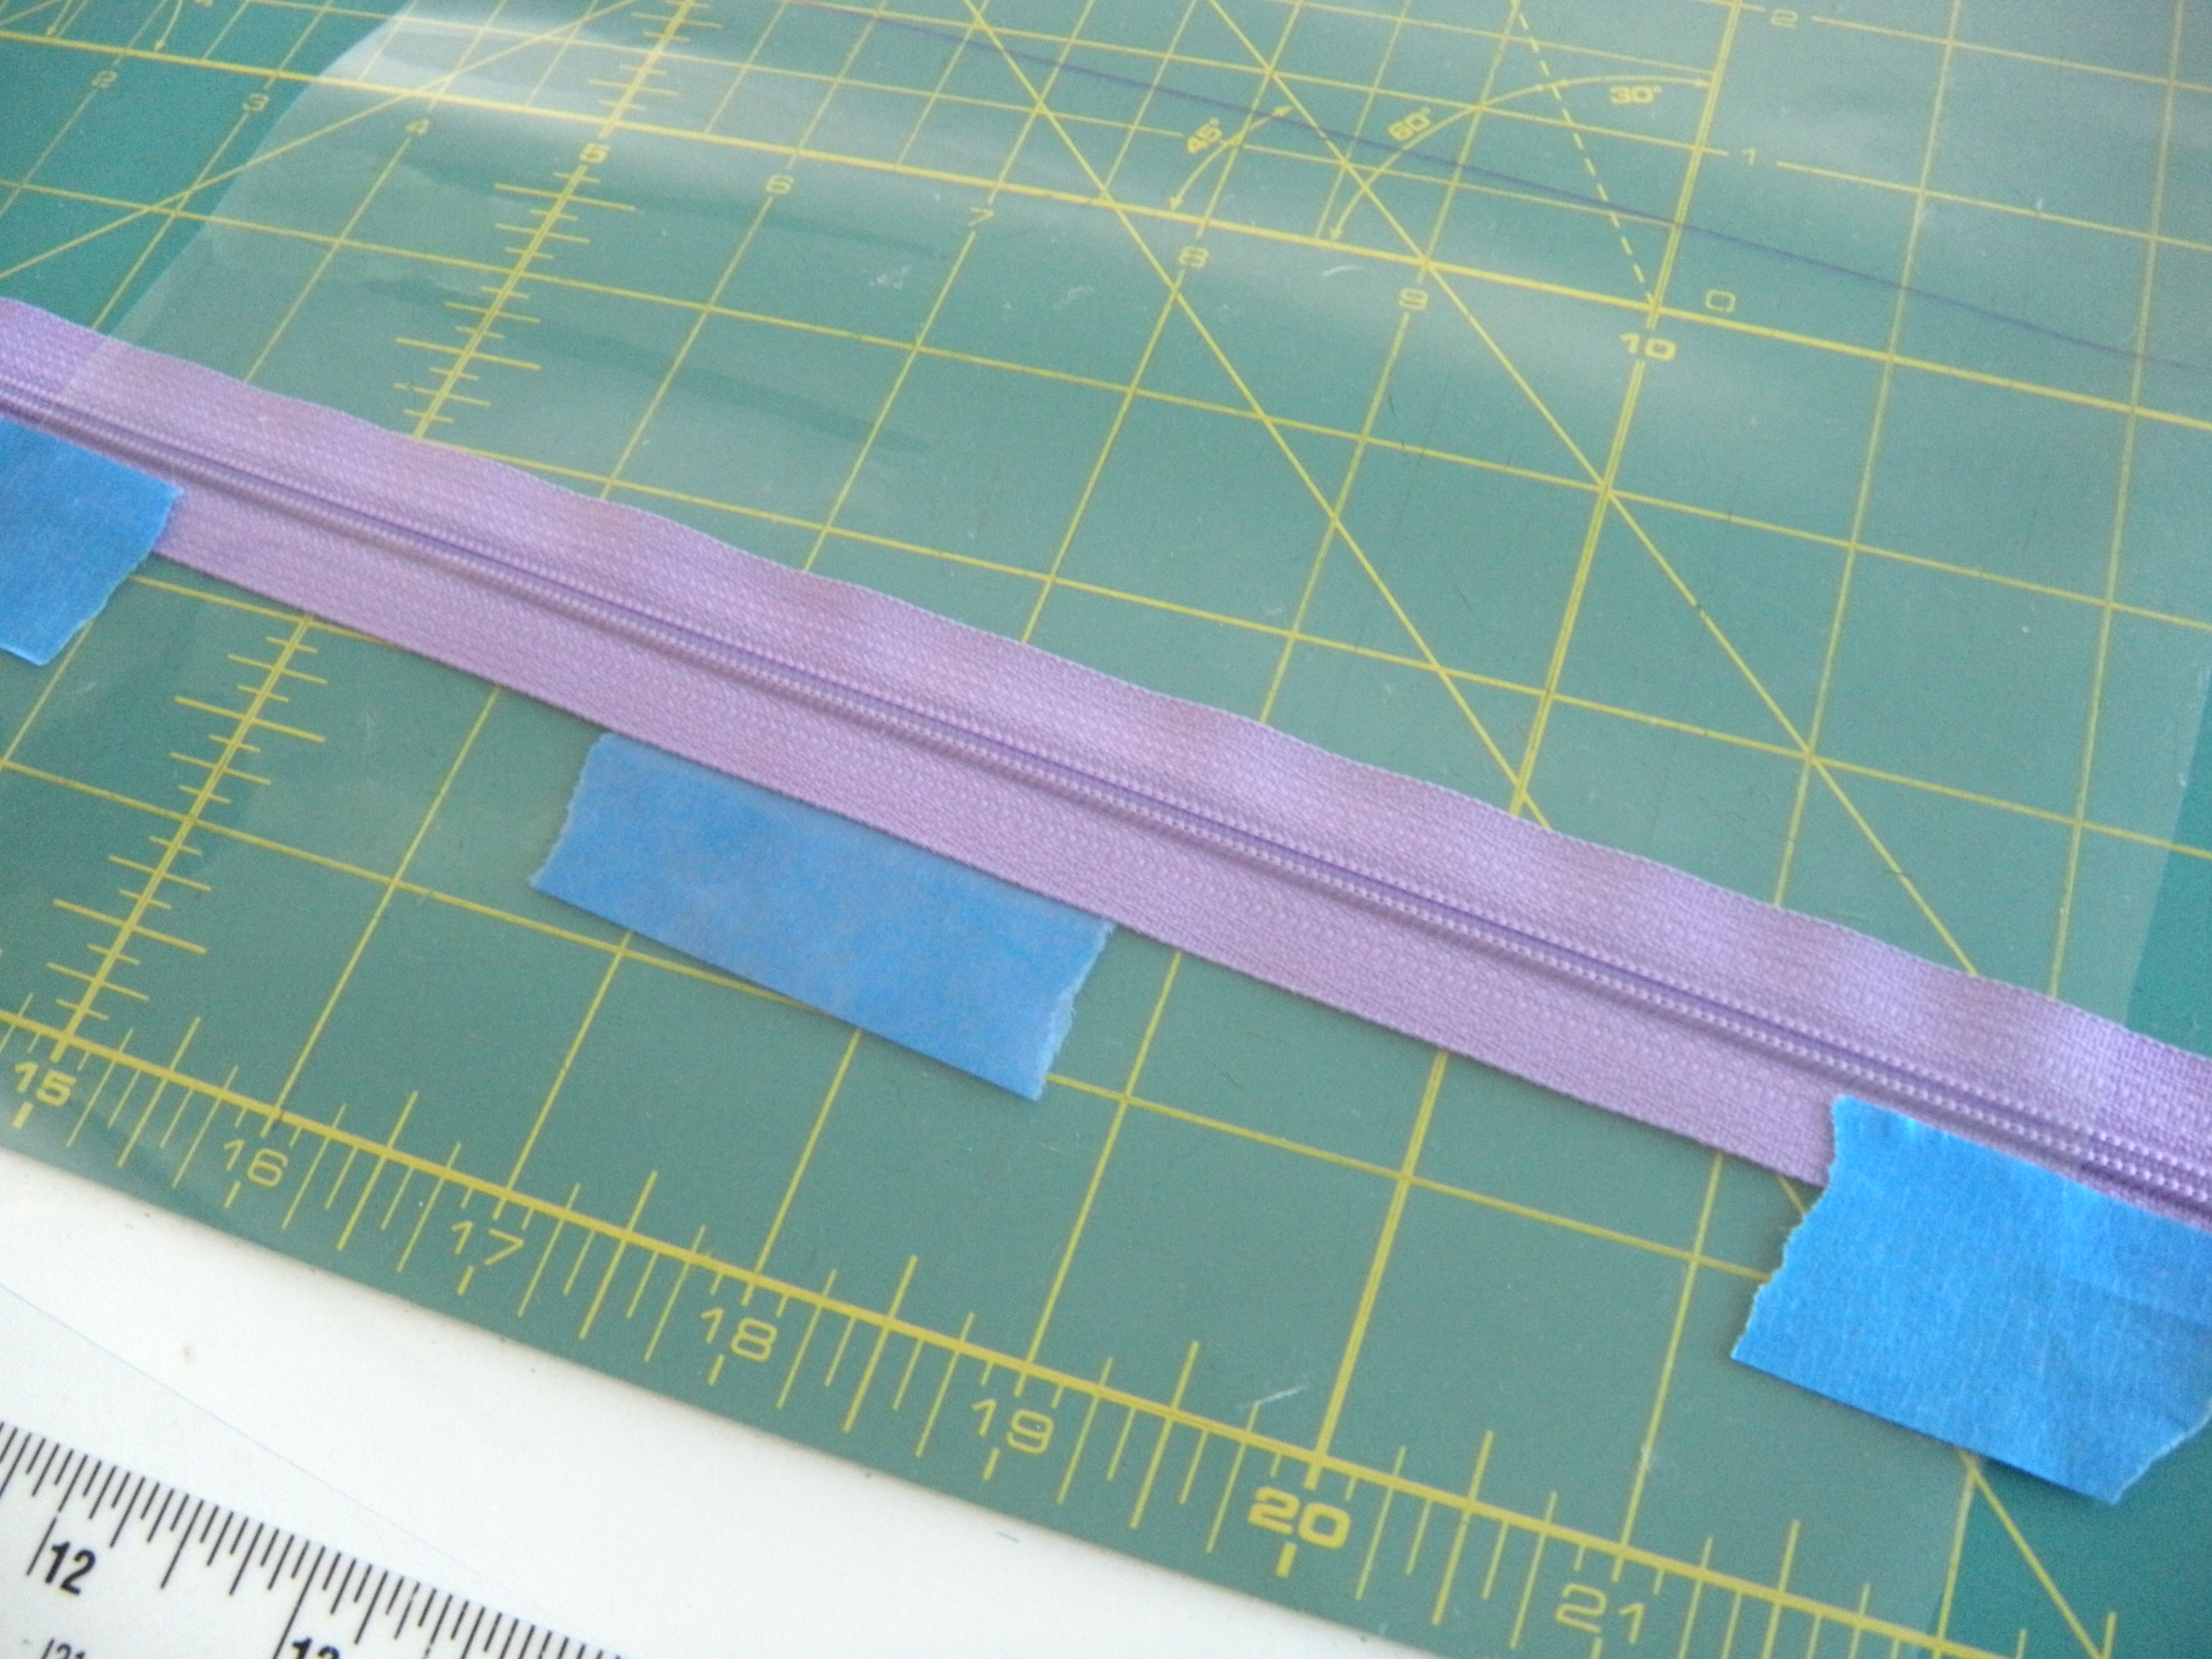
- Mark lines on the plastic as follows: with one of the short 9″ sides towards you, measure and draw a line 3-1/2″ up. Draw two more lines at 7″ and 10-1/2″. I use a ball-point pen for my lines. This is easier if you tape your plastic to the cutting board and use your grid as a reference.

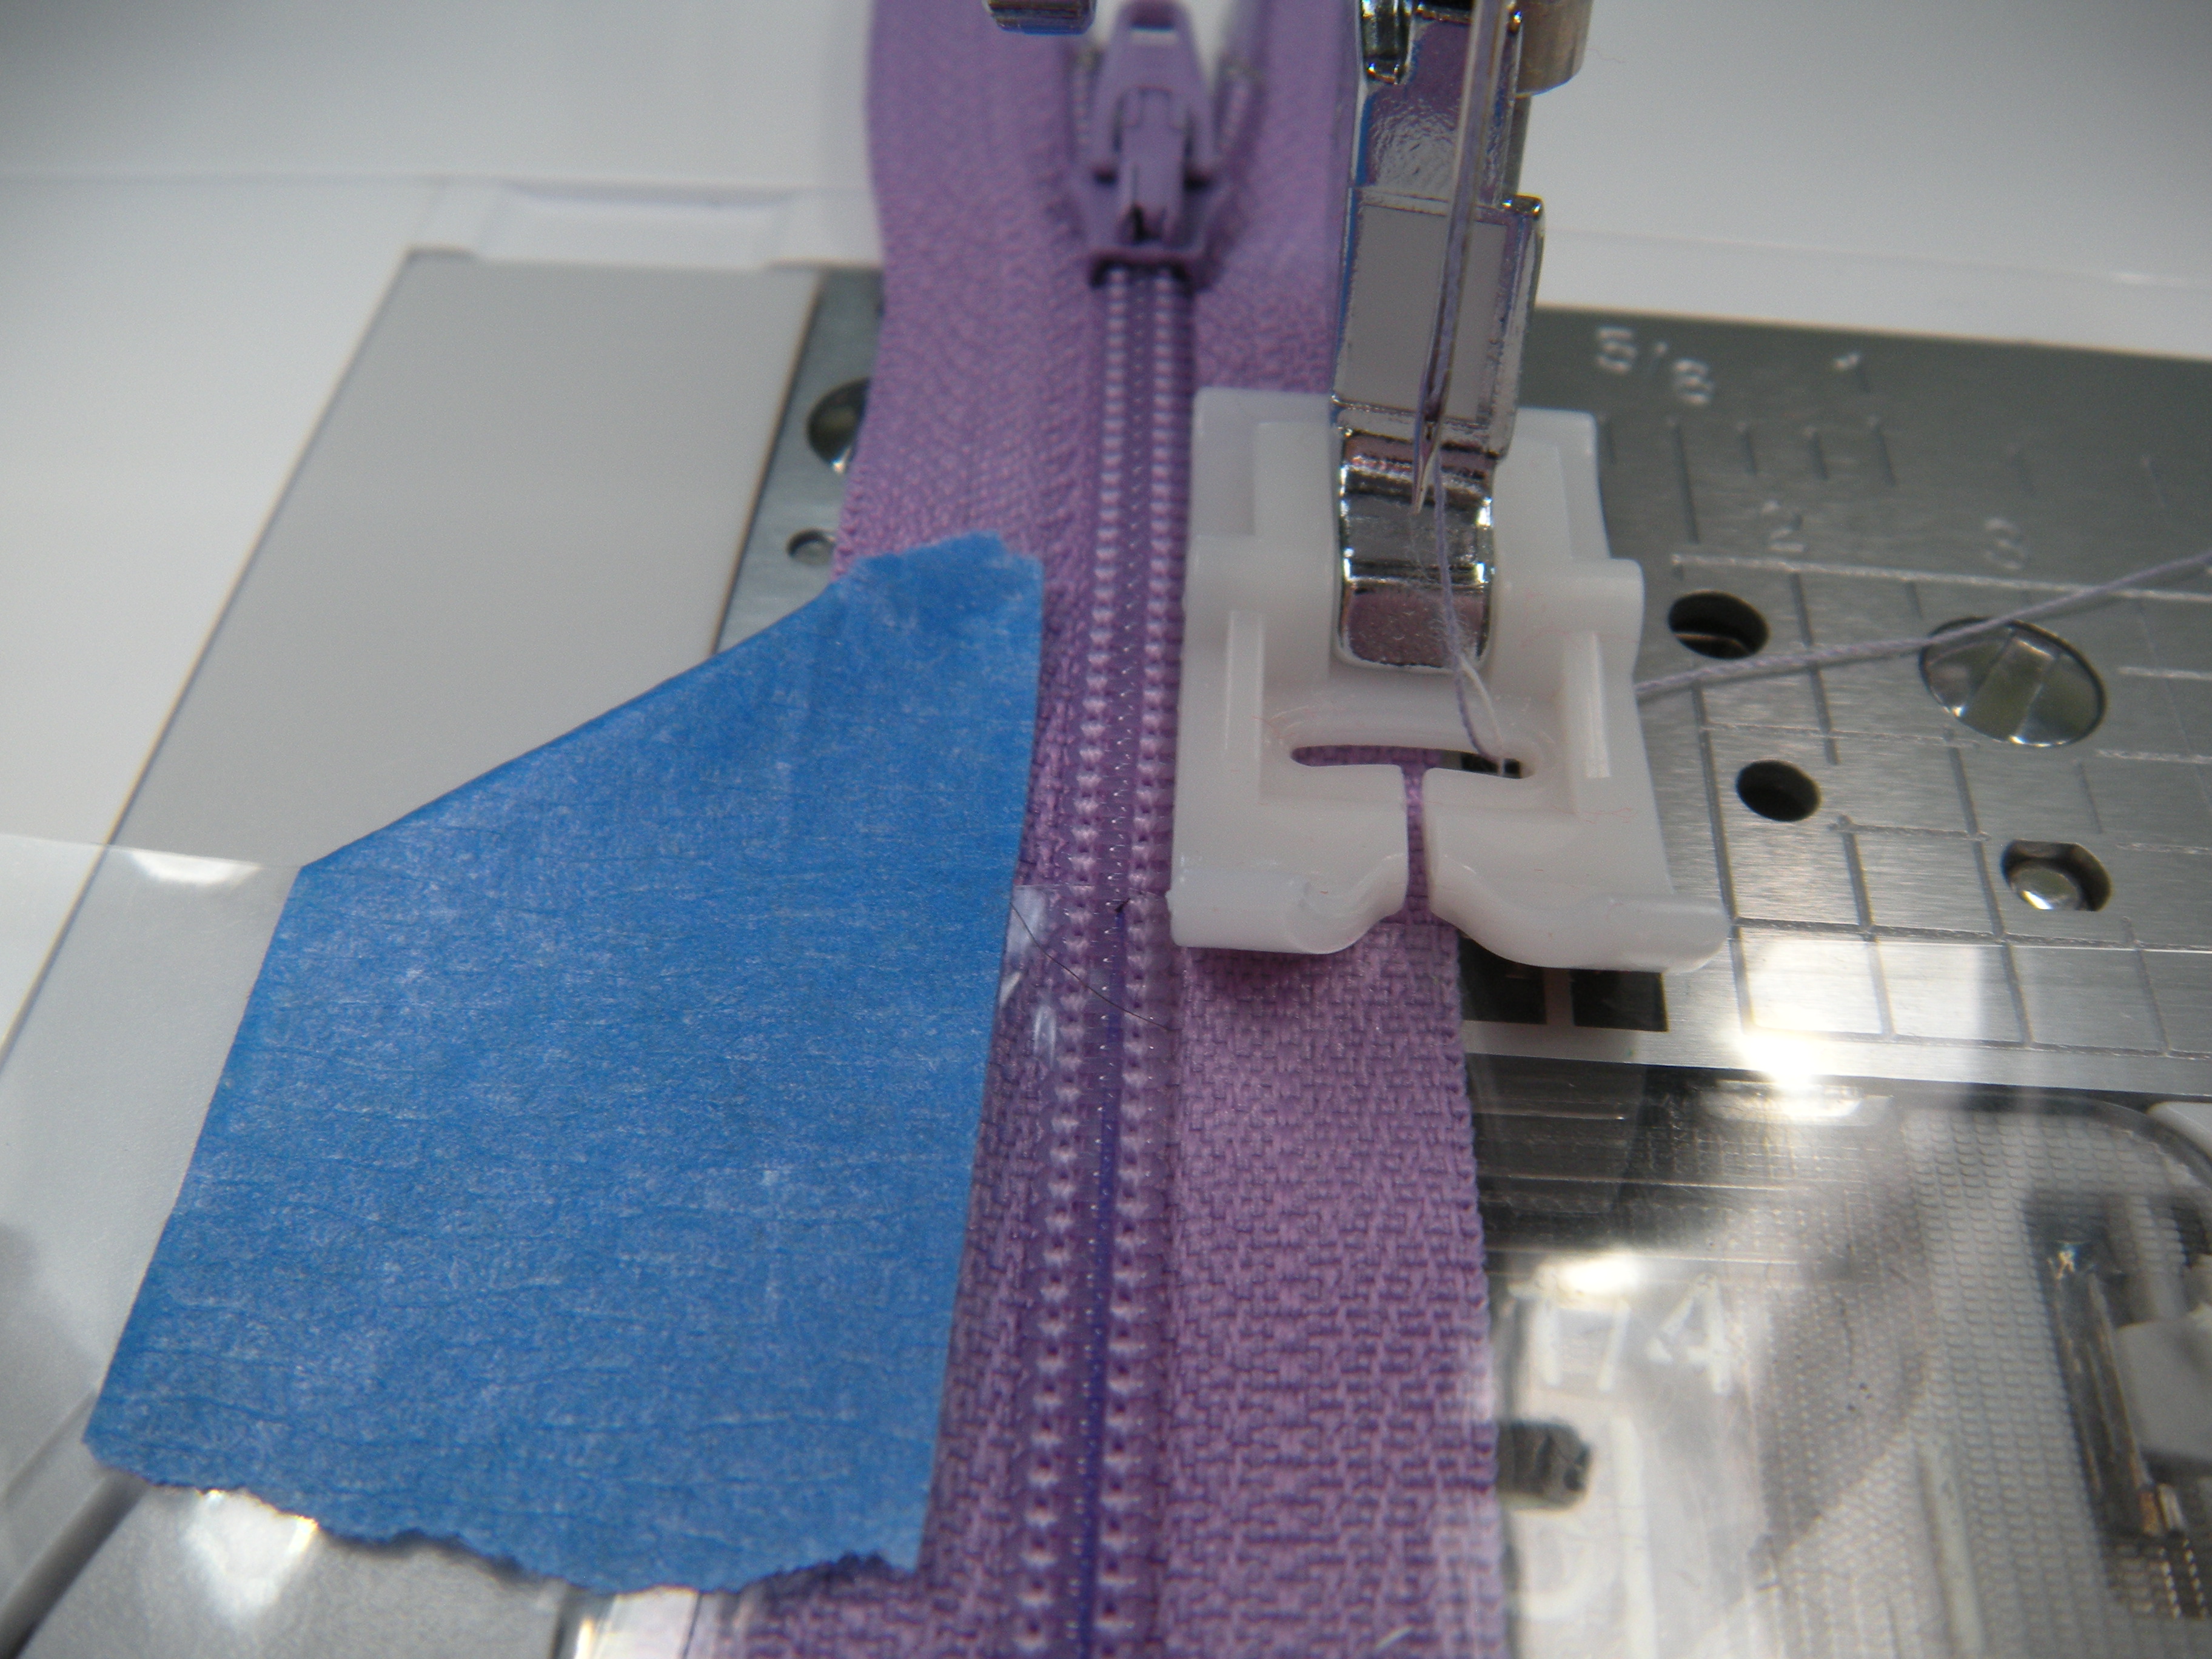
- Now it’s zipper time! These will be the easiest zippers you have ever inserted, I promise. With the zipper closed and the pull on the left, lay the plastic OVER the zipper, centering the zipper teeth under the pen line. Tape the zipper to the plastic to hold in place while stitching.
 The next photo shows some fabric between the zipper and the plastic, just so you can see the pen line better.
 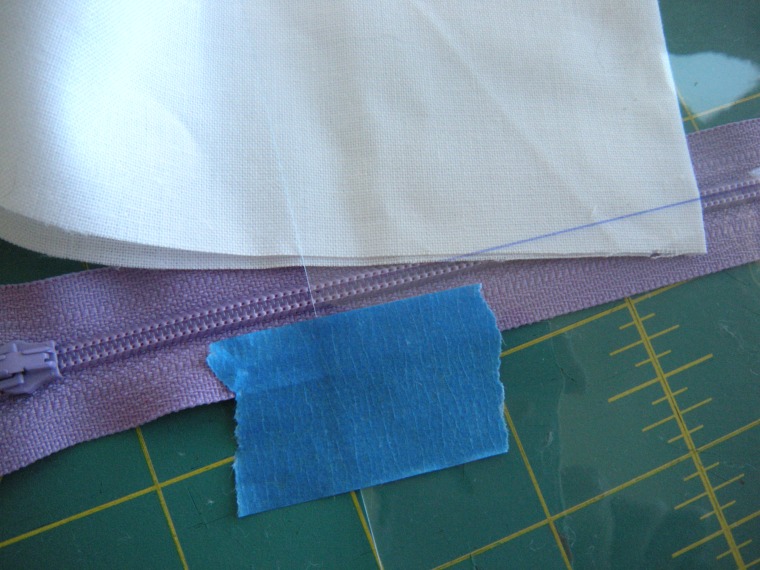 Notice how the zipper extends beyond the edge of the plastic. No worries! We’ll chop it off later.
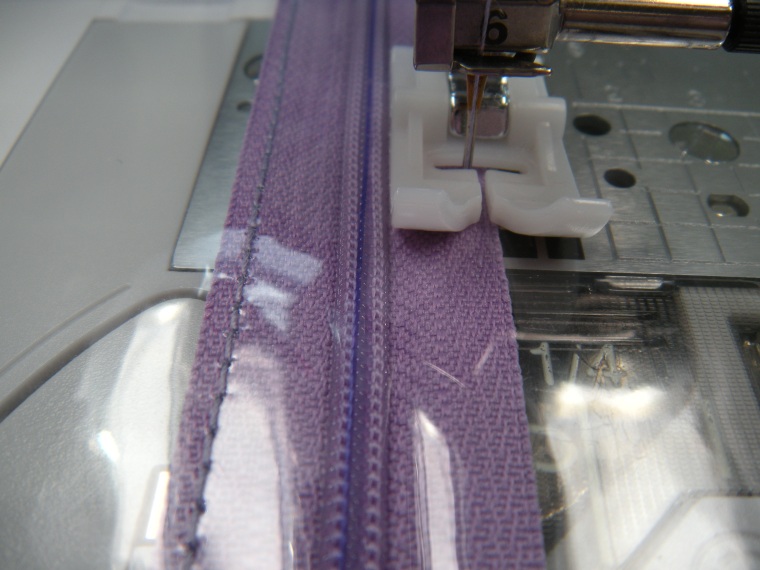
 - Slap that Teflon foot on your machine. We’re going to stitch the plastic to the zipper.
 I used a stitch length of 3.0. Start on the zipper tape OFF of the plastic, and stitch off of the plastic at the other end. You’ll want to stitch about 1/8″ from the edge of the zipper tape. The blue tape I use is 3M painter’s tape, and it comes off like a dream without leaving any residue.
  If you don’t have a Teflon foot, you will have to put something on top of the plastic to stitch it, because a regular presser foot will not move over the plastic. You can use strips of tear-away stabilizer or newsprint.
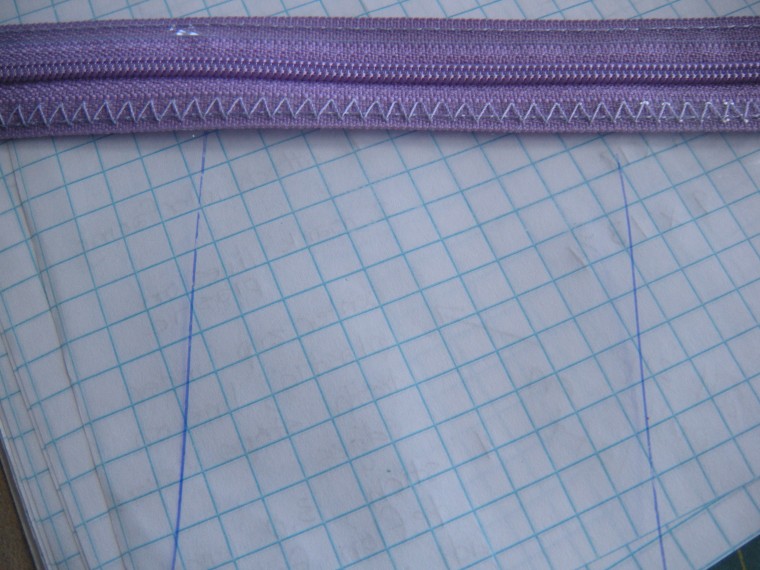
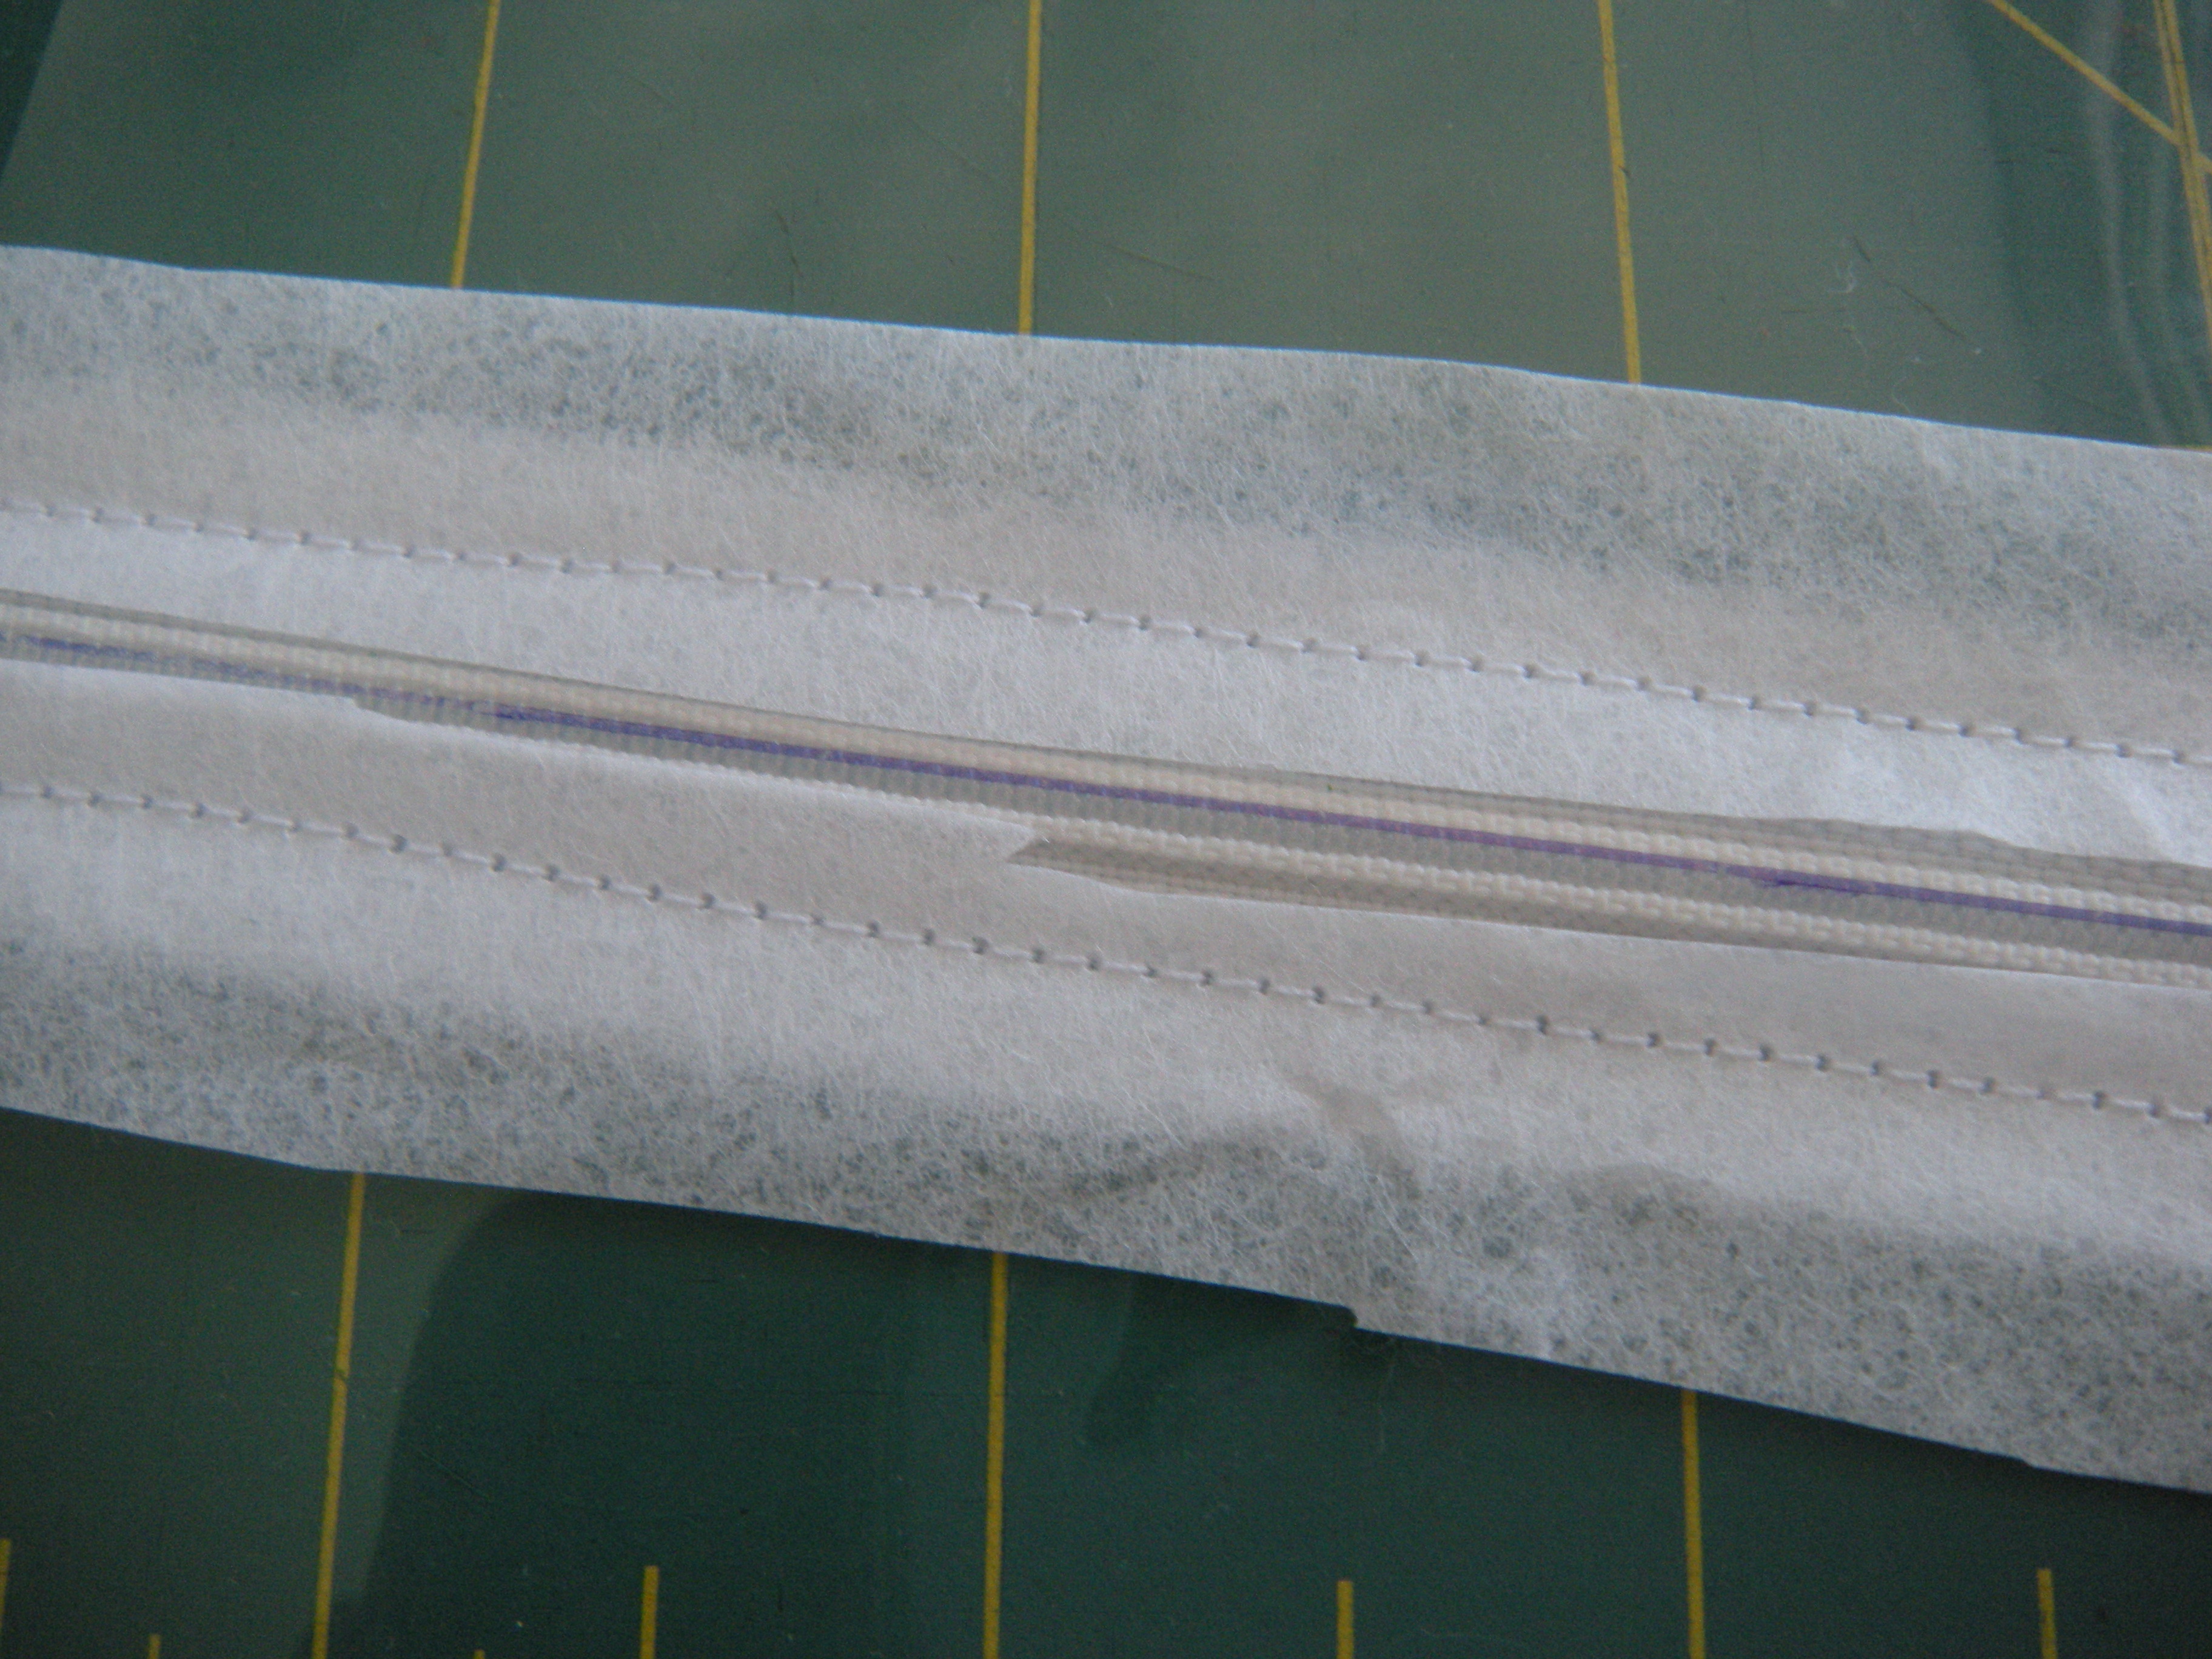
  This works, but it is a real pain in the ass. Do yourself a favor and go buy a Teflon or non-stick presser foot. This is what your zip will look like, sewn on both sides, under the plastic. Use thread that matches your zipper.
 How easy was that?
 - Repeat this same procedure for zipper number 2 and 3 under the other lines drawn on your plastic.
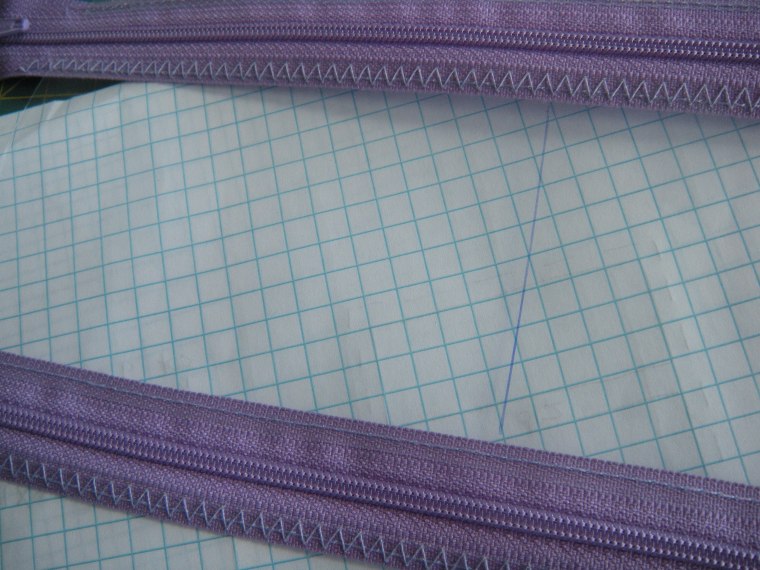
- Now we are on to zipper #4. Don’t you feel clever? Place this zipper (the pull is on the left) at the top, the top edge of the plastic approximately 1/4″ below the zipper teeth.
 This next photo shows an example of this as it is being stitched. And no, I did not stitch my seam ripper into the seam.
 All four zips are in, and this is what it looks like.
 The zips are closed, the pulls are on the left, all the stitch lines extend off the plastic on each side. All is right with the world. Take a deep breath. Got some fun coming next.
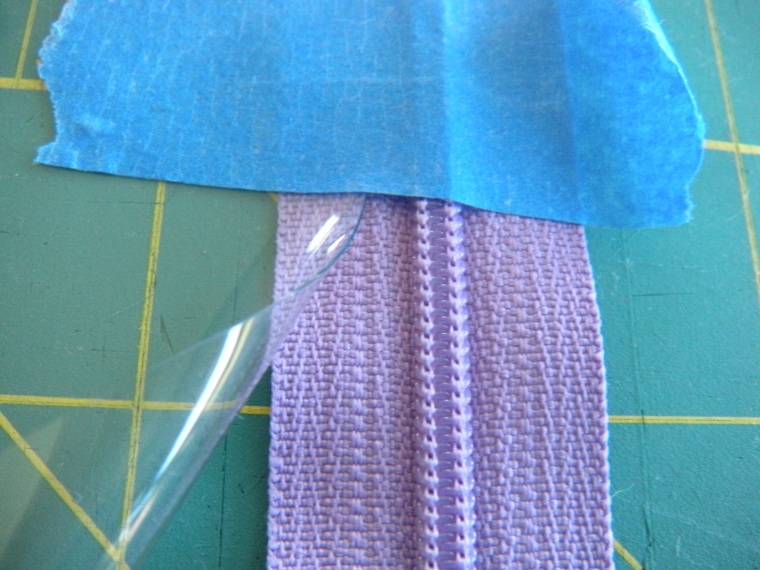
 - Get your scissors out. NOT your good sewing scissors. We’re going to cut plastic, I hope your momma taught you better than to use your good scissors on plastic. Cut the plastic that covers the zipper teeth, approximately 1/8″ from the stitching lines.
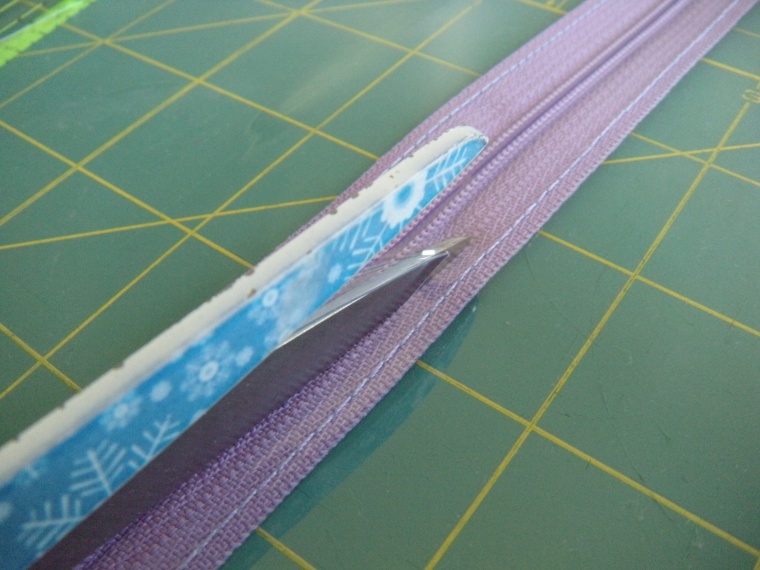


 Look! The zipper has been freed from it’s oppressive plastic!
 - On the lower edge ONLY of each zipper tape (zipper pulls on the left, zippers still zipped,) reinforce the stitching. Set your machine for a long zigzag stitch, mine is set at 2.0 length. Zigzag the plastic to the lower tape of each zipper tape. This will help keep the pockets nice and secure, since we know that we will be digging around in those pockets a lot. Don’t worry about the upper zipper tapes, we will reinforce those later as we form the bottoms of the pockets.


- Mark the stitch lines on the plastic for the compartments. With the bottom of the plastic facing you, below the first zipper, measure 3″ from the left side and draw a vertical line (from the zipper to the bottom of the plastic.) Draw another line 2-1/2″ to the right of that line, leaving 3-1/2″ on the right. Between the 2nd and 3rd zipper, draw a vertical line 4-1/2″ from the left. I used a blue ball point pen. You will stitch over the line in a later step, so no worries.


Now we’re ready for the fun part. Not that this hasn’t been fun so far, right? Tomorrow…assembling the jewelry roll!


lovely tutorial, will definitely try this out
LikeLiked by 1 person
Thank you, Rashida!
LikeLike